Tools
Linux machine
Lots of stuff will require a Linux machine. Ubuntu is to be recommended. You can either use a completely dedicated computer, or use Virtualbox to run a Linux system on a Windows computer.
If you choose Virtualbox, run Xubuntu rather than full Ubuntu, since it's a bit less demanding on resources.
Install guest additions (required for shared folders and drag and drop):
sudo apt-get install dkms
then cd to the guest additions ISO and
sudo sh ./VBoxLinuxAdditions.run
Reboot the virtualbox machine. Create a shared folder, ensure it's permanent and auto-mounts. Add your Linux user to the group vboxsf in order to access the shared folder:
sudo usermod -a -G vboxsf lindsay
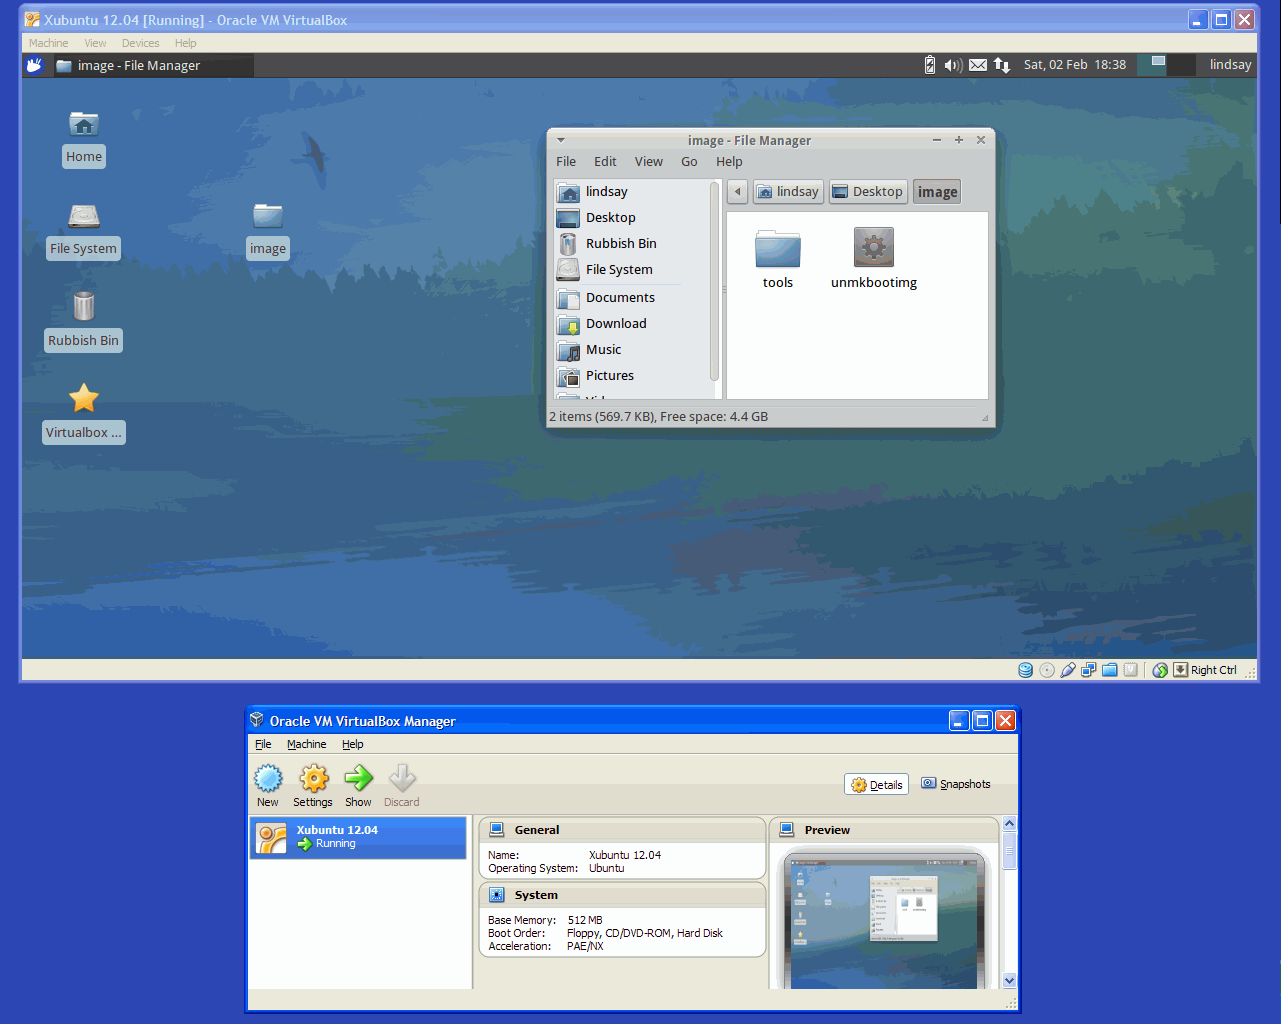
Here's a screenshot of Xubuntu running in Virtualbox:
Terminal
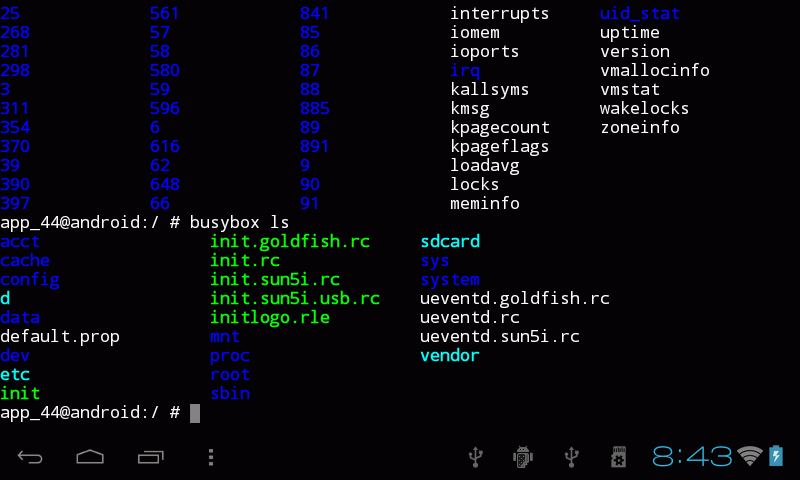
It's extremely useful (sometimes essential) to have access to the shell prompt. Go and get Android Terminal Emulator by Jack Palevich - website https://github.com/jackpal/Android-Terminal-Emulator/wiki. You can install it either from Google Play (the market) or from the APK file, if you don't have internet access. Here's an example screenshot:
Text editor
Grab a decent text editor. I use Jota Text Editor - available on Google Play at https://play.google.com/store/apps/details?id=jp.sblo.pandora.jota&hl=en
Uberizer
Added later: I initially started off using Uberizer and, while it is a good tool. I now prefer to do things manually - partly because I understand exactly what I'm doing, and partly because some of the ways Uberizer does things don't work with my tablet.
This is an extremely useful tool to have, and includes several other tools in the installation. Although it's possible to do backups etc. manually, Uberizer bundles everything together, making life a lot easier. To get it, visit http://www.techknow.t0xic.nl, register, login, and head to Forum -> Uberizer -> Downloads and get the latest version.
Uberizer can do many different things, the most useful (for my purposes) is dumping and restoring ROM images. It also includes Android Debug Bridge (ADB), LiveSuit(e), and both the tablet drivers and LiveSuit(e) drivers, so these don't have to be installed separately. More on these below.
Android Debug Bridge (ADB)
Android Debug Bridge (ADB) is a clever command-line tool (run on the computer) which can communicated with a connected Android device. It can do things like transfer files, provide access to a shell prompt, and reboot the device. It can be obtained as part of Google's software development kit for the Android platform, but this is a rather large download (400MB). Uberizer has the ADB executable in its program directory.
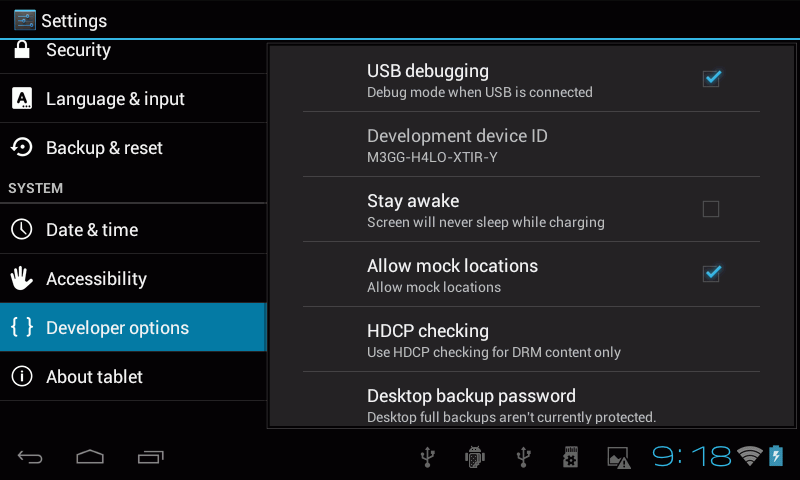
To use ADB, you must have the tablet drivers installed (see later). Boot up the device, go into Settings -> Developer options and make sure "USB debugging" is checked. (Otherwise, the Android device will simply appear to the computer as a mass storage device). Screenshot:
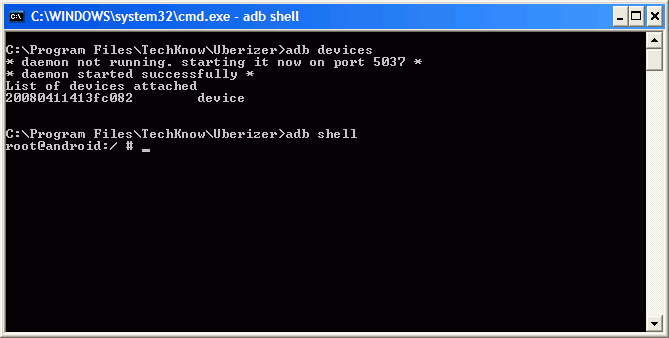
Connect the device to the computer. If this is the first time, the Found New Hardware wizard might appear - go through it and install the drivers (see later). Open up a command prompt on the computer and navigate to the Uberizer program directory. Type adb devices and it should find the attached device. ADB is now ready to use - for example type adb shell to get shell access to the device. Screenshot:
ADB will be used a lot for pushing/pulling files to/from the device during the process of backing up and flashing firmware. I assume that Uberizer is a "front end" to ADB - everything could in theory be done with ADB commands, but Uberizer makes it much easier.
You can add ADB to the PATH environment variable so it can be accessed from any location. Right click My Computer, Properties, Environment Variables, scroll down to Path under System Variables, click Edit, and add (separated with a semicolon) the path to the folder containing the ADB executable. For example, C:\ADB\.
Important note: ADB is available when the tablet is booted into Android itself. ADB is NOT available when the tablet is in the stock recovery mode. However, ADB is available when using a custom recovery mode like ClockworkMod, a good reason for changing the recovery to ClockworkMod.
LiveSuit(e)
Sometimes spelled LiveSuite or LiveSuit. This is a software tool producer by Allwinner Technology, the makers of the actual processor chip, and is used for flashing a complete stock firmware to the device. This is used when the device is totally bricked (i.e. won't start up at all, not even into recovery mode).
LiveSuit is installed by Uberizer. In Uberizer, go to i. A1X Firmware Menu, then 5. Start LiveSuit Pack v1.09. This fires up LiveSuit. Click Yes to enter upgrade guide. Mandatory update mode. Next. Select new image file - choose the stock firmware.
Now the fun part. Hold down the Vol + button on the tablet and connect to the computer with a USB cable. Now press the power button repeatedly (about 10 times), while still holding the Vol + button. LiveSuit will recognize this and start the firmware update. This fancy button trick is unique to LiveSuit.
There is a similar program called PhoenixUSB, but it looks much more complicated. I read somewhere that PhoneixUSB is used by the manufacturer when they're producing lots of tablets, and LiveSuit is intended more for the retailer.
Drivers
Two sorts of drivers are talked about - tablet drivers, which are used for ADB and when using the tablet as a mass storage device, and what I'd call LiveSuit drivers, which are unique to LiveSuit and are used during the button-pressing trick. Both of these can be found looking through the Uberizer directories.
Tablet drivers are also available from http://www.kmods.net/android/misc_g59-usb_drivers_windows_7__vista__xp__32bit_p18.html (32-bit) and http://www.kmods.net/android/misc_g59-usb_drivers_windows_7_64bit_p17.html (64-bit).