
| ▲ Electronics |
The usual words of warning - this involves high-frequency, high-voltage power supplies and salt water, so please be careful when trying it. Also, please make sure not to zap your nice digital camera with a stray HV lead.
Kirlian photographs, which rely on the formation of a high-frequency corona discharge around a conductive object, are normally taken by placing a piece of photographic film on top of a grounded metal plate and placing the conductive article (connected to a high-frequency HV power supply) on top. However, it is possible to take Kirlian photographs very easily using a digital camera. I first read about it on this site - http://c4r0.skrzynka.org/_hv/index.php?page=hv/kirlian&lang=1 - and decided to give it a go.
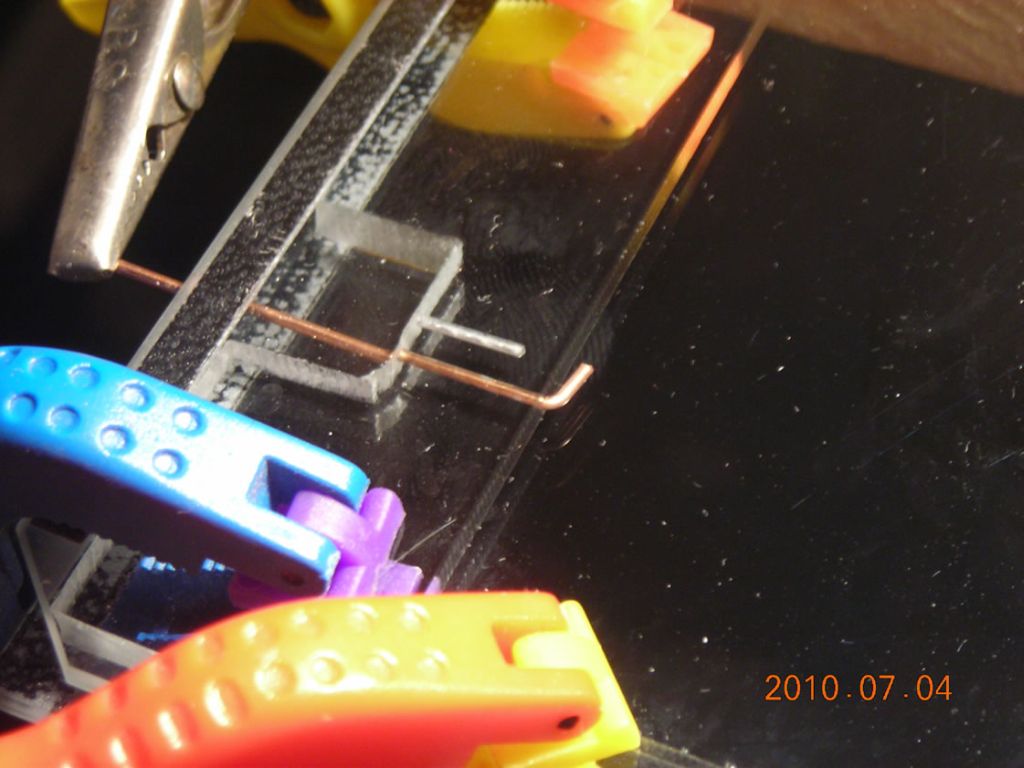
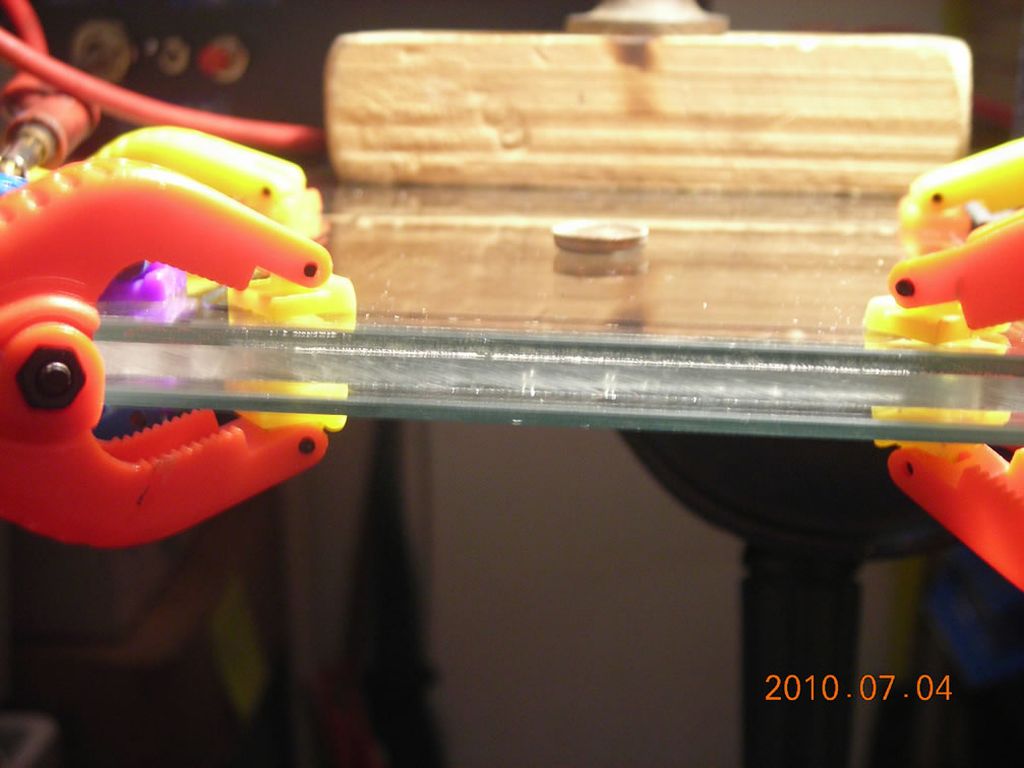
The principle is based on using a transparent conductive electrode as the ground plane, and photographing the Kirlian discharge through the electrode. The setup in the above link used a puddle of salty water on top of a glass plate, with the article underneath and the camera above, but I decided to turn things upside down so it's easier to place different items on the plate. The photographs below show the arrangement.
A square cavity, roughly 3" square, was cut out of the middle of a piece of 5mm acrylic sheet. A thin copper wire was inserted through the side of this cavity and sealed with silicone. Two glass plates, around 2mm thick, were then placed either side fo the cavity, which was then filled with salty water using a syringe. The glass plates are held round the perimeter with clips to prevent the water leaking out. This is the ground electrode. The camera is placed underneath and is focused on the top surface of the glass by placing a piece of paper with some pen marks on top of the glass. Finally, the item to be photographed is placed on top of the glass and the HV supply connected - one terminal to the item with a dangling wire, the other to the copper wire in the side the water-filled cavity.
 |
 |
 |
 |
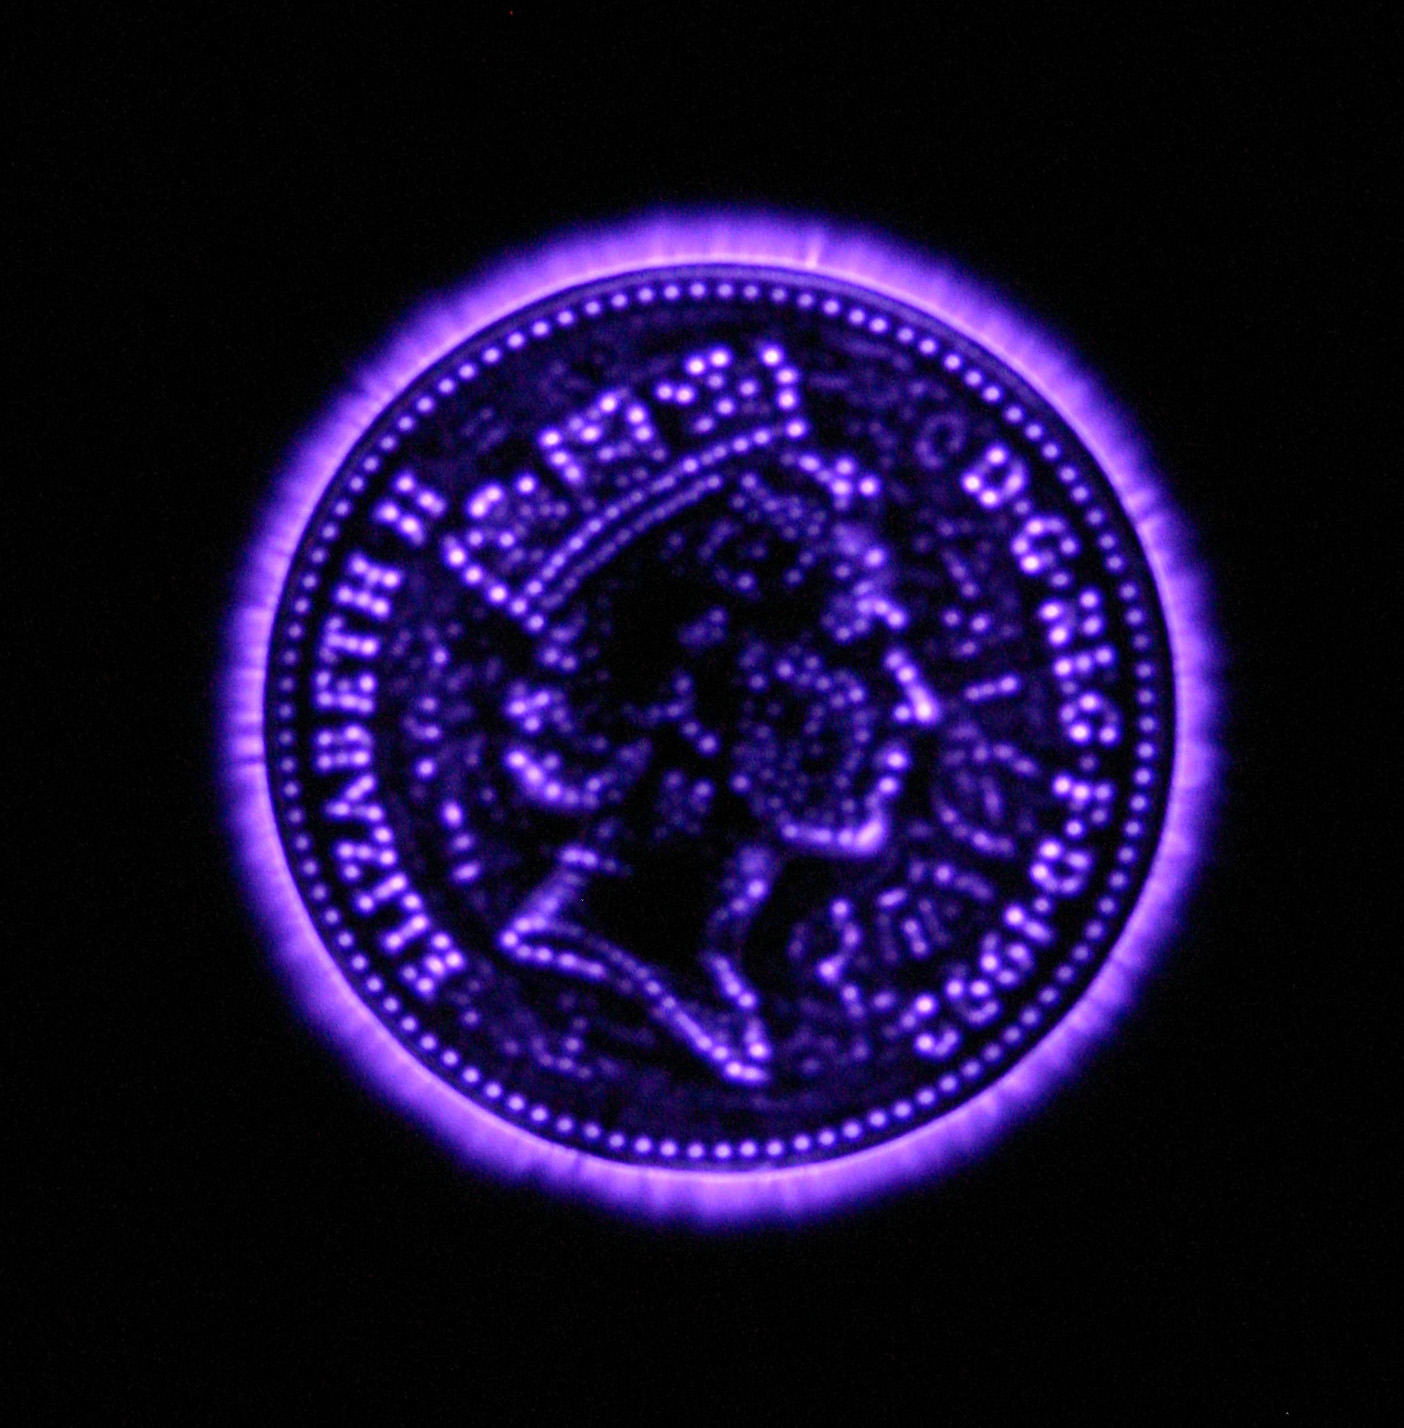
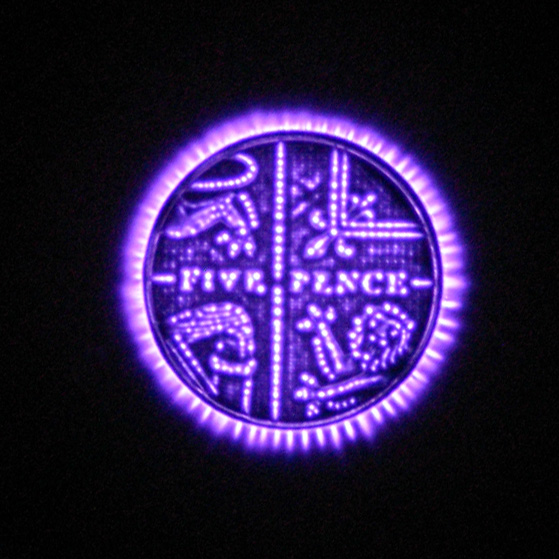
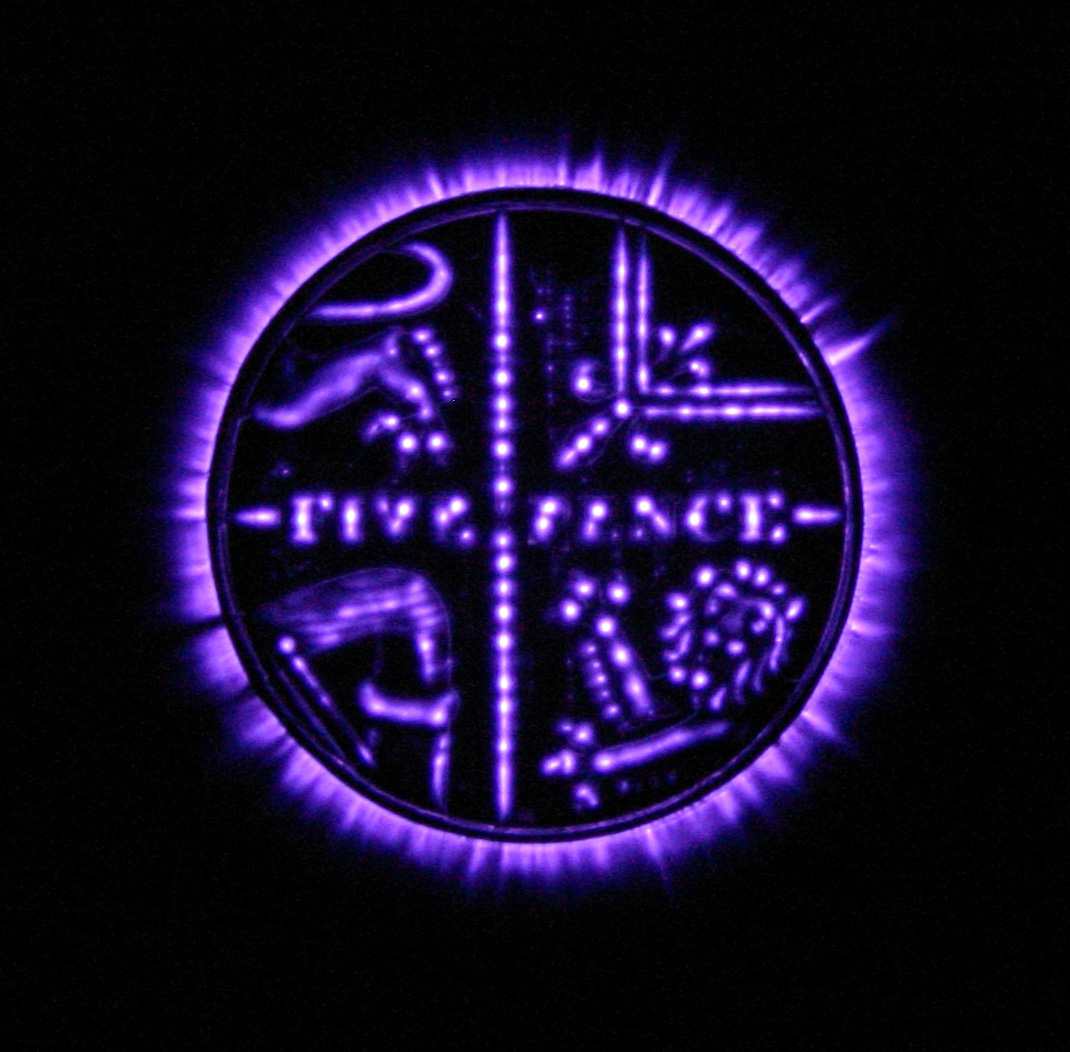
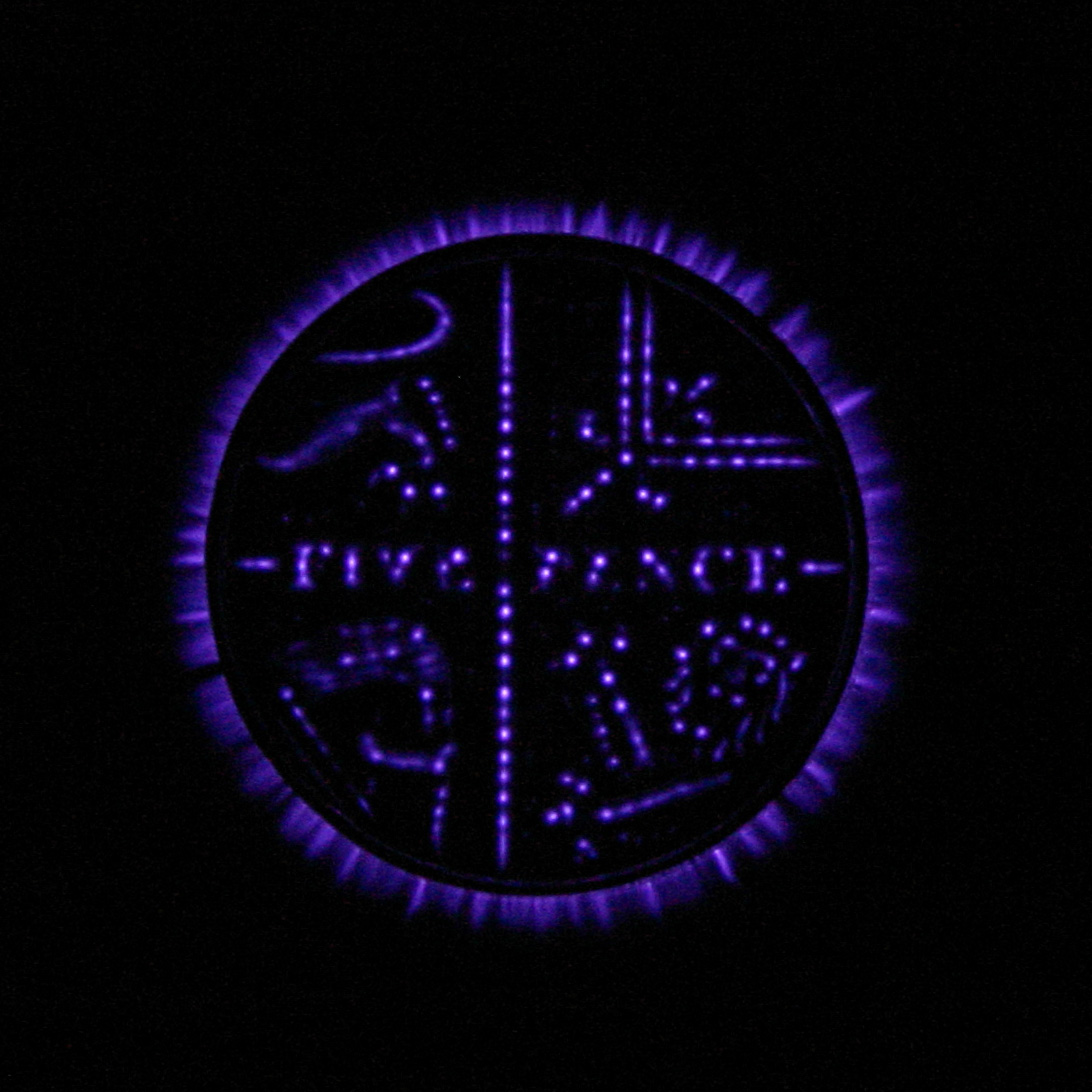
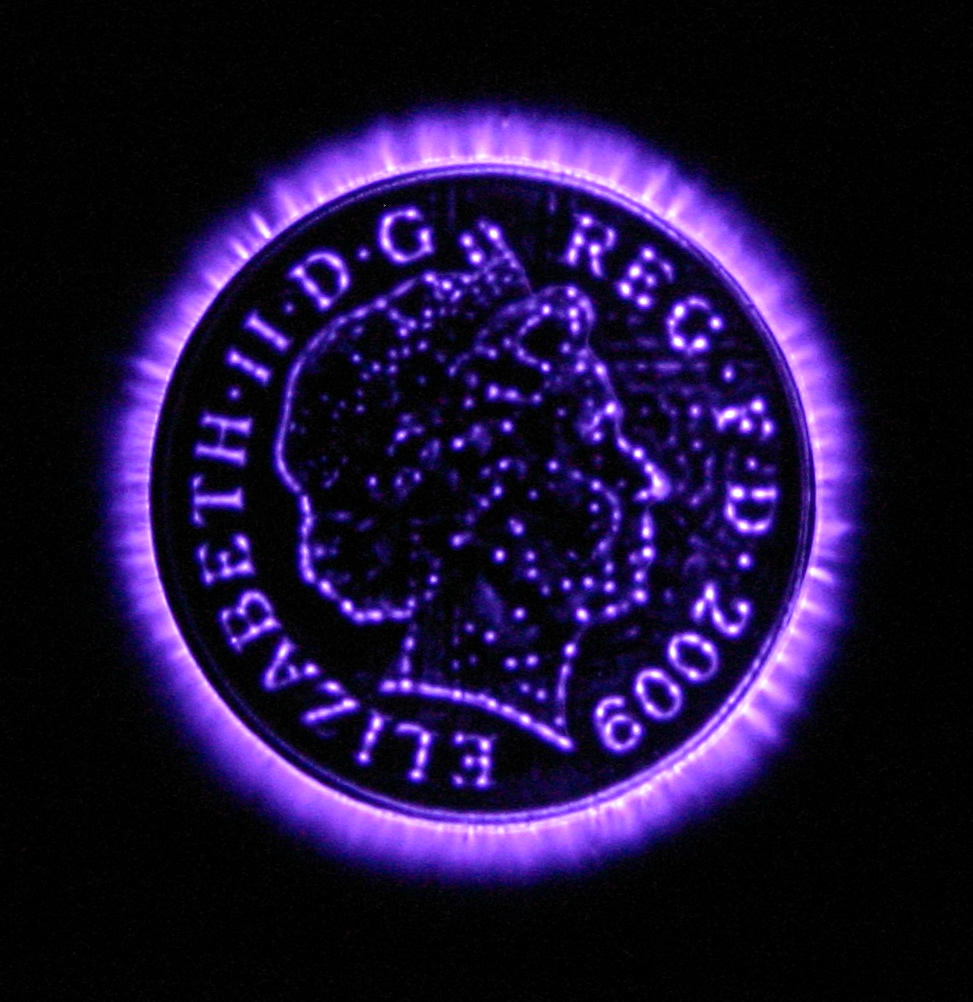
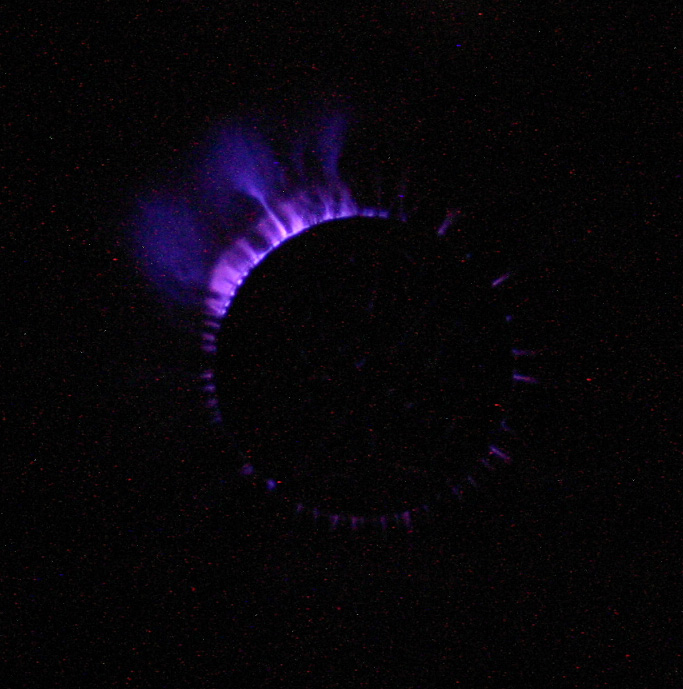
It is important to use a high-frequency supply, for example from old-style TV flyback transformers (the type without the in-built rectifier). Voltages should be 20-40kV and frequencies in the ~30kHz range. With this kind of supply, the discharge is easily visible to the naked eye, and exposure times are around 5-10 seconds. I did try a DC supply, but this resulted in hardly any discharge and required exposures of nearly 5 minutes before anything became visible (see the last photo of the coins section below).
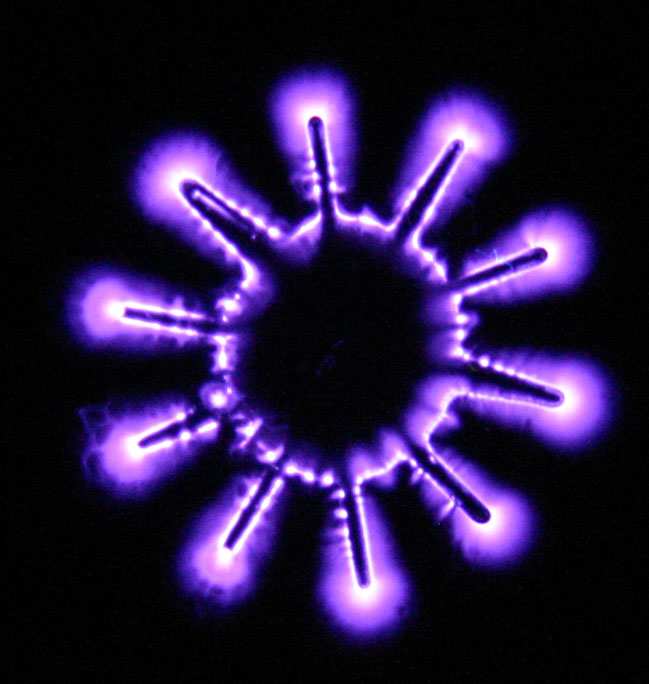
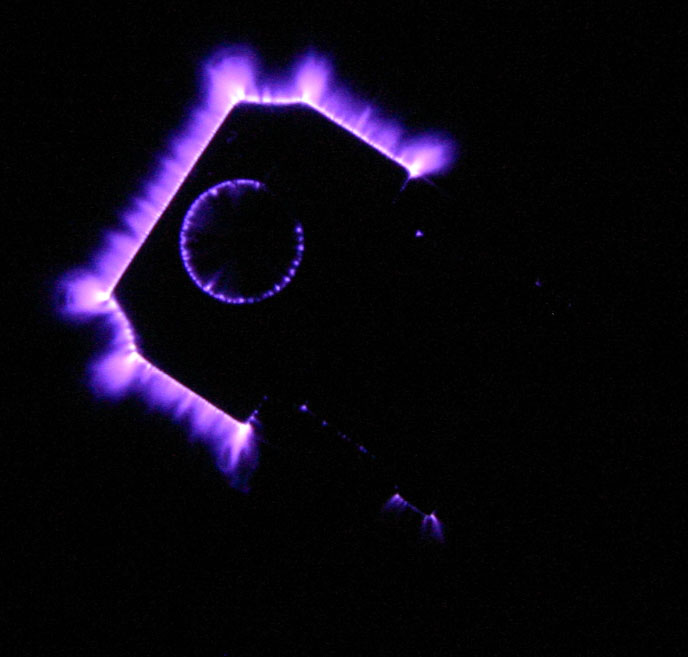
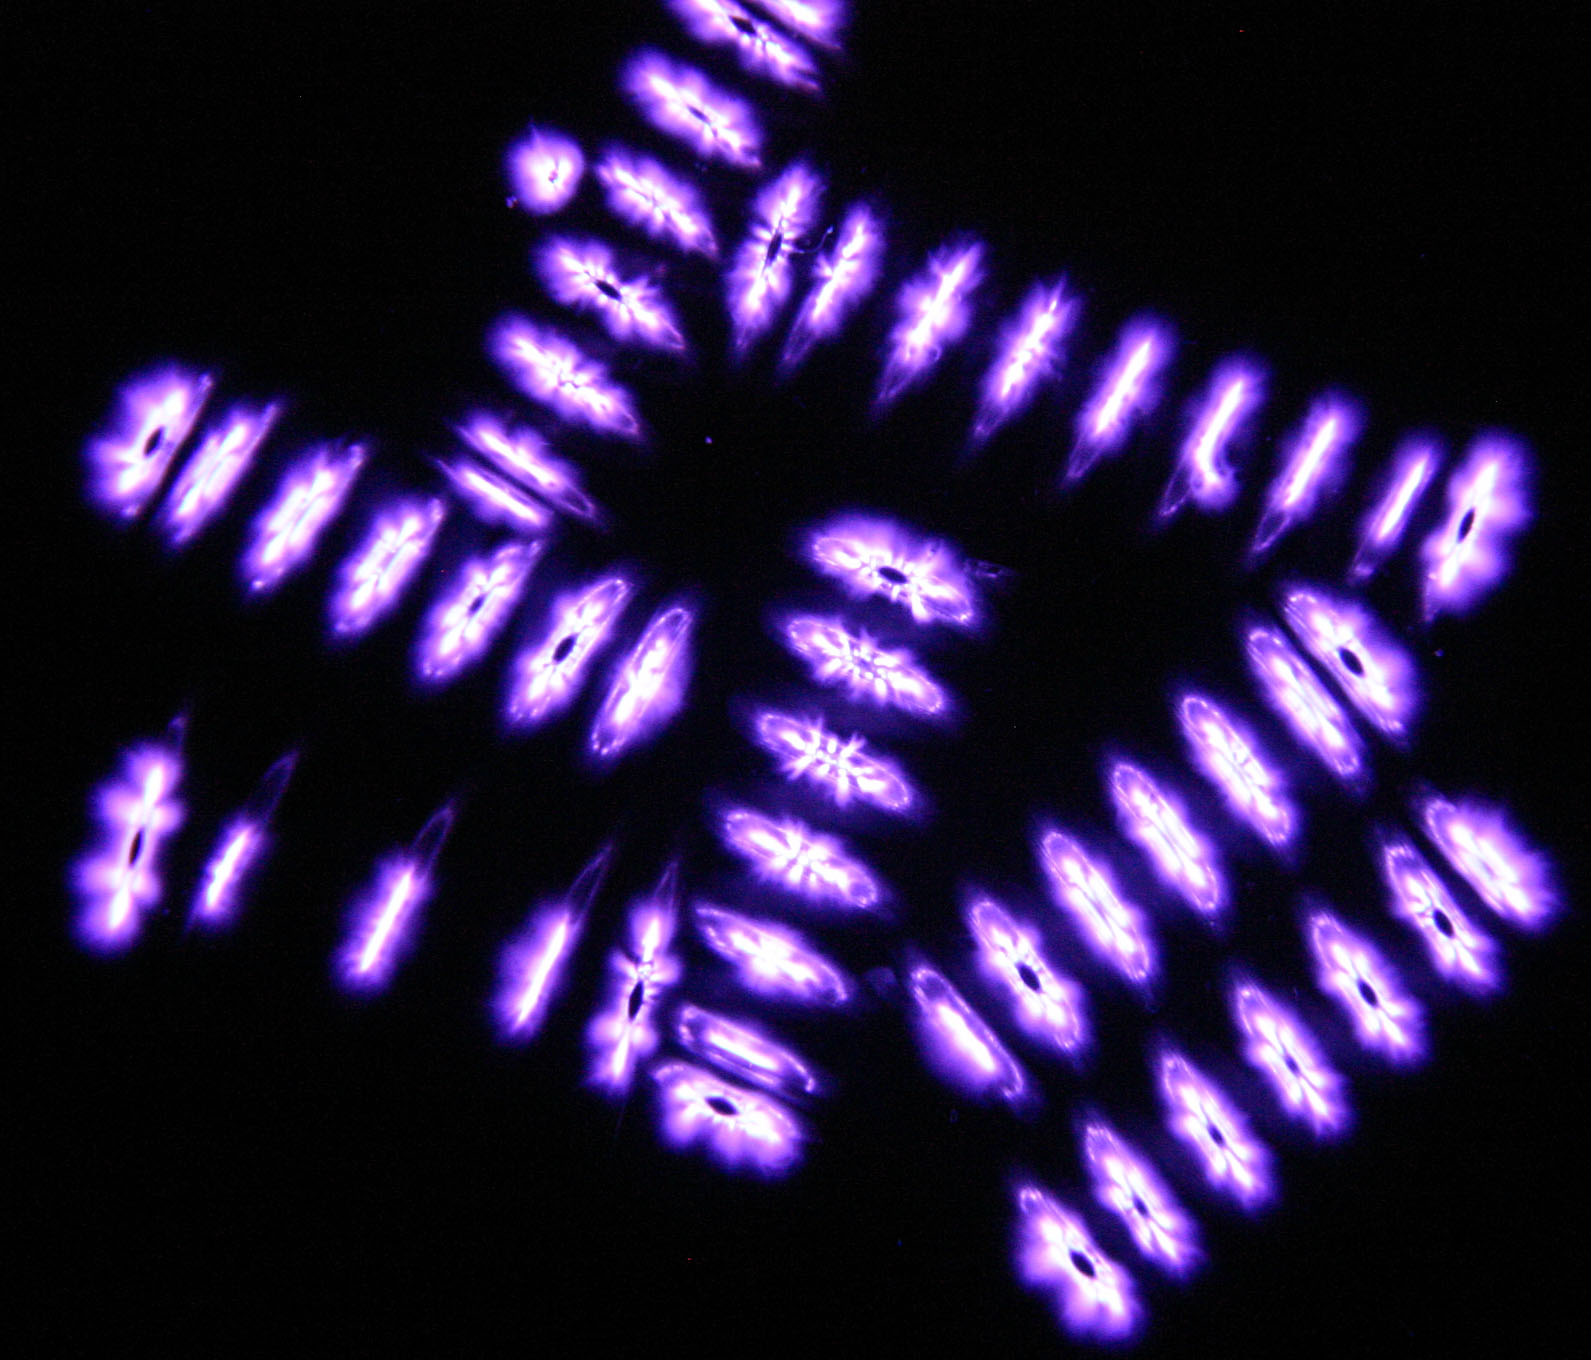
Photos obtained from different items are shown below. All are metallic, with the exception of a leaf, which didn't work very well. Close contact between the underside of the item and the glass seems to be essential to obtain a uniform discharge. When photographing multiple items, they must all be touching so a discharge occurs from all of them.
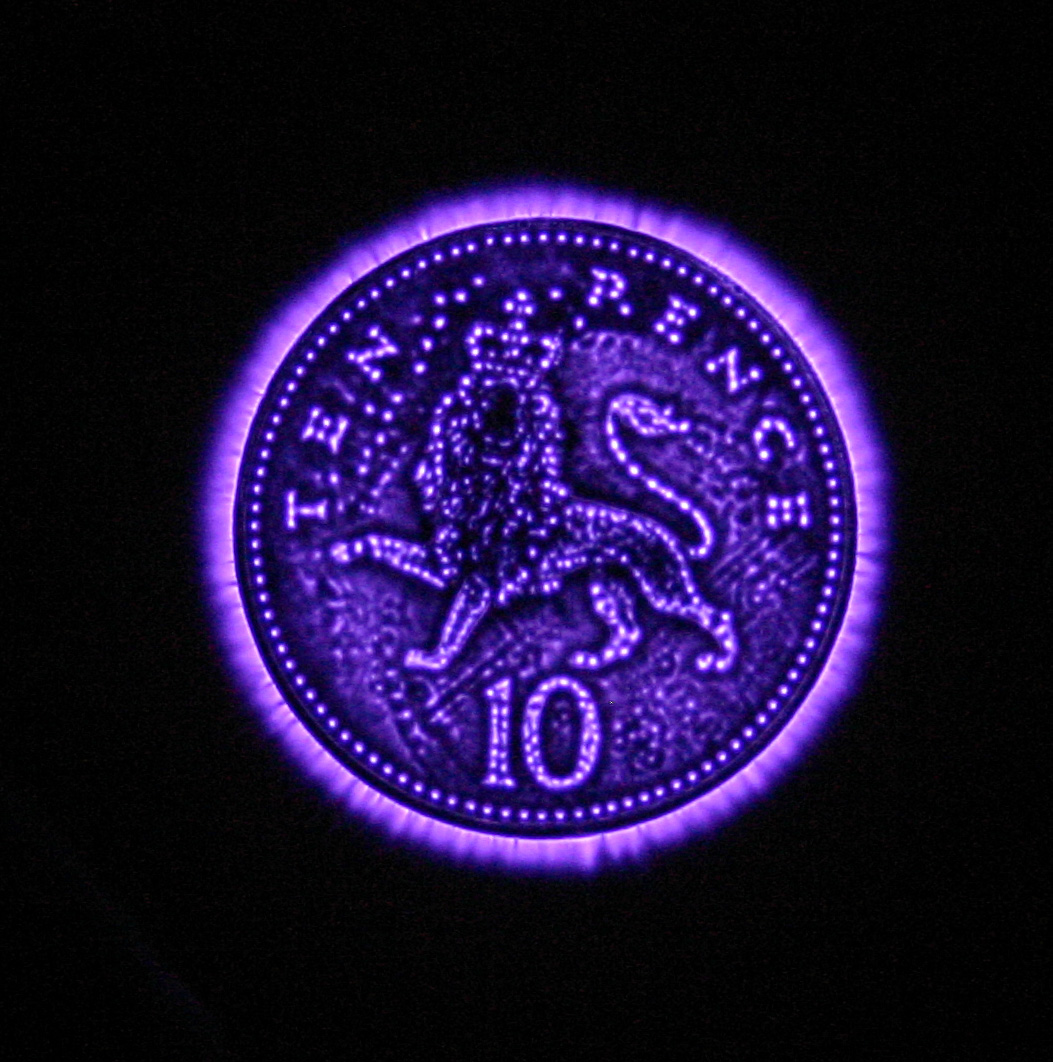
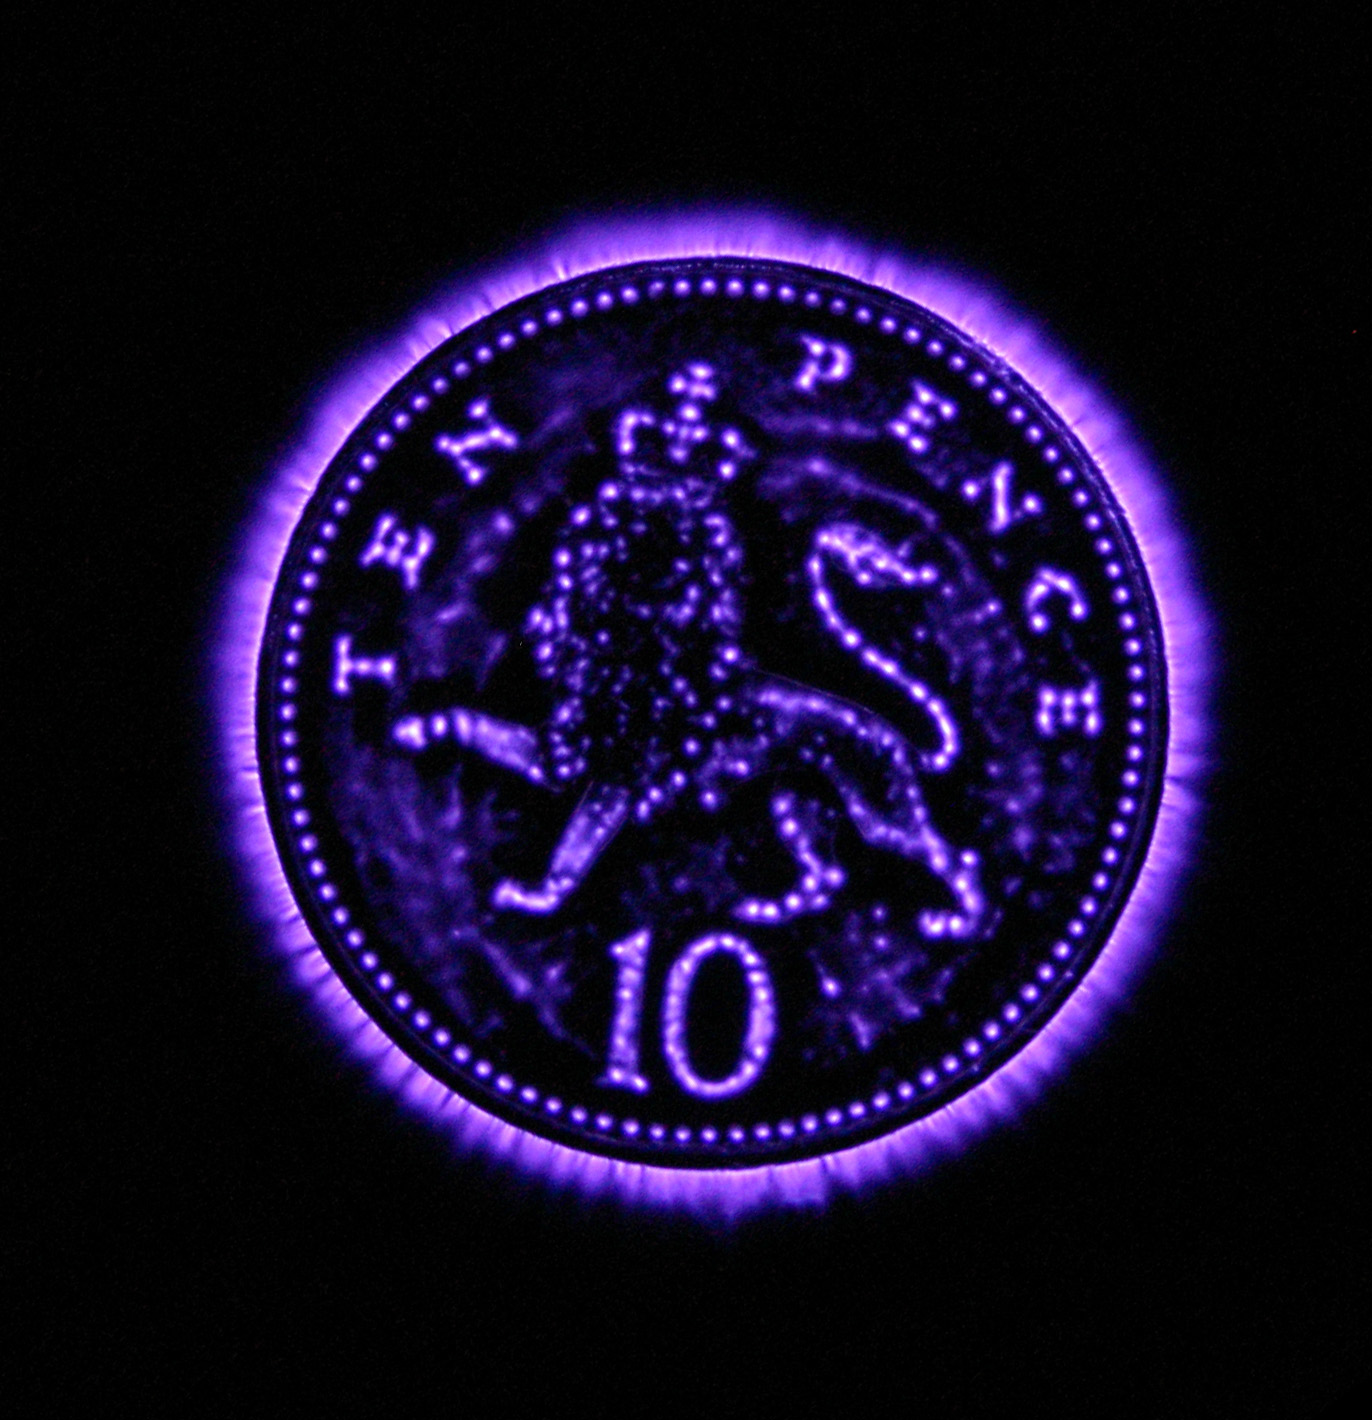
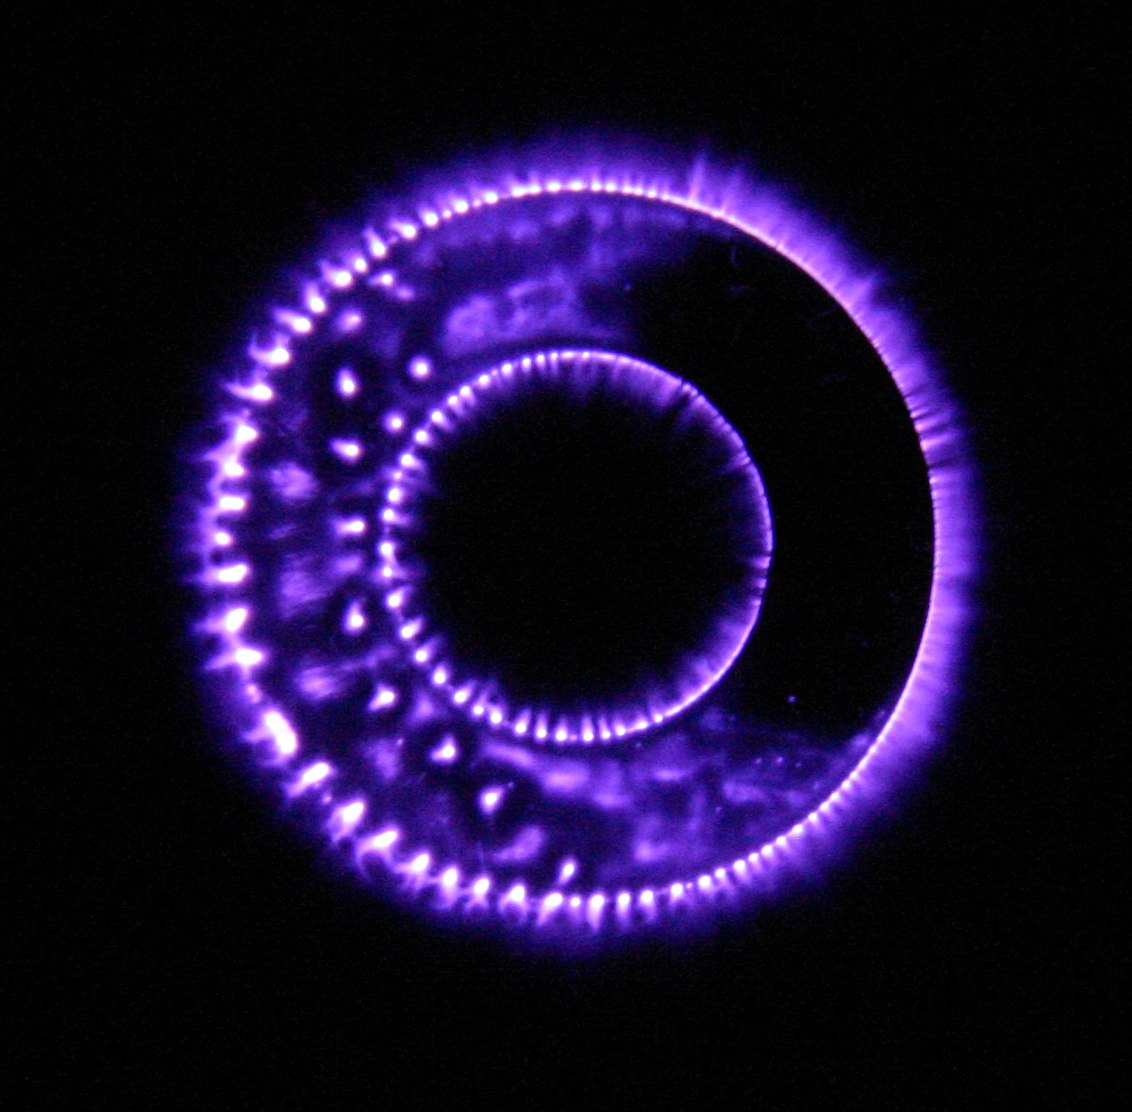
Coins. 10p and 5p British coins. The last photo was with a DC supply - note hardly any discharge.
 |
 |
 |
 |
 |
 |
 |
 |
 |
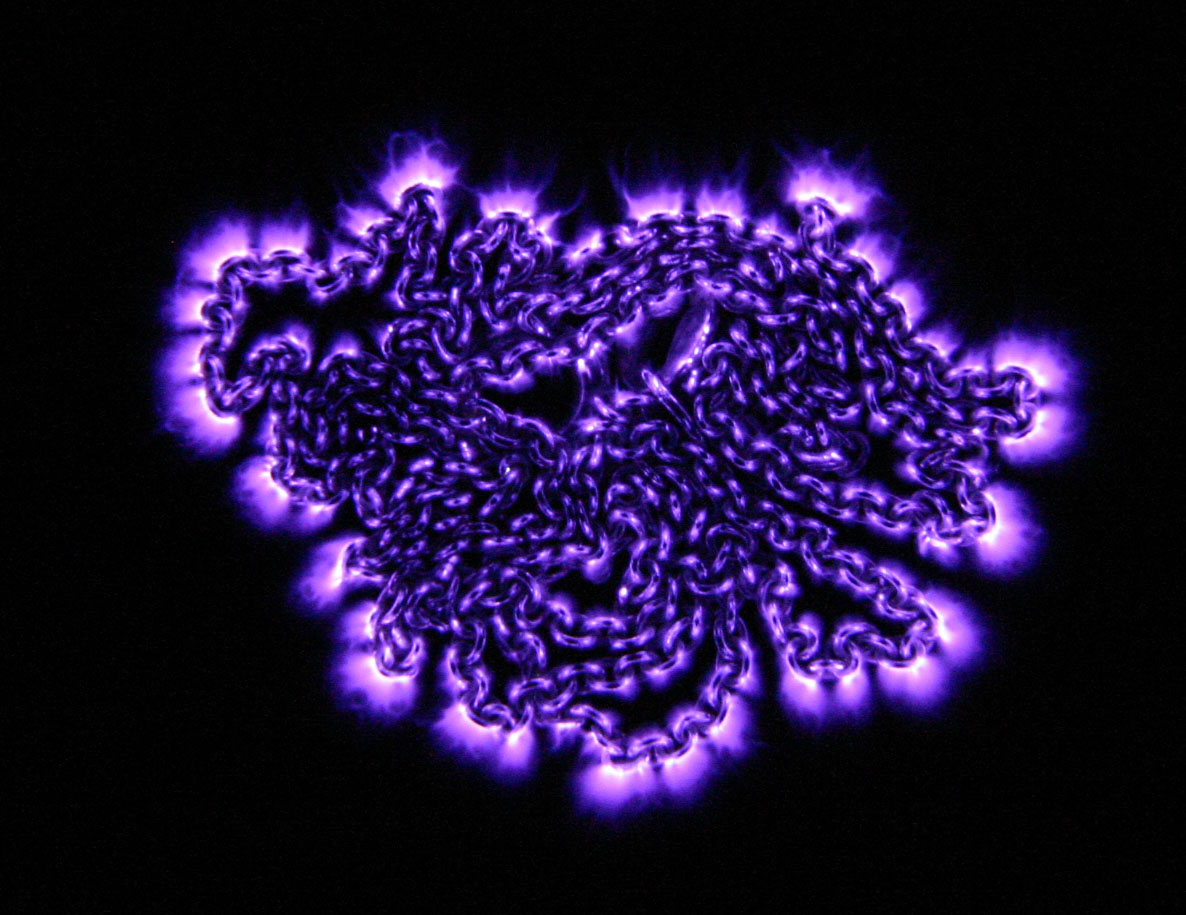
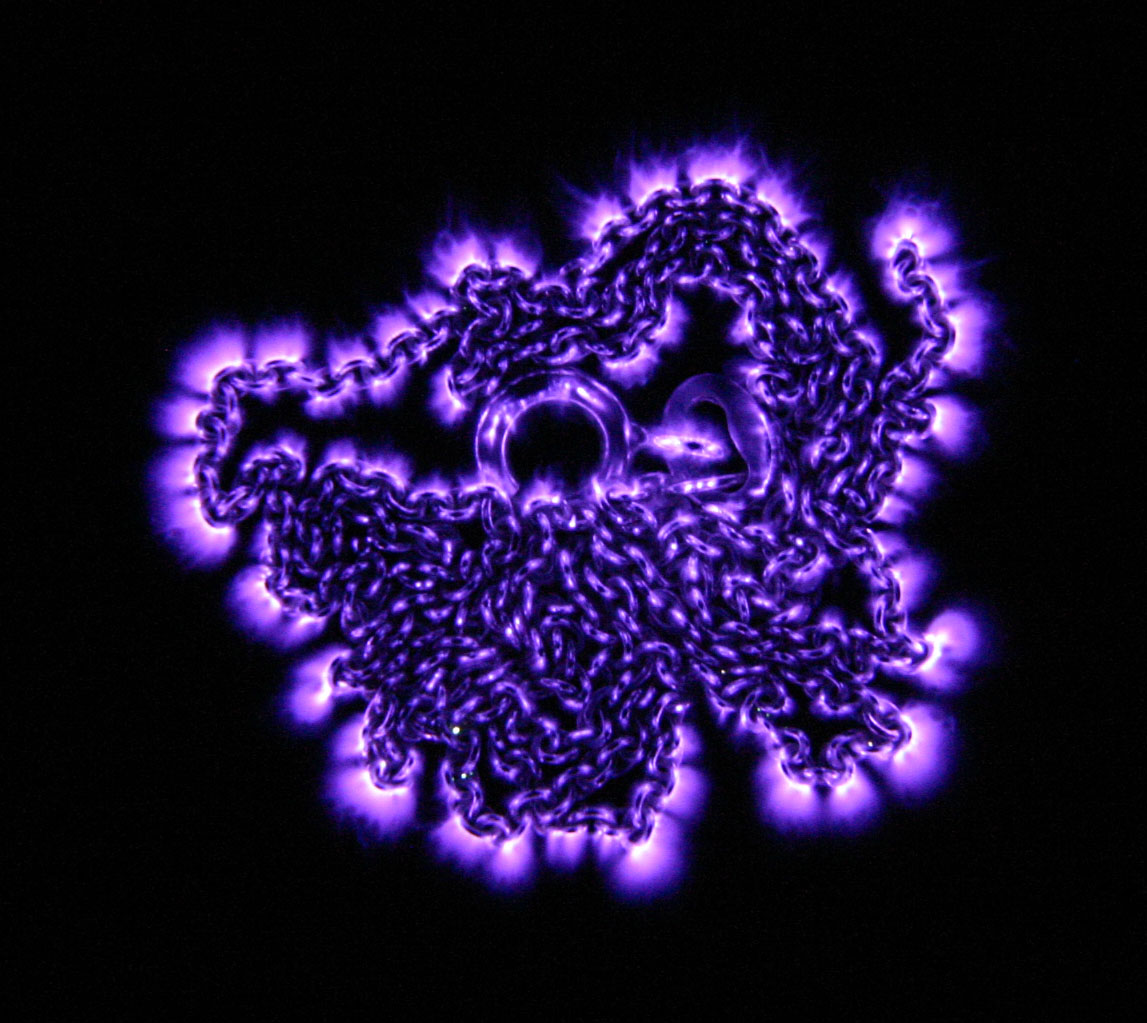
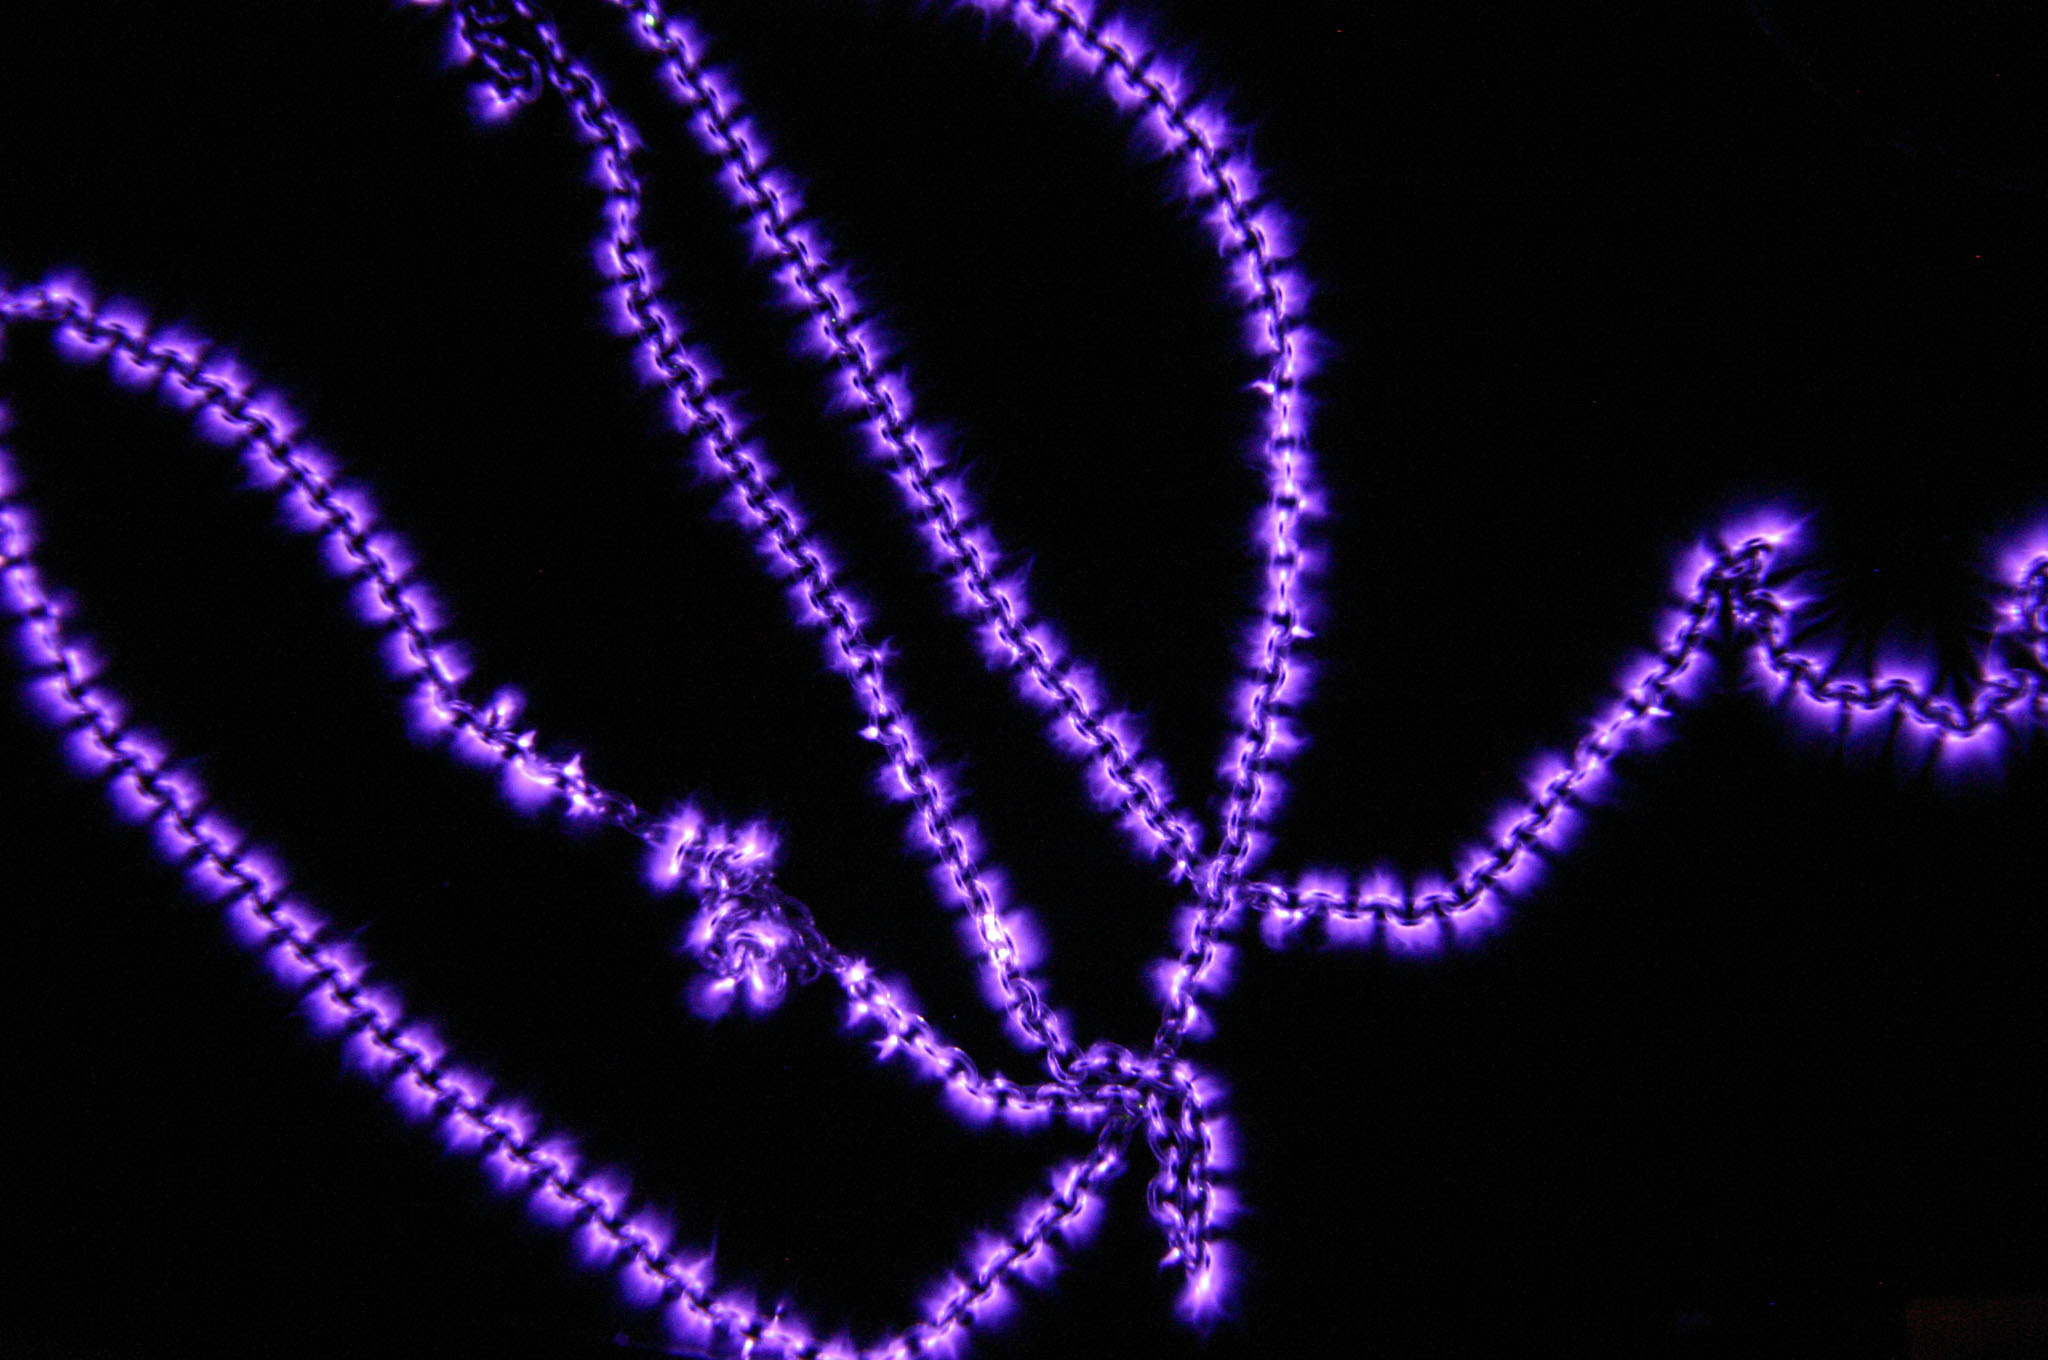
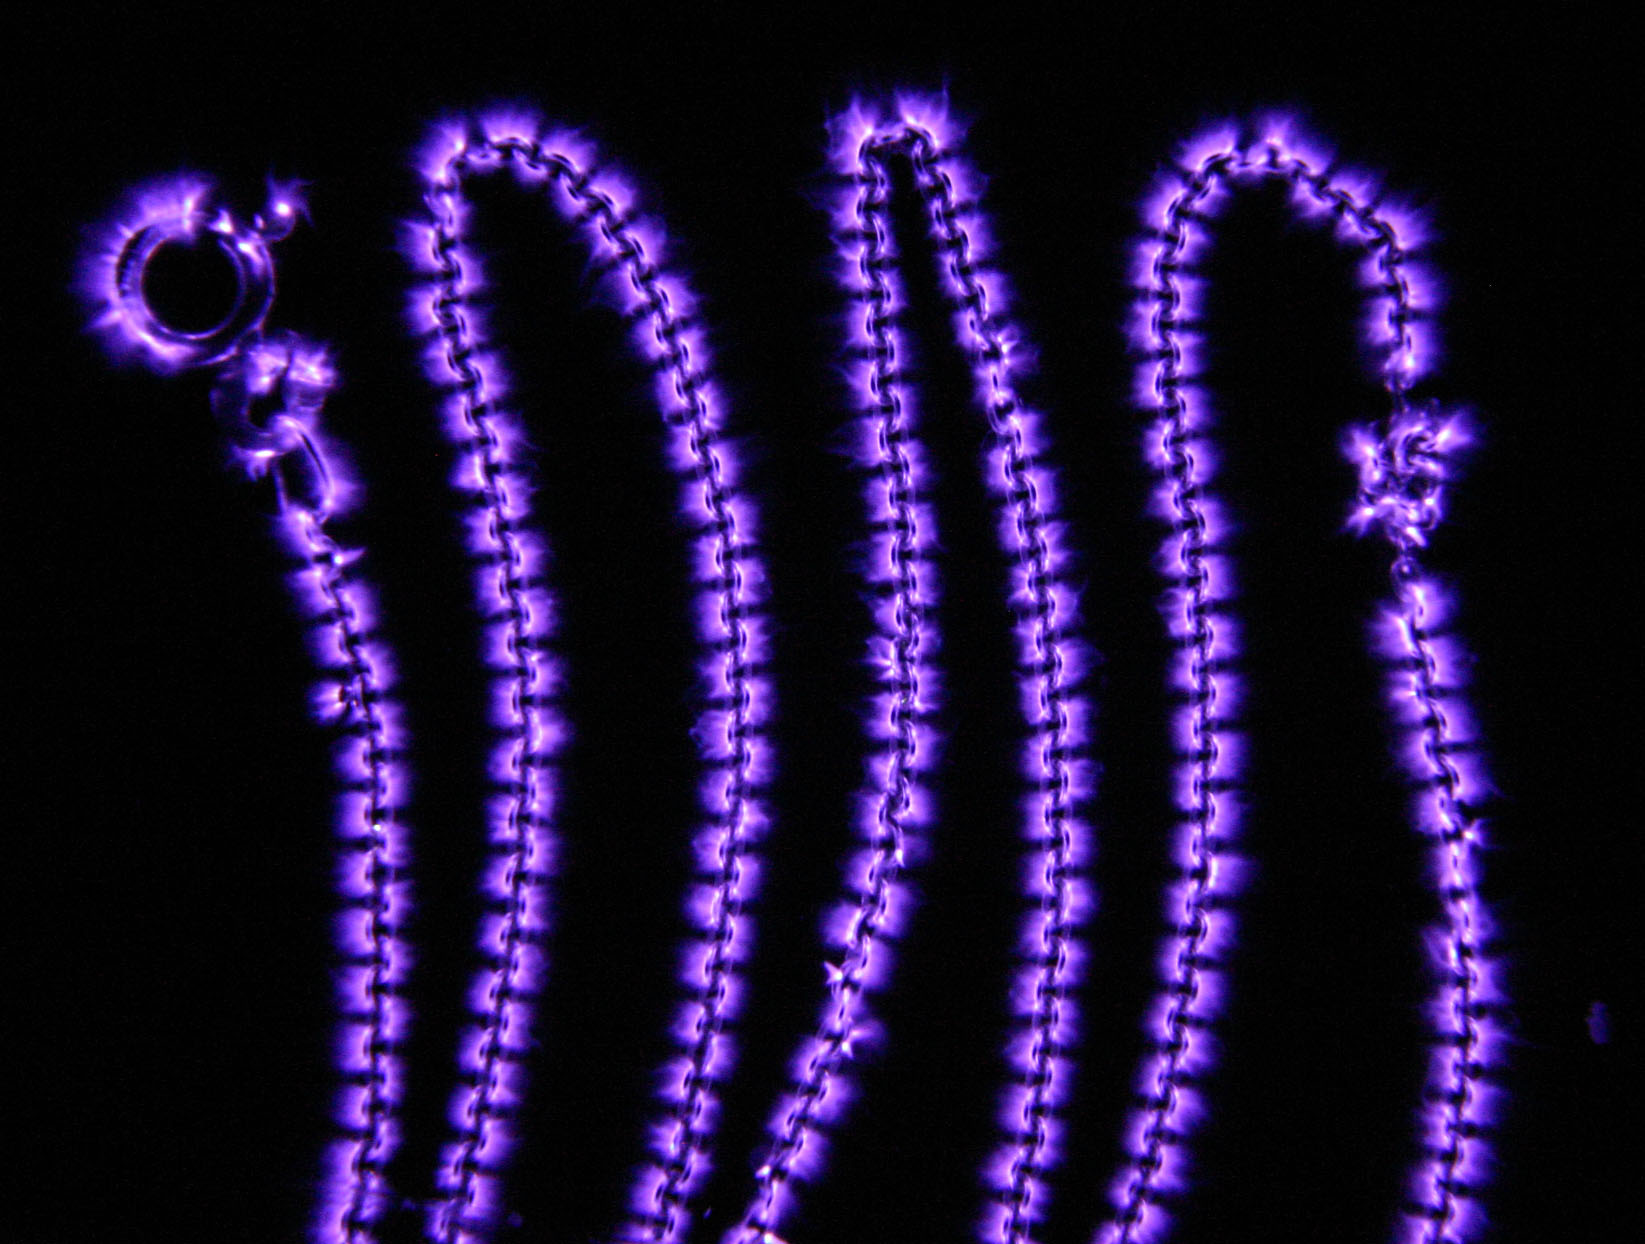
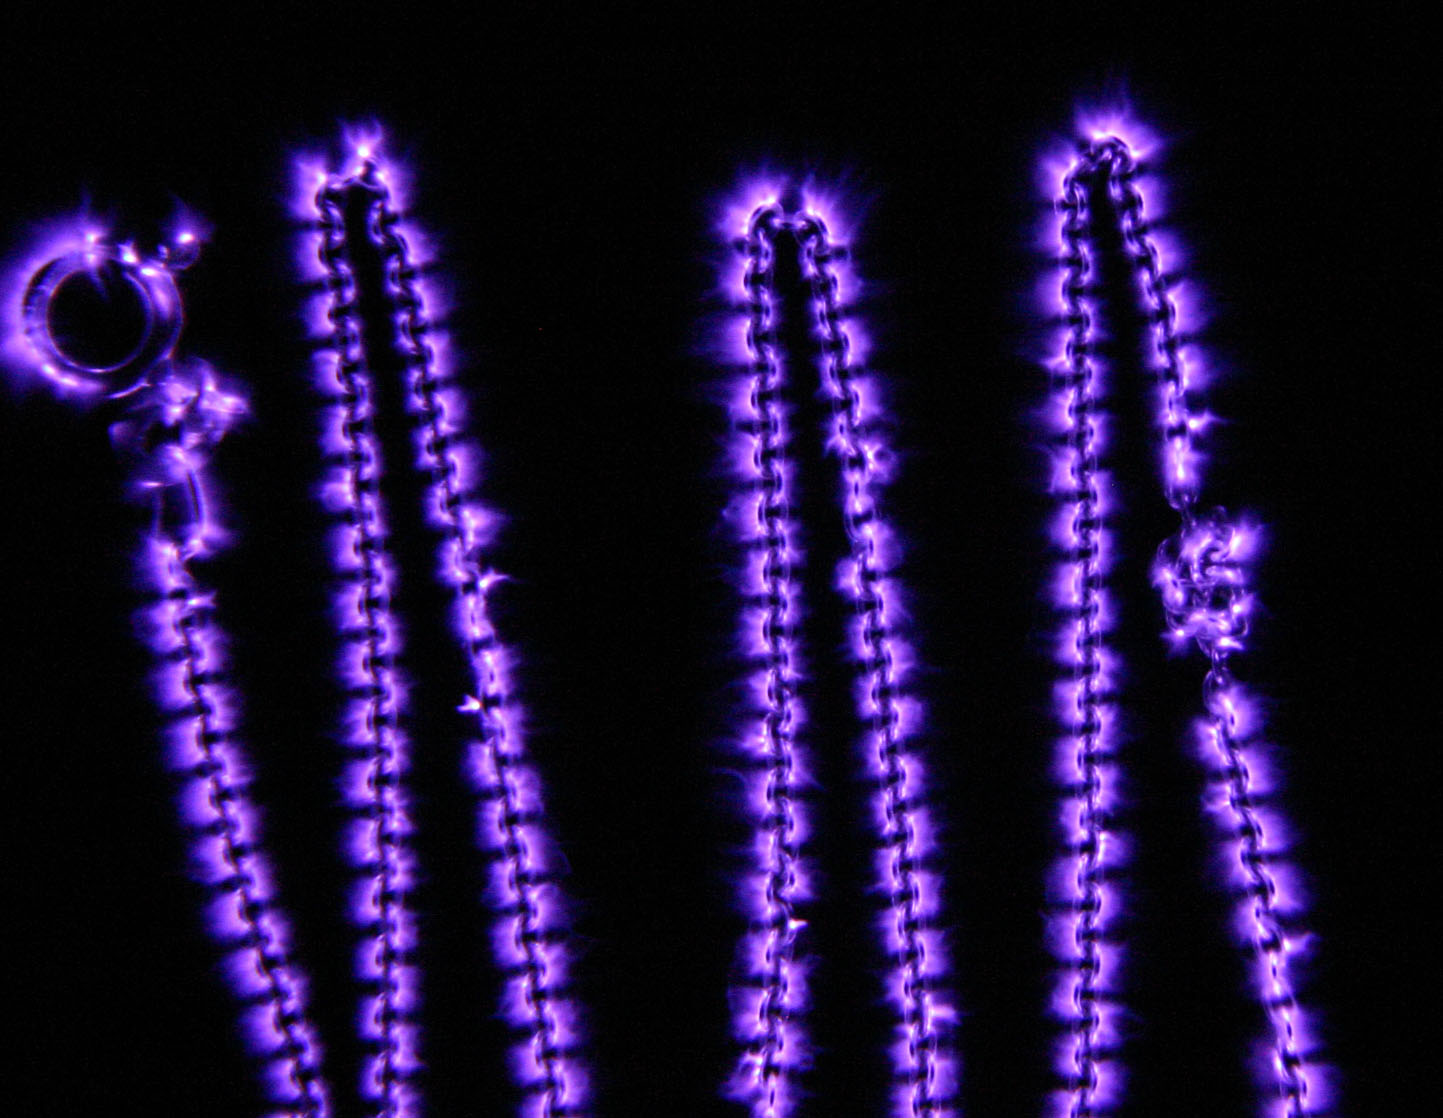
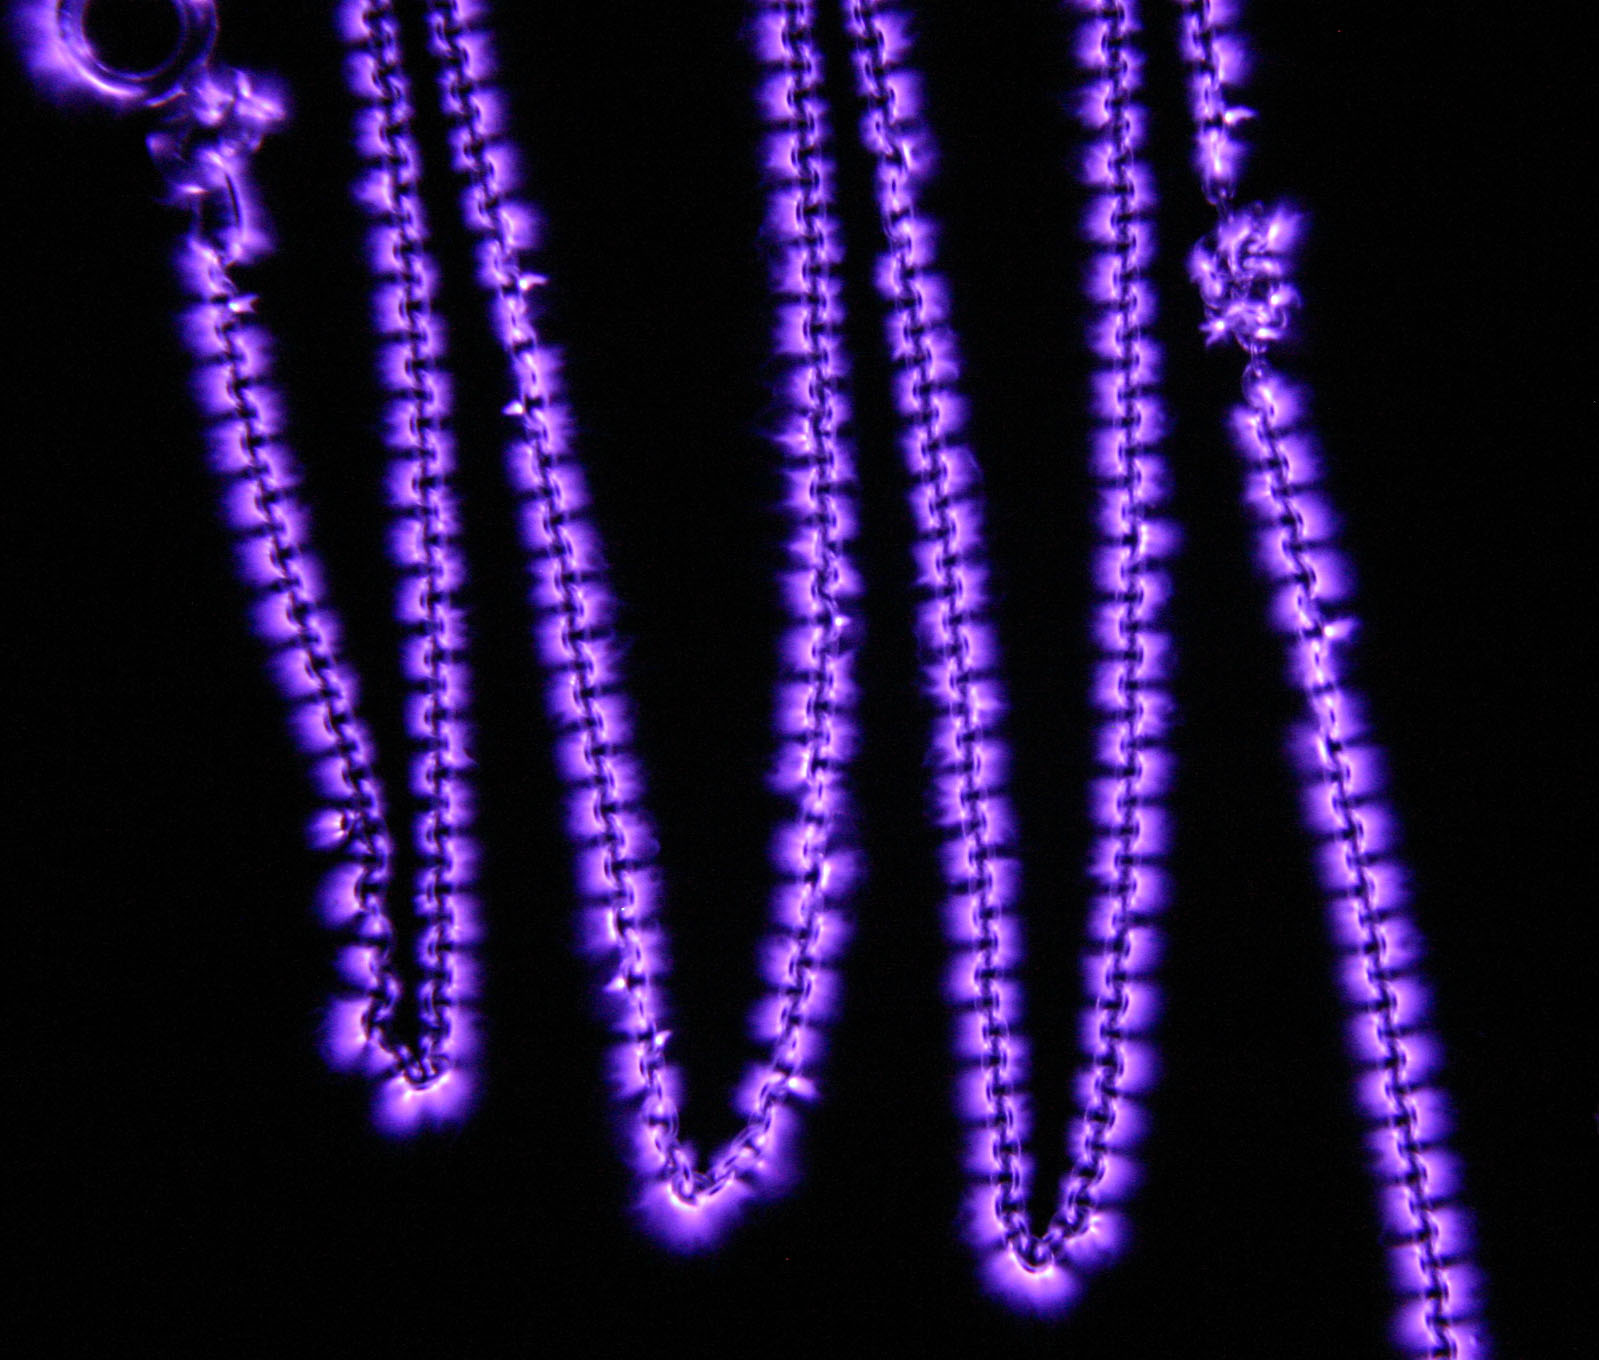
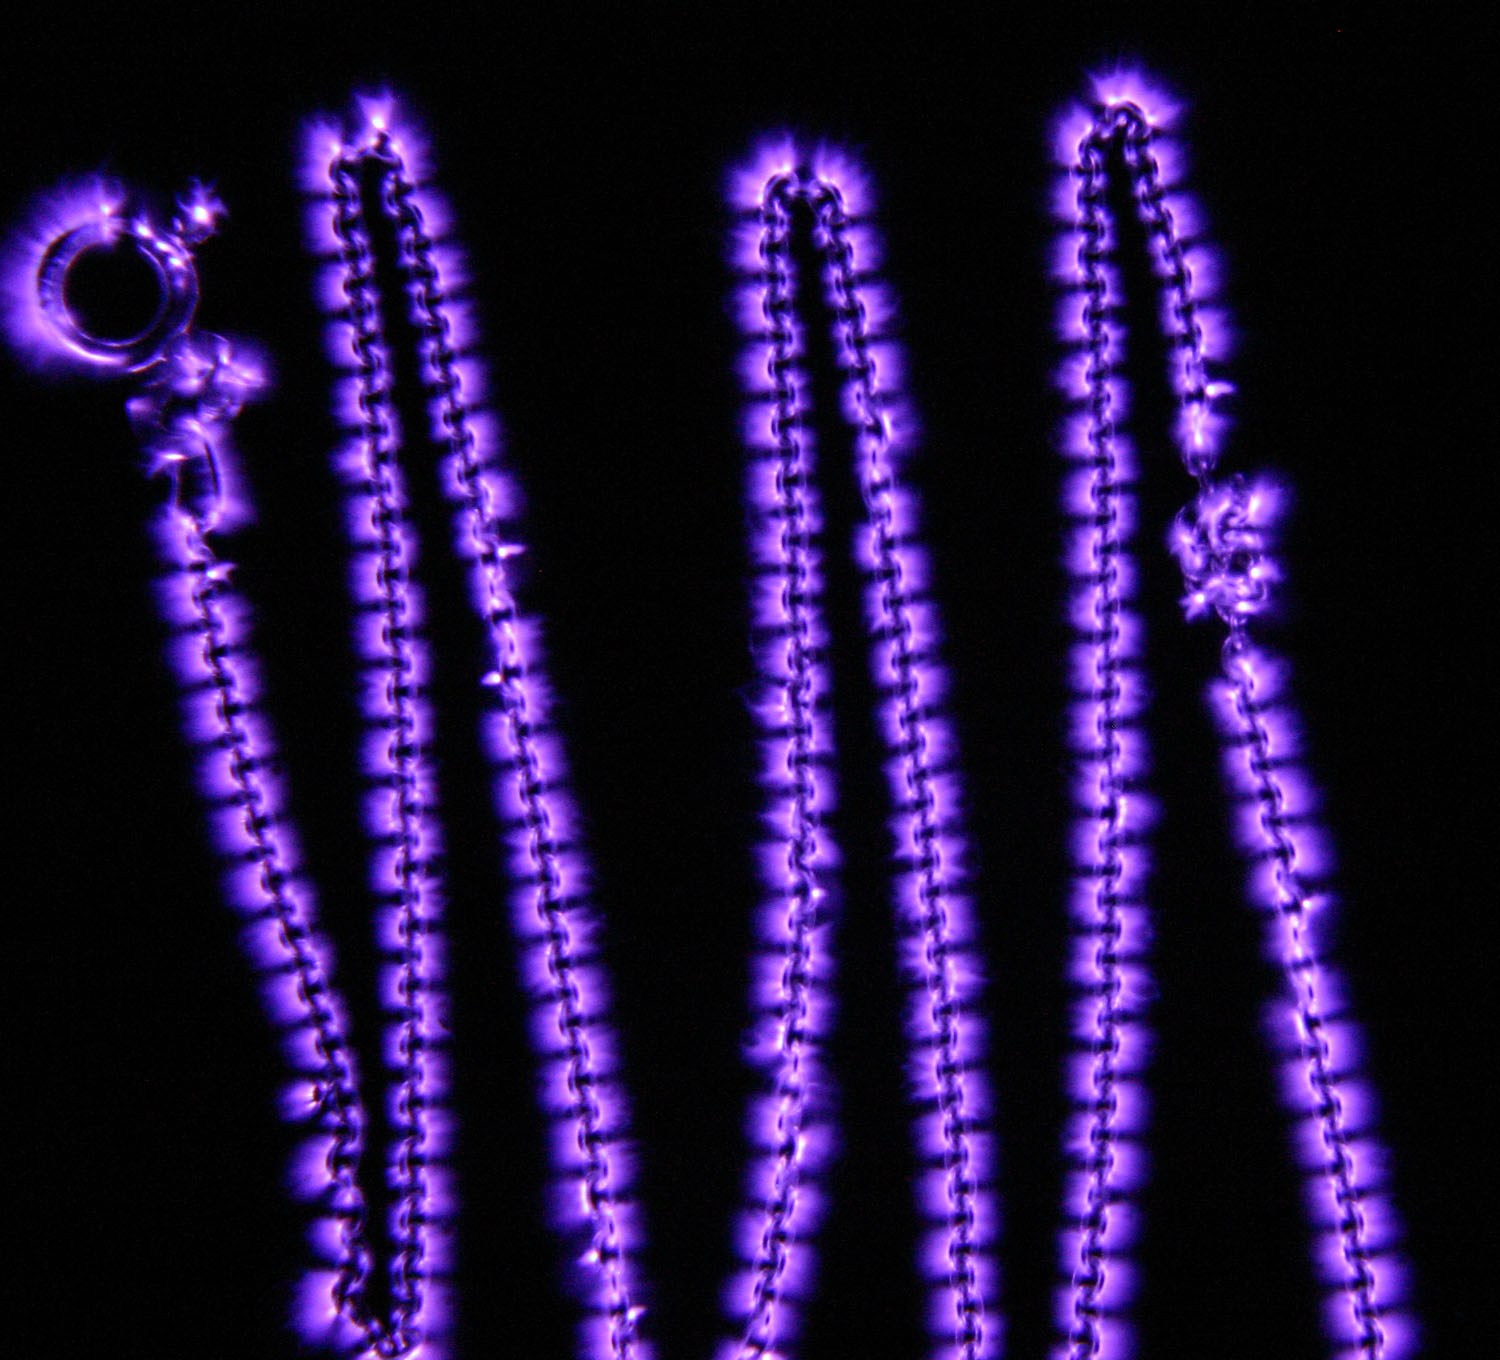
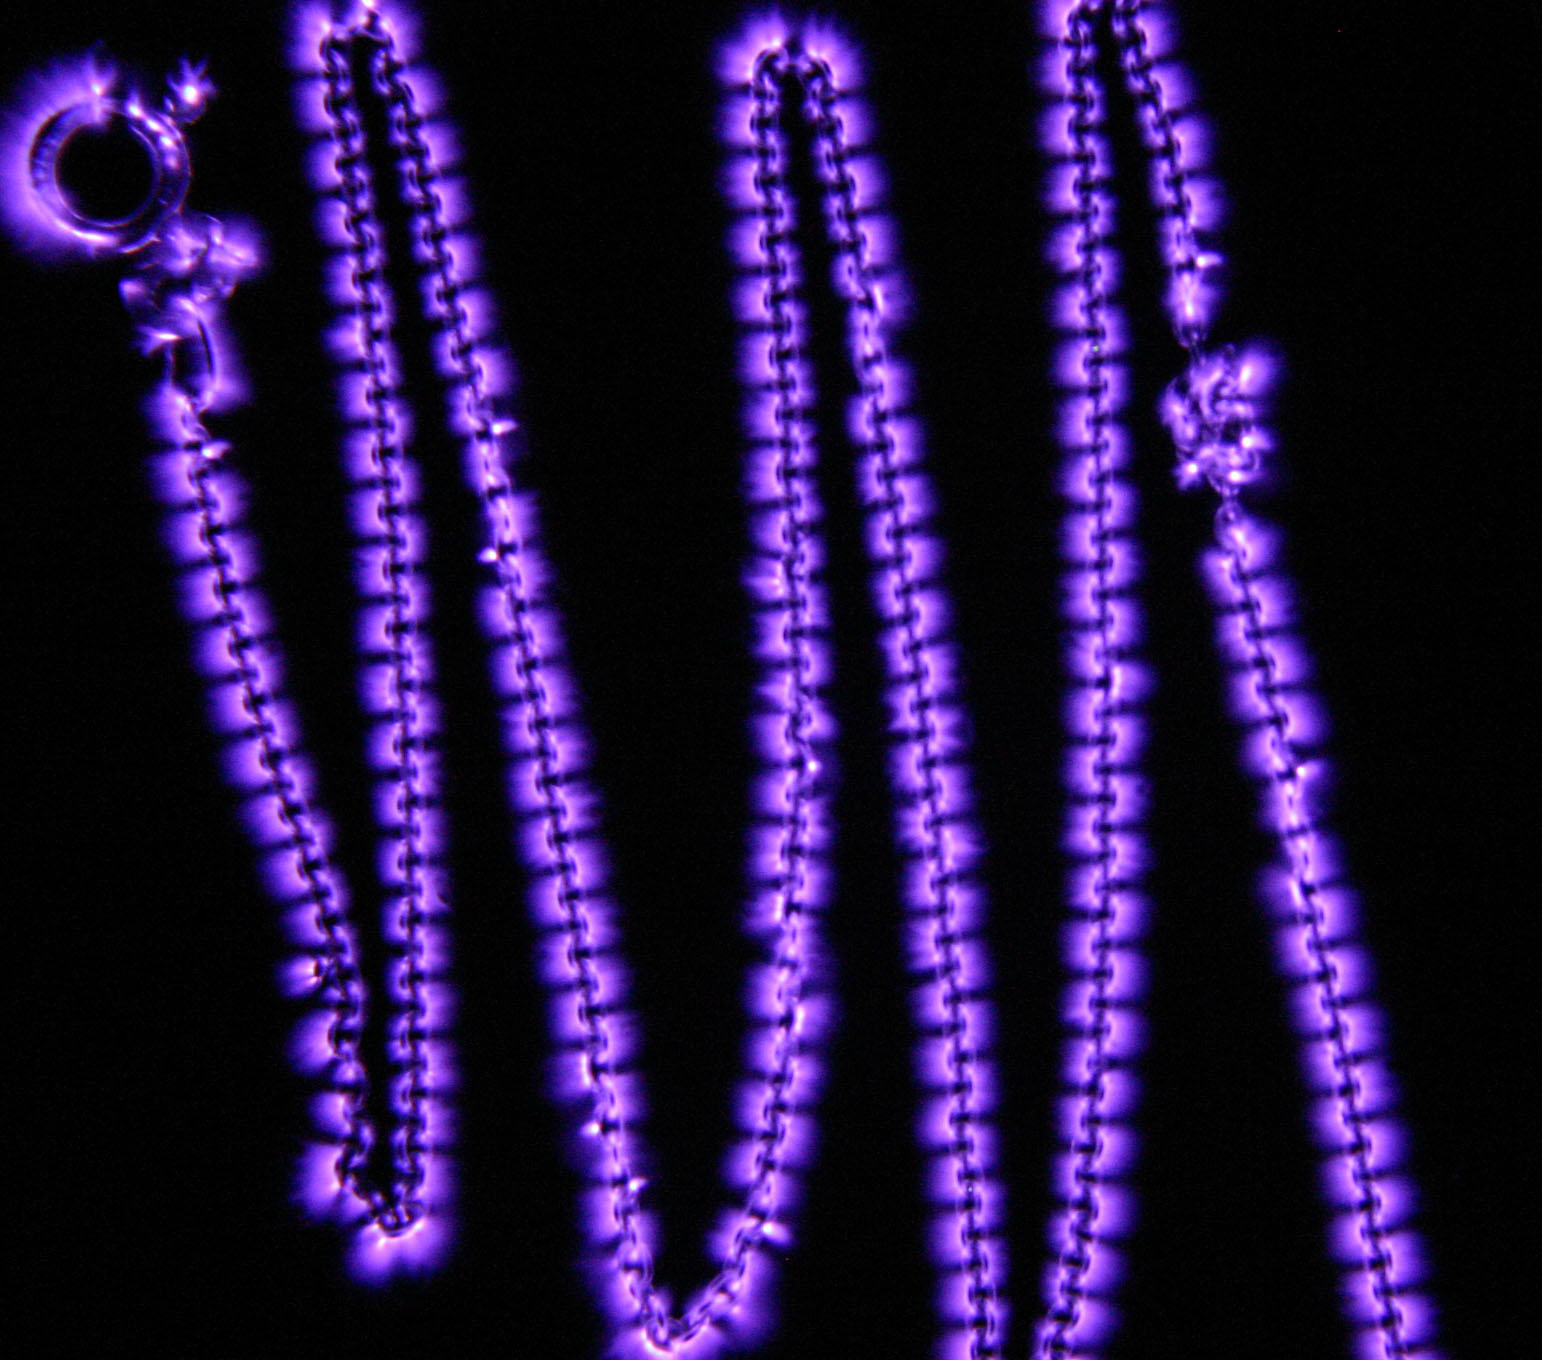
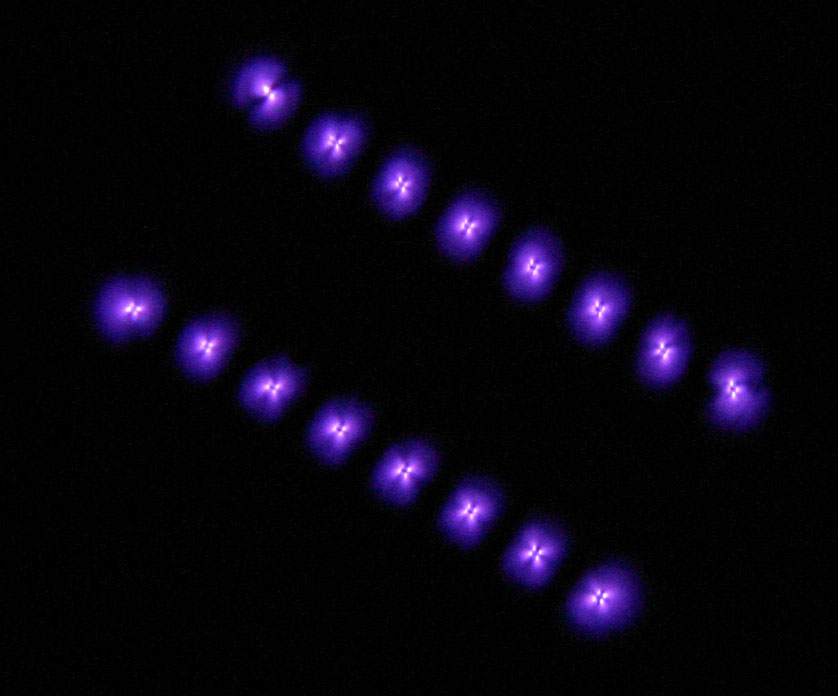
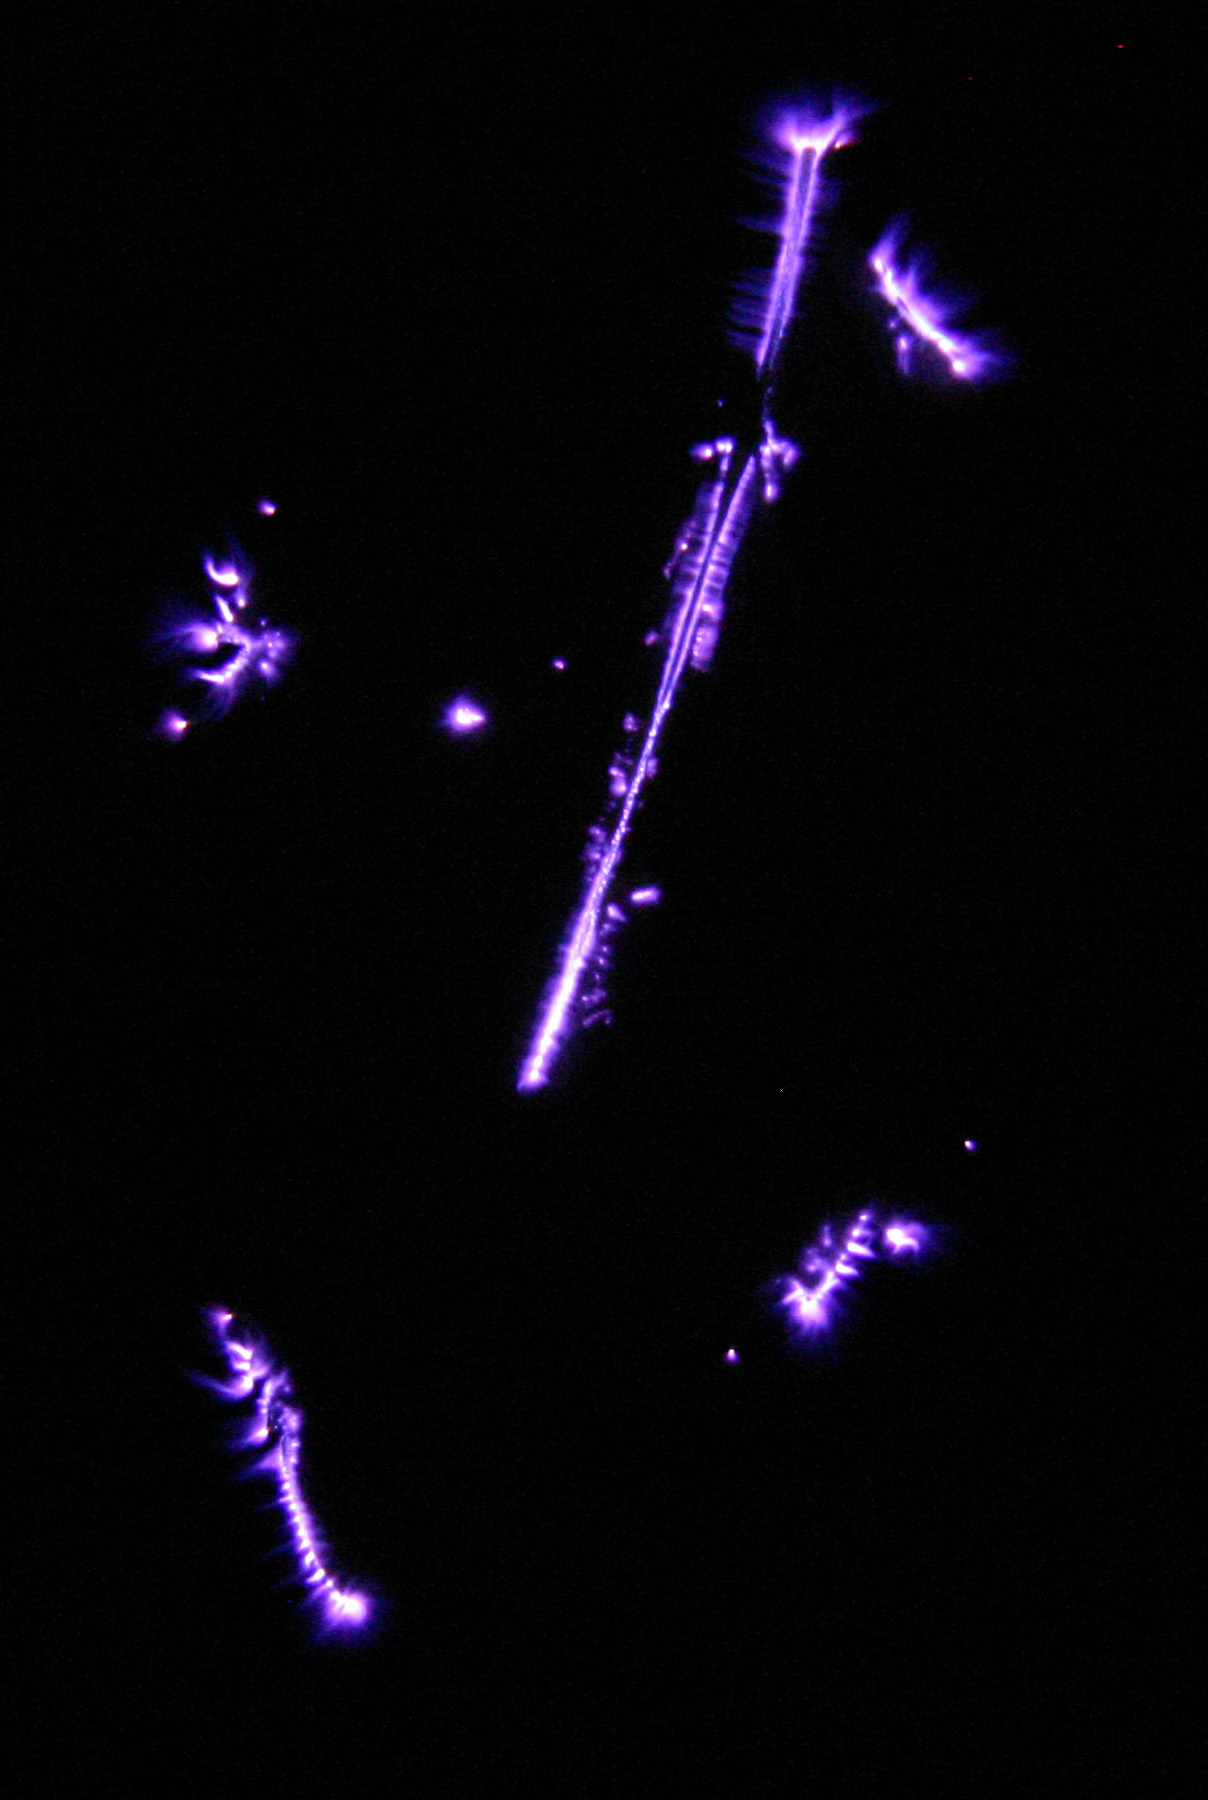
Chain. Silver bell chain.
 |
 |
 |
 |
 |
 |
 |
 |
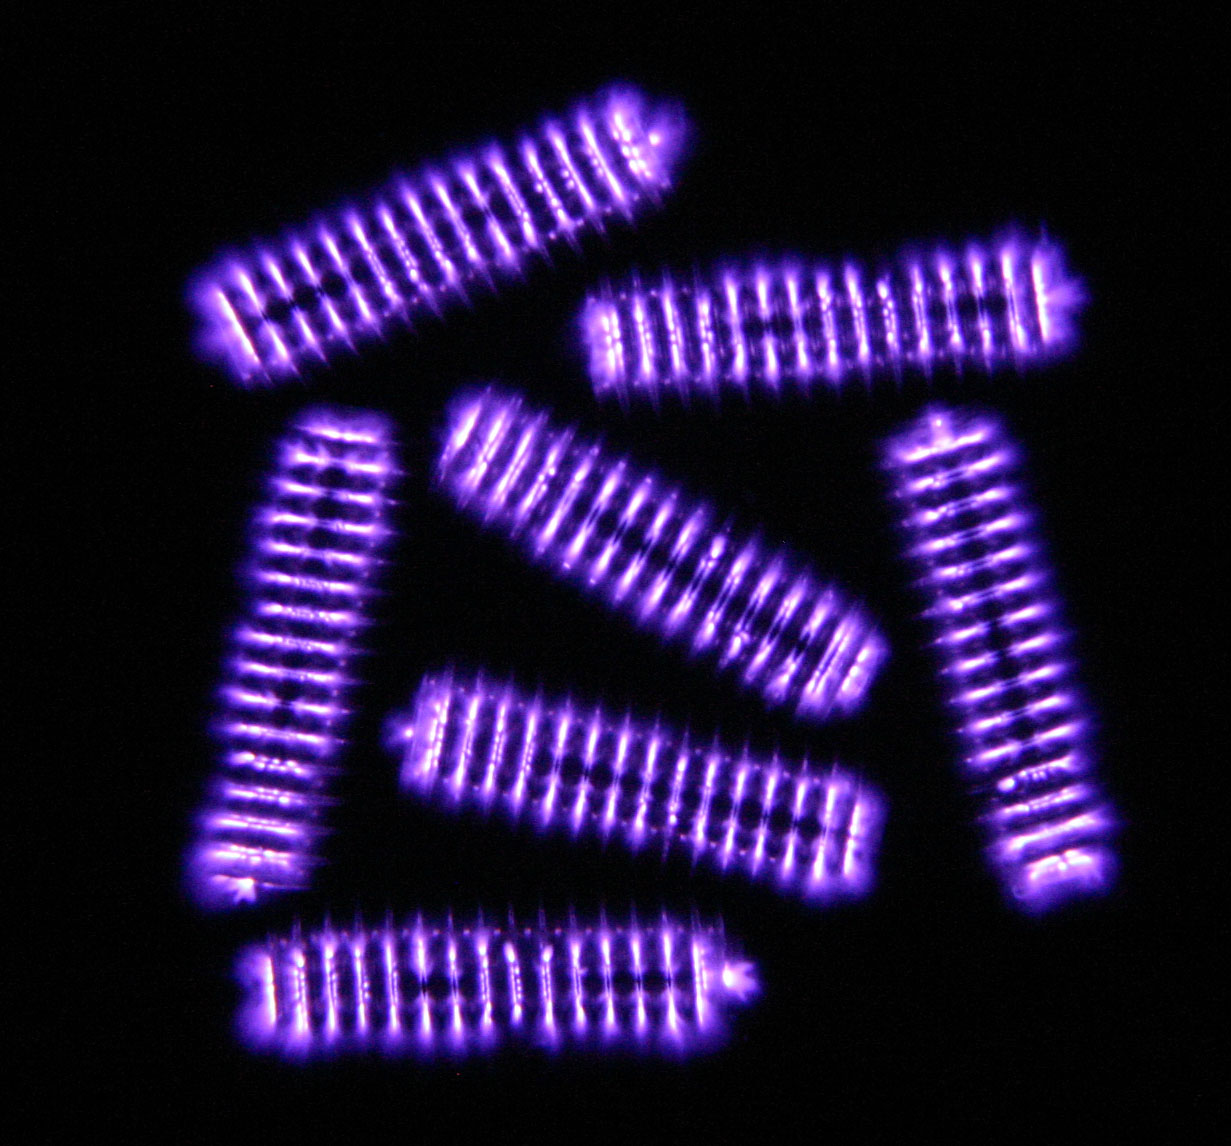
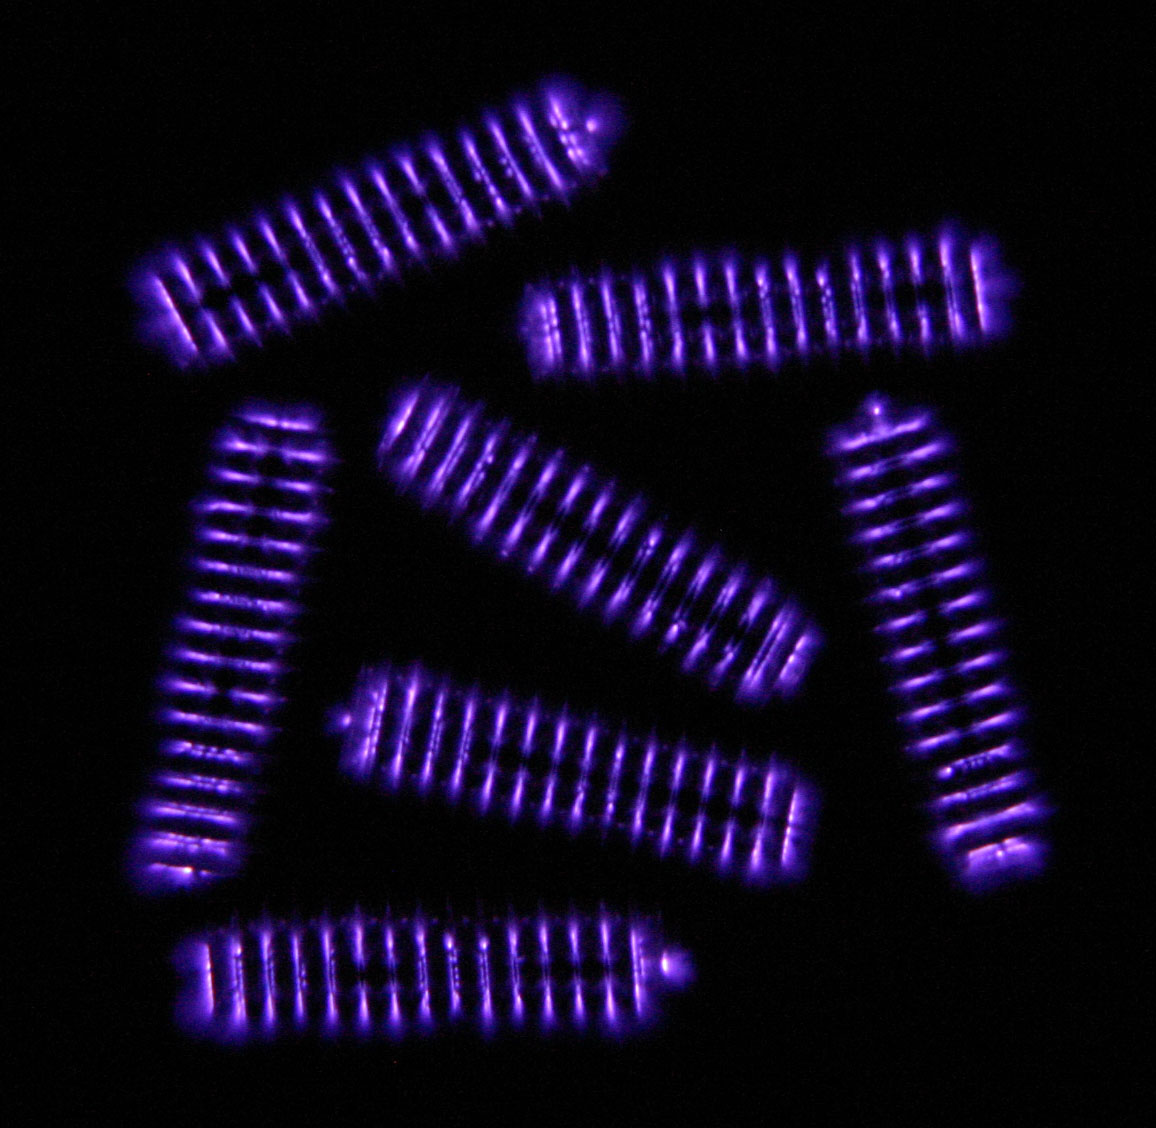
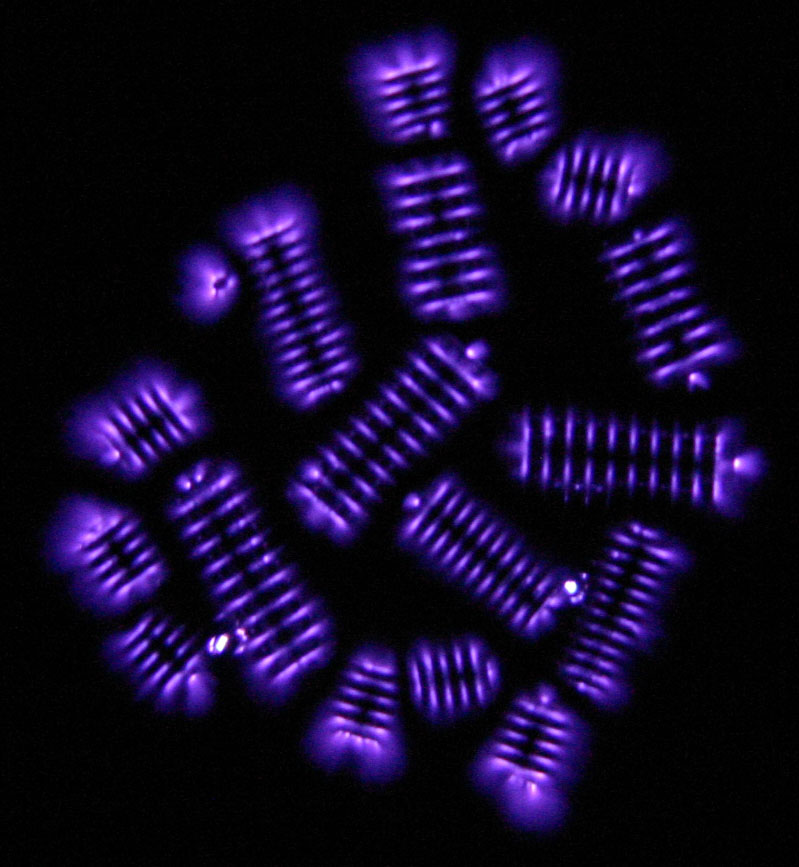
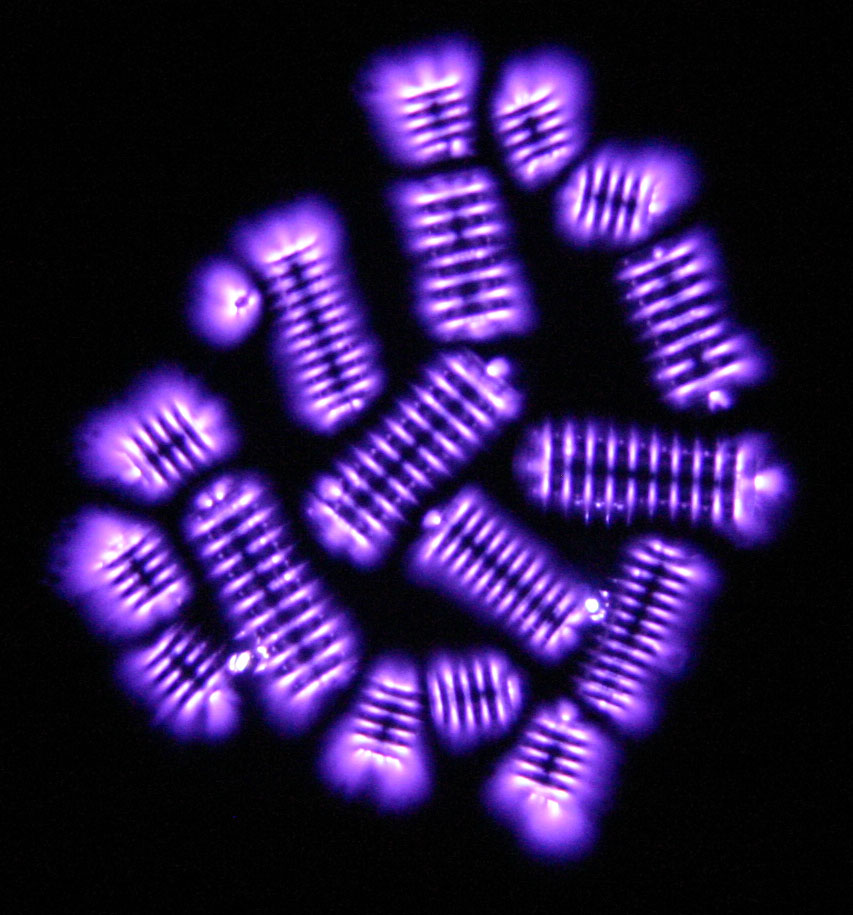
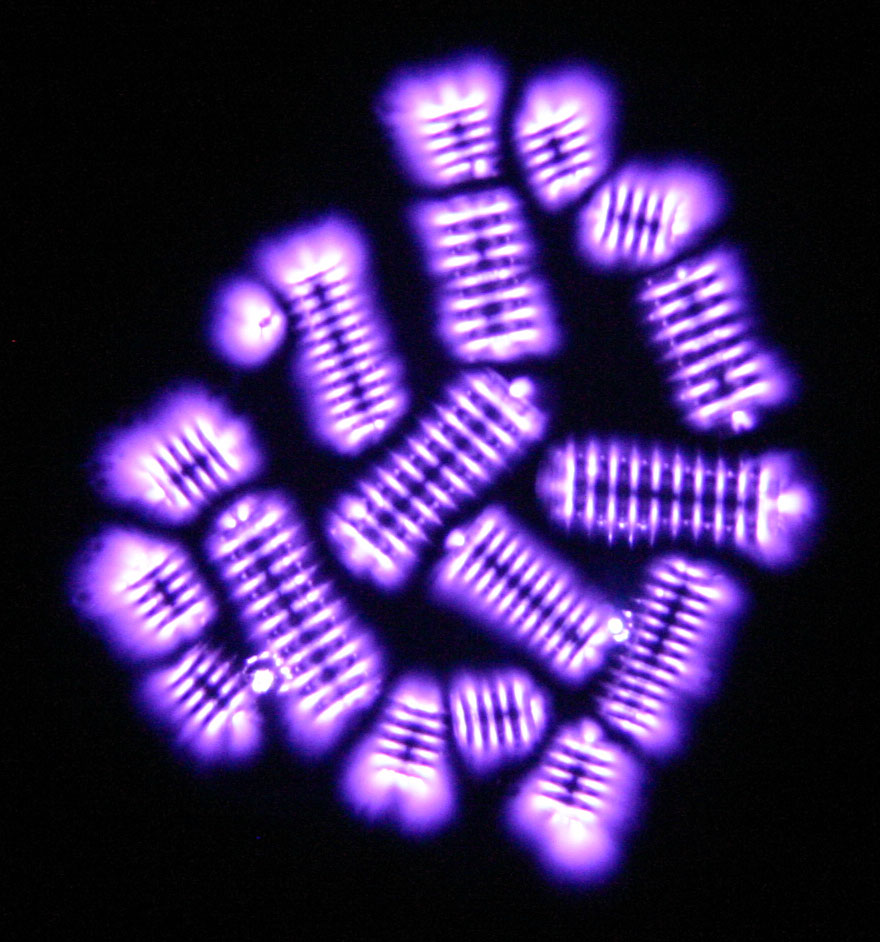
Grubscrews. Various little grubscrews. First four are M6 (6mm dia), last are M3 (3mm dia).
 |
 |
 |
 |
 |
 |
 |
 |
 |
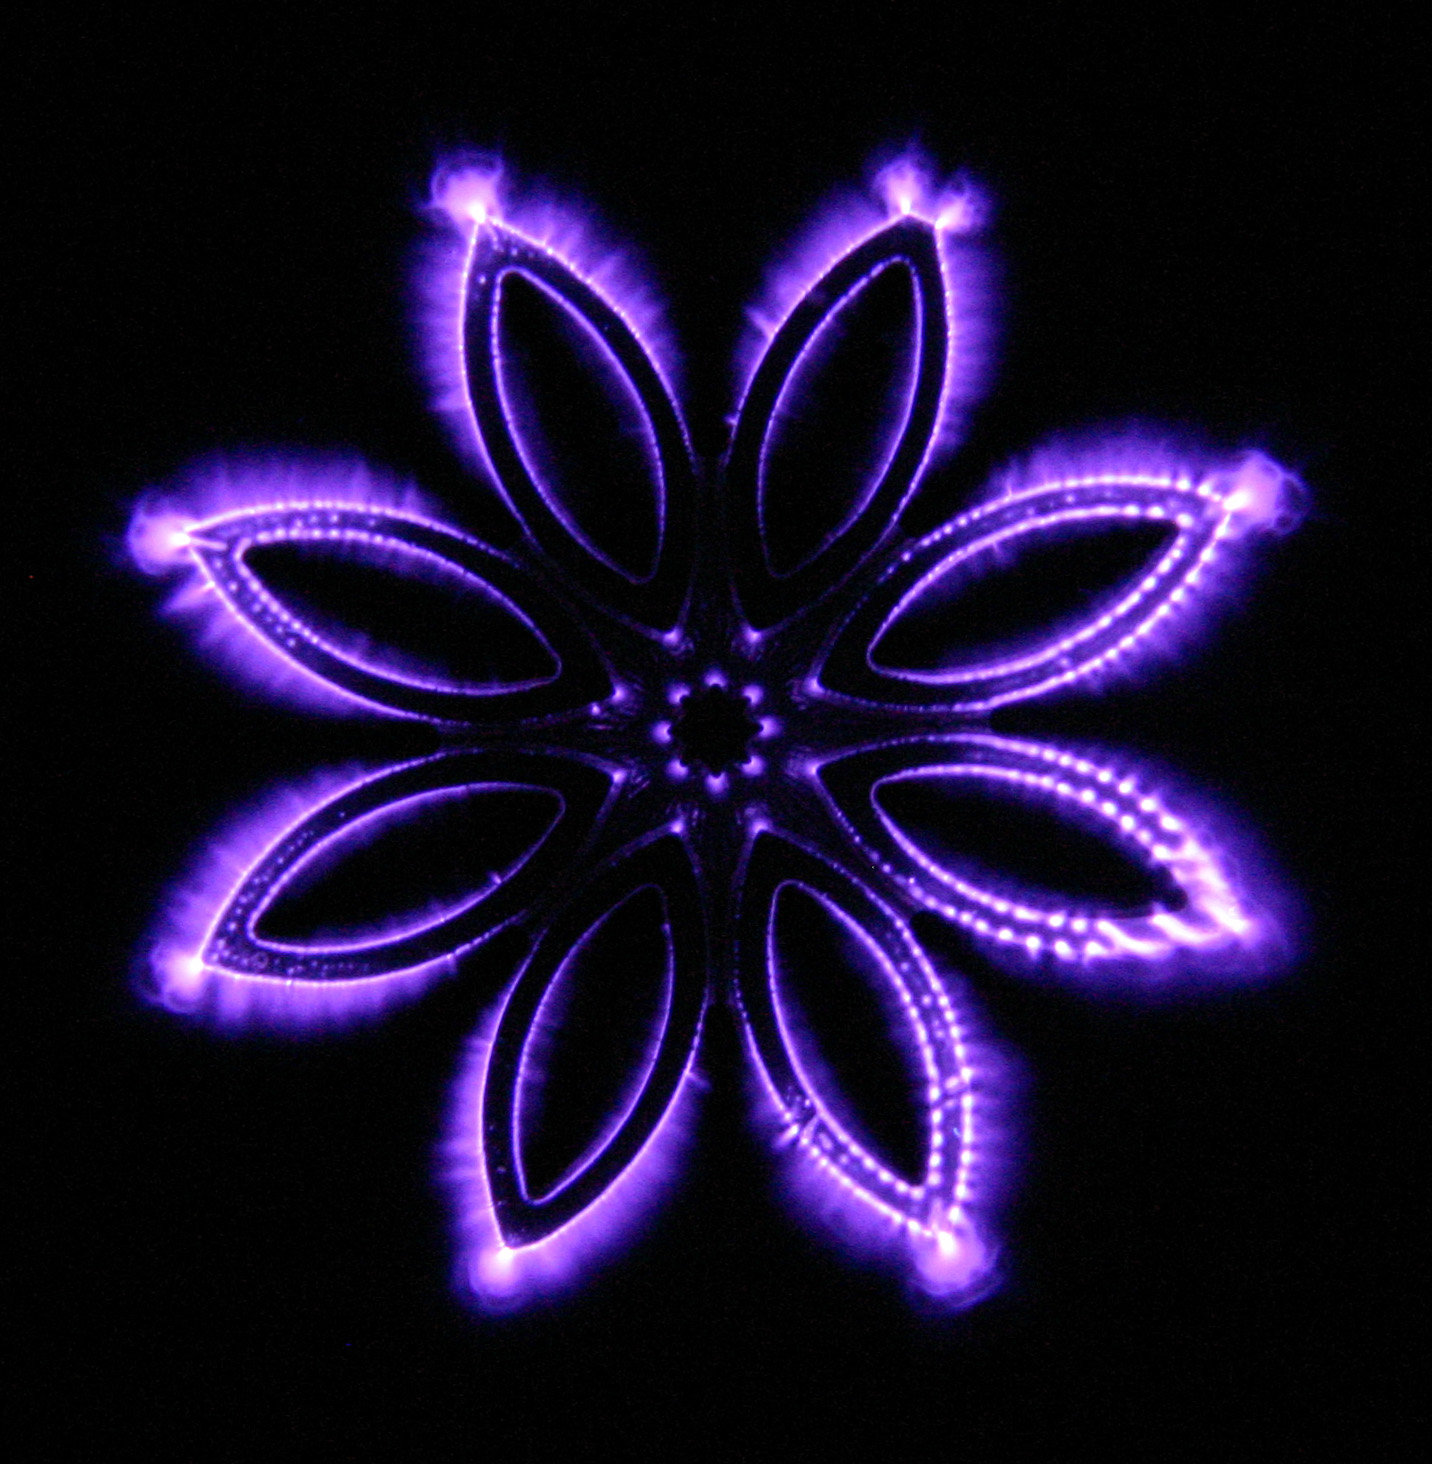
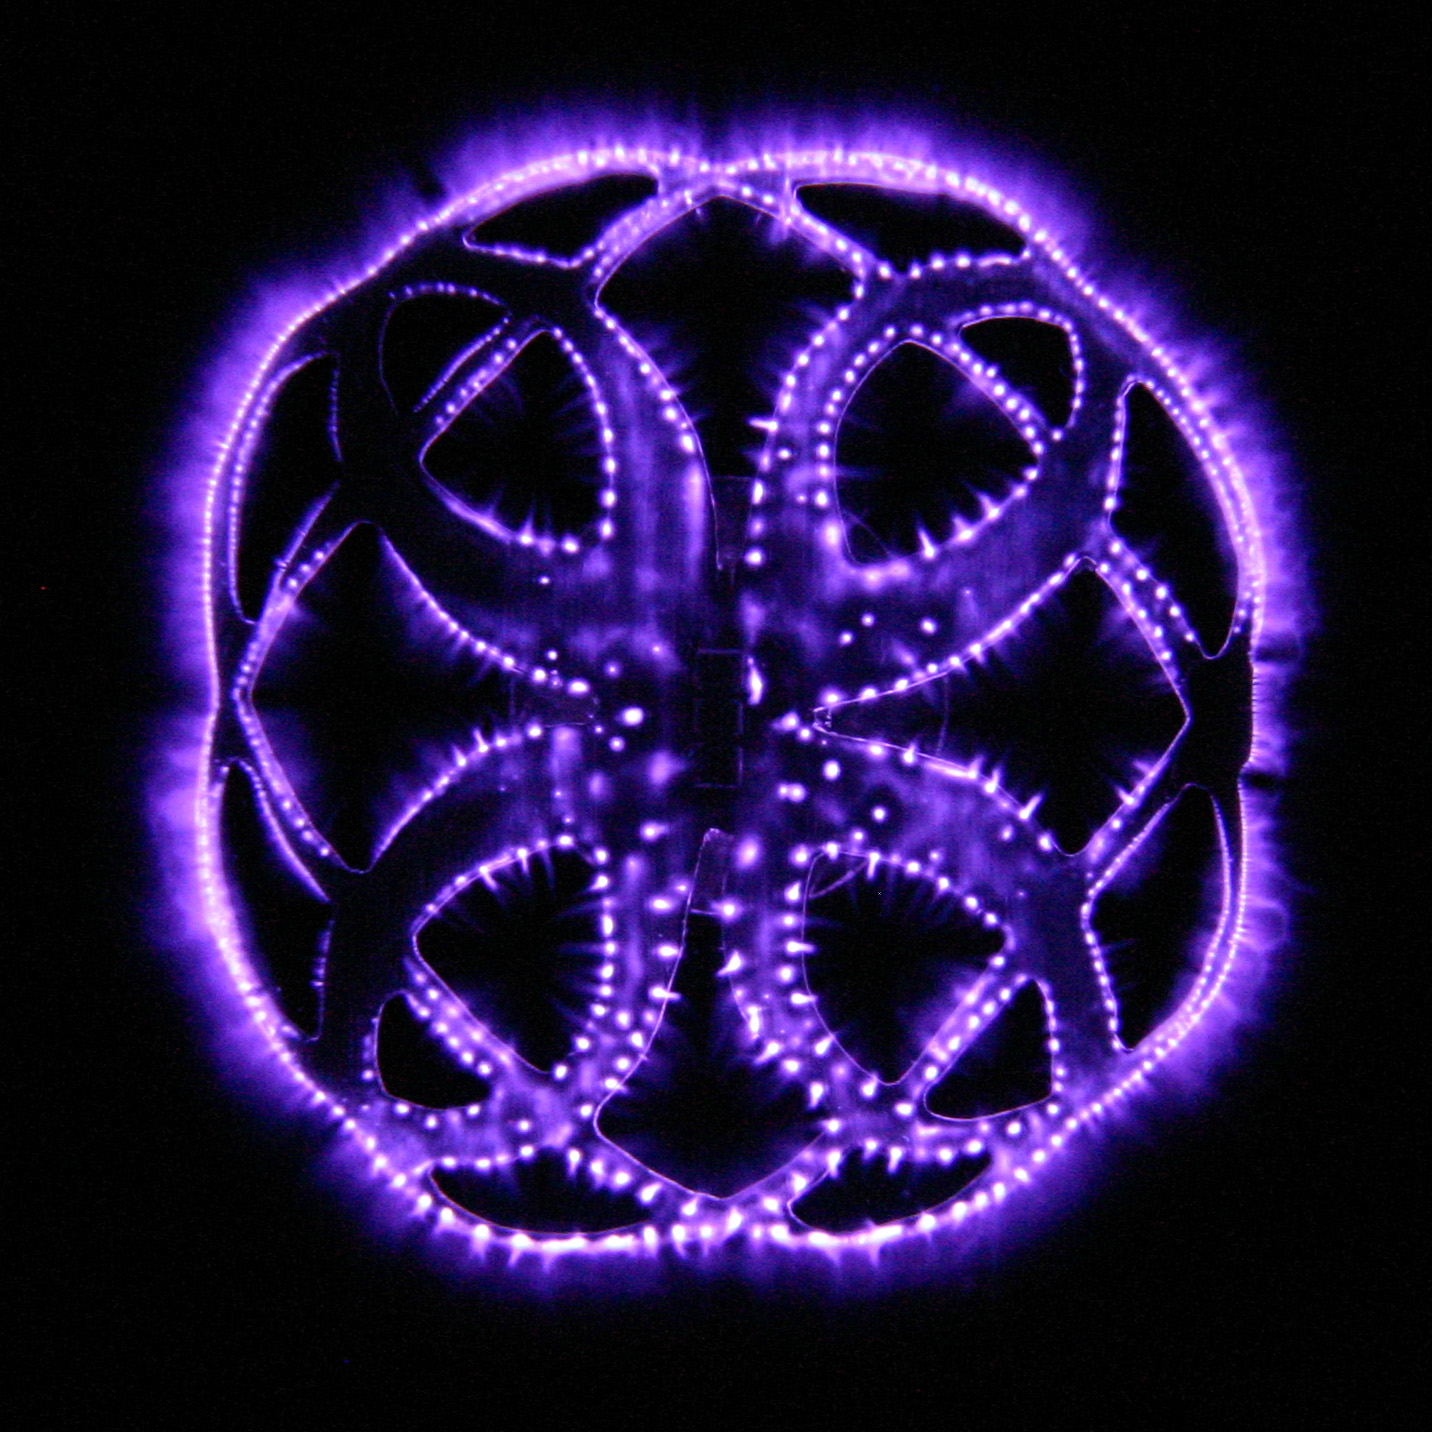
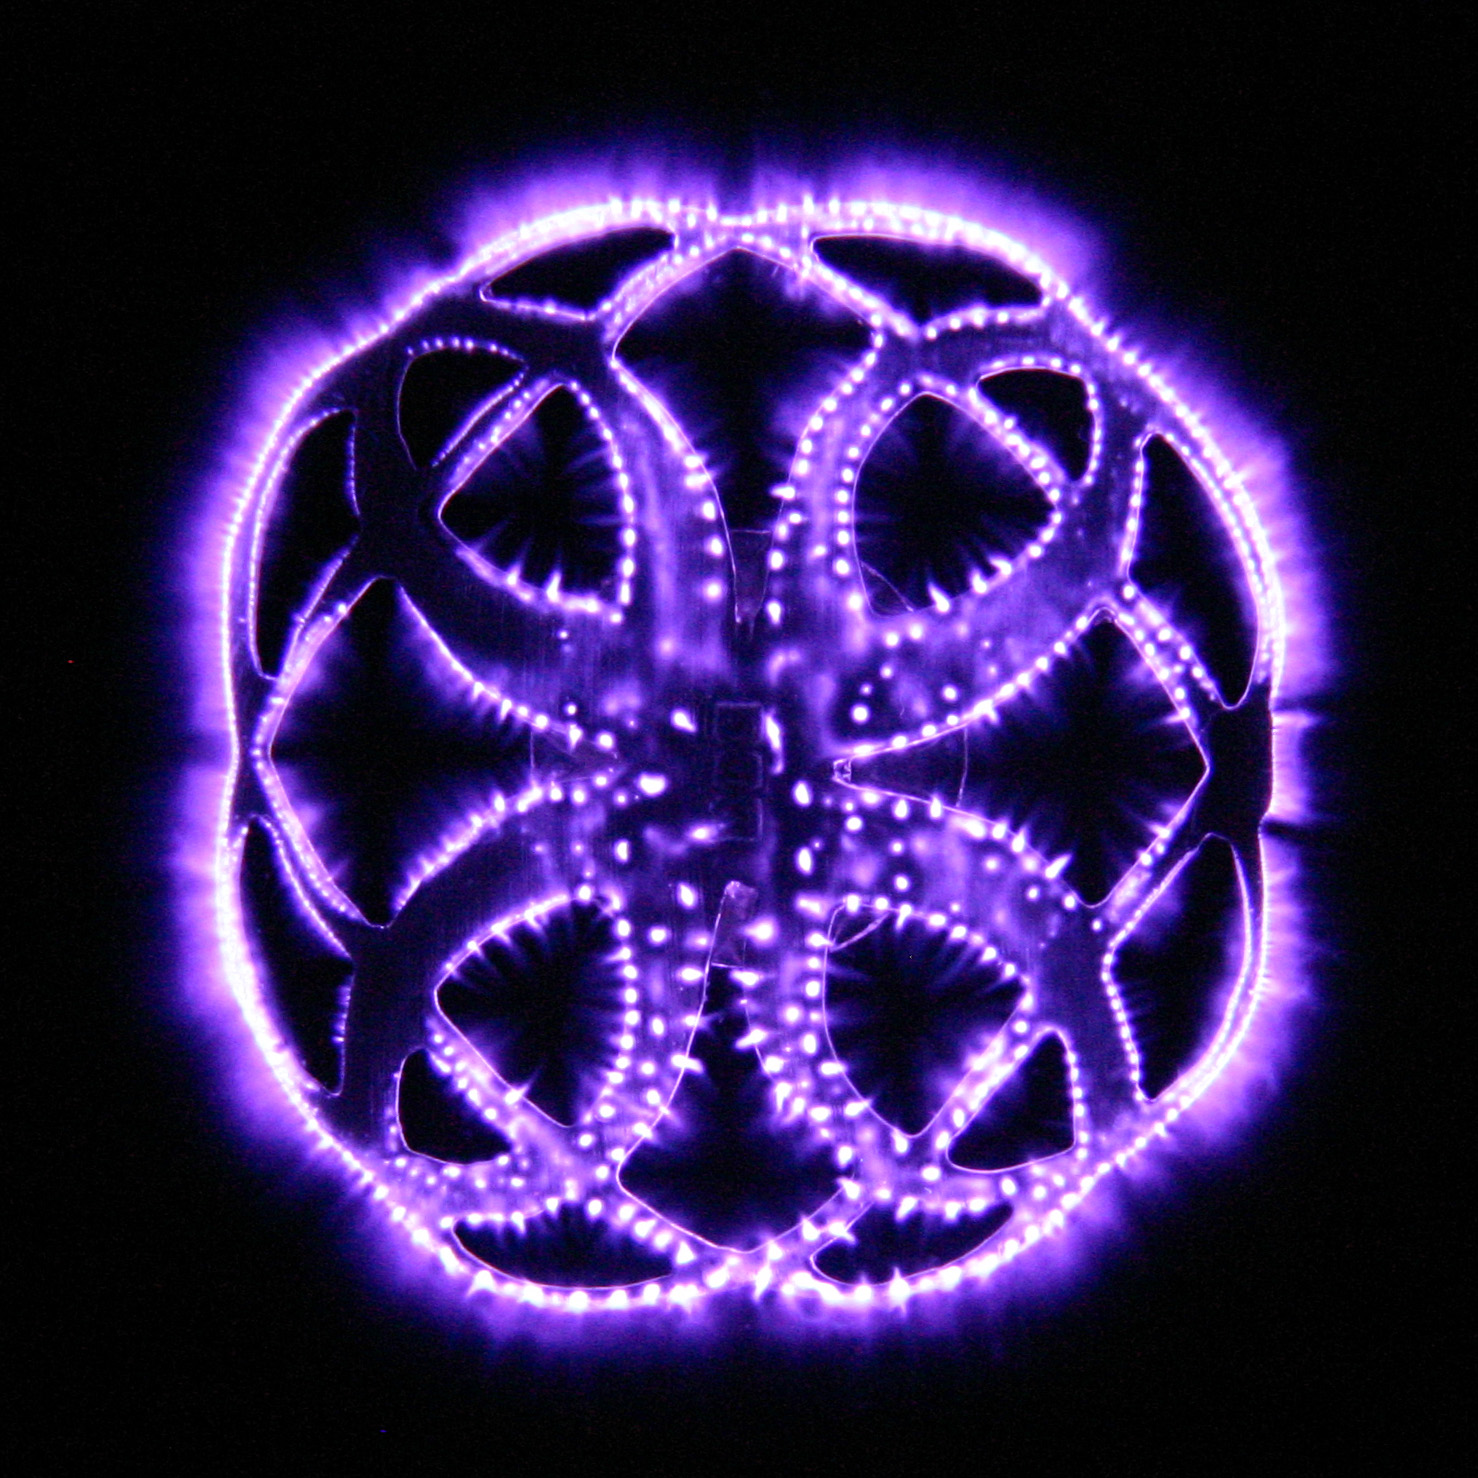
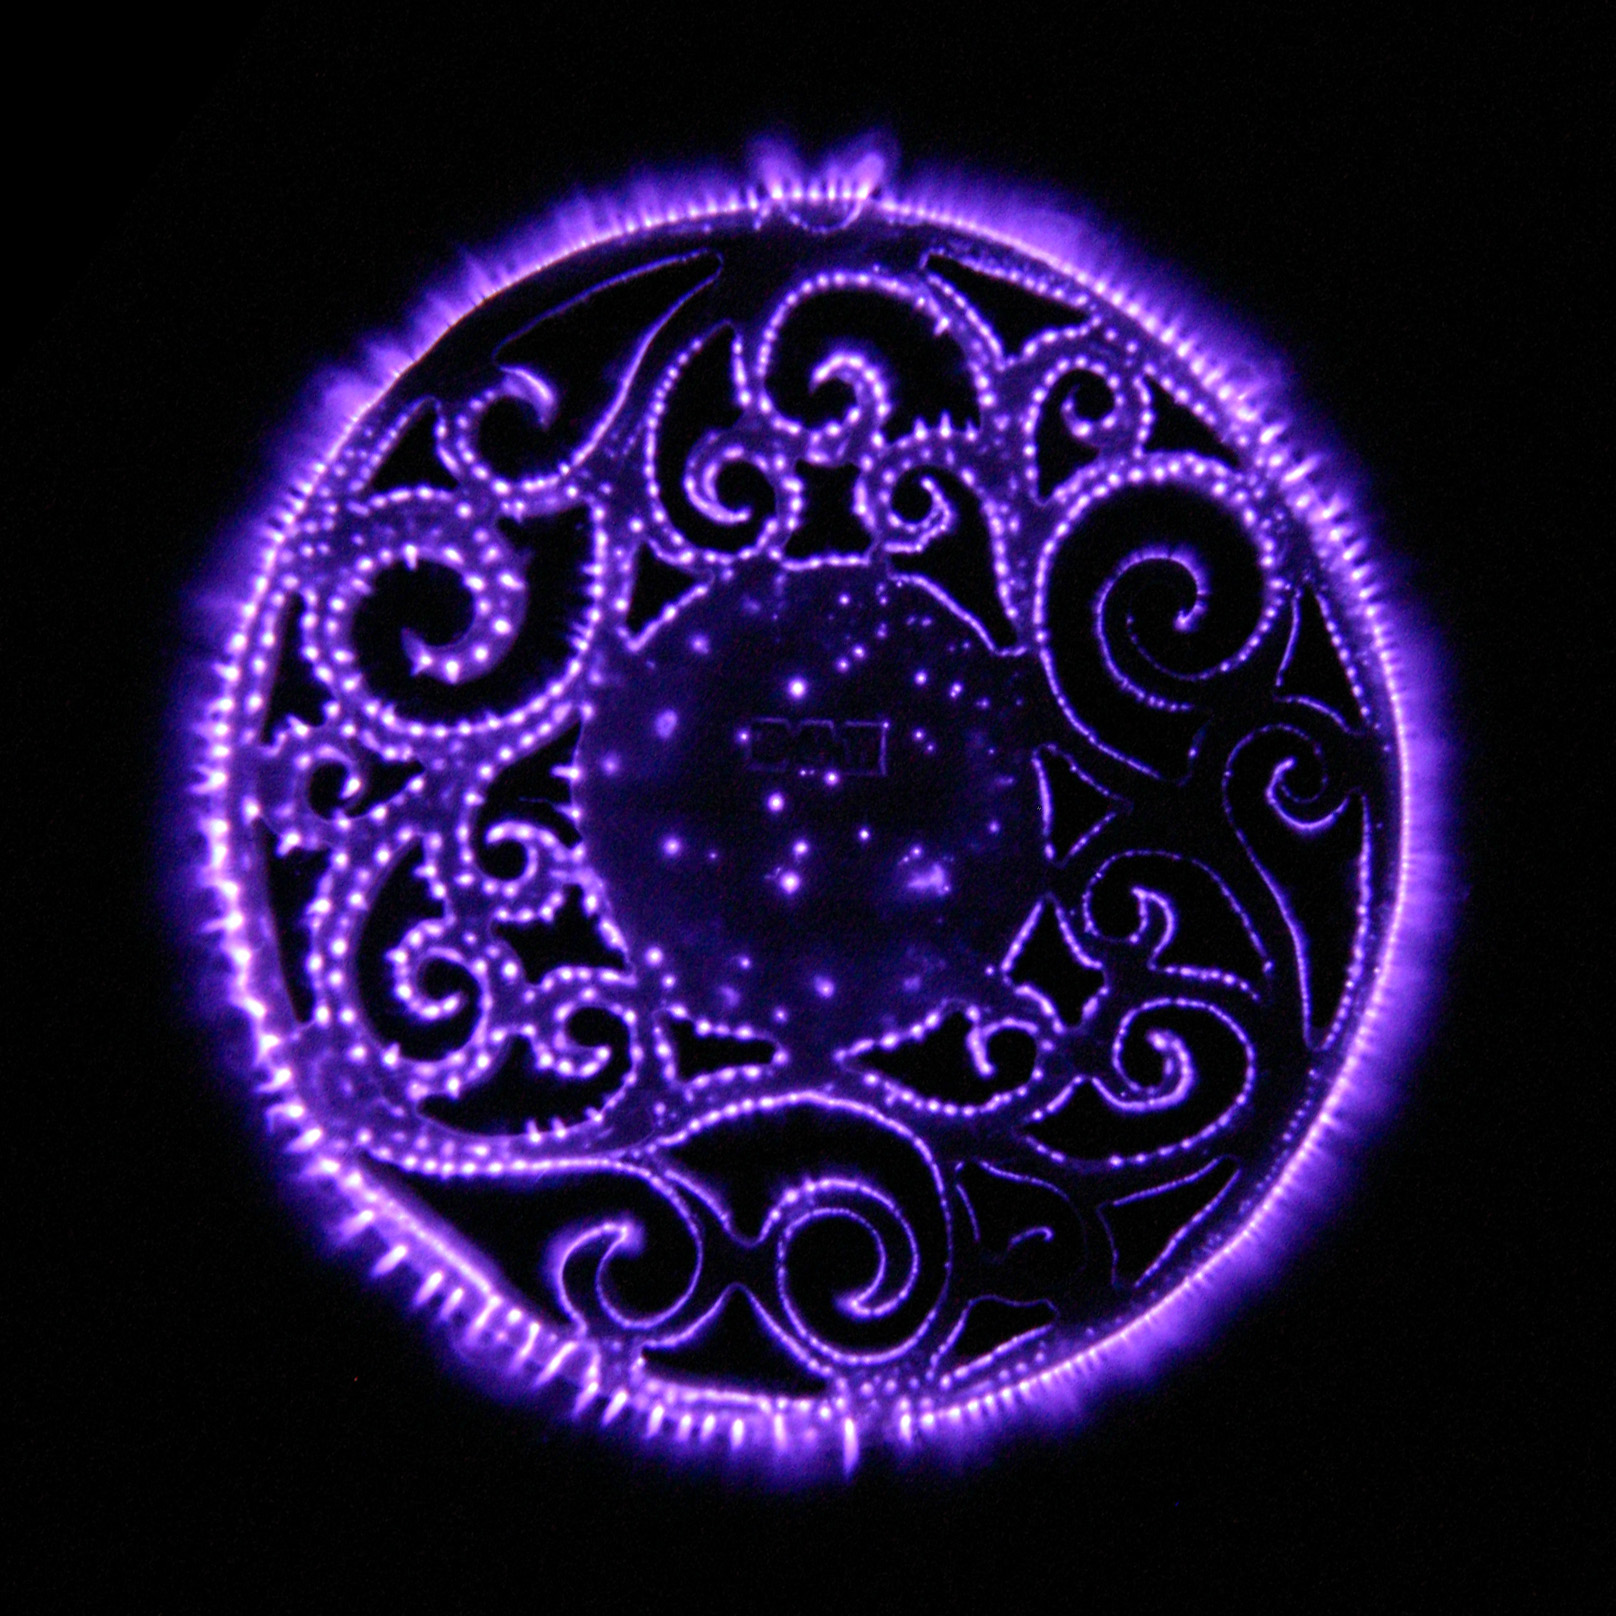
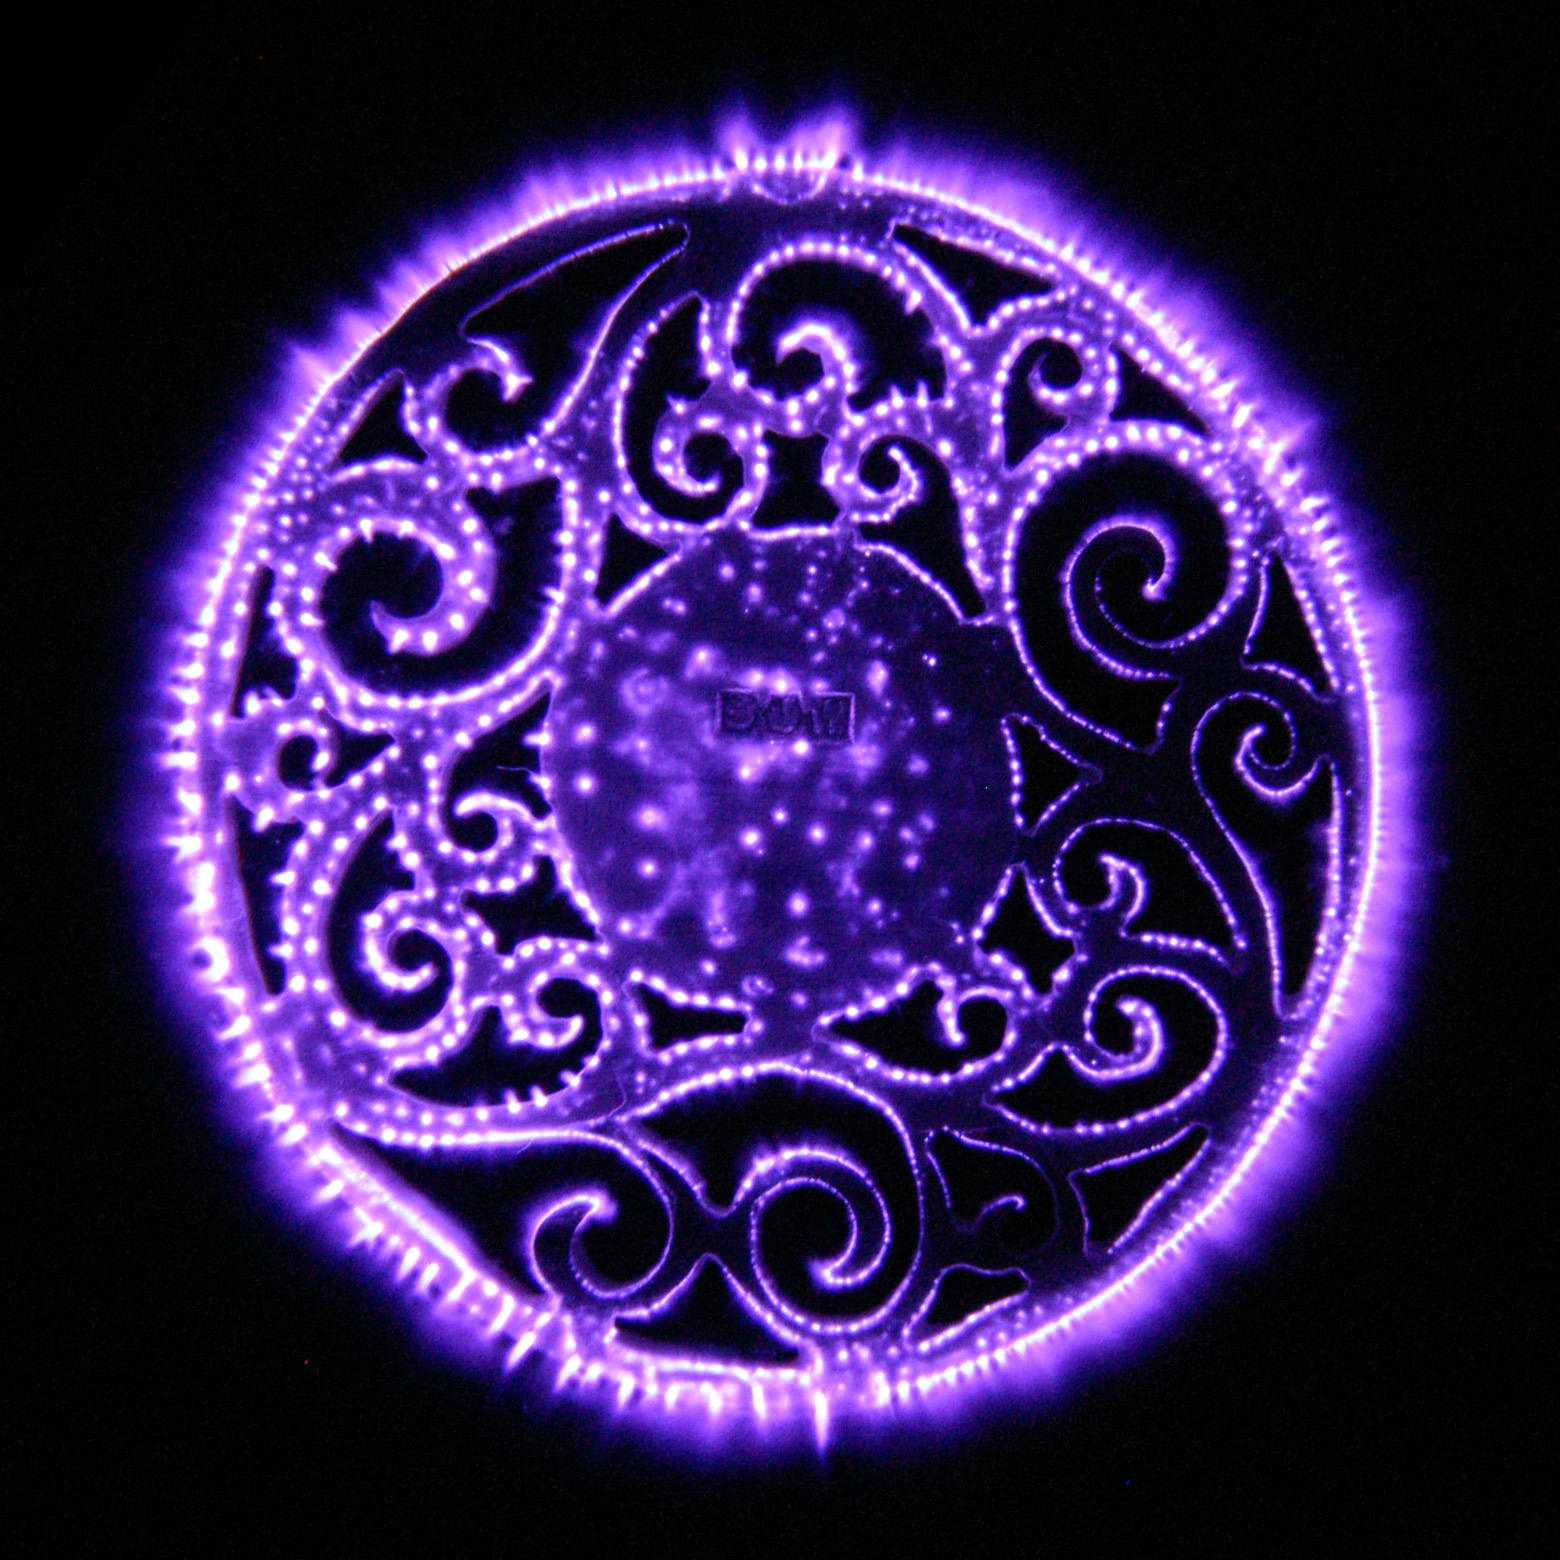
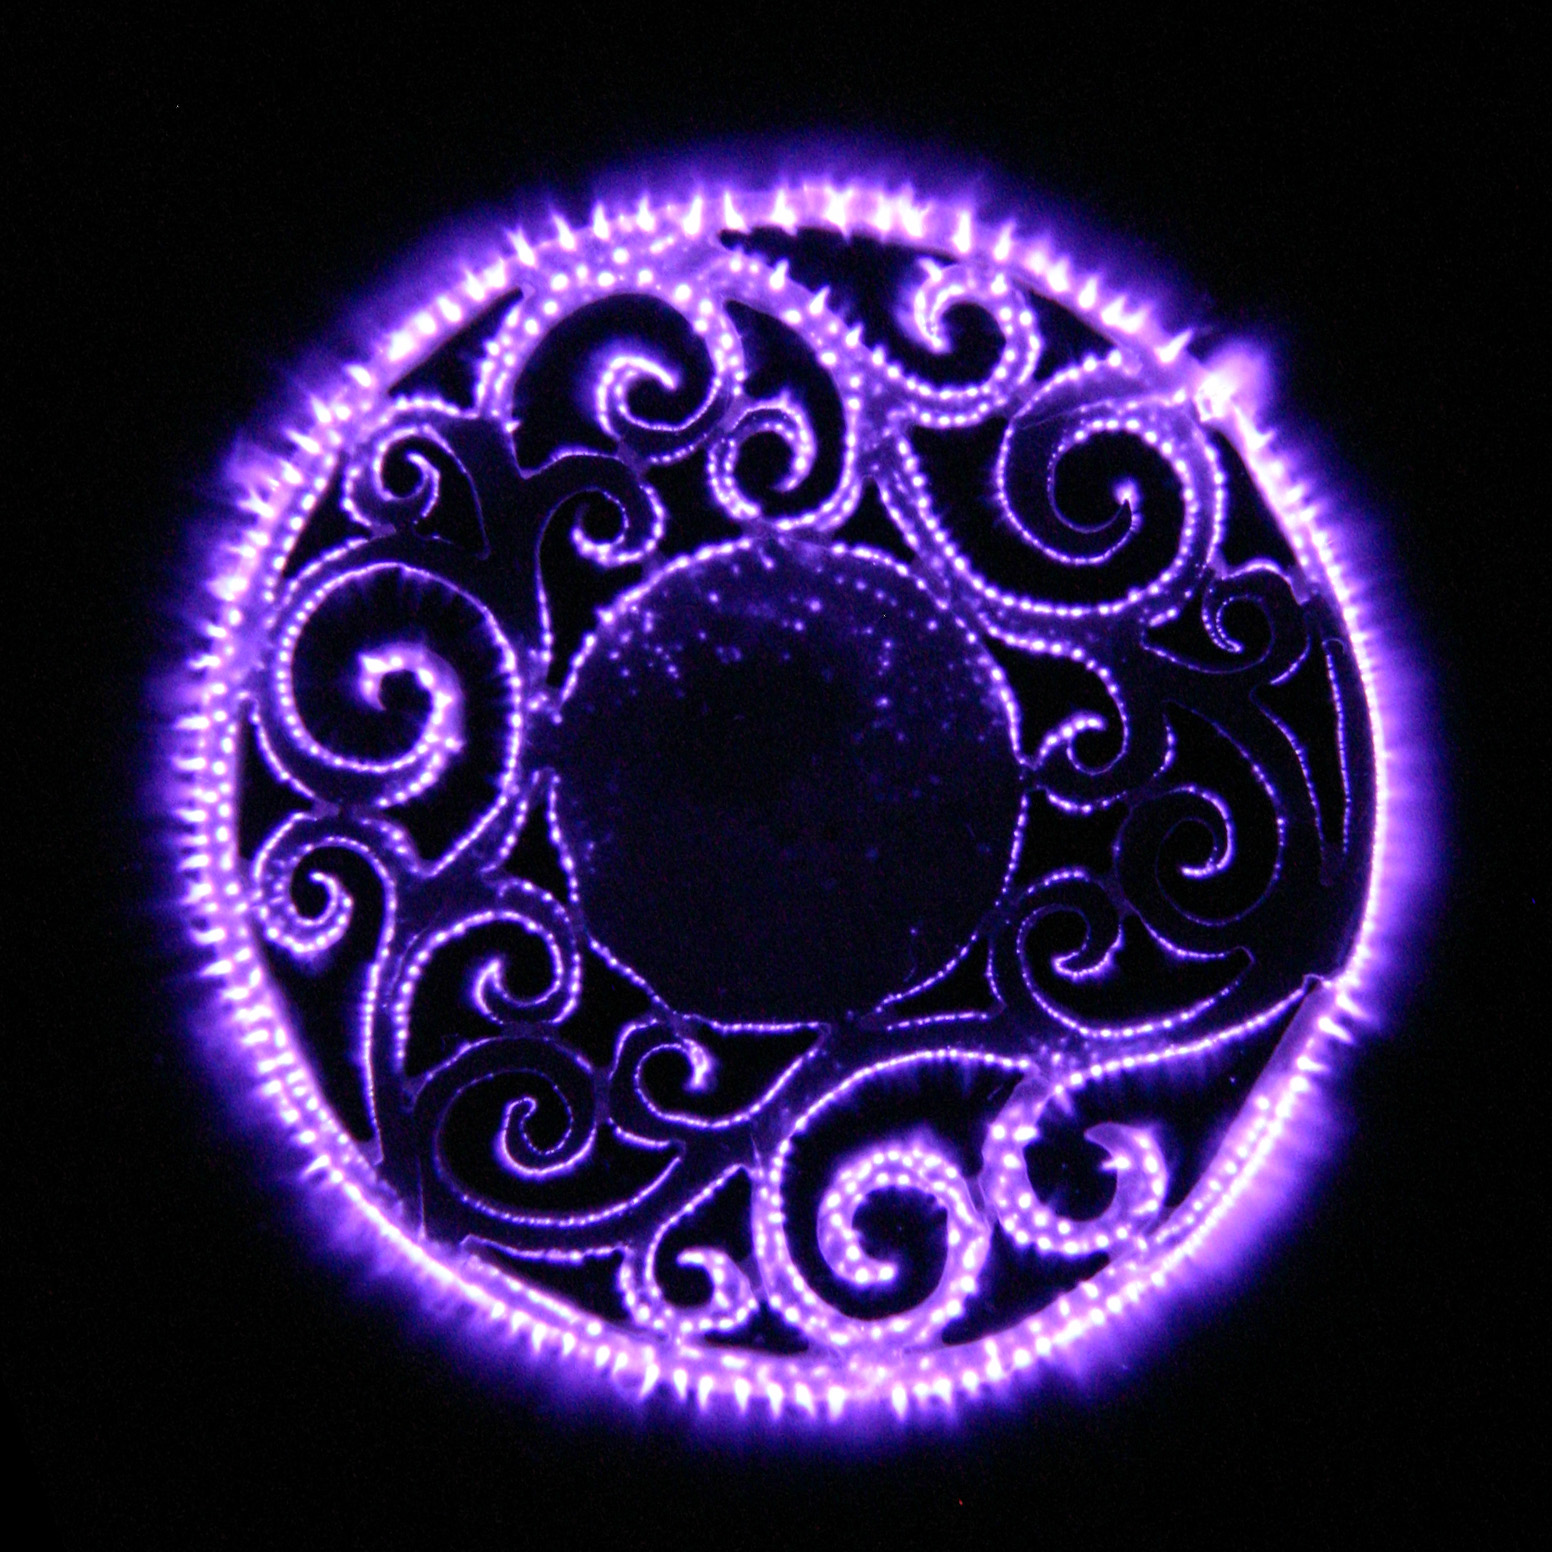
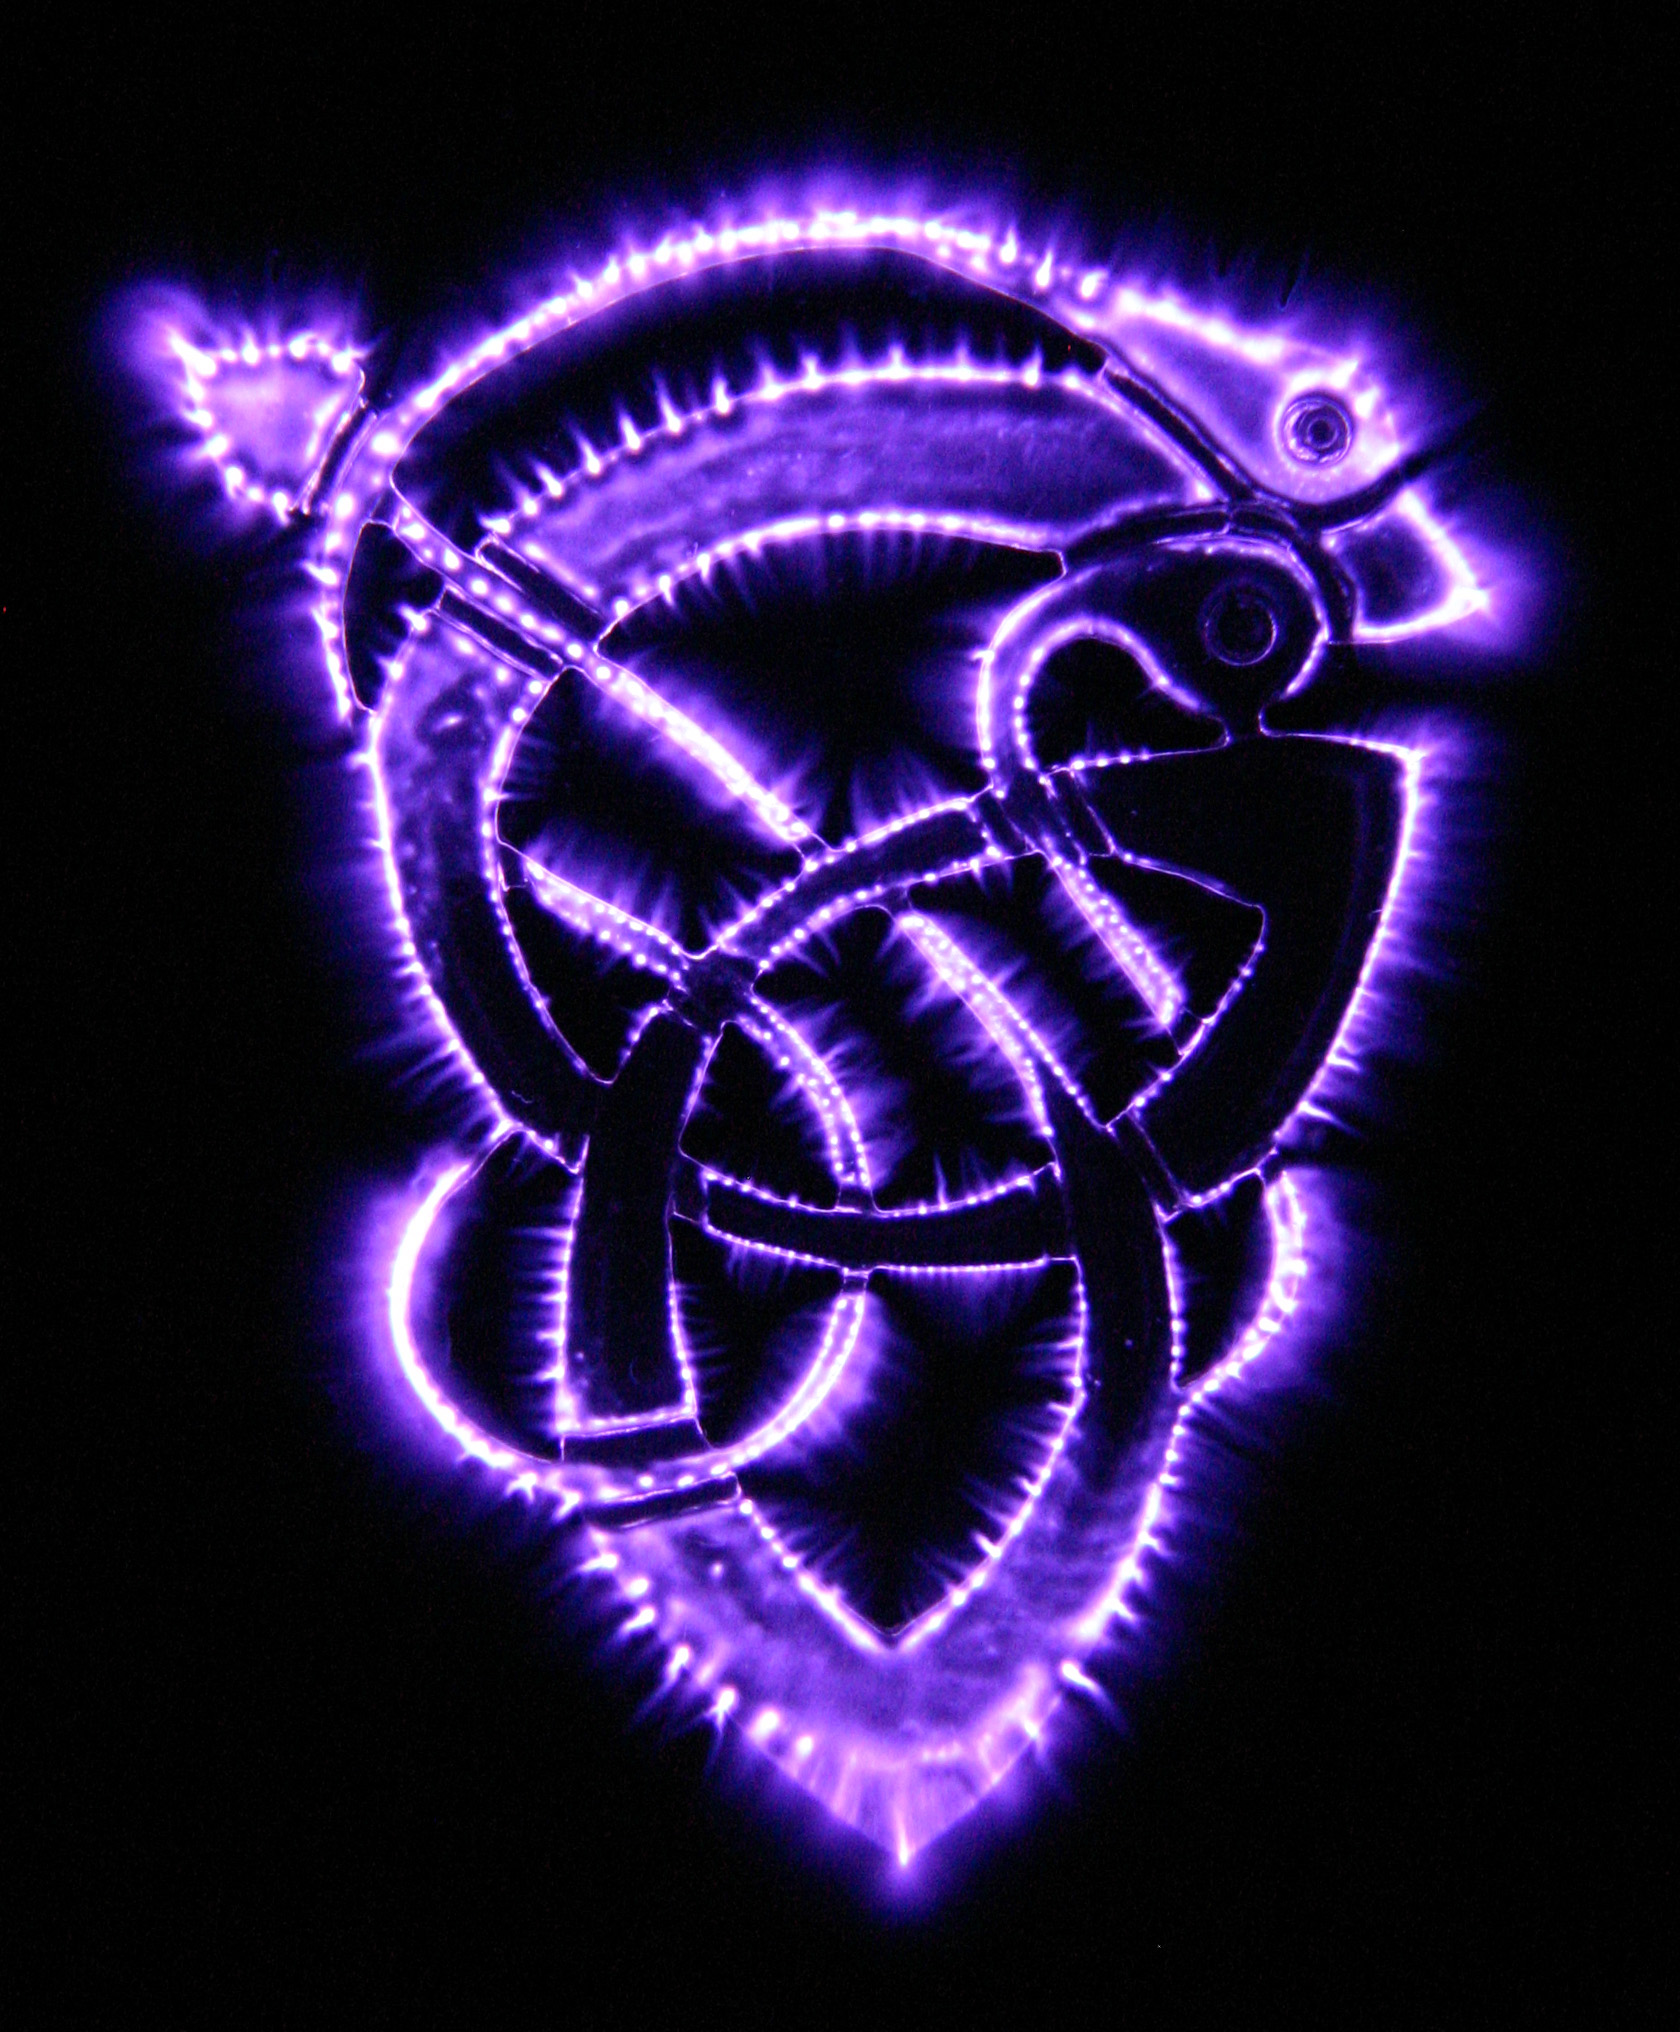
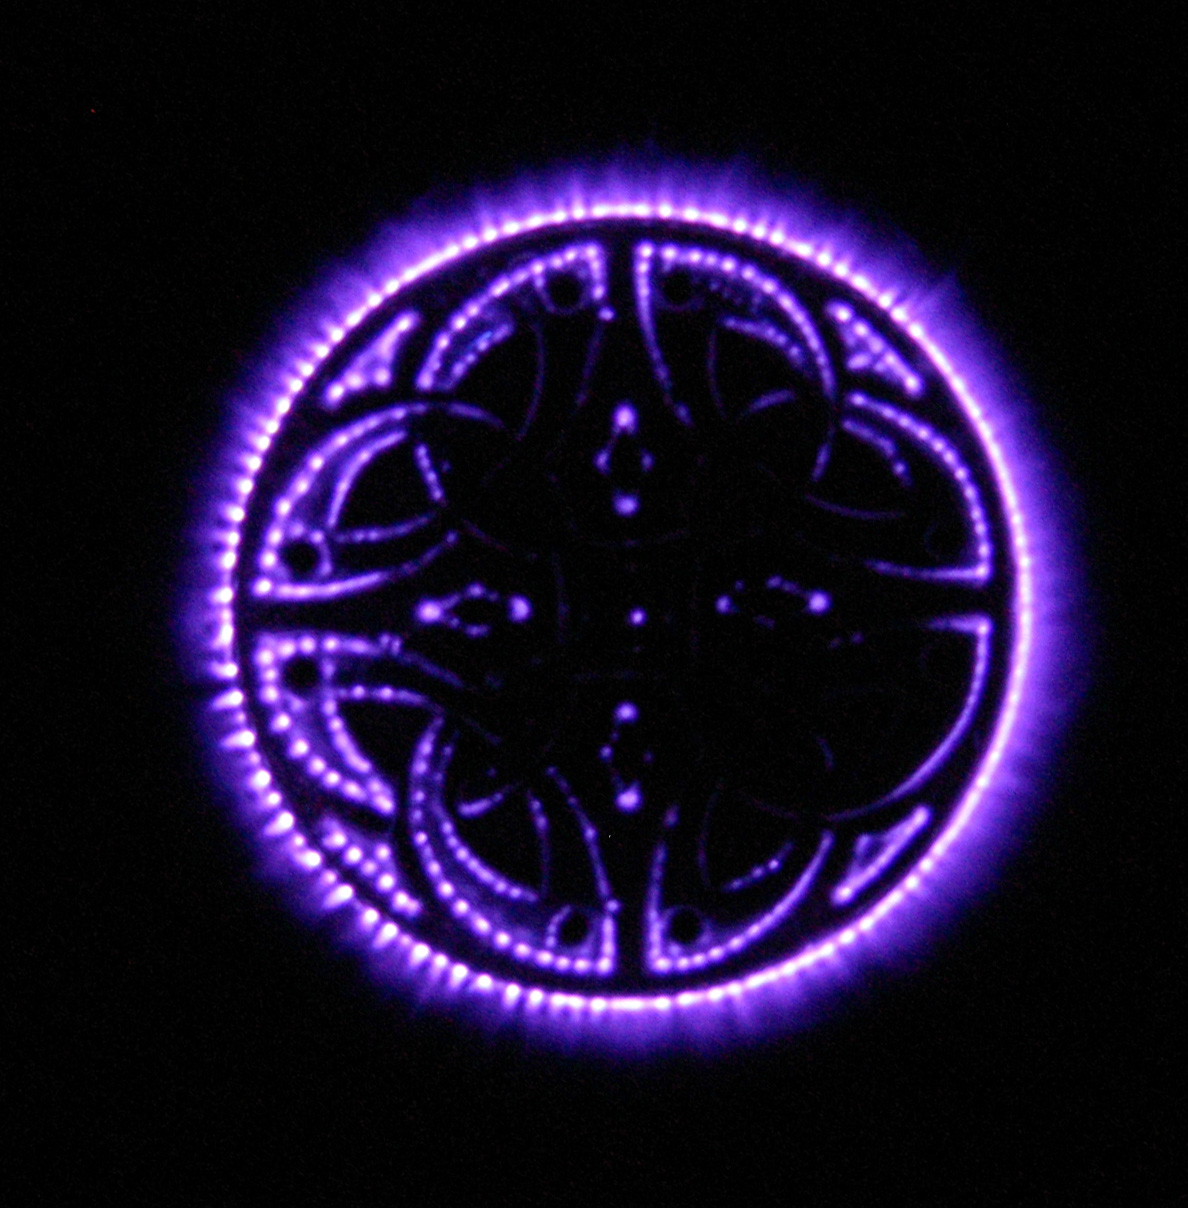
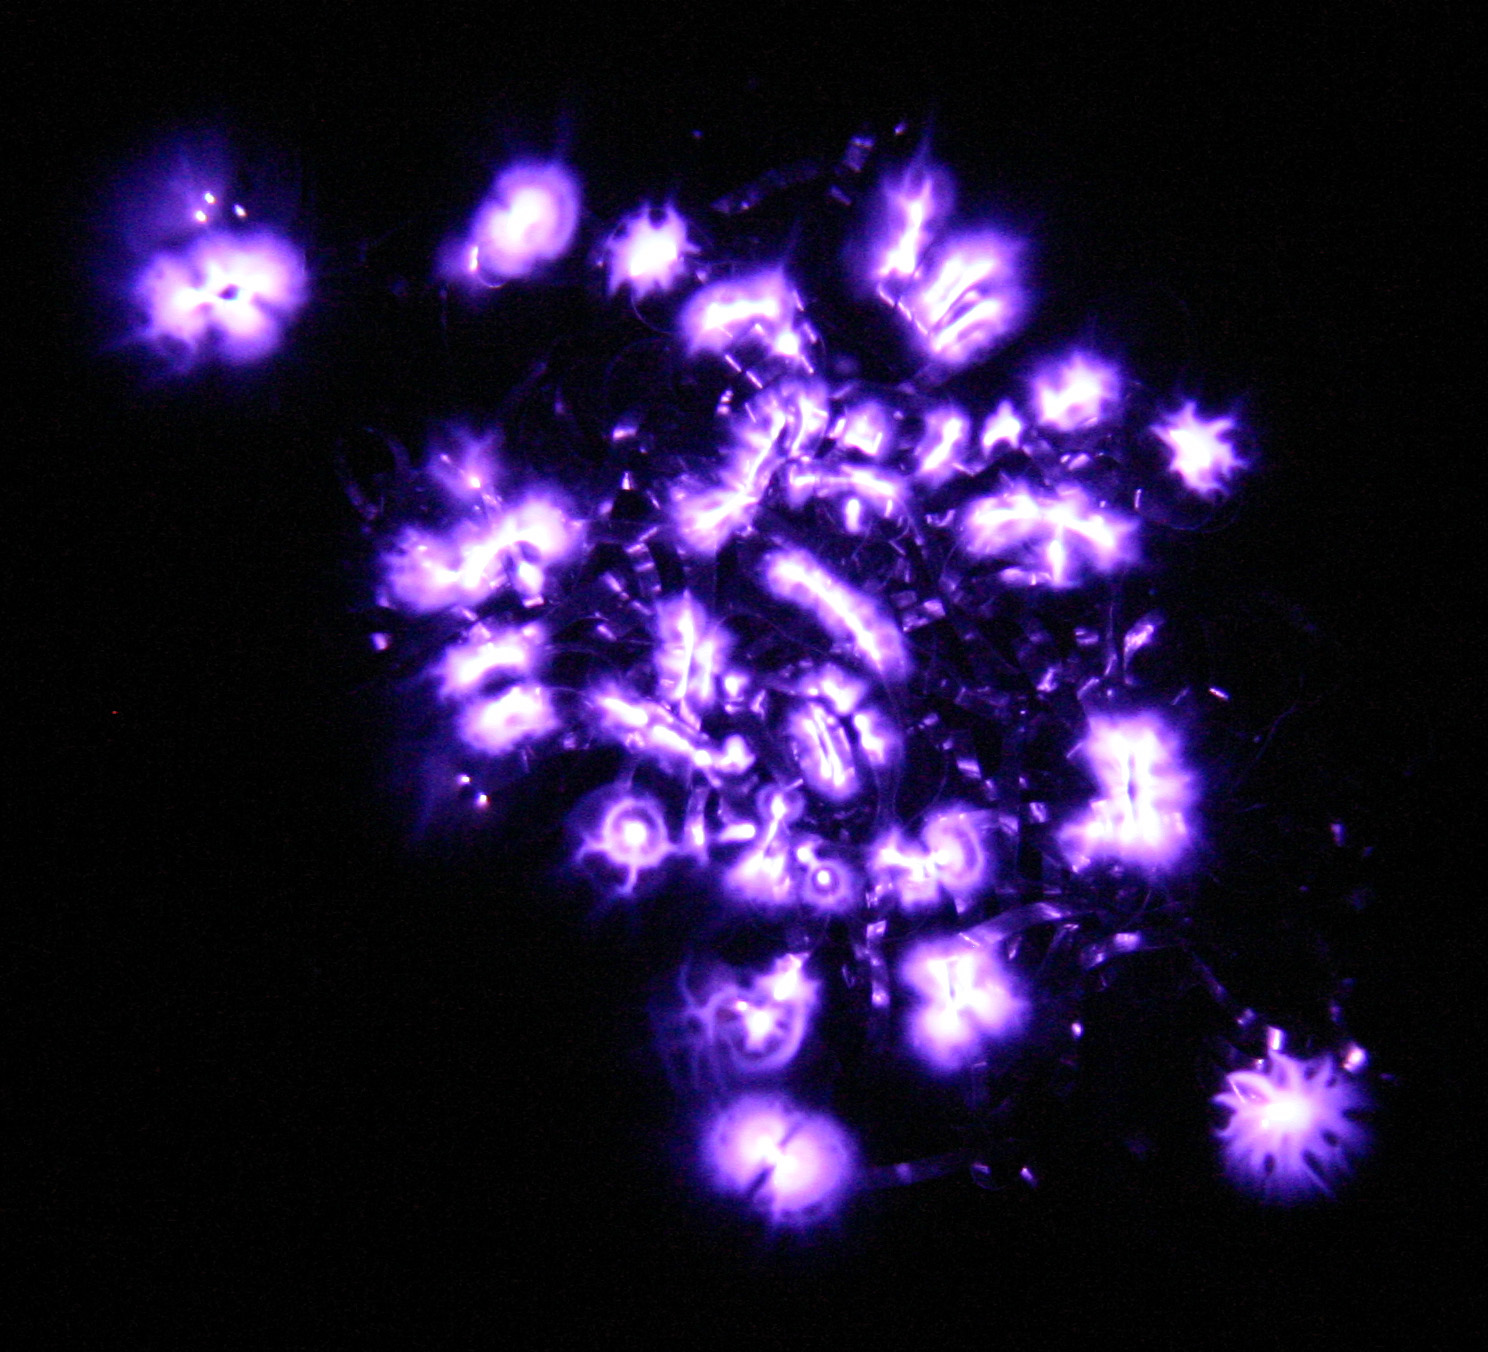
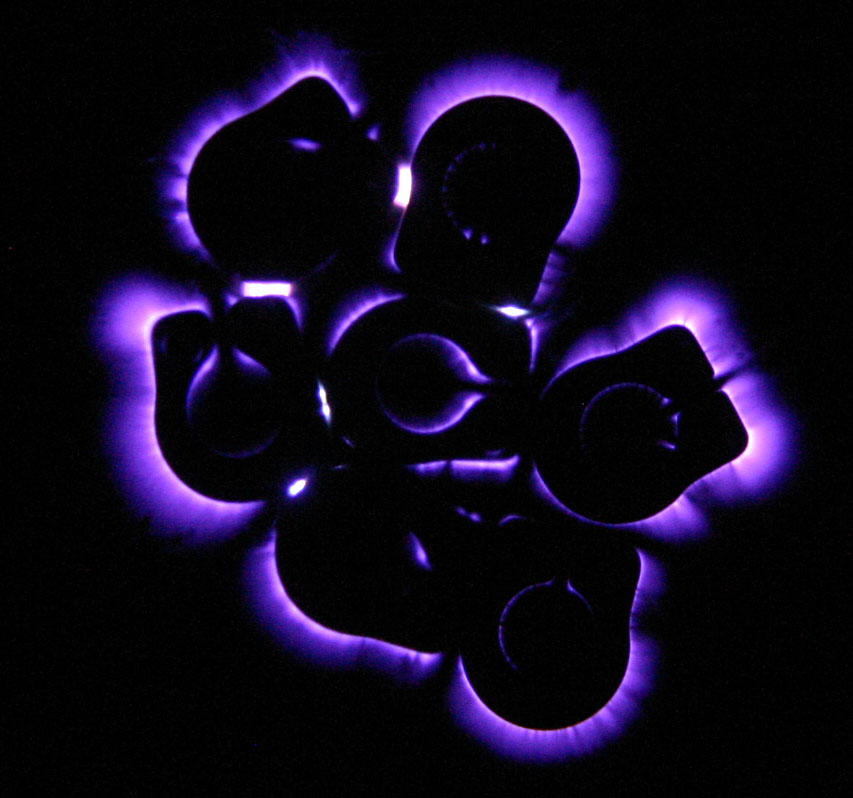
Jewellery. Various bits of jewellery. Some weren't quite flat, hence the darker regions.
 |
 |
 |
 |
 |
 |
 |
 |
 |
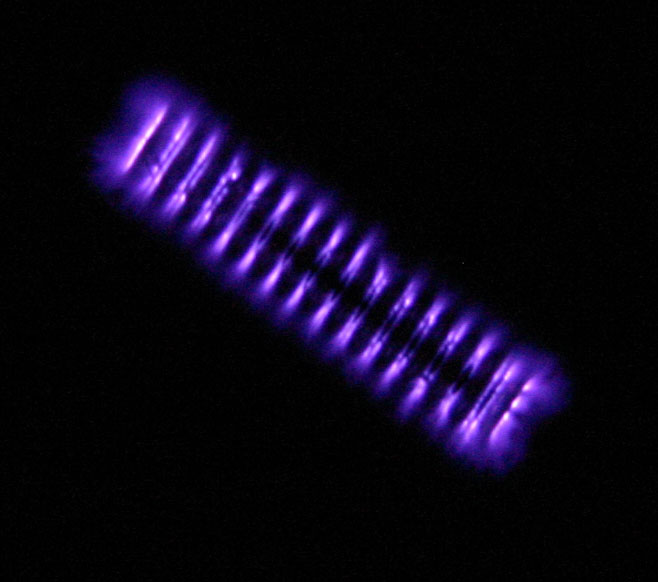
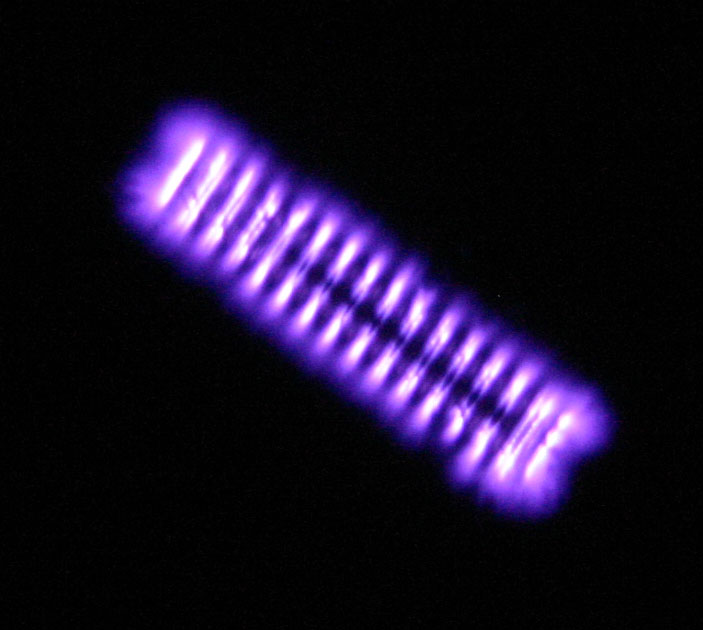
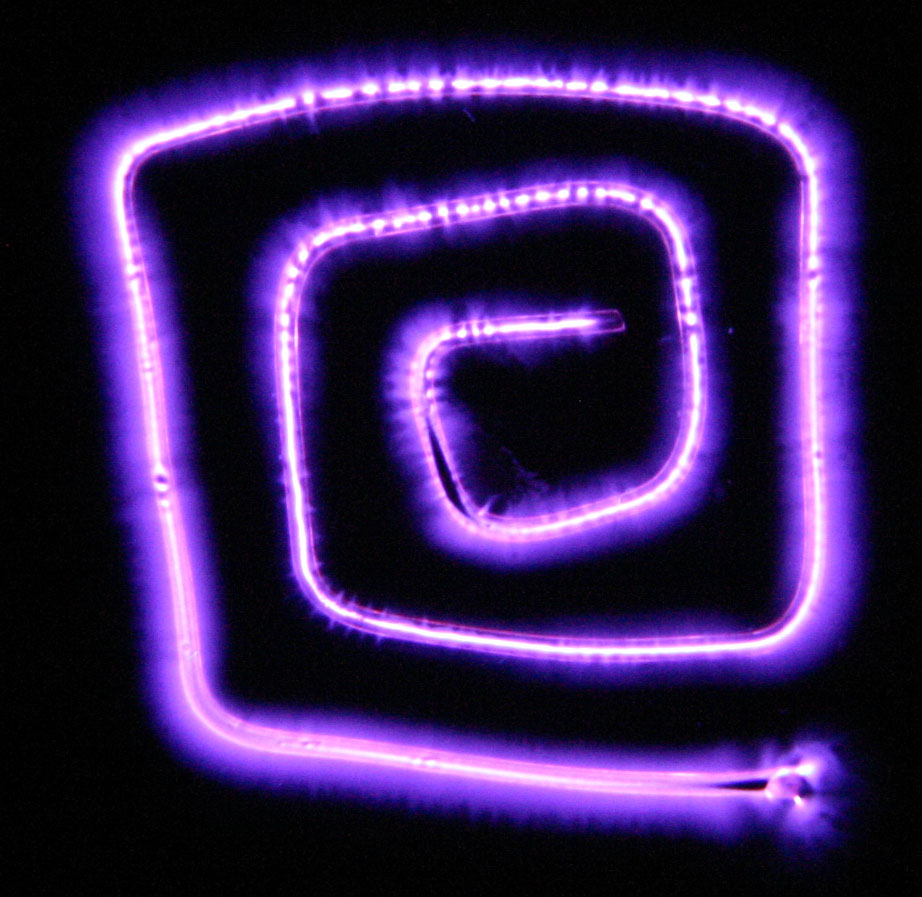
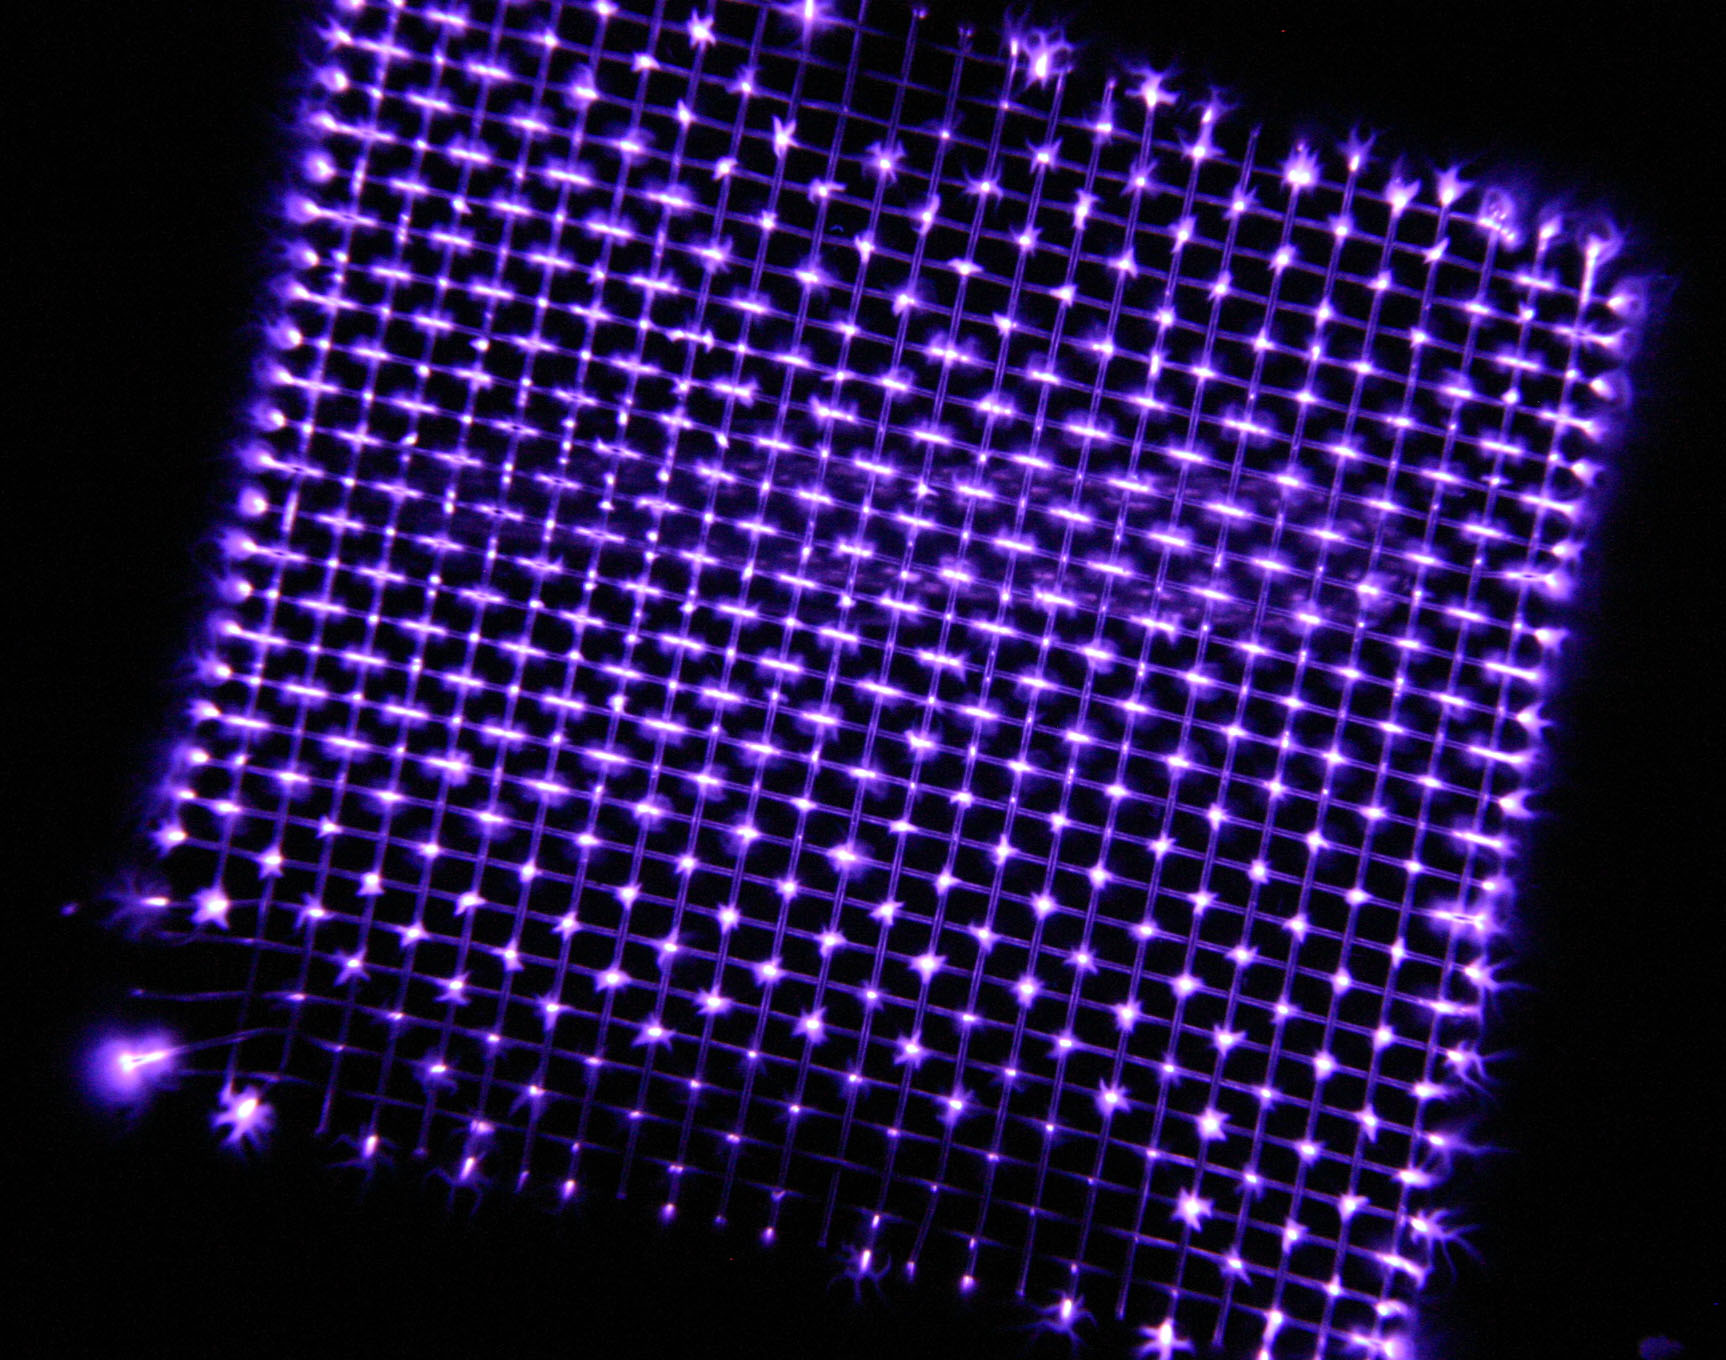
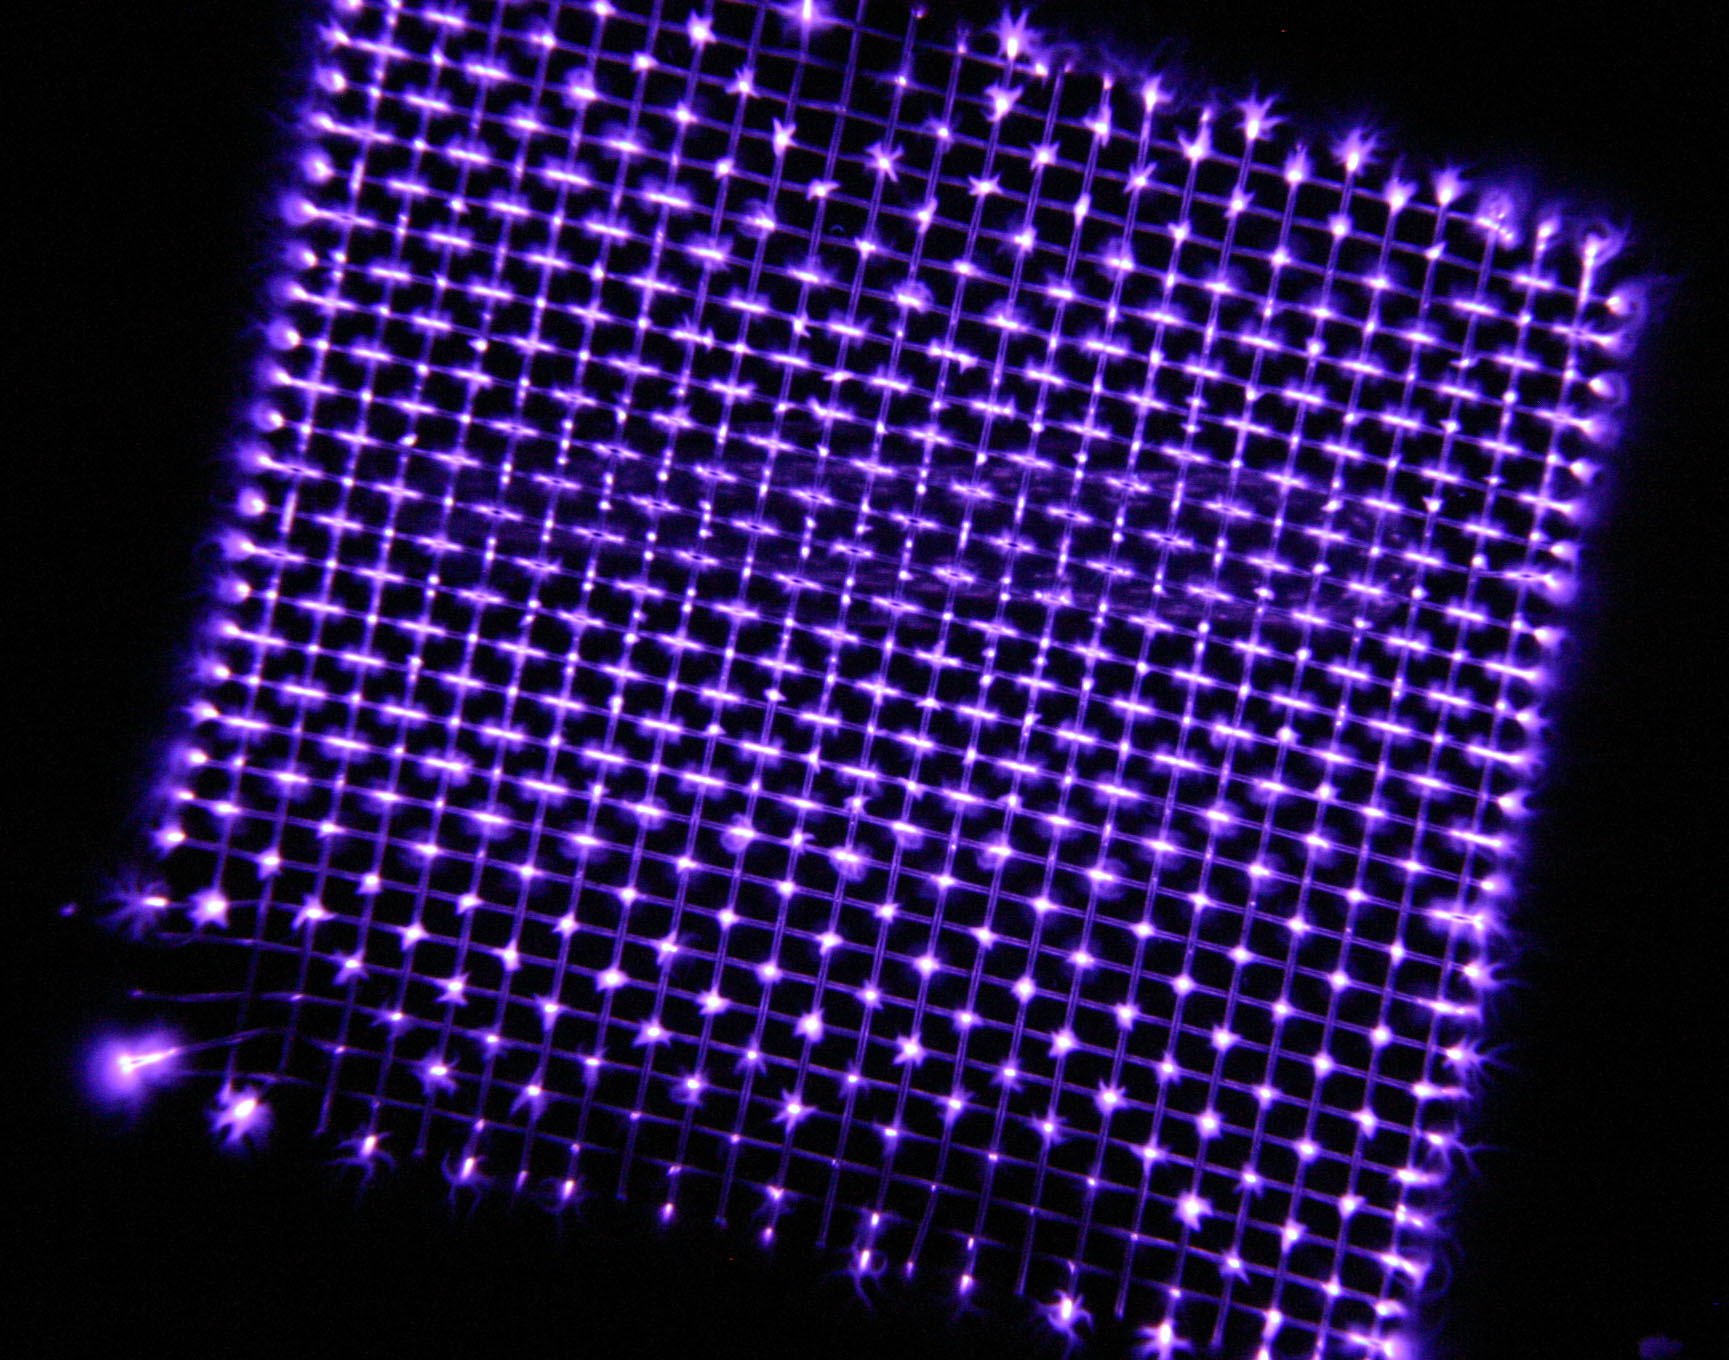
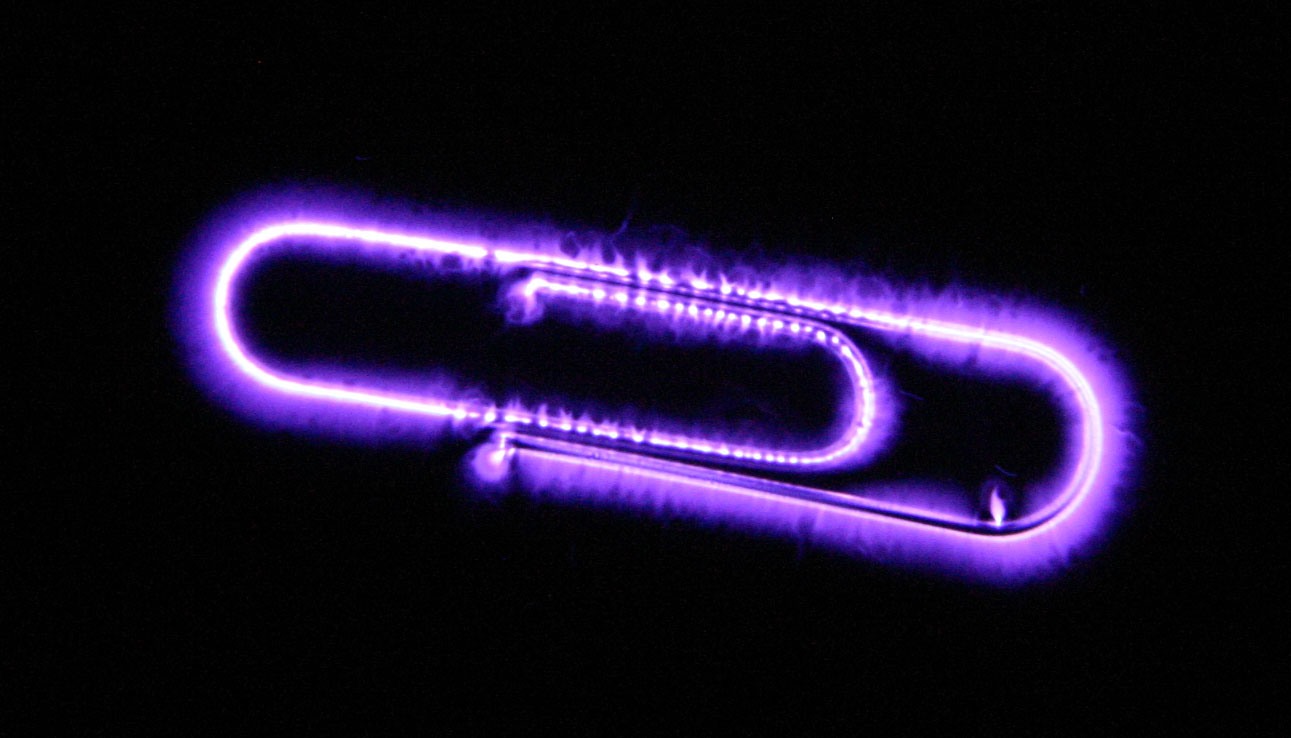
Misc. Slitting saw (x2), transistor heatsink (x3), TO-220 transistor (x2), DIP IC (x3), bent wire (x3), springs (x3), 2mm steel ball bearings (x2), aluminium window mesh (x2), RG-58 outer braid (x1), paperclip (x1), leaf (x1), scouring pad (x1).
 |
 |
 |
 |
 |
 |
 |
 |
 |
 |
 |
 |
 |
 |
 |
 |
 |
 |
 |
 |
 |
 |
 |
 |
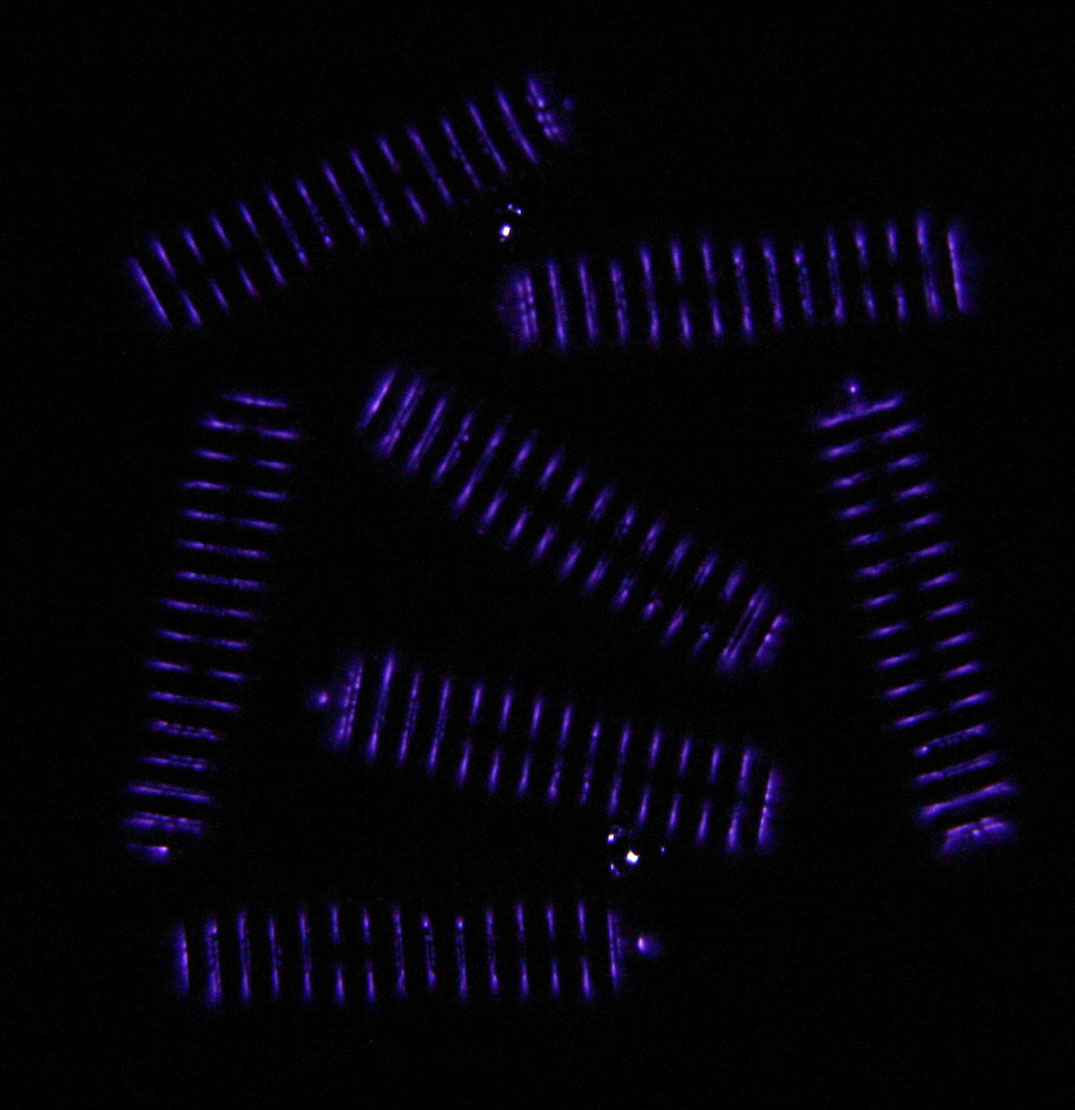
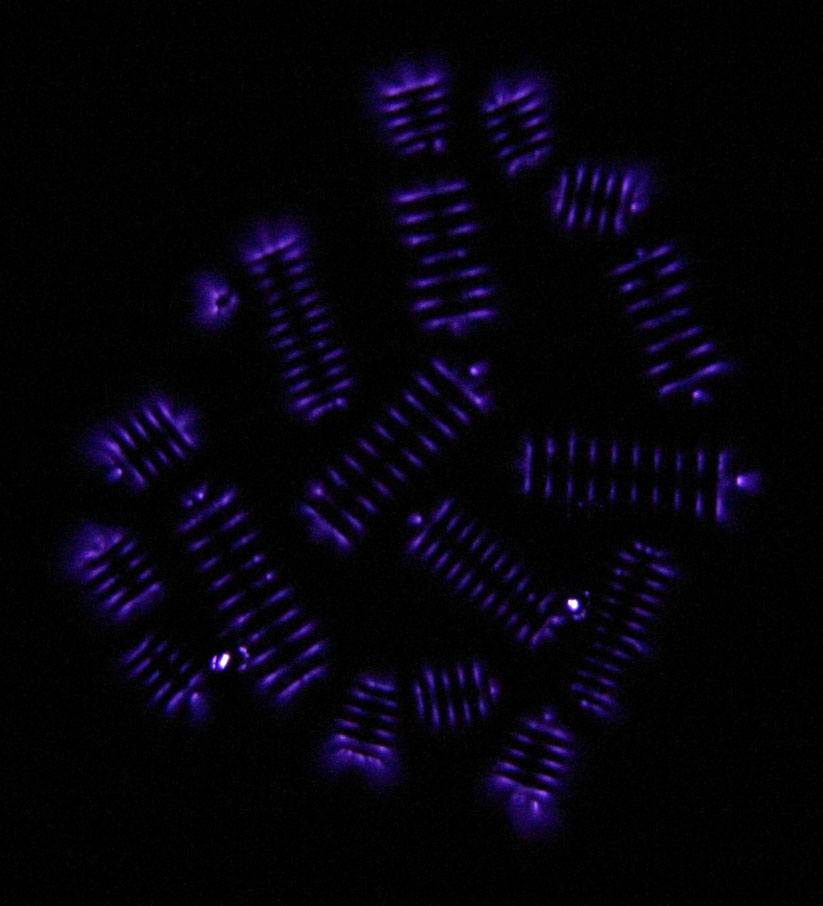
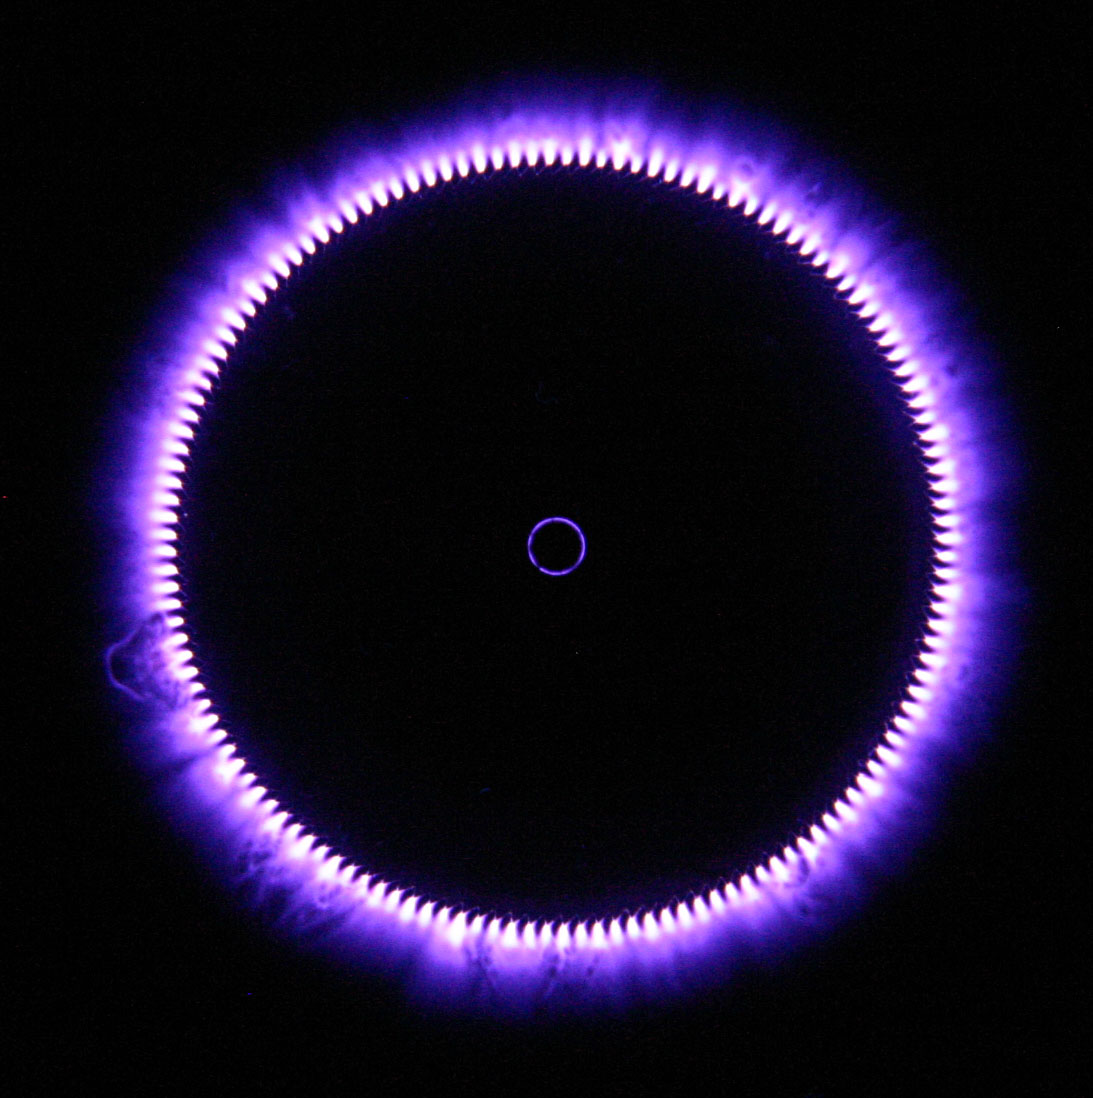
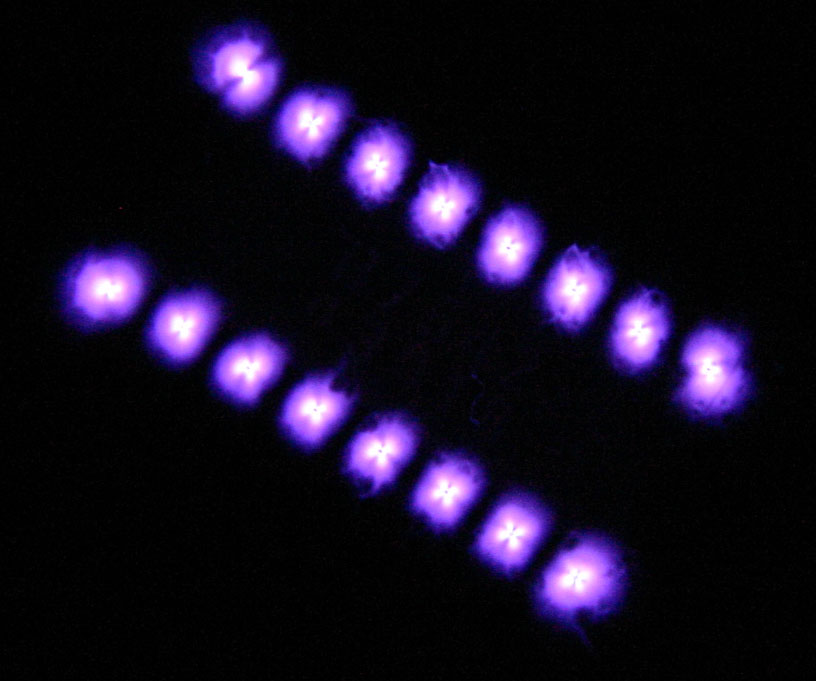
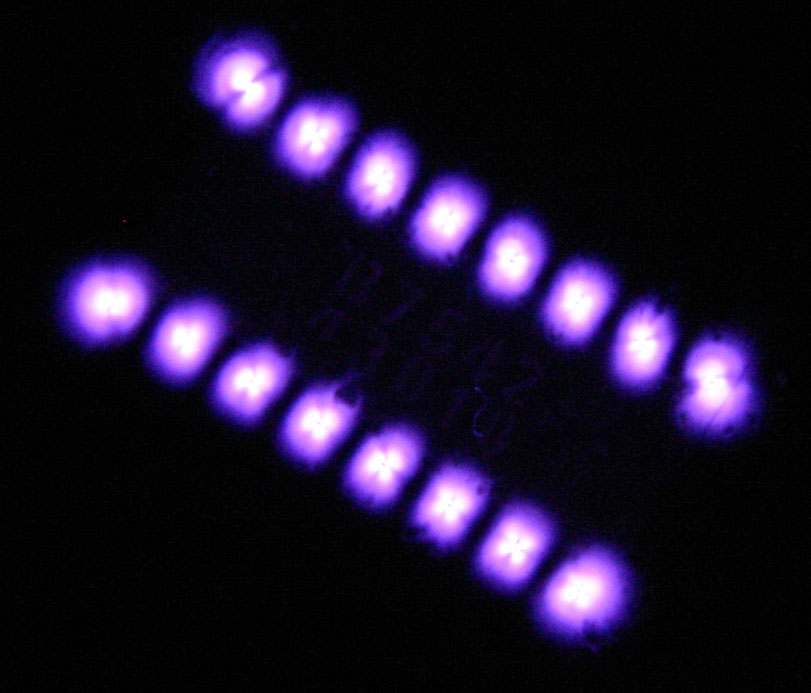
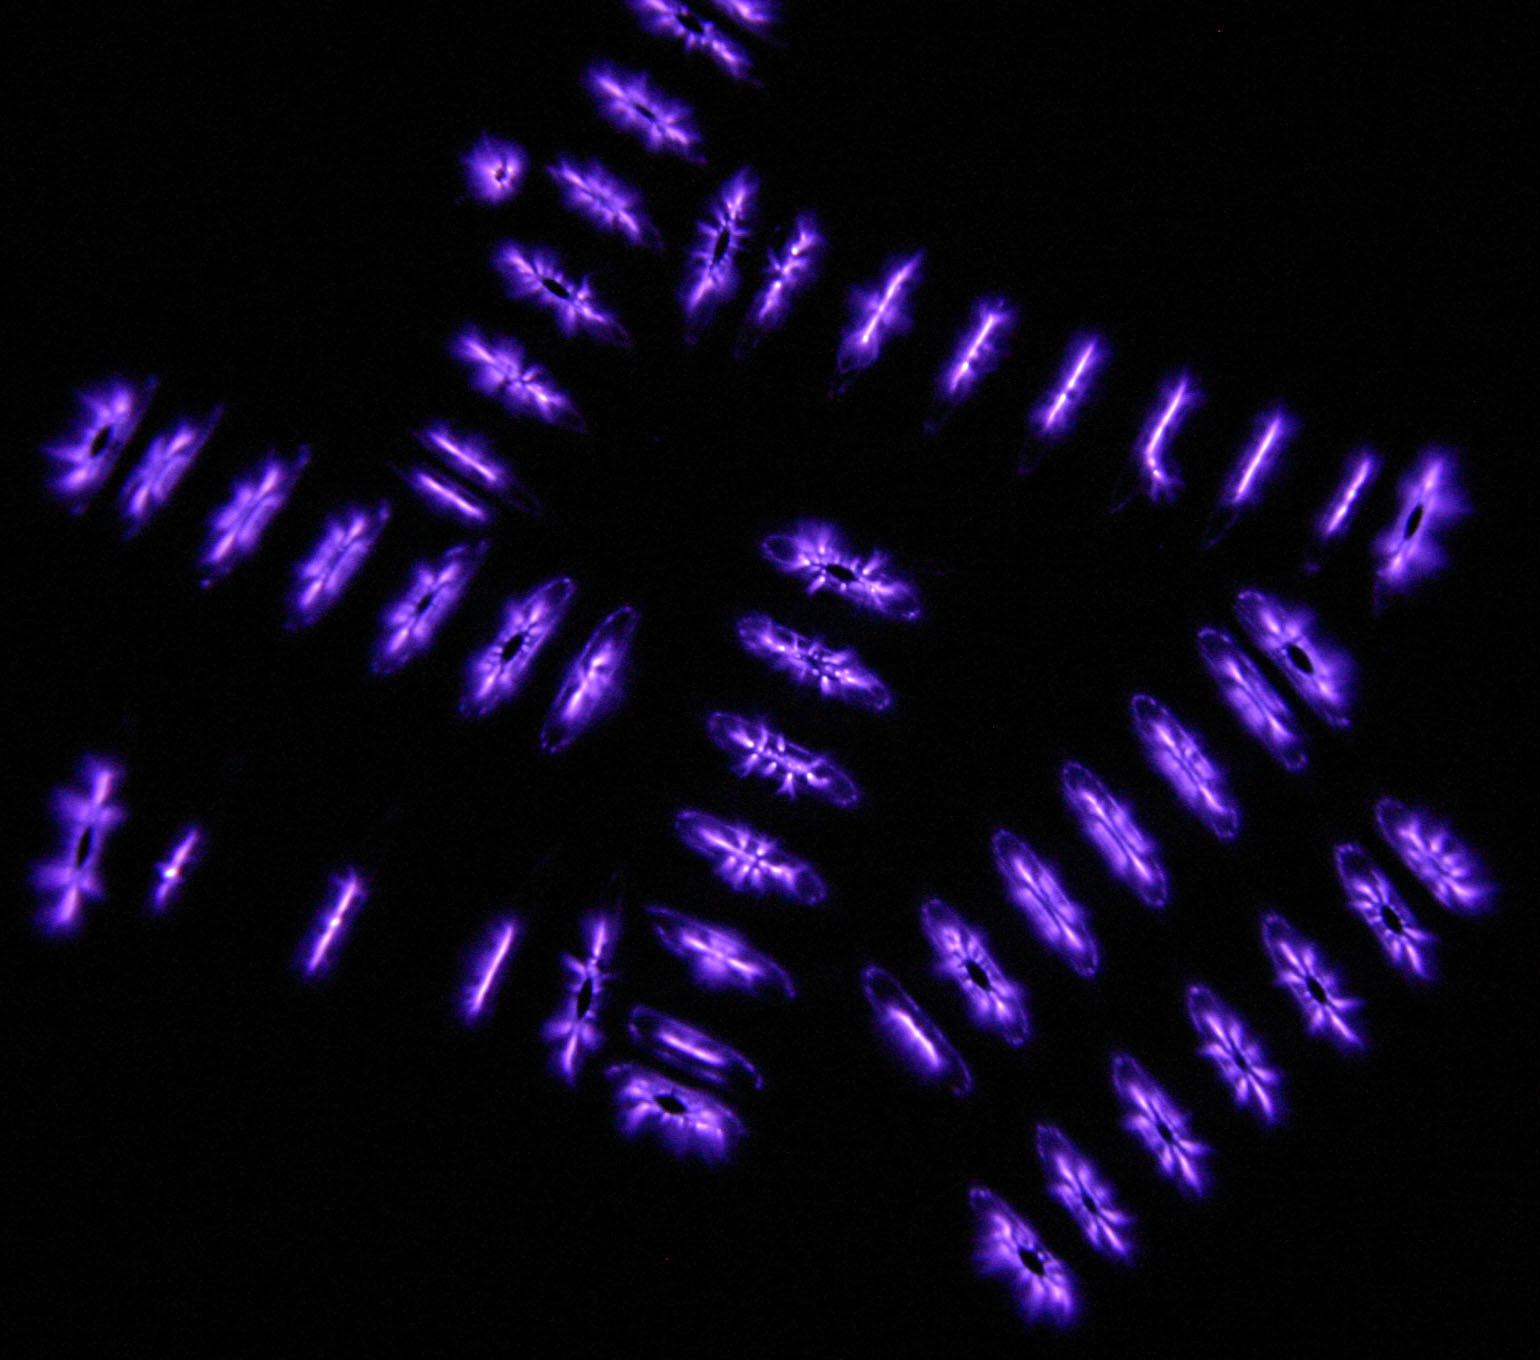
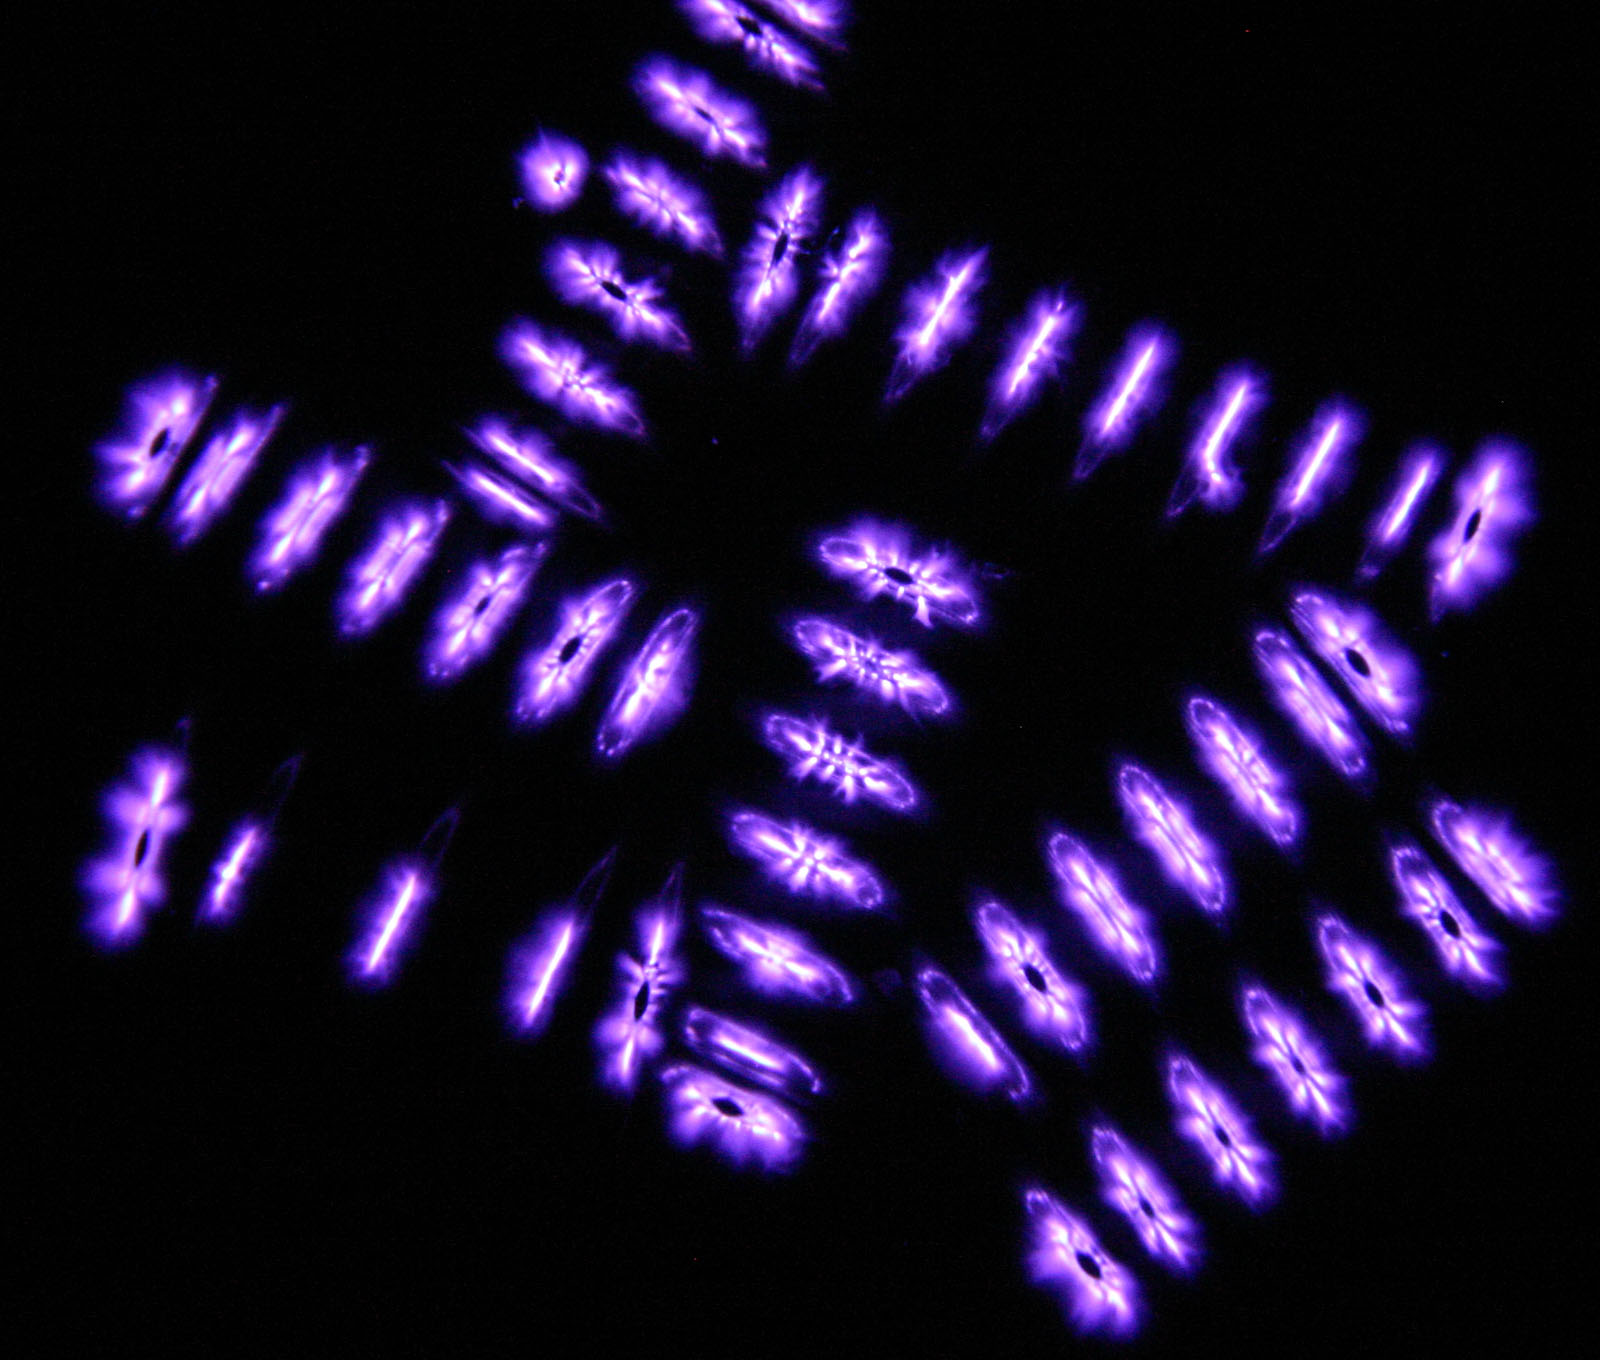
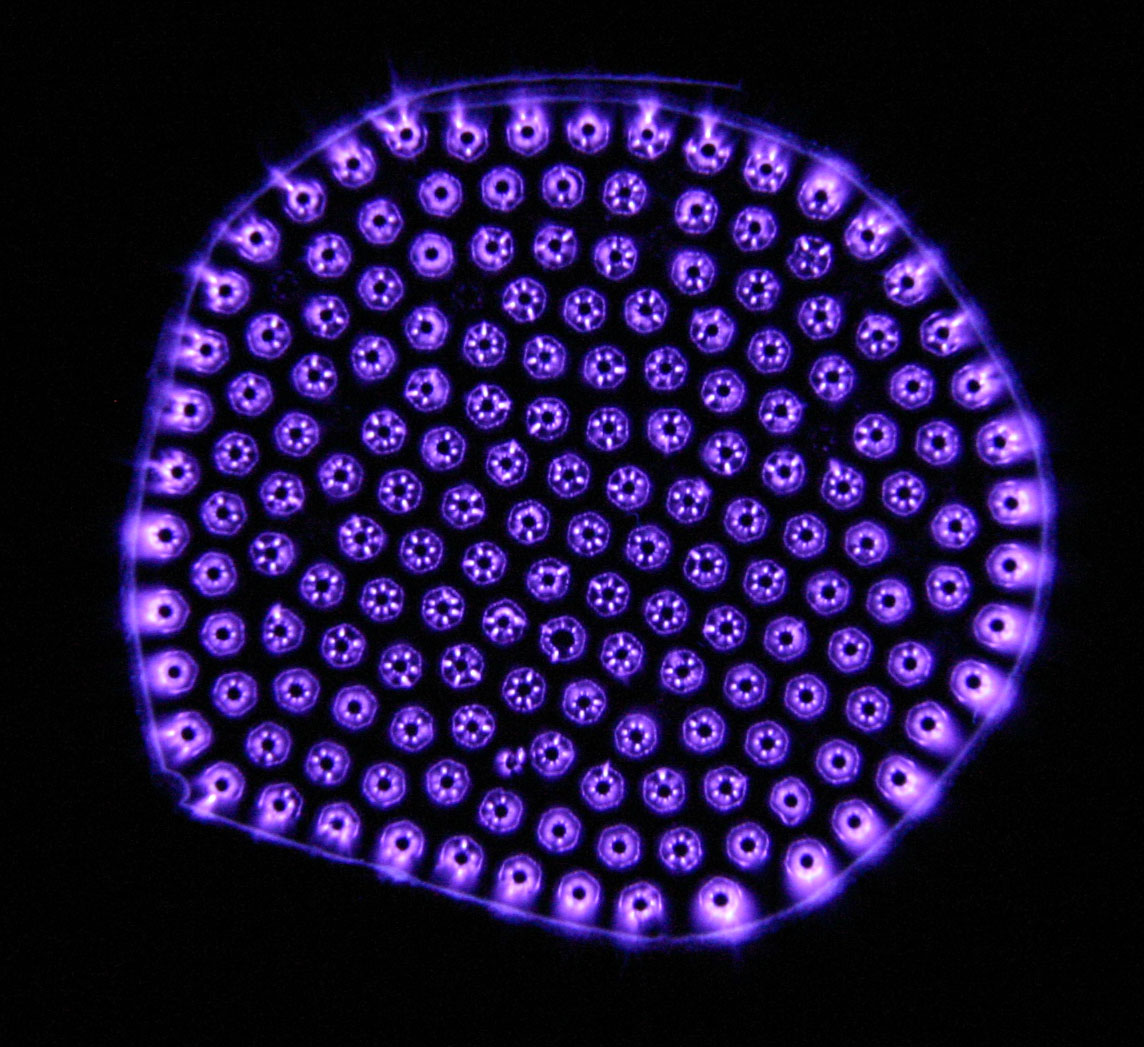
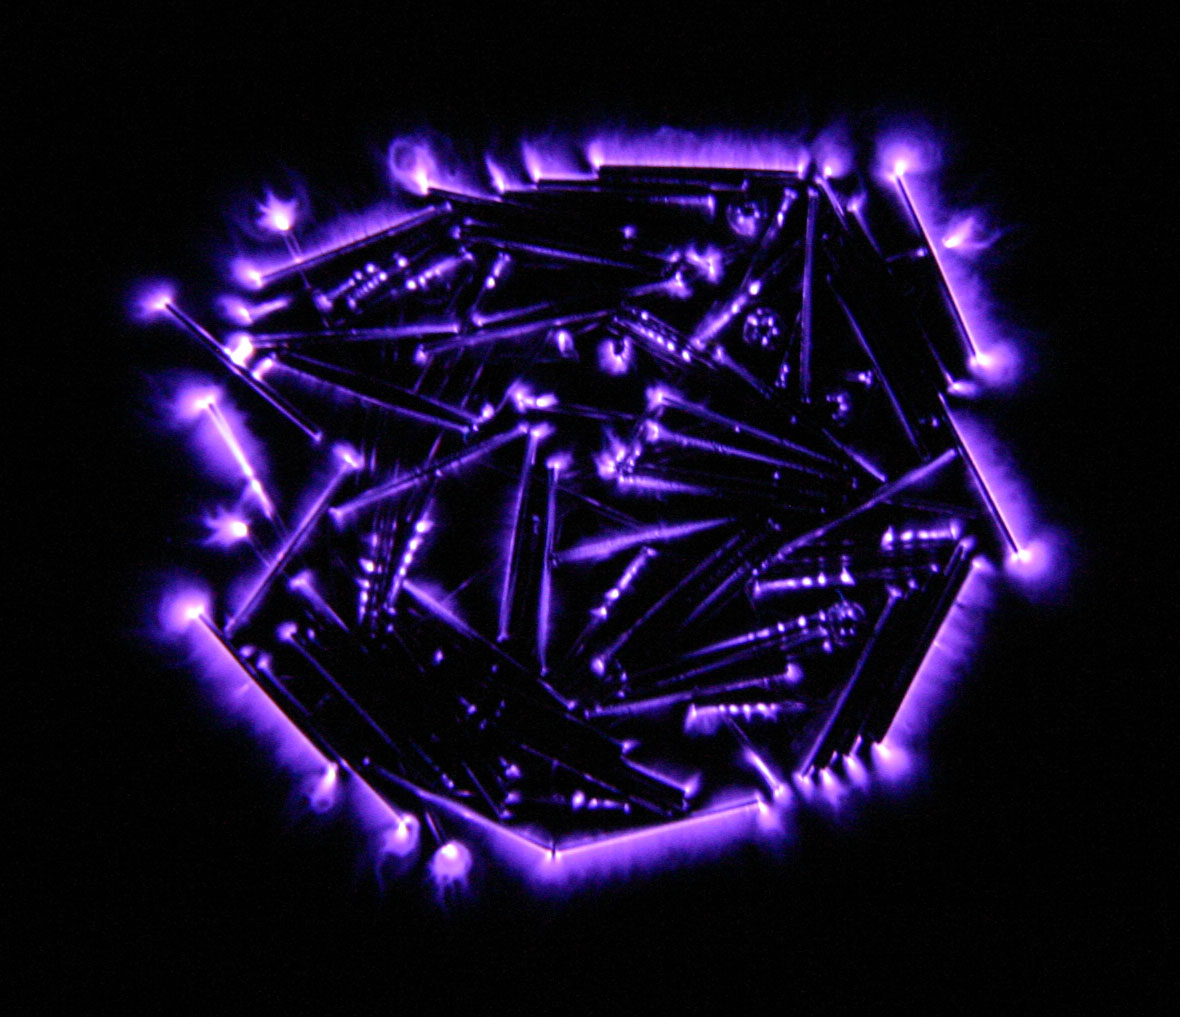
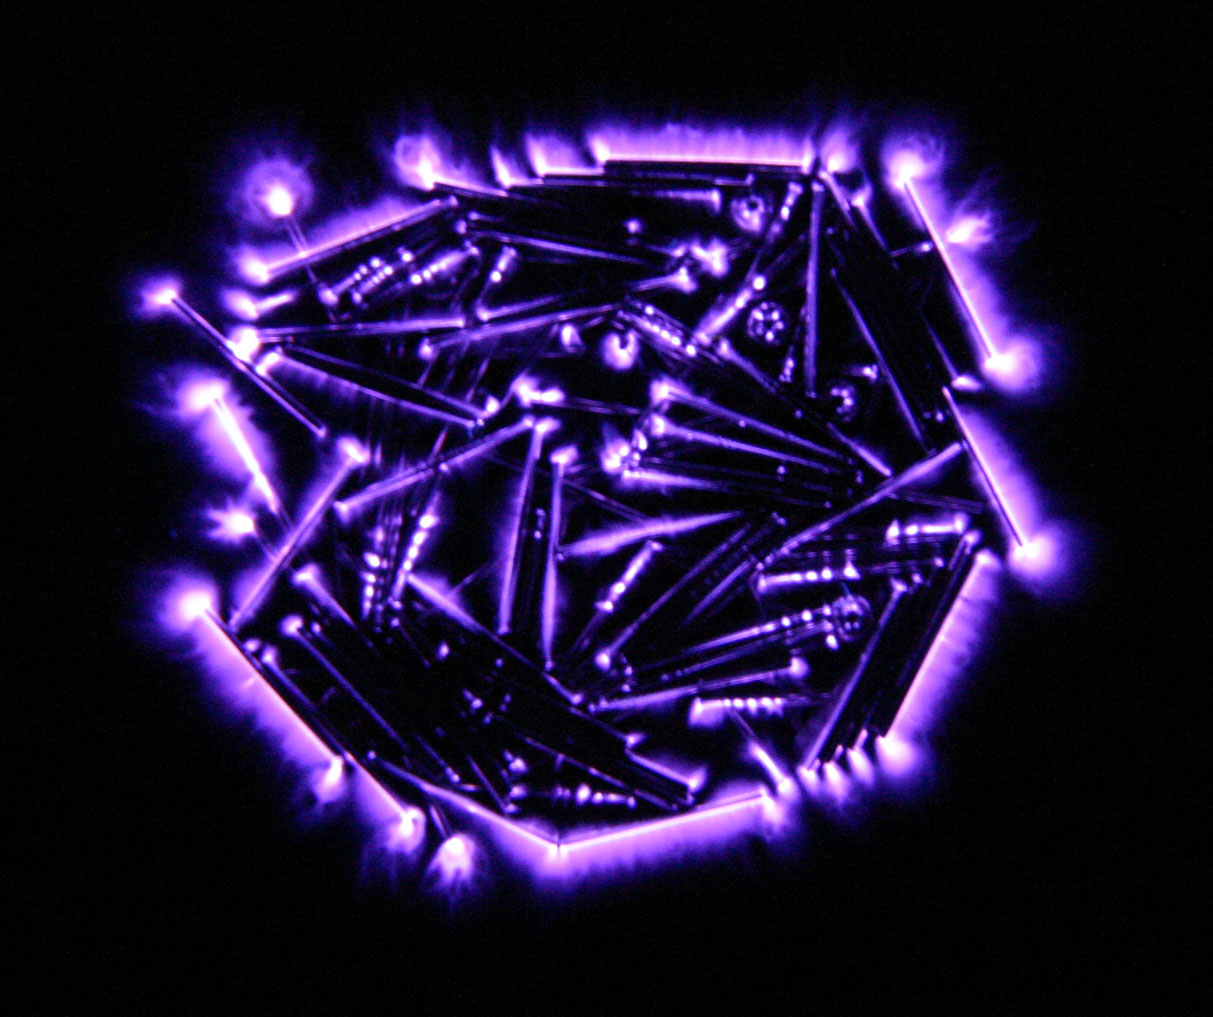
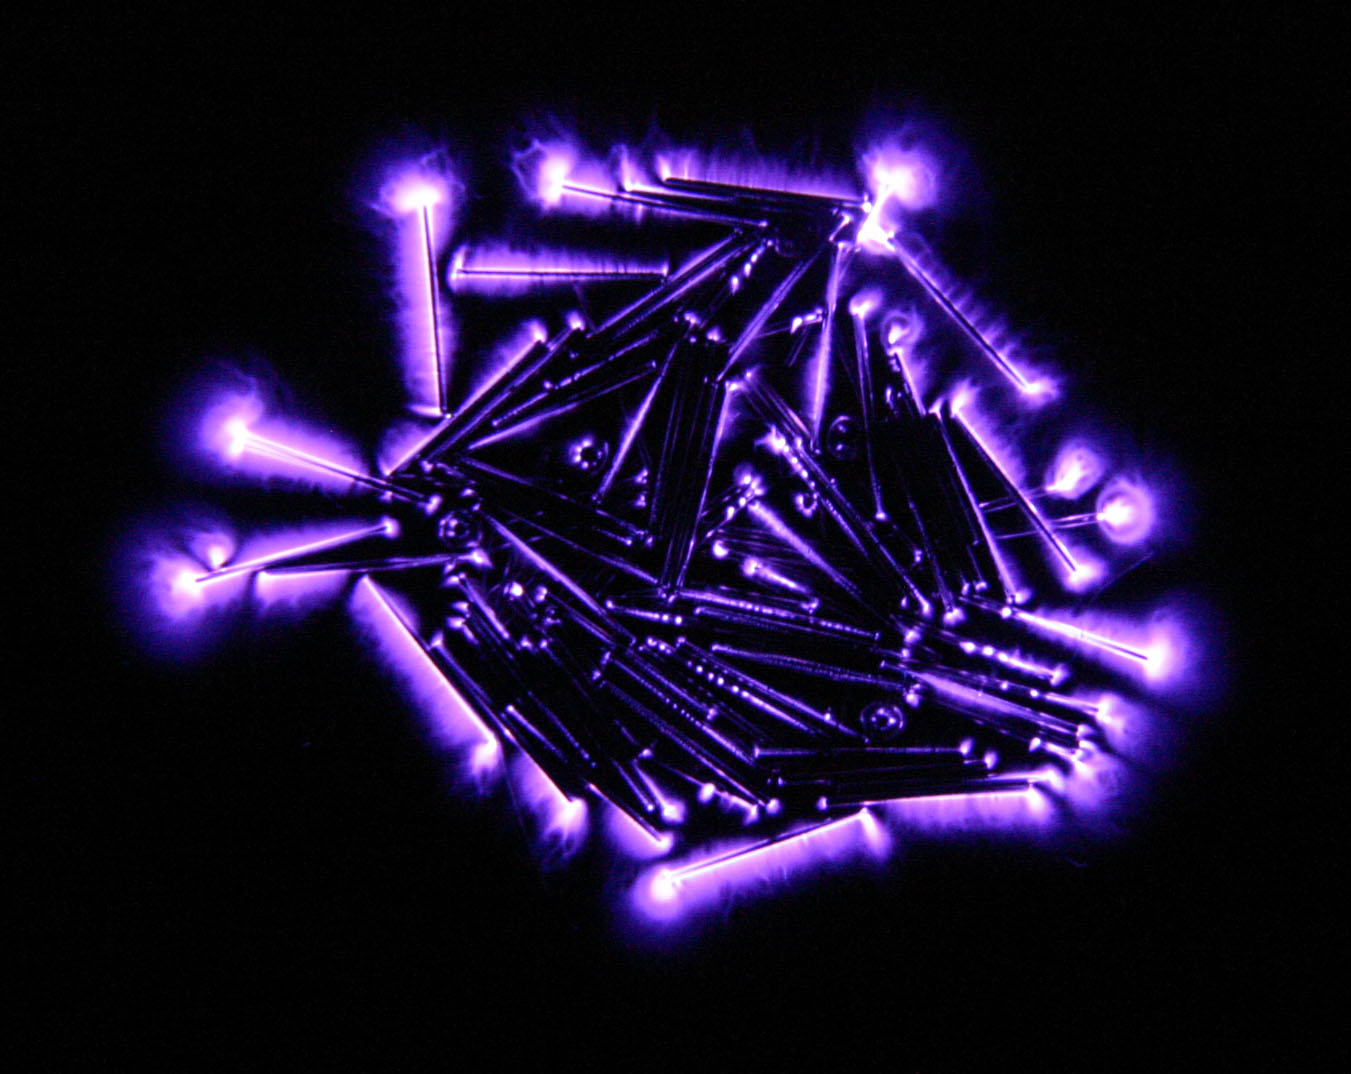
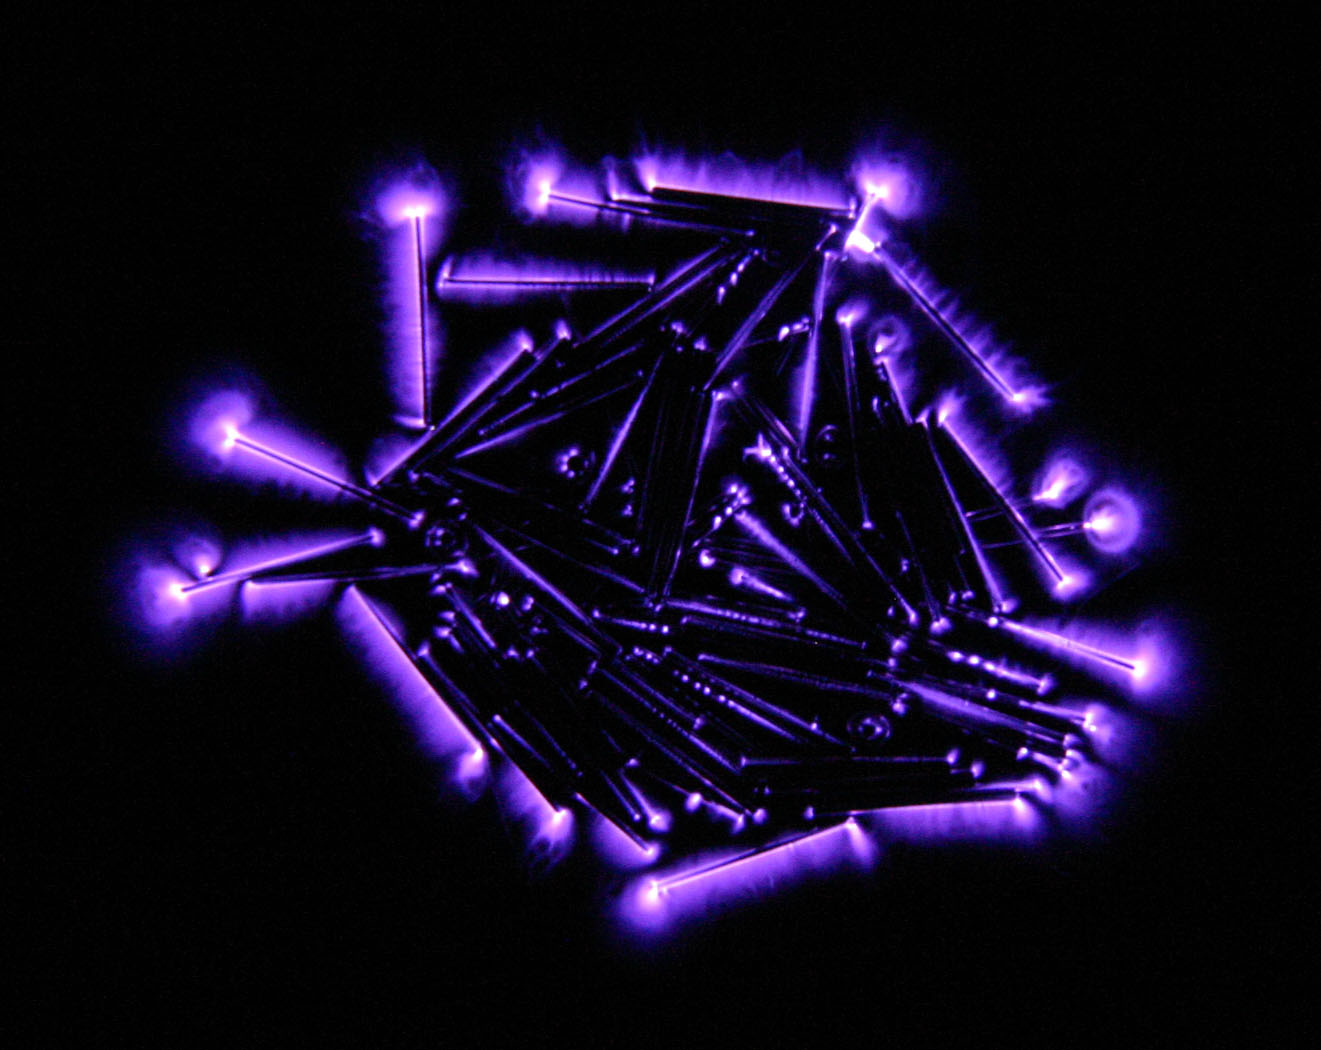
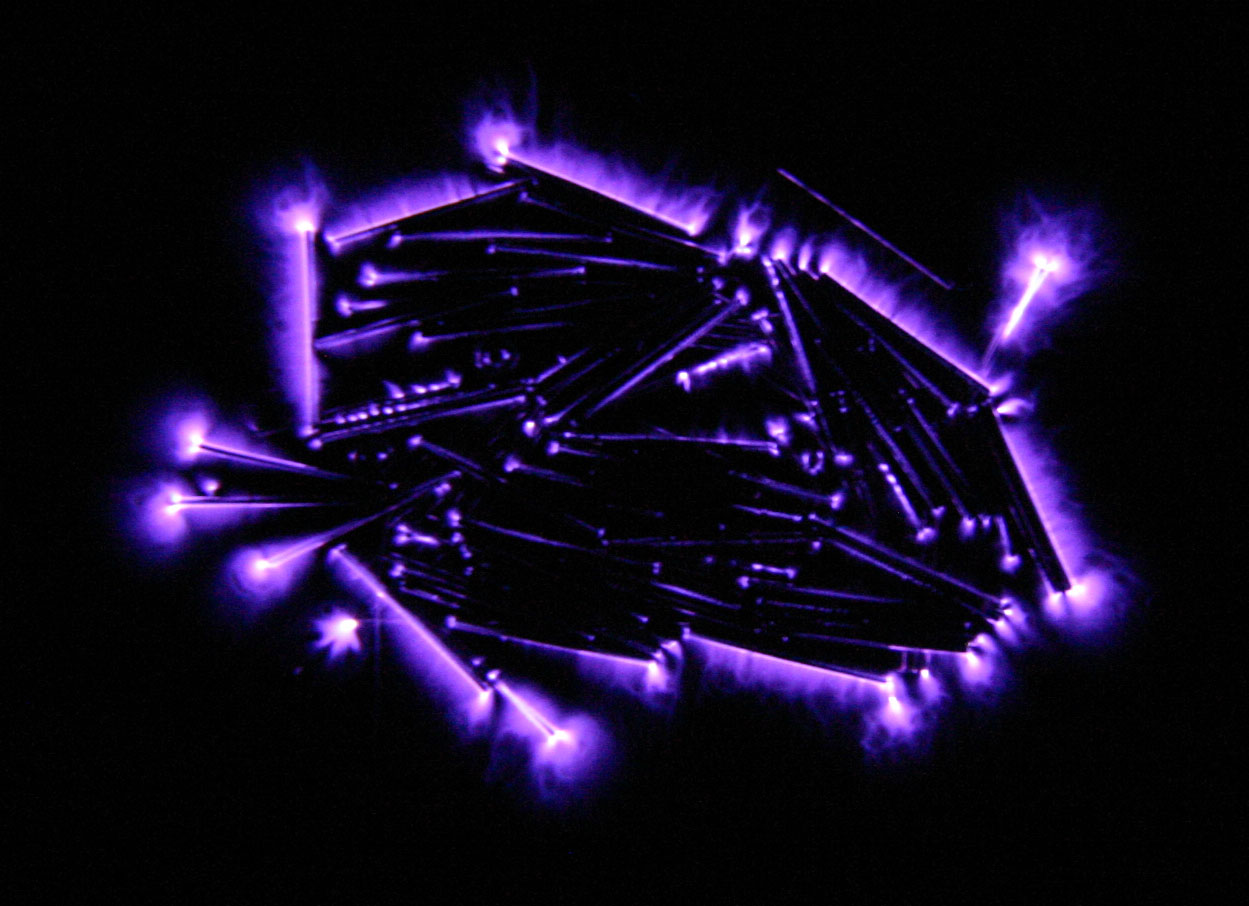
Polishing needles. A pile of polishing needles, as used in electromagnetic polishers (http://www.hswalsh.com/Magnetic_Pins_.aspx?i=TP301&t=134). Stainless steel, 0.3mm dia x 8mm long.
 |
 |
 |
 |
 |
 |
 |
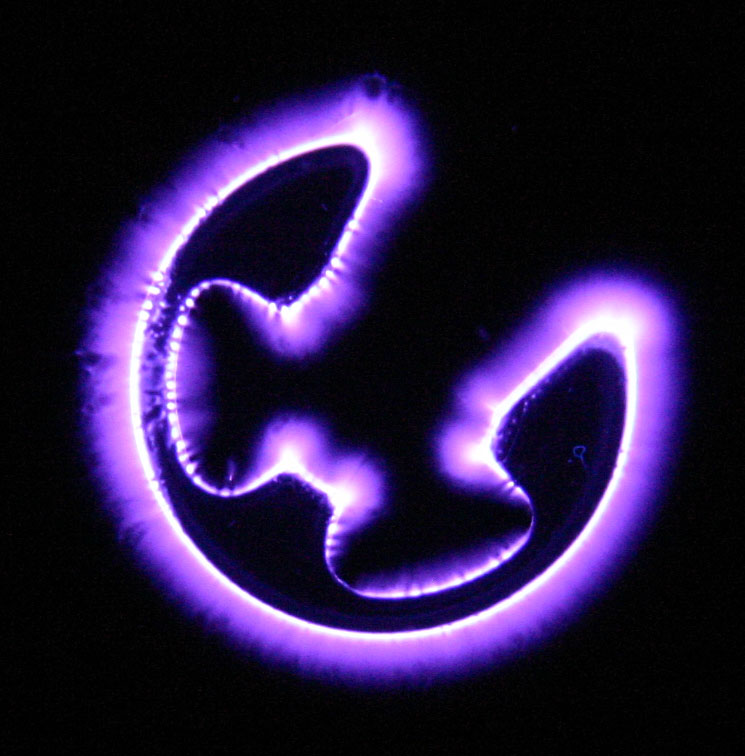
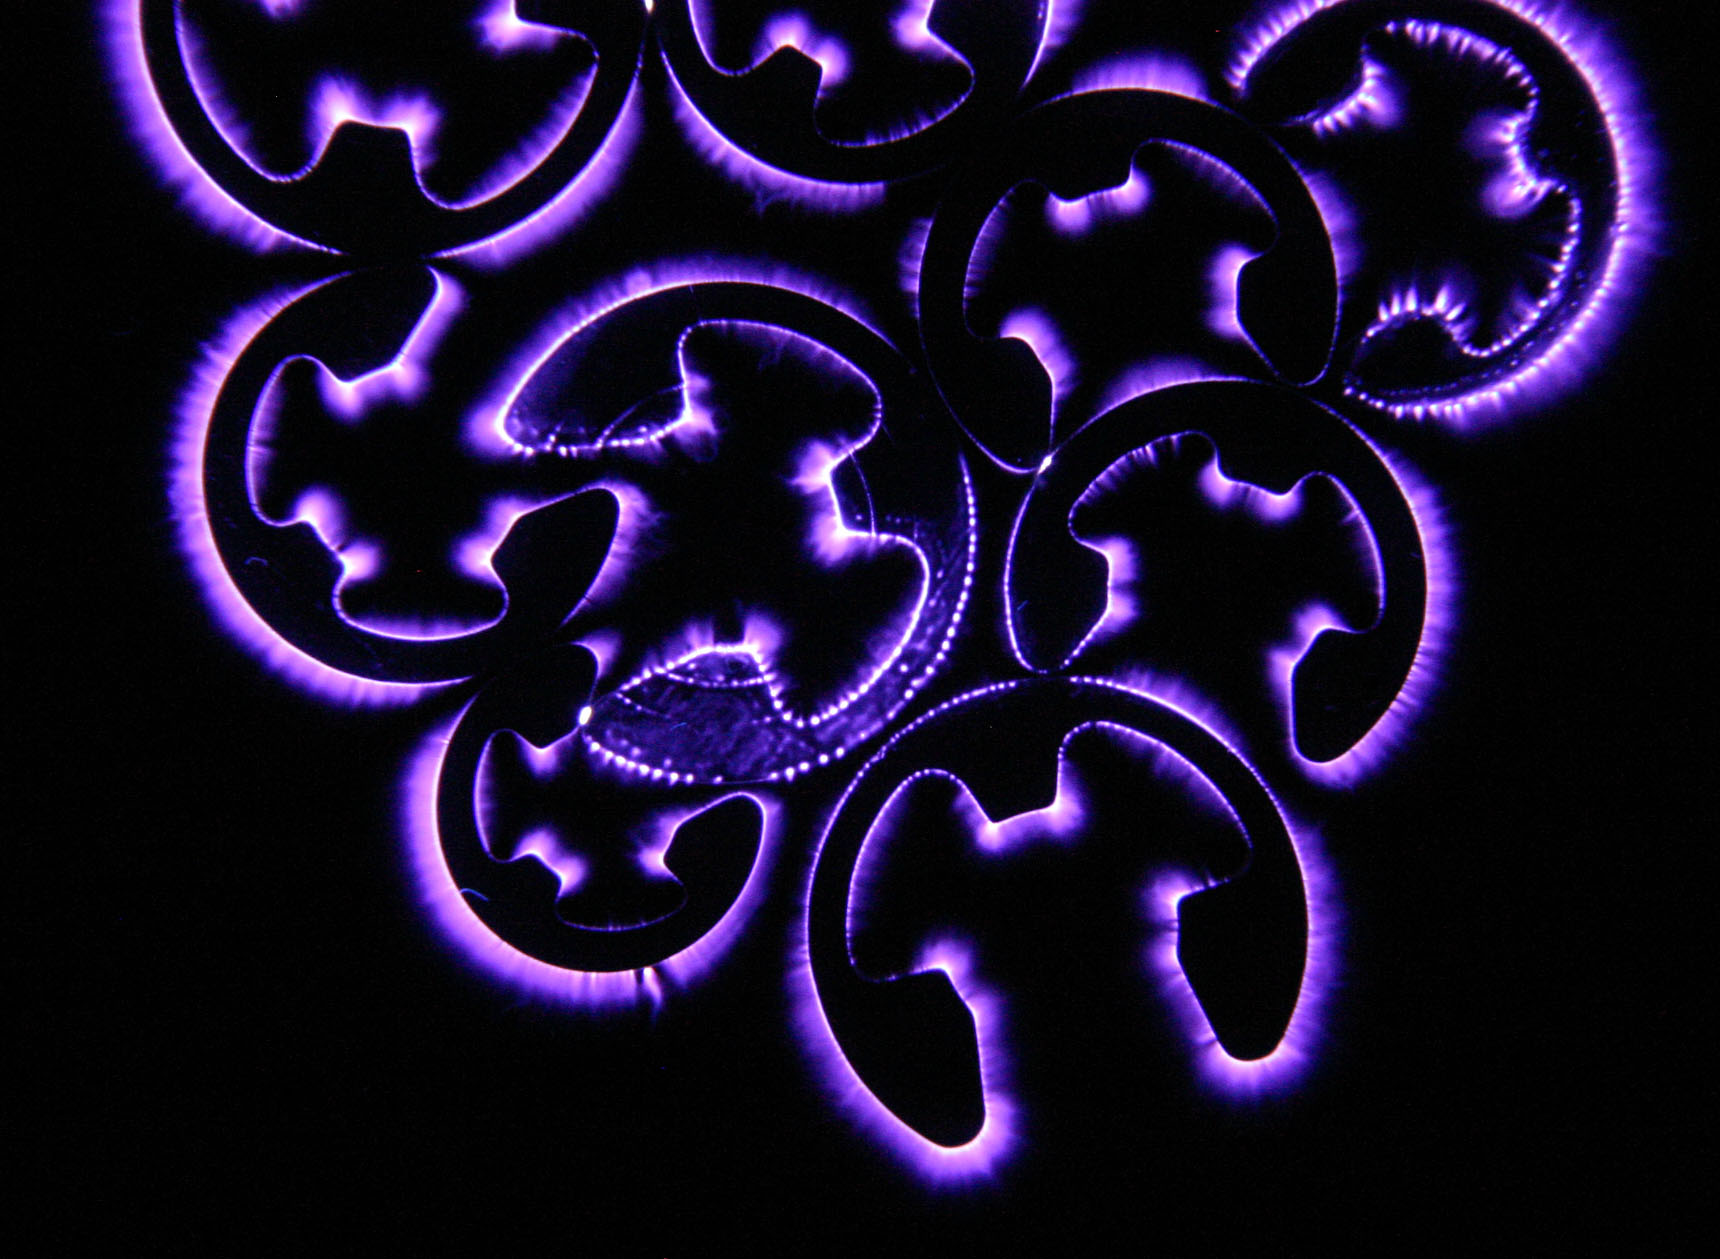
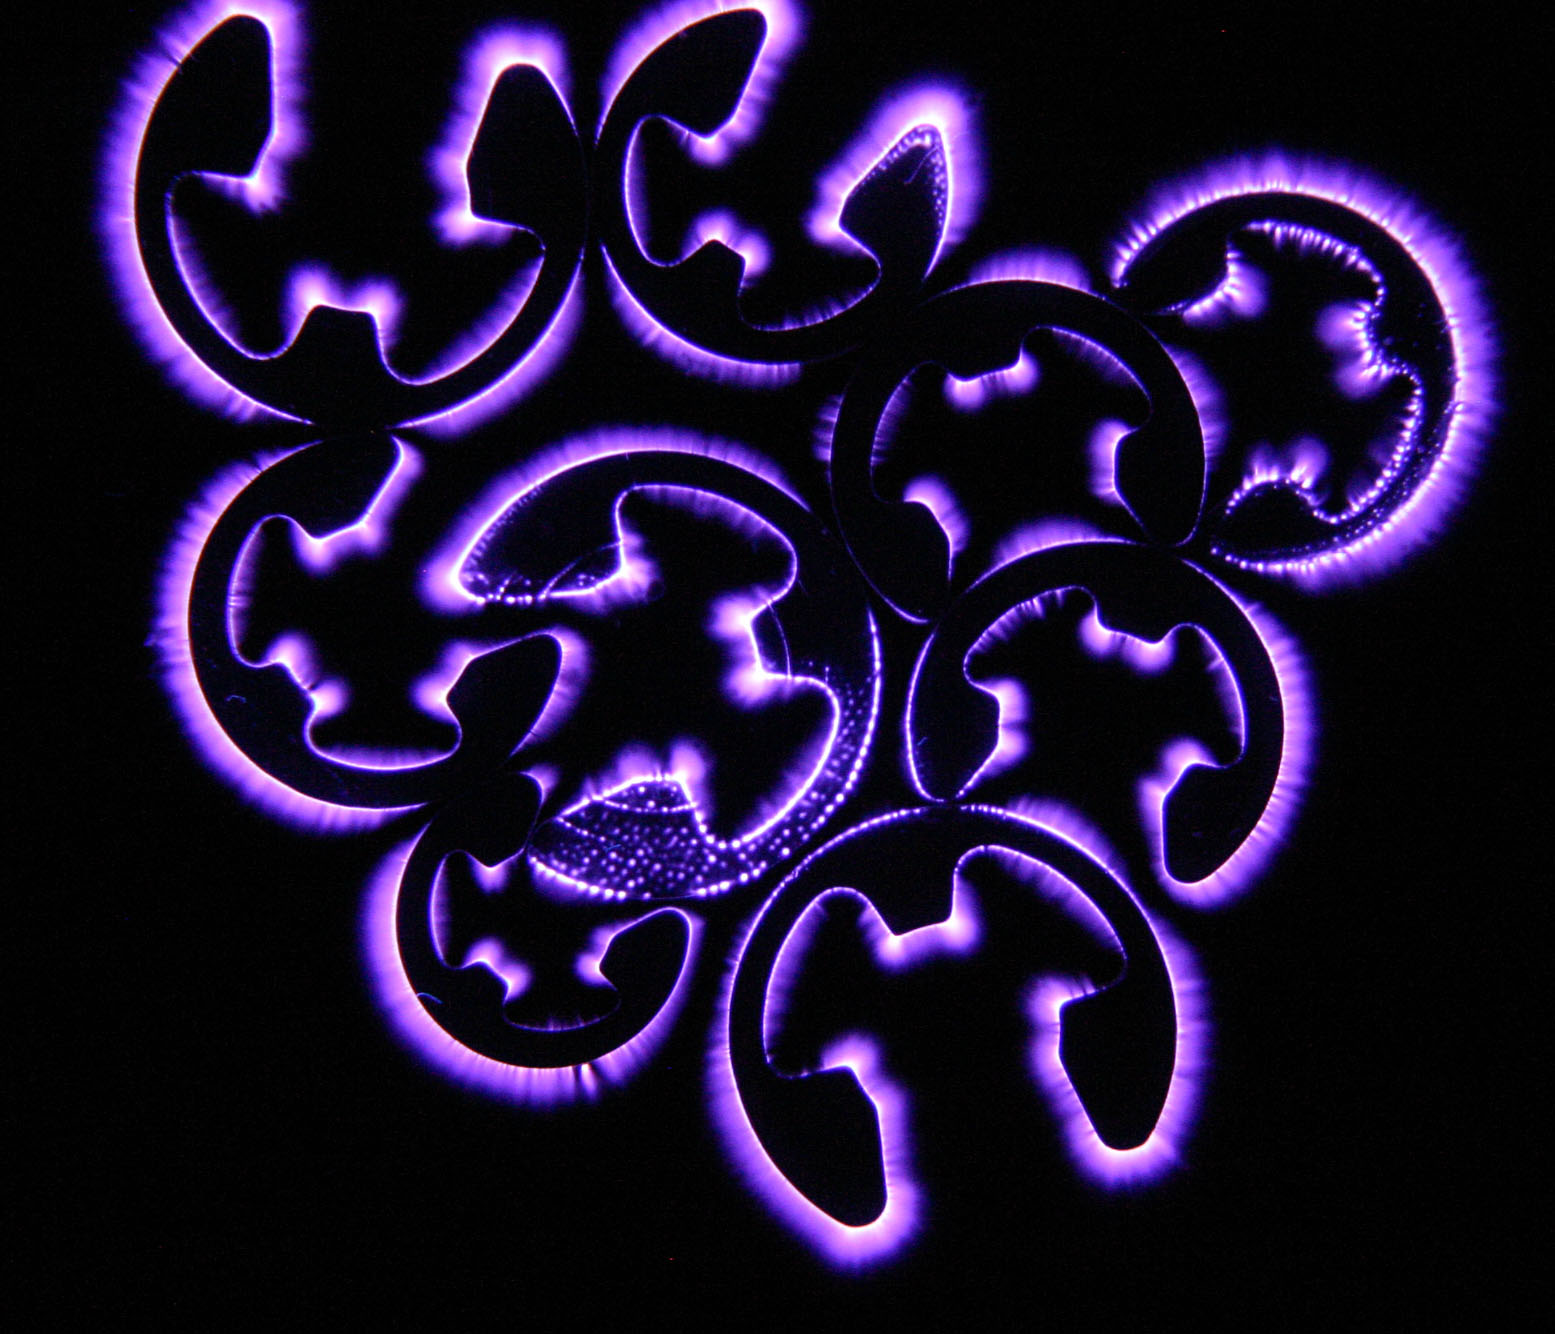
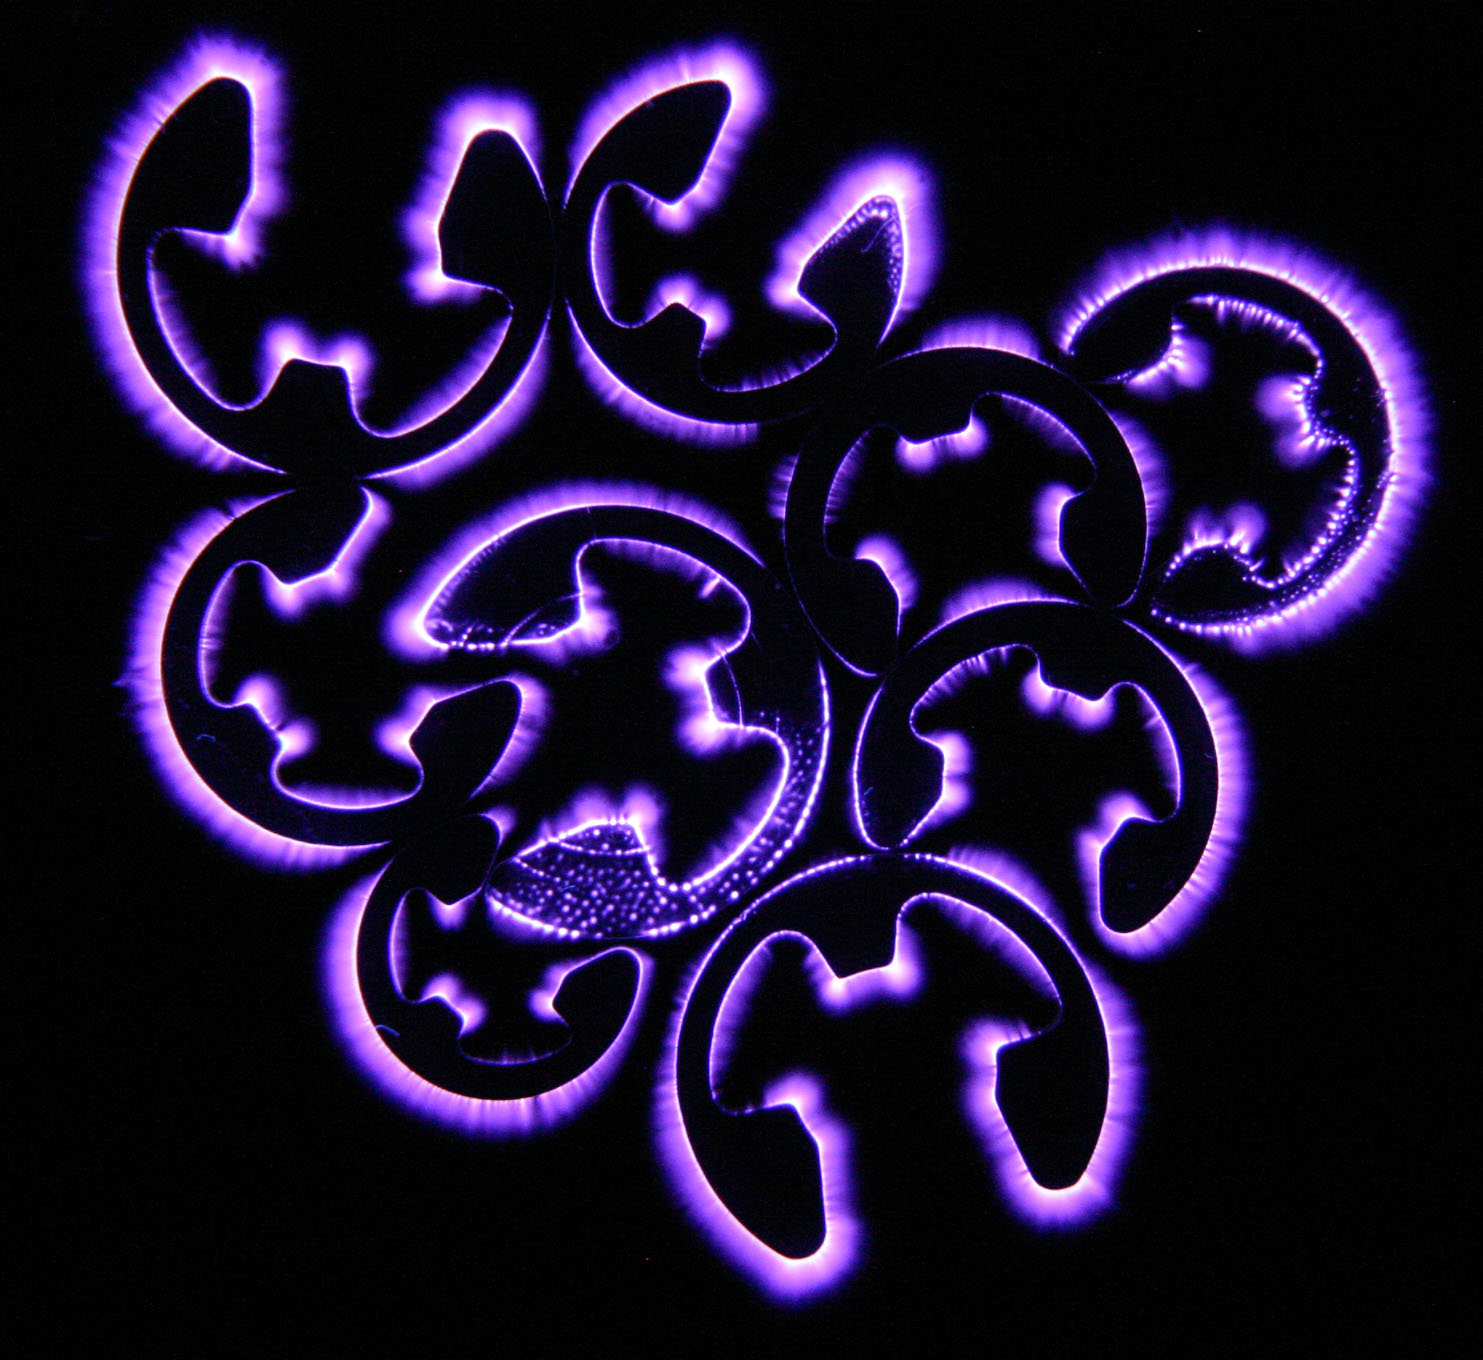
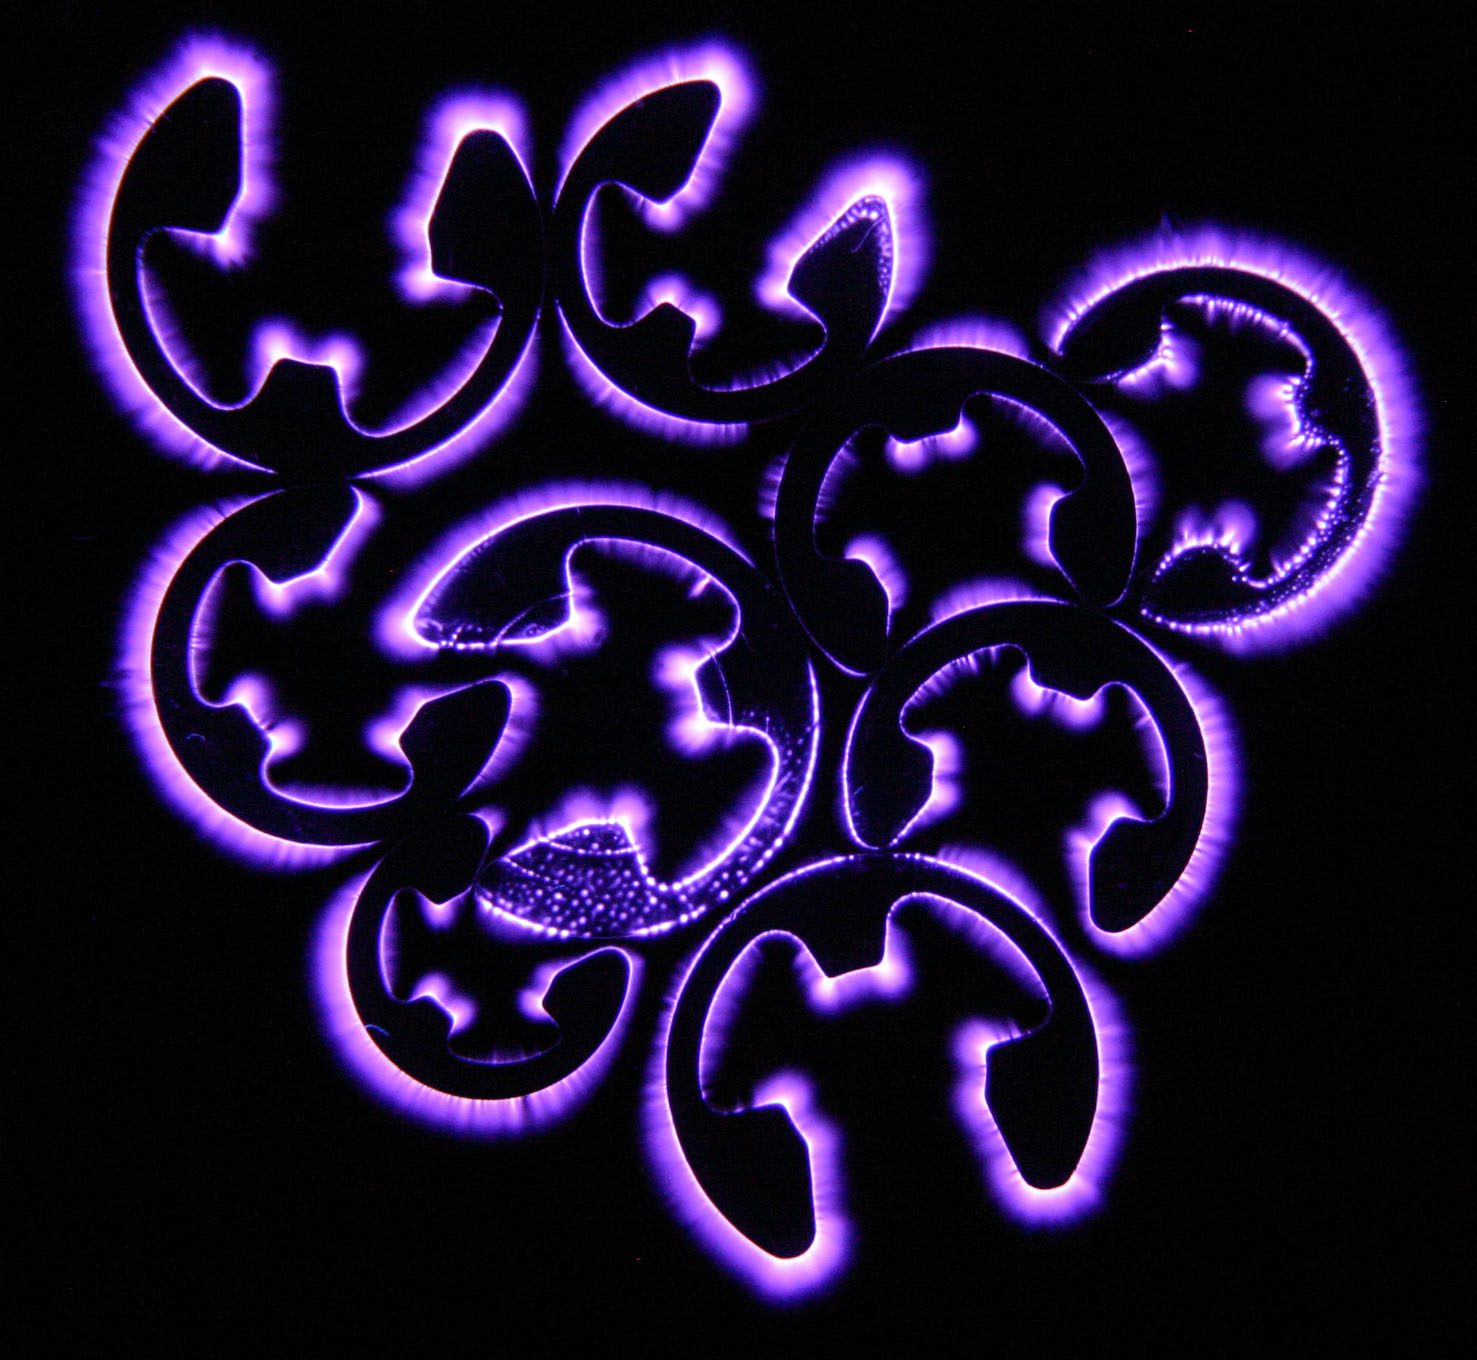
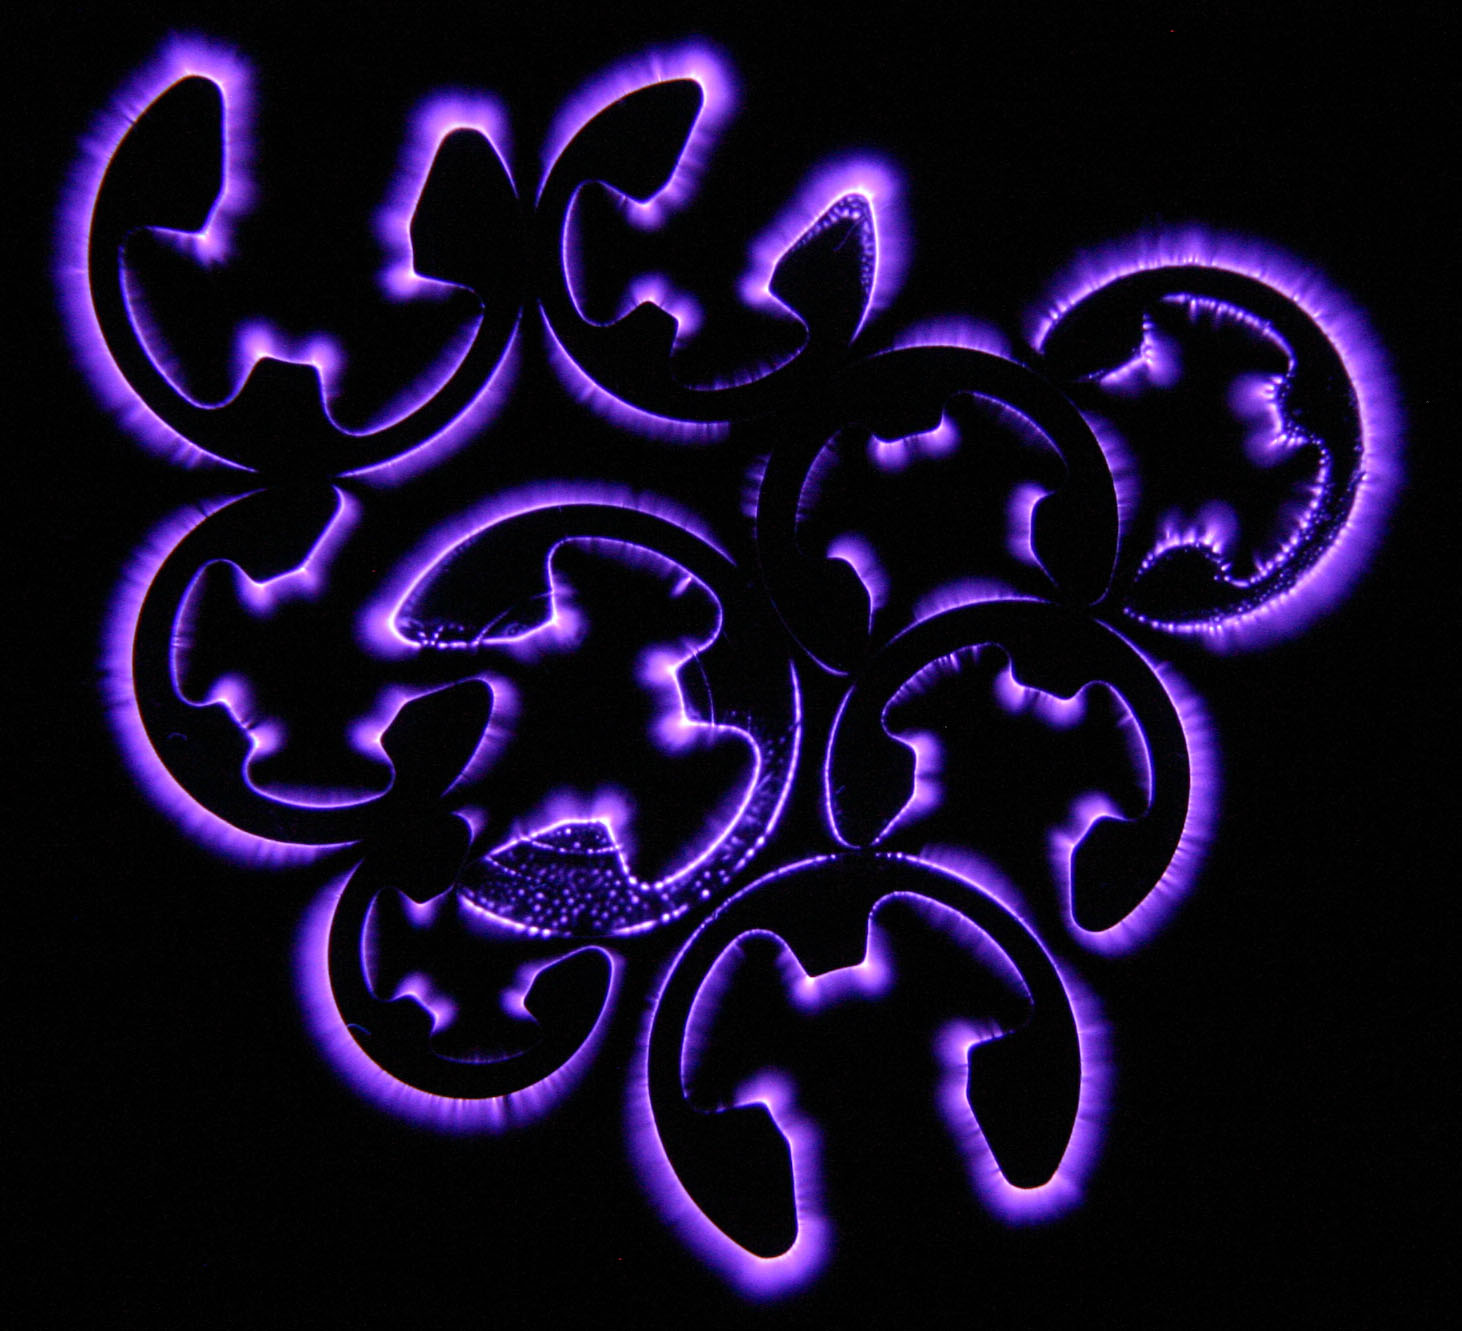
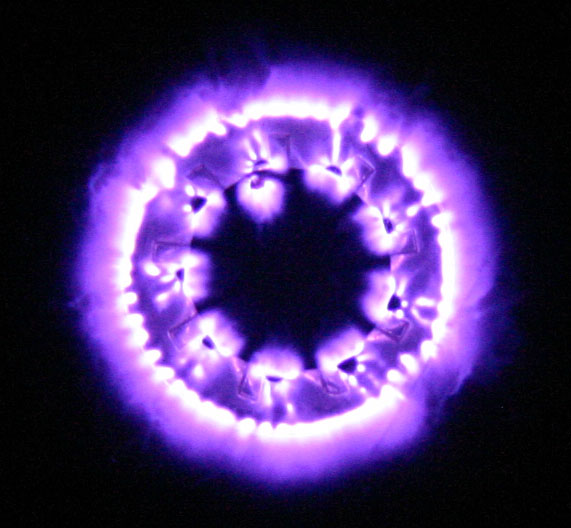
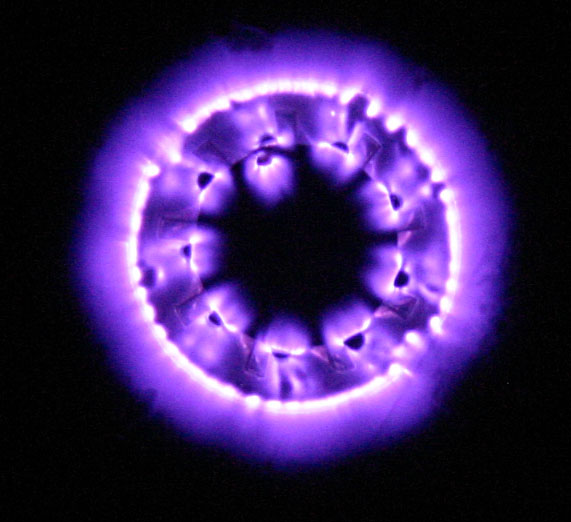
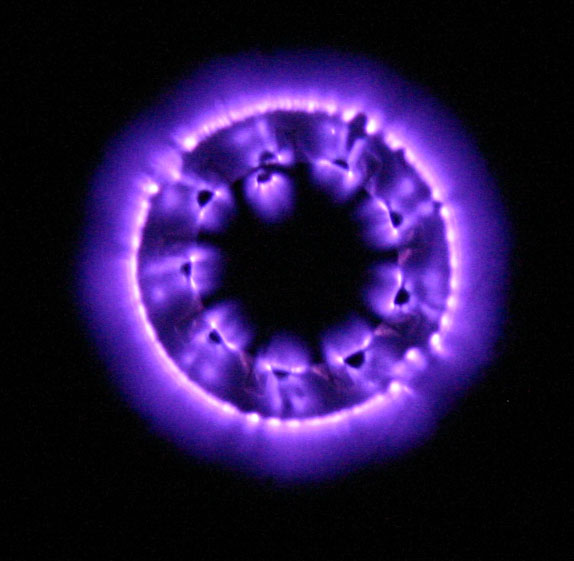
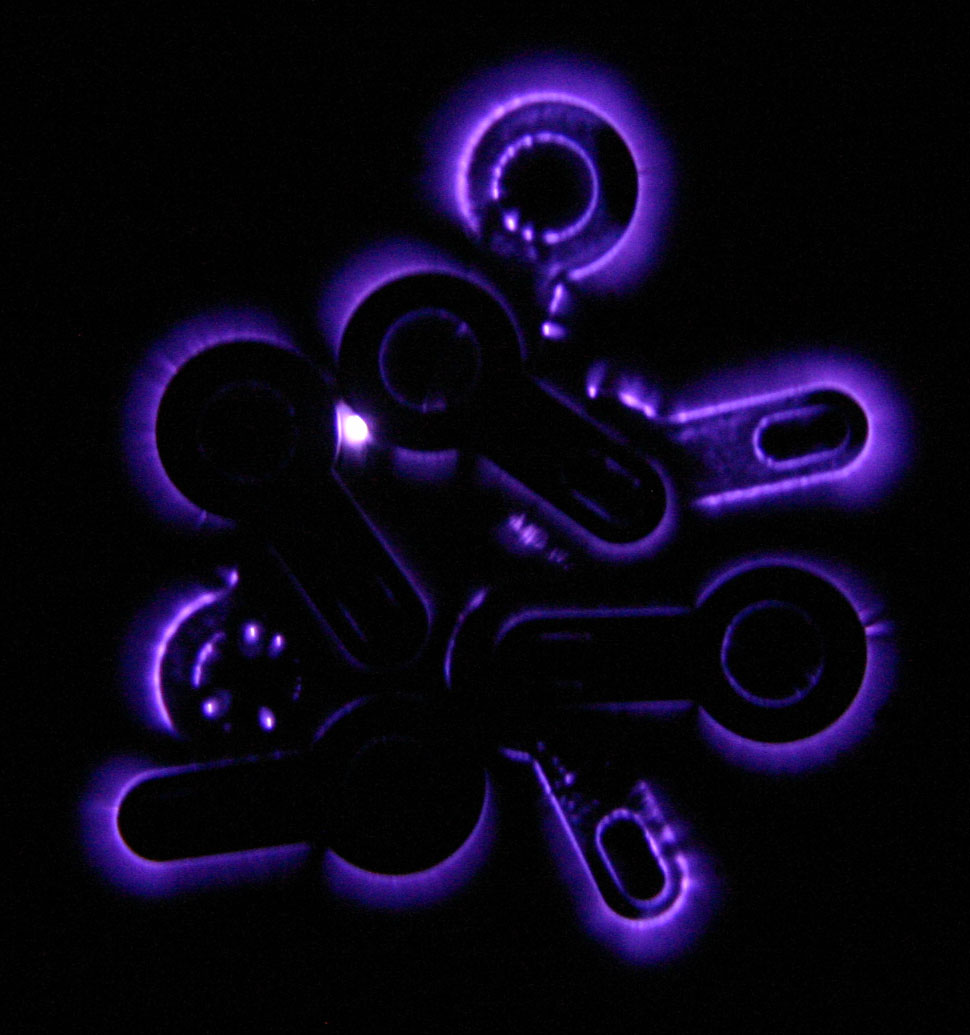
Washers and circlips. Various circlips, shakeproof washers and solder tags.
 |
 |
 |
 |
 |
 |
 |
 |
 |
 |
 |
 |
 |
 |
 |
 |
 |
 |
 |
 |
 |
 |
 |
 |
| ▲ Electronics |