
| ▲ Electronics |
I got fed up having to connect my previous 3V supply to a 5V bench supply every time I wanted to use it, so I decided to make a standalone supply, run from the mains. I was initially planning on using a 5V plug-top adapter to run the same circuit I used before, but it turned out the adapter I was planning to use was in fact knacked, so I made a complete mains-powered supply instead.
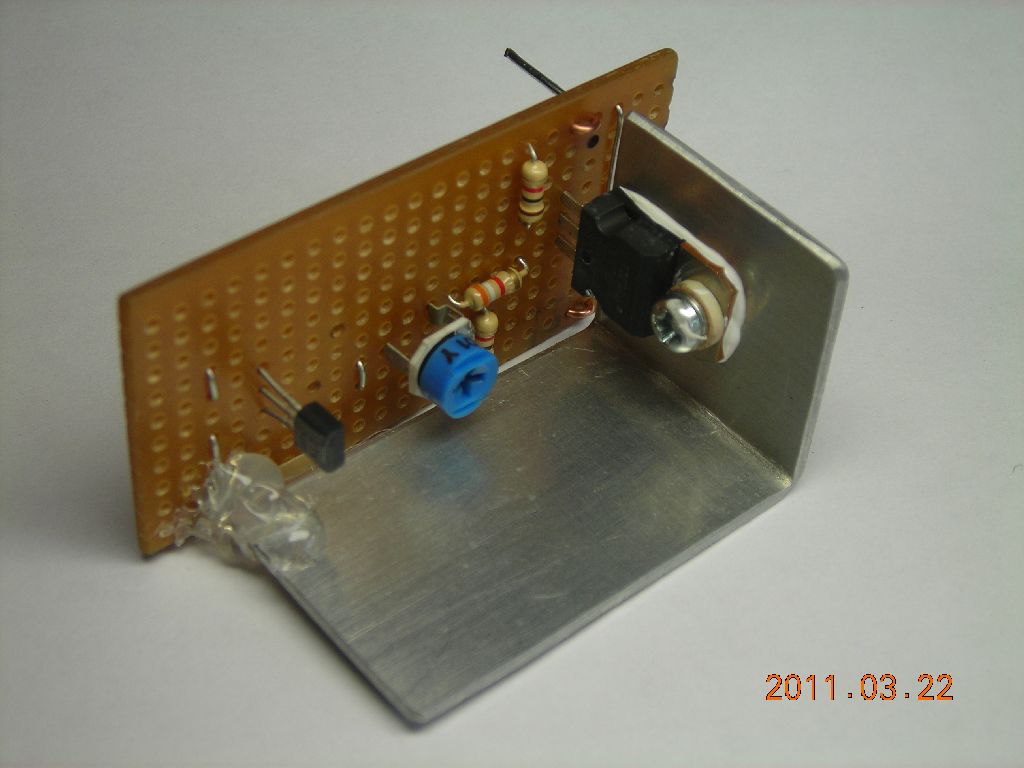
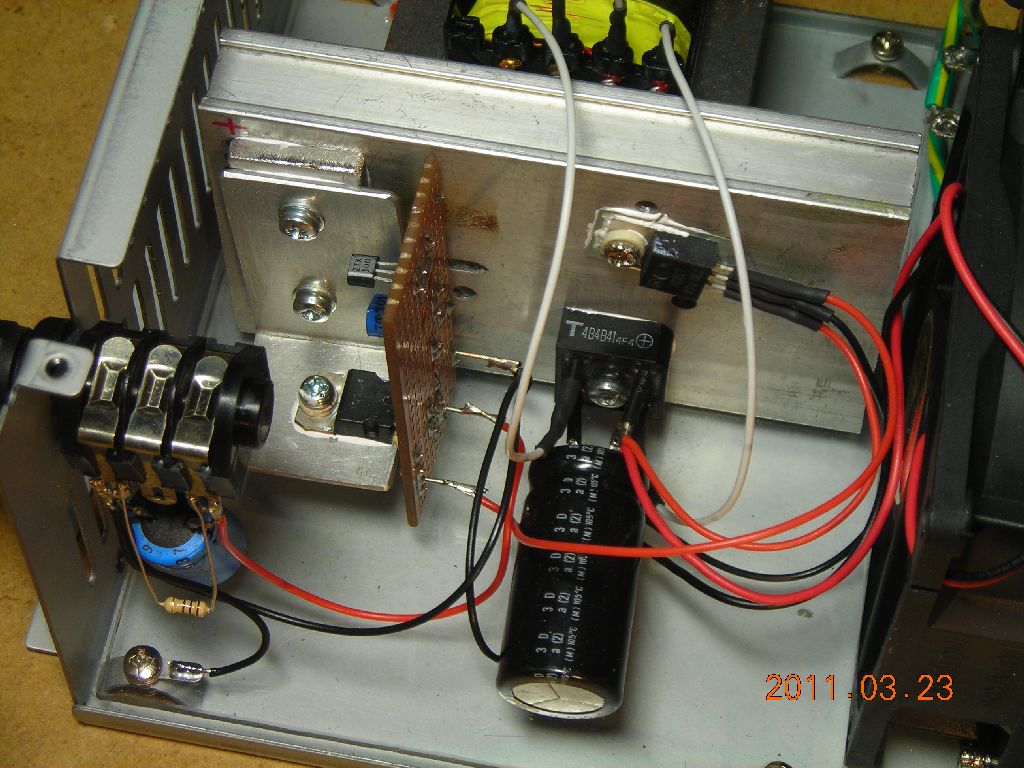
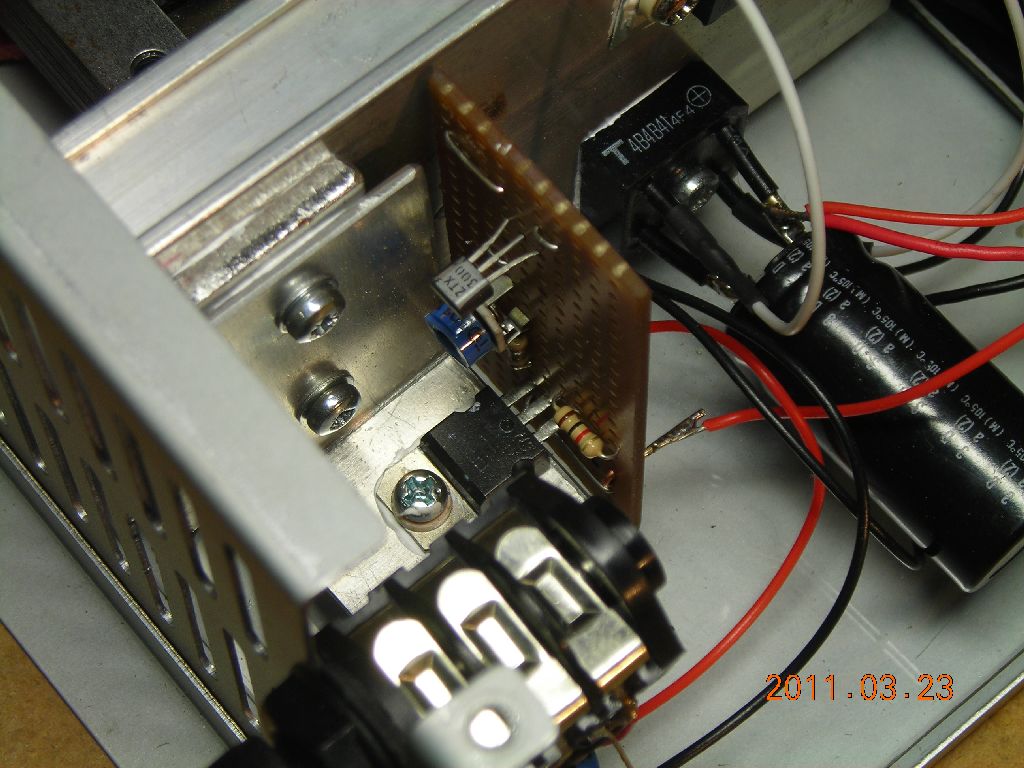
Click here for a PDF schematic of the entire supply. The little regulator unit itself (first two photos below) is pretty much the same circuit as before, with a slight improvement to the voltage adjustment resistor. I've used several resistors here - with the values shown, this results in an output voltage range of about 2.6-3.0V. Note as well that, if the wiper of the pot disconnects from the track, the output voltage goes to the low end of the range to prevent damage. The regulator itself is again run from a 5V supply, which is obtained from a 7805.
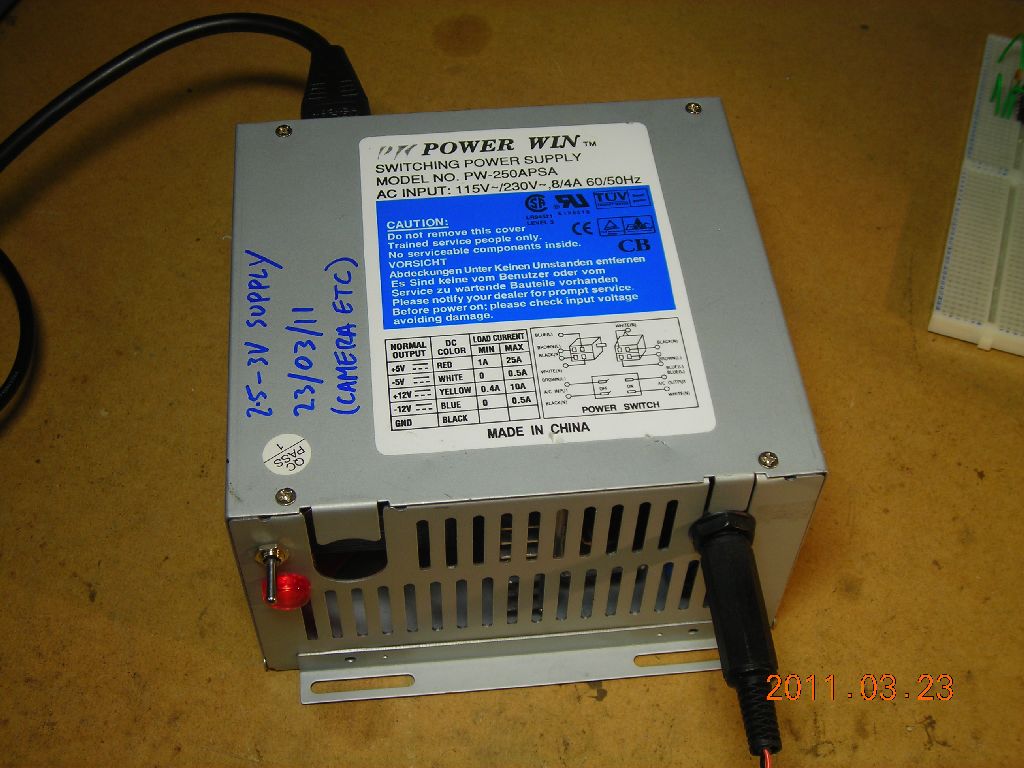
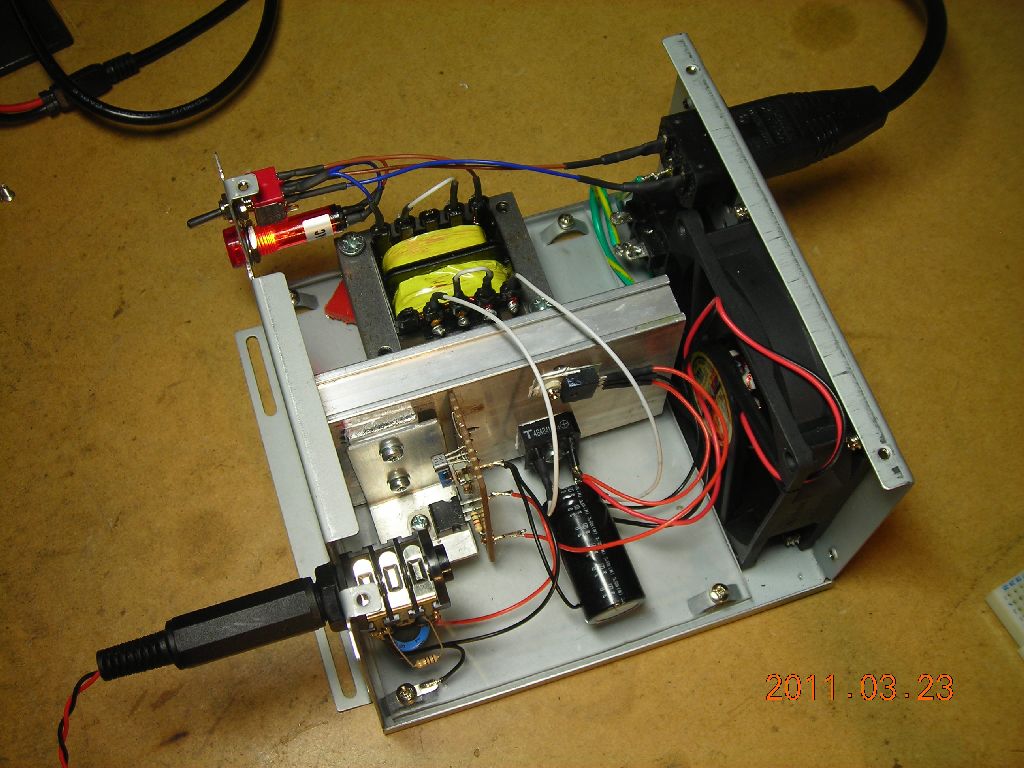
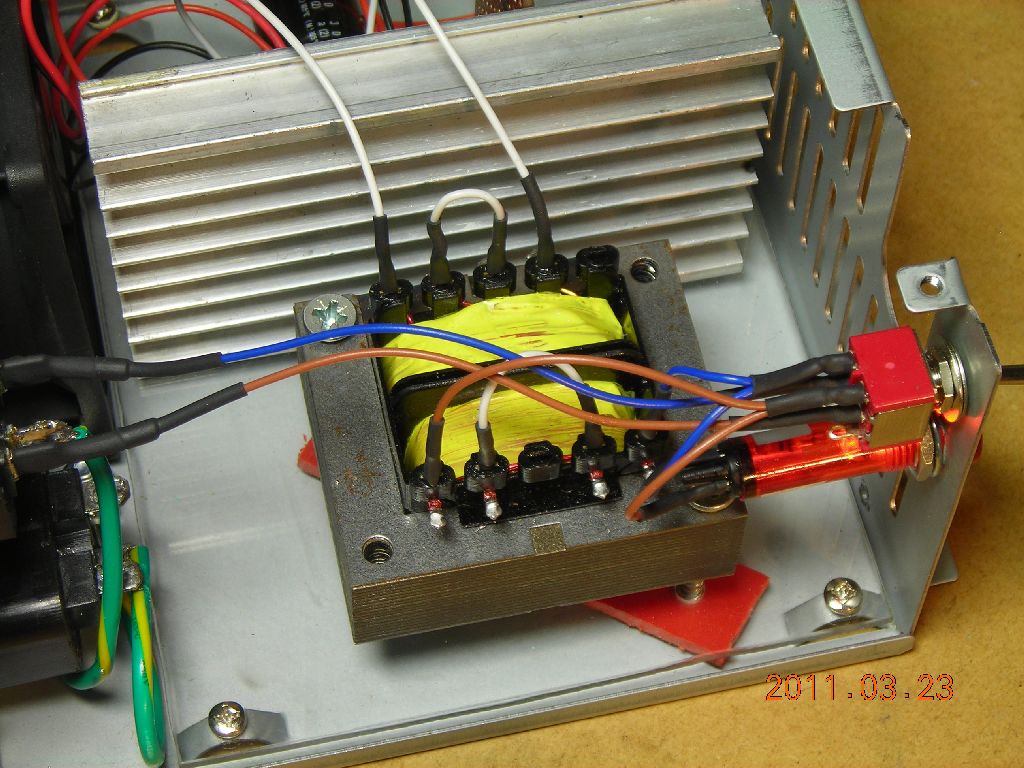
I built the supply into an ATX supply case since it has a mains socket and fan built-in. The mains transformer I used provides around 11V, once smoothed and rectified, which is enough to run the fan and the 7805. The 7805, bridge rectifier, and TIP121 are mounted on the heatsink, as they all dissipate a few watts each in operation. I've had it running a 3Ω load continuously and all the components are perfectly cool. Output is via a ¼" audio jack socket (the only connector I had to hand at the time) on the front of the box.
You're probably all wondering why I didn't just use a 317 adjustable regulator and save myself a lot of trouble! Well, I don't have one, I don't need anything else from RS components immediately, and I have to pay £4 postage on every order. That should explain why I did things from scratch...plus it's more fun.
 |
 |
 |
 |
 |
 |
 |
| ▲ Electronics |