
| ▲ Electronics |
When I first made my little rotary encoder decoder module, I needed a way of quickly and easily assembling the boards. I wanted to do them myself, to save money on an external assembly service, since I wasn't sure what sort of demand there would be for the module.
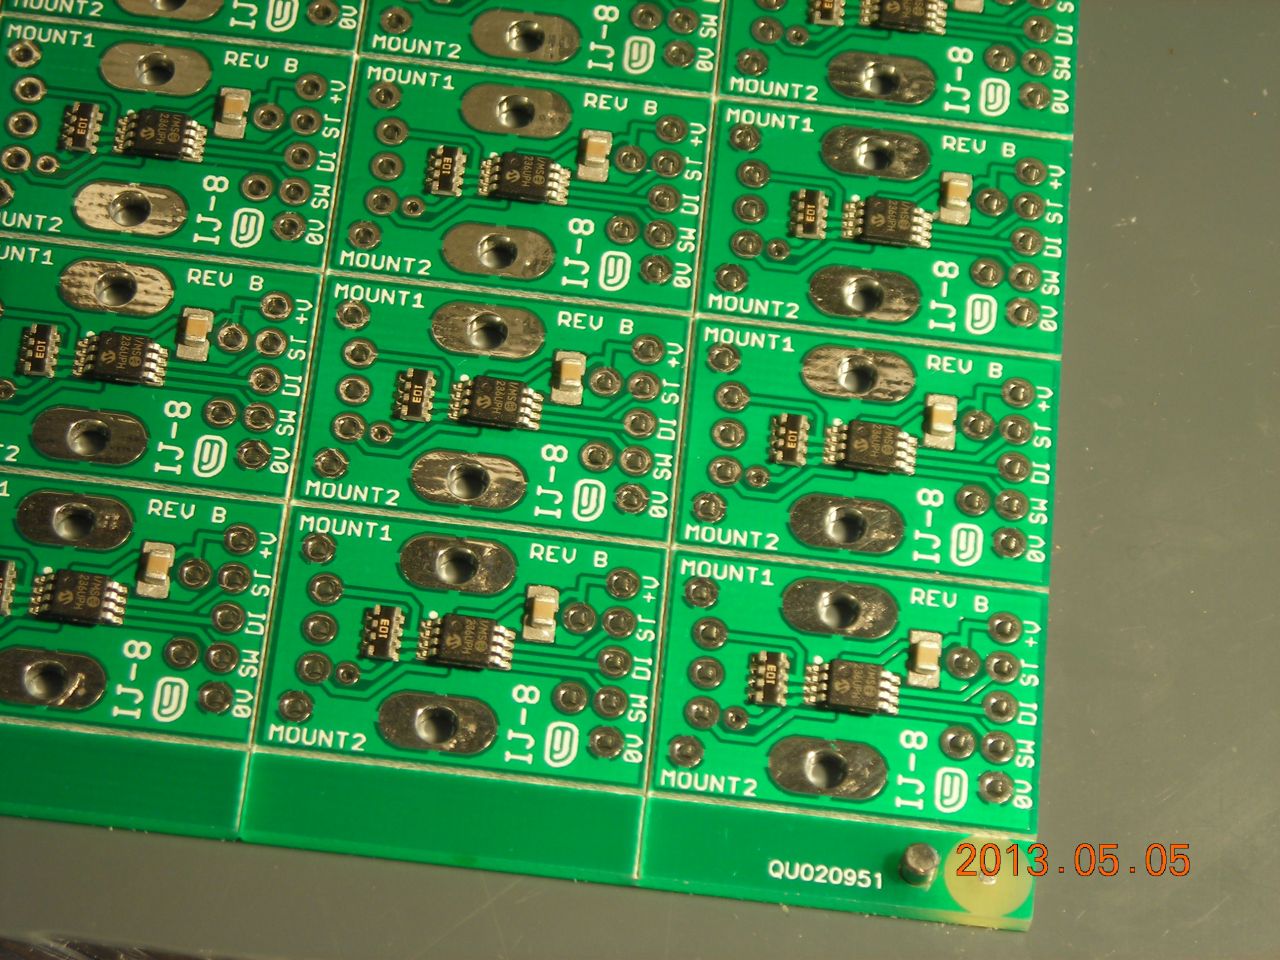
Here's one of the boards and the solder paste stencil:
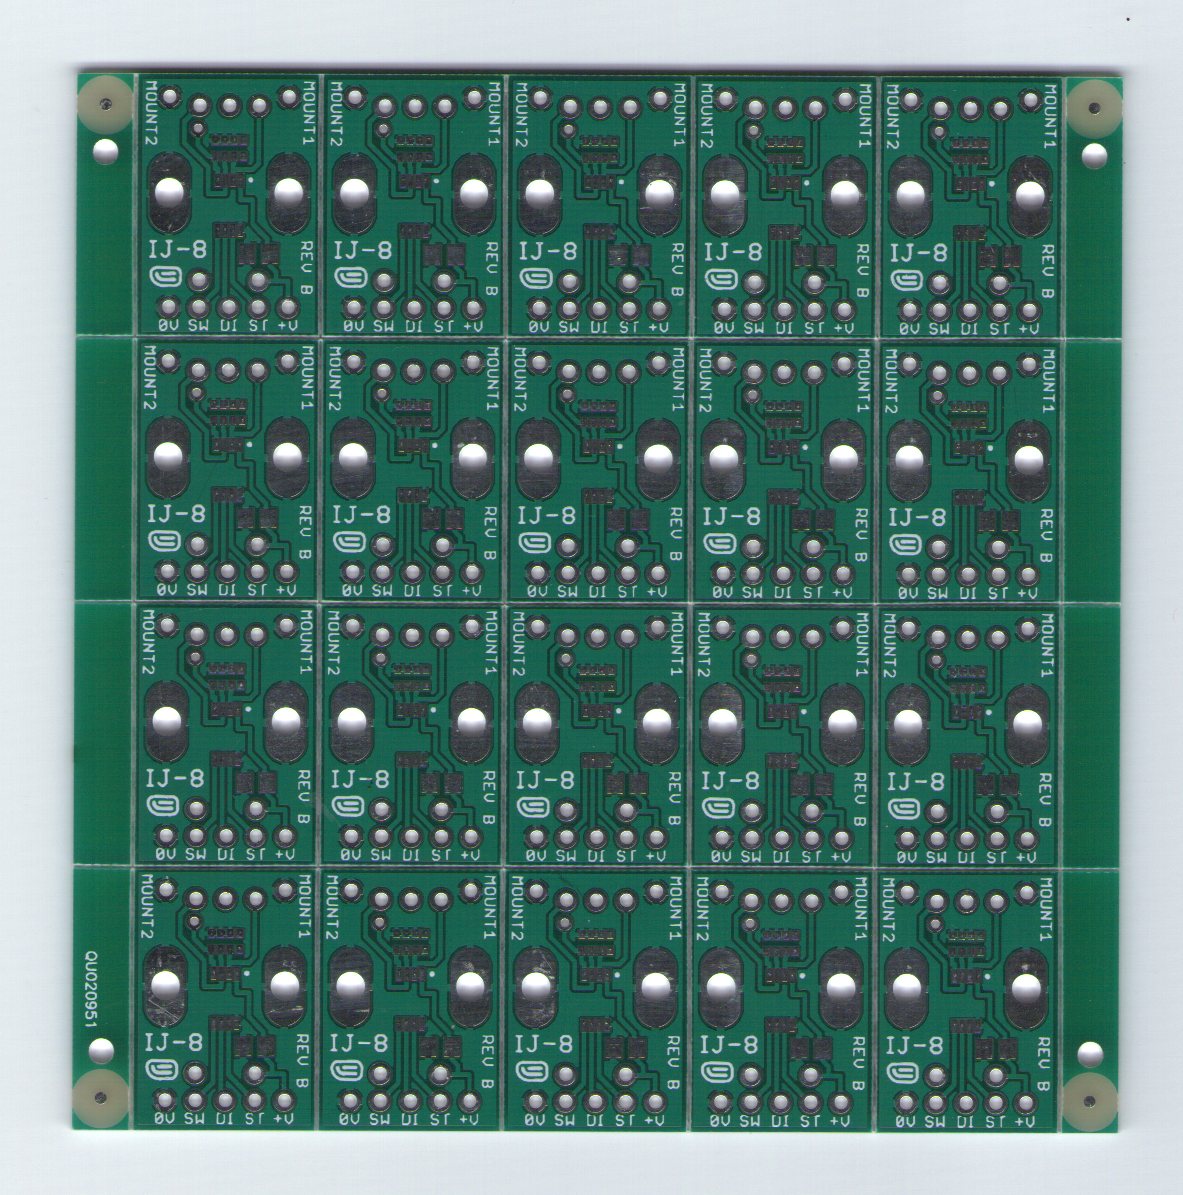 Board |
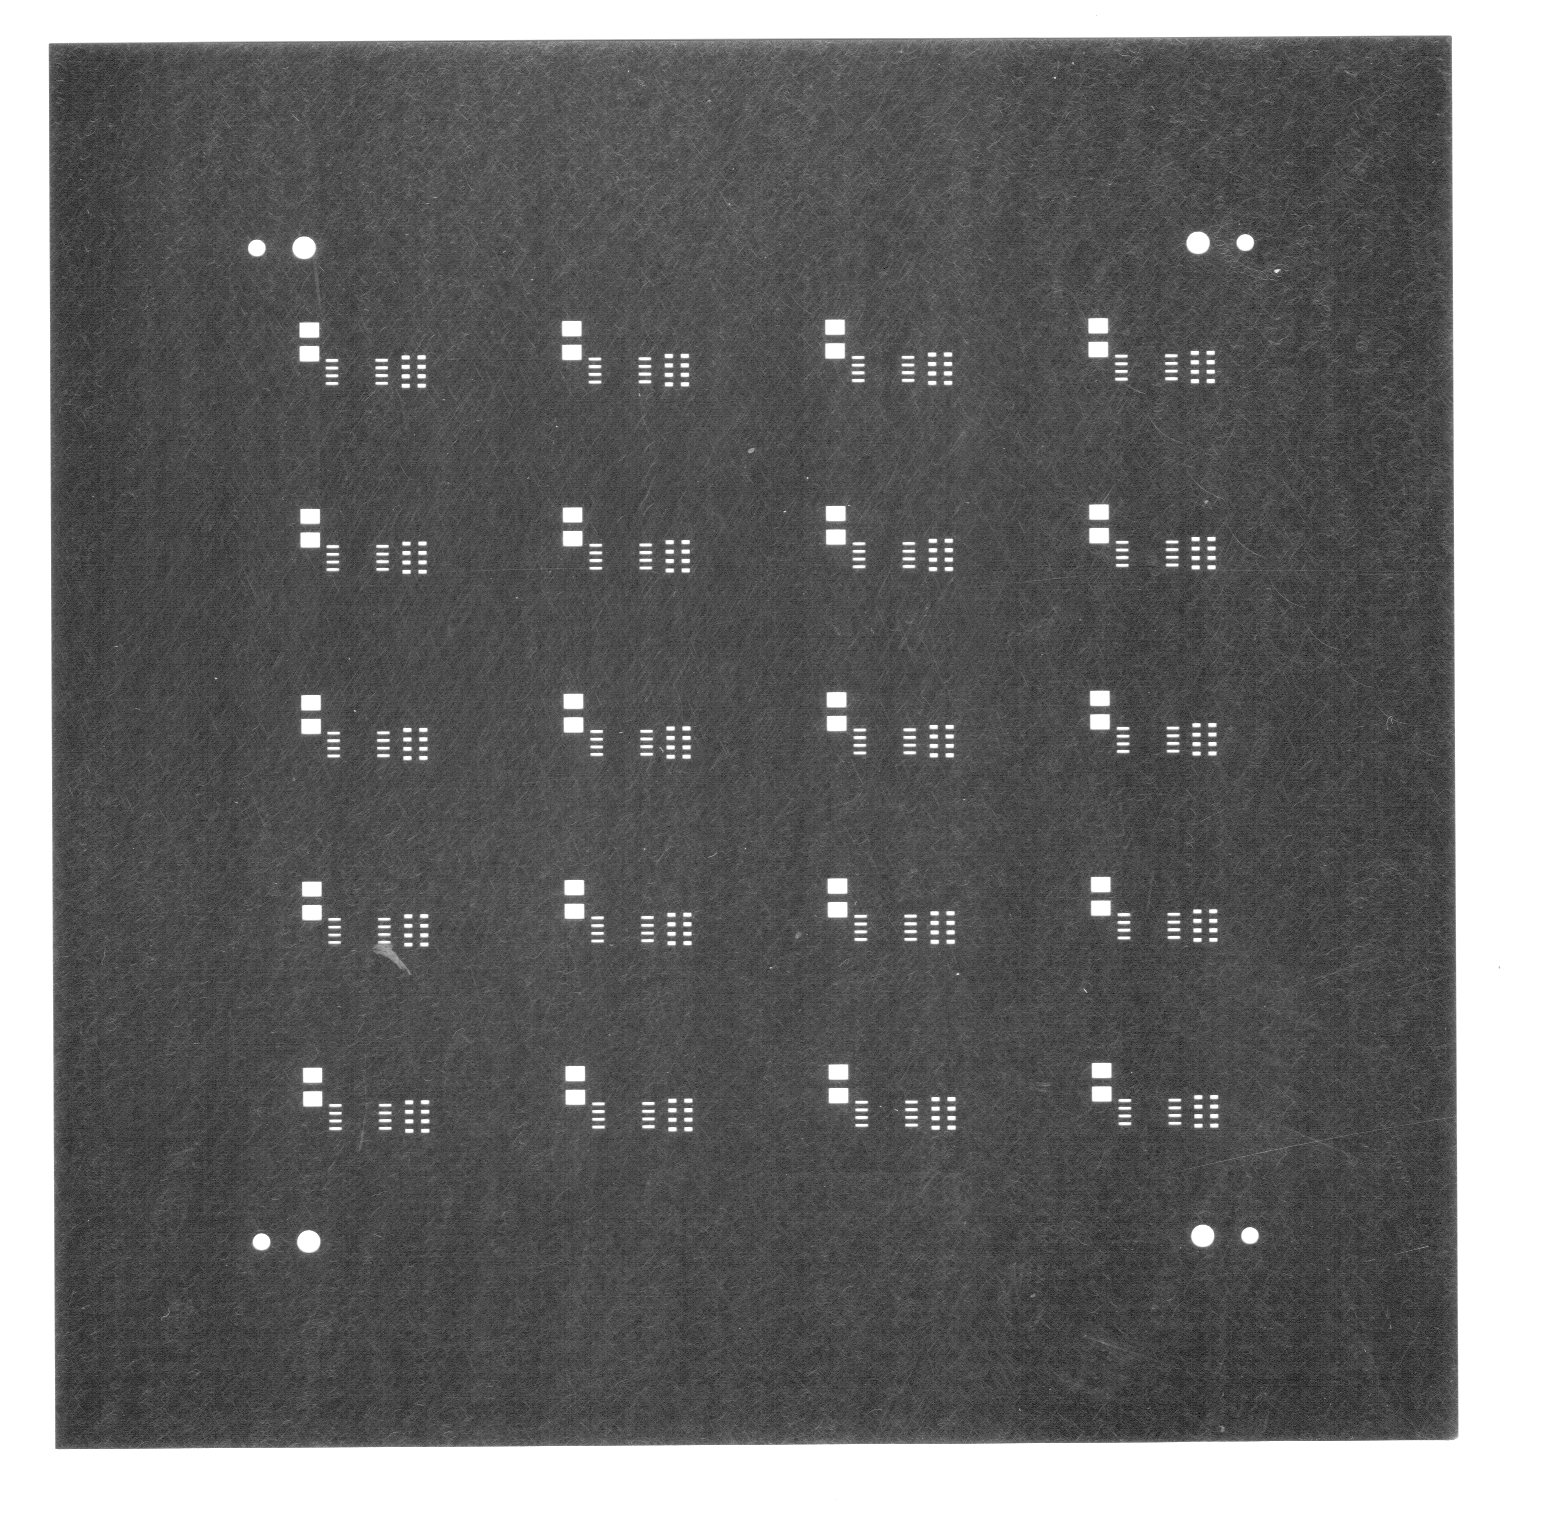 Stencil |
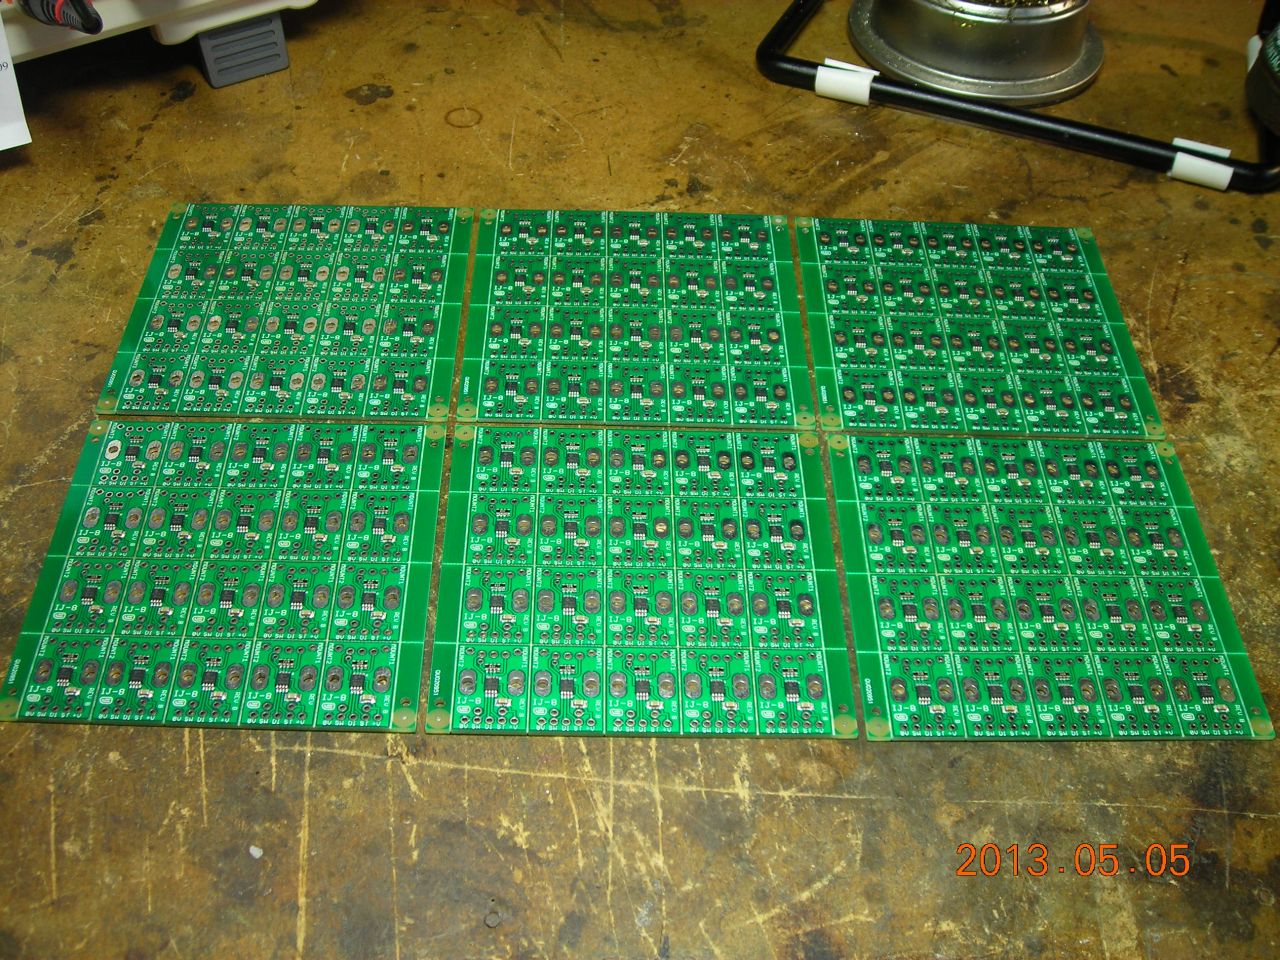
There are actually 20 individual boards on this - after assembly, they are snapped apart along pre-defined score lines.
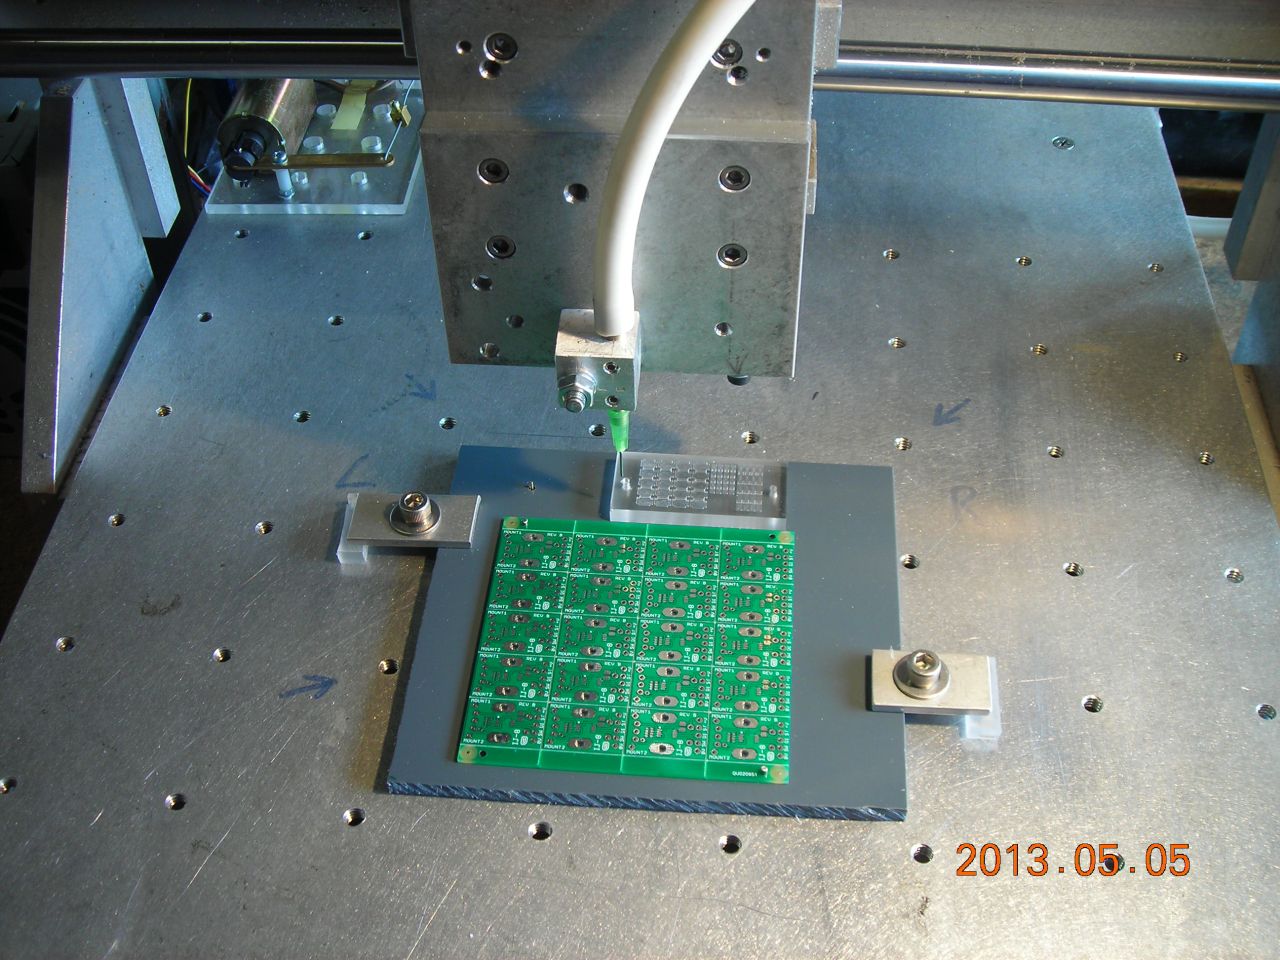
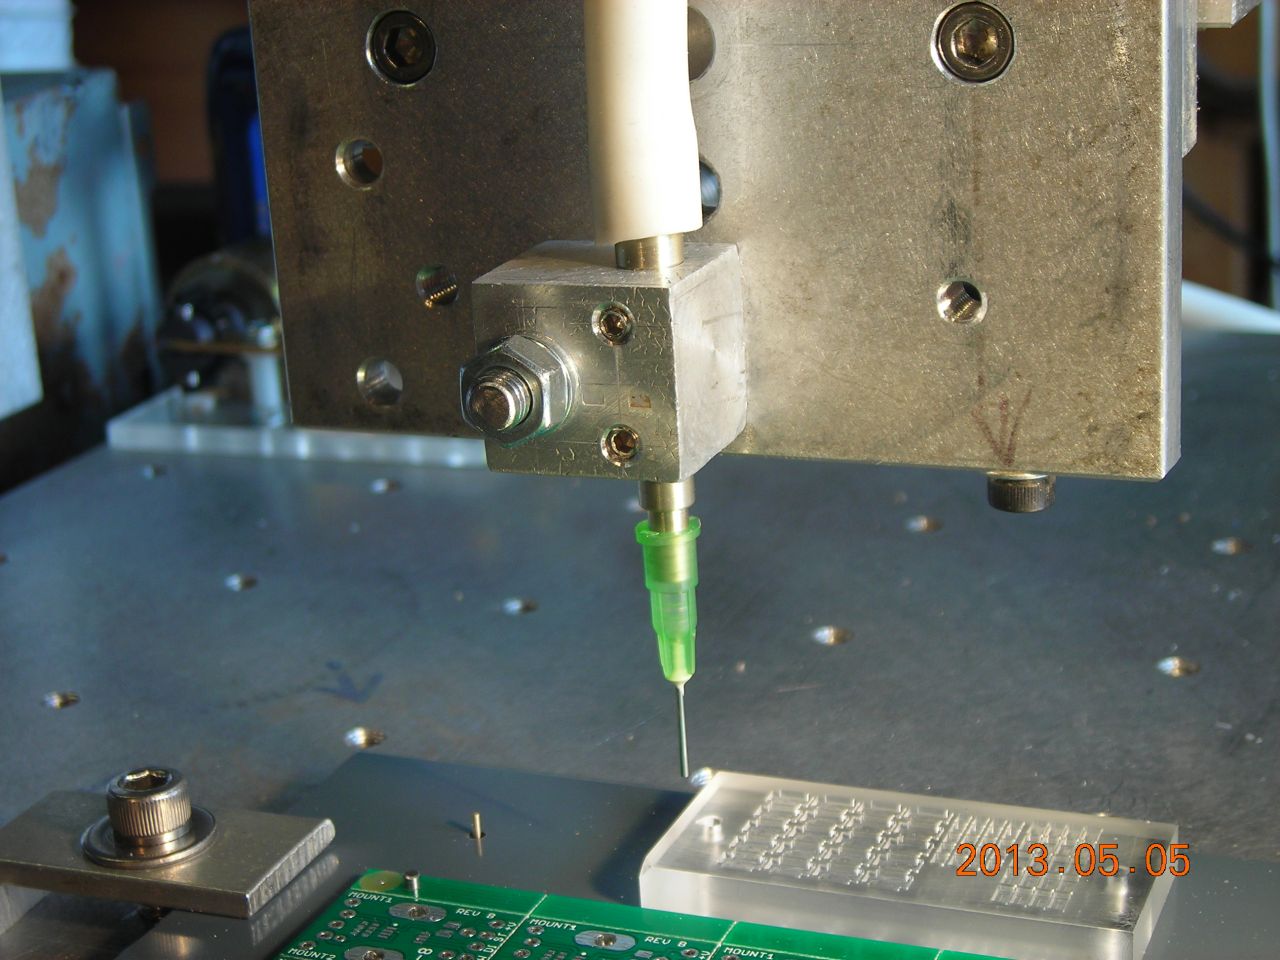
With a couple of attachments, I converted my CNC router into a pick-and-place machine, which (although a bit slow) was able to successfully populate the PCB panels.
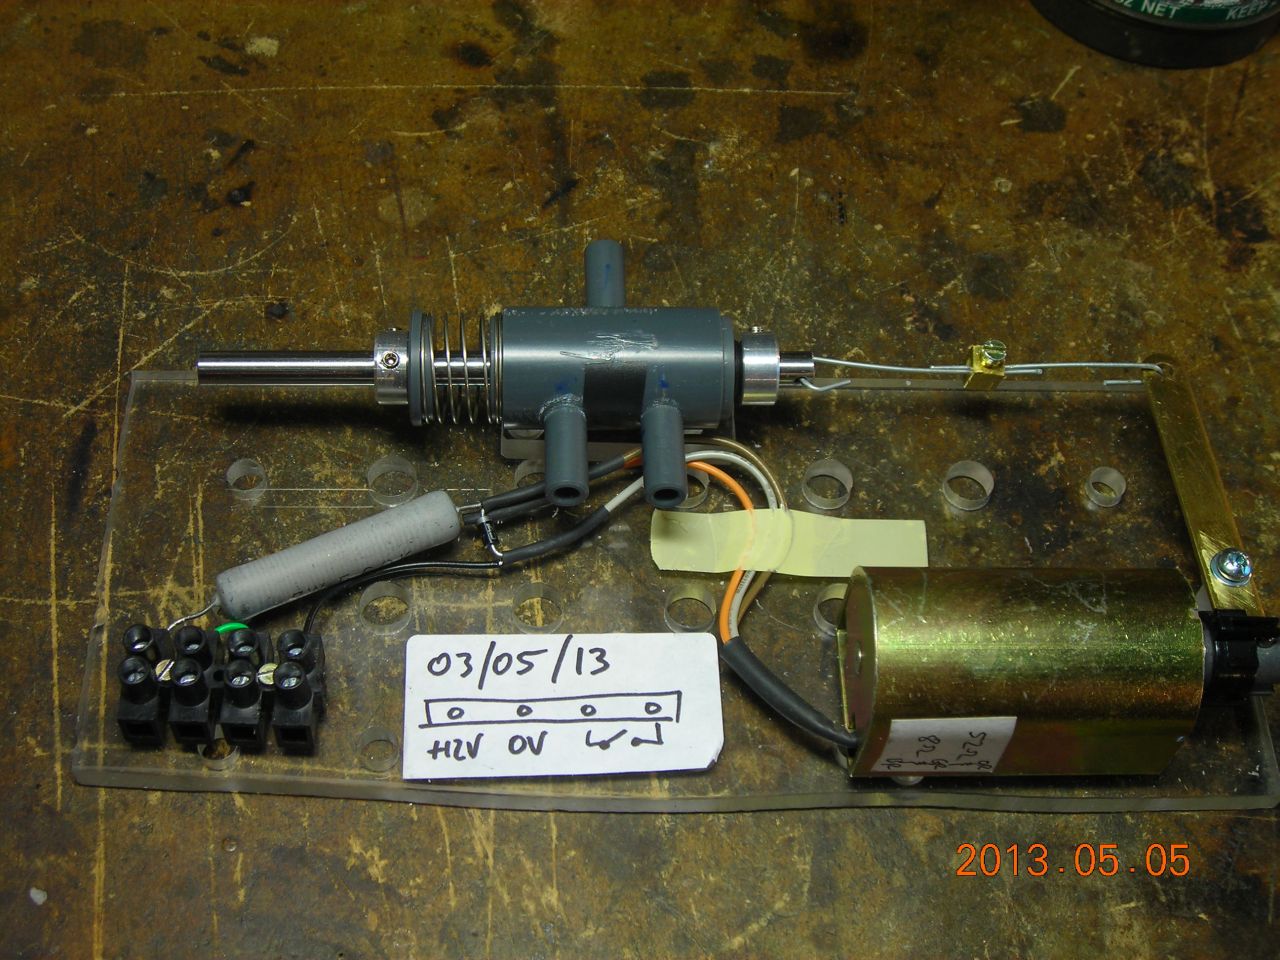
I made a simple 3-way solenoid valve to connect a nozzle to either vacuum or to the open air. The solenoid is controlled by the spindle relay output on the CNC router's controller. The nozzle itself is a small hypodermic needle with the end sanded square.
Instead of trying to pick the parts from their original carrier tapes, I chose to load them into a small jig instead. The hole positions in the jig are accurately known, so it's easier to pick the part up.
I wrote a small program to convert a list of coordinates, pick heights, place heights, correction factors etc. into a G-code file which the router can run. It probably isn't much use to anyone else, so here's just some screenshots of the board layout, input data and program:
 Board layout |
 Input file |
 Conversion program |
Lead-free solder paste is first printed on to the board through a stainless-steel stencil, using a cabinet scraper to squash it along. When I got the boards and stencil made, I included alignment holes so I could just insert a couple of dowel pins through the stencil and board to get accurate alignment. After placing all the components, it's on to the hotplate to solder them.
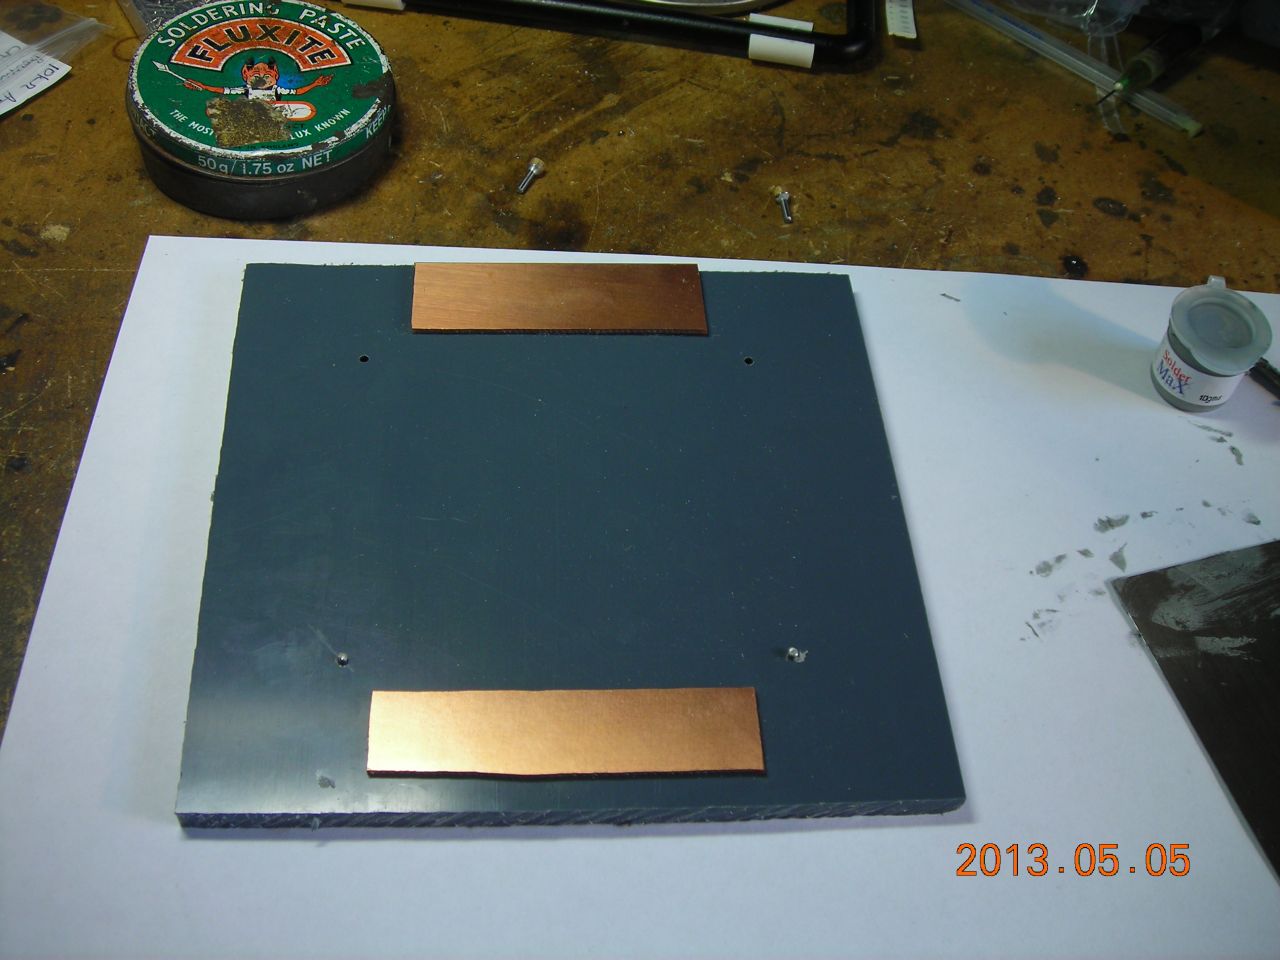 Base for applying the solder paste. Note alignment pins in lower two holes. |
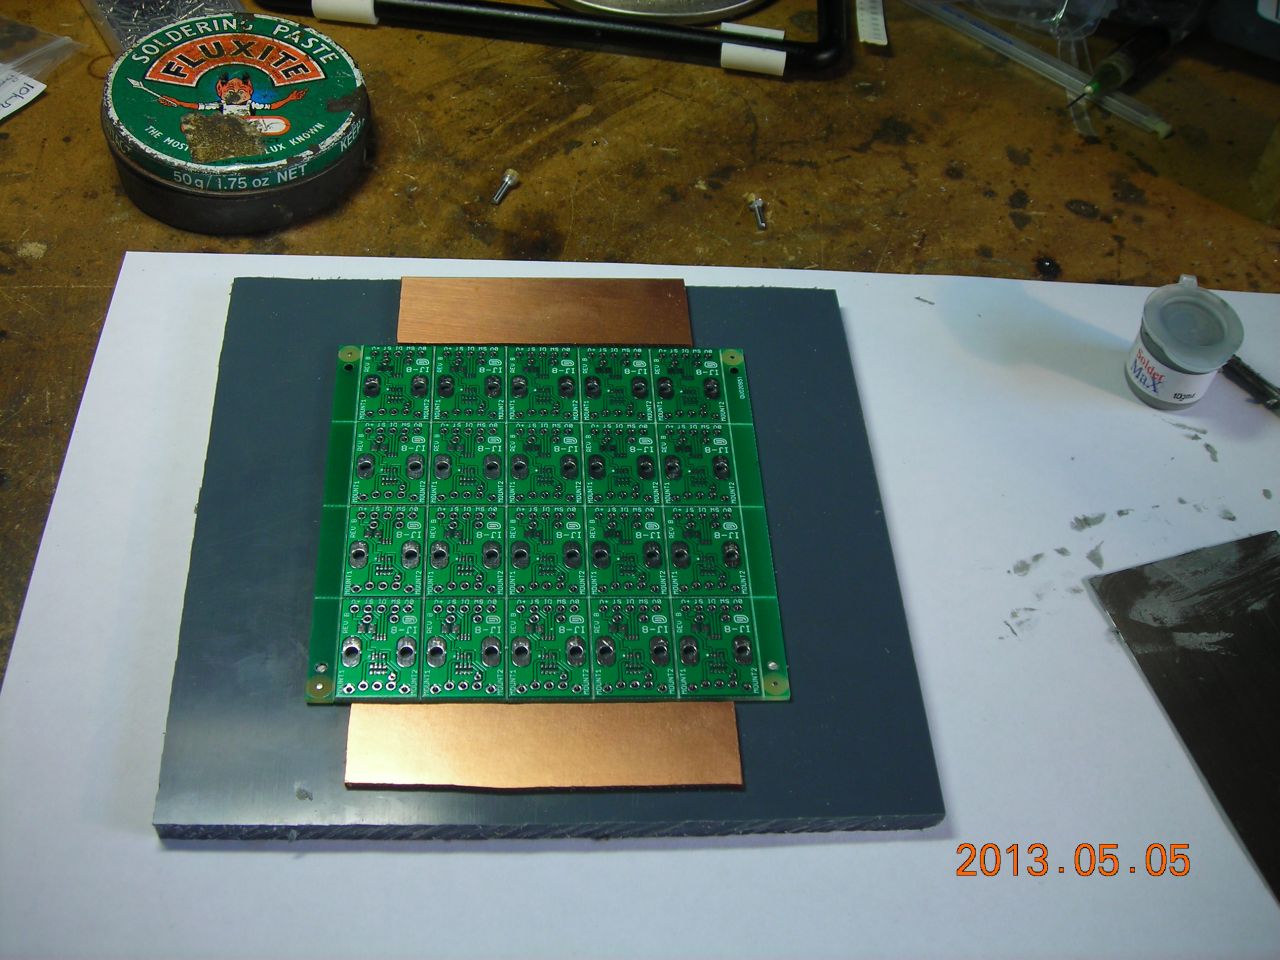 Board placed on base - pins align with holes in board. |
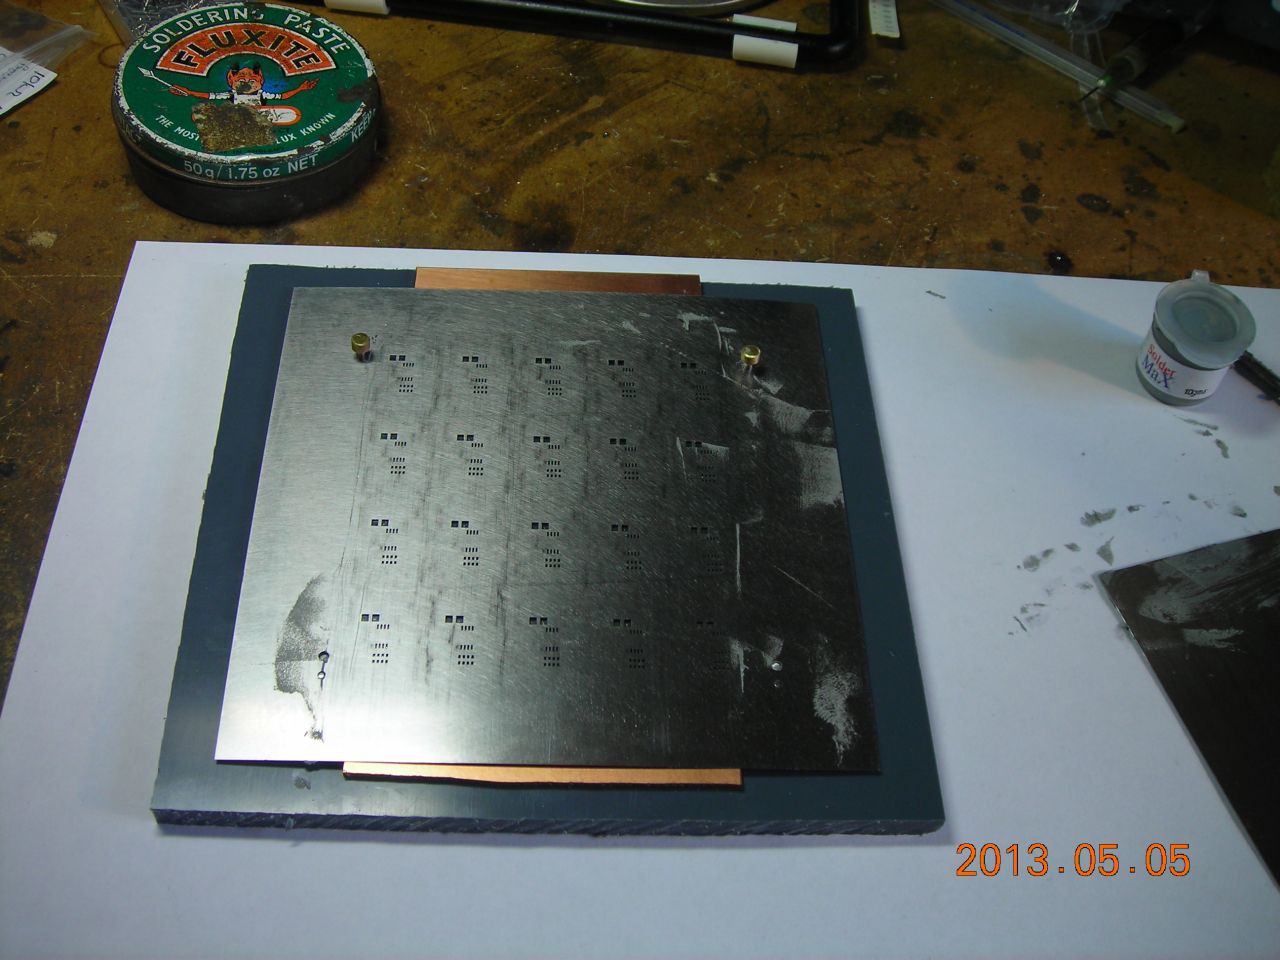 Stencil placed on top and two longer pins inserted through stencil and board (at top) |
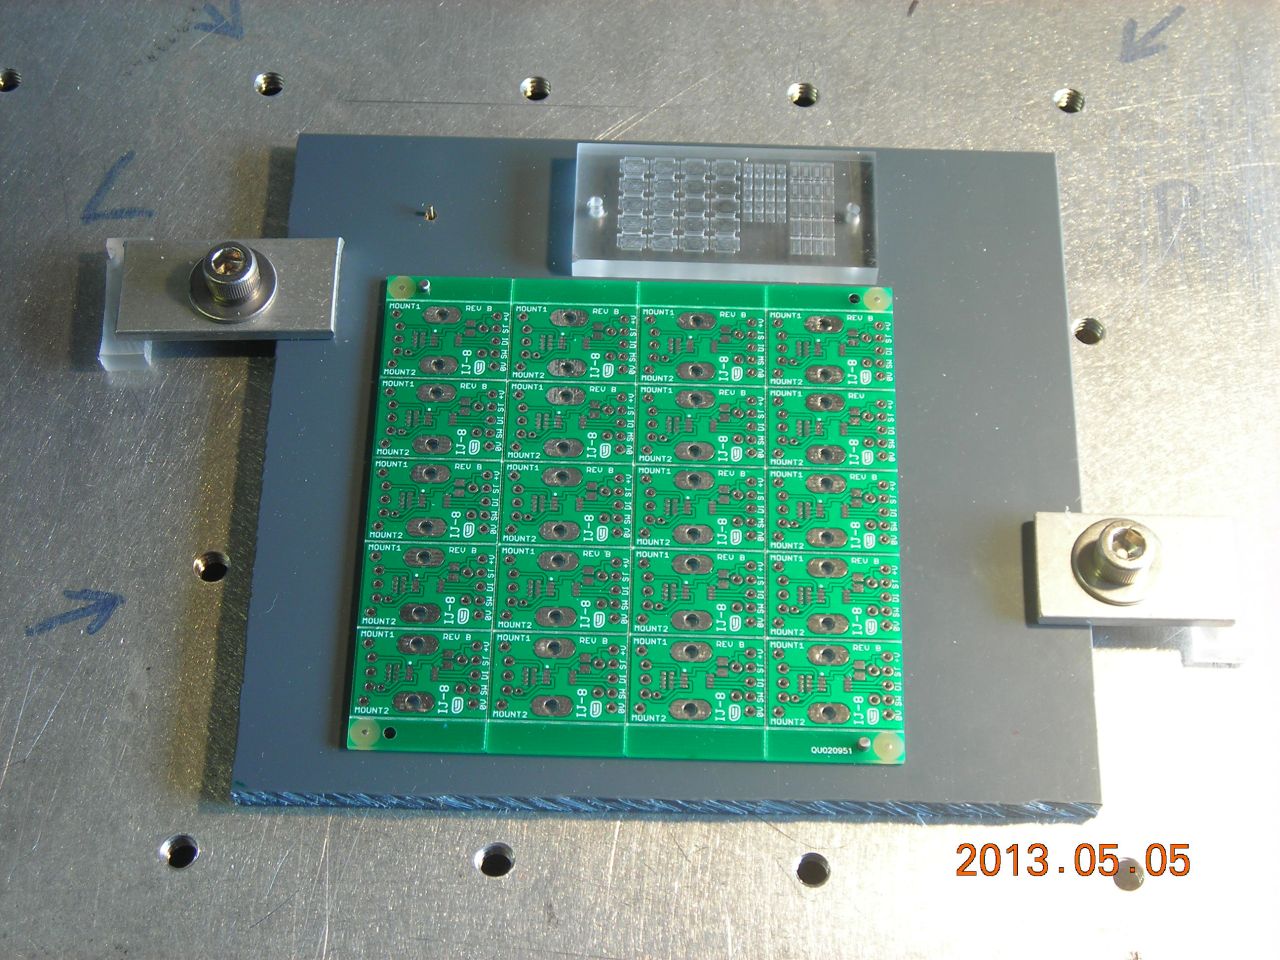 Board mounted on another alignment jig on the router bed |
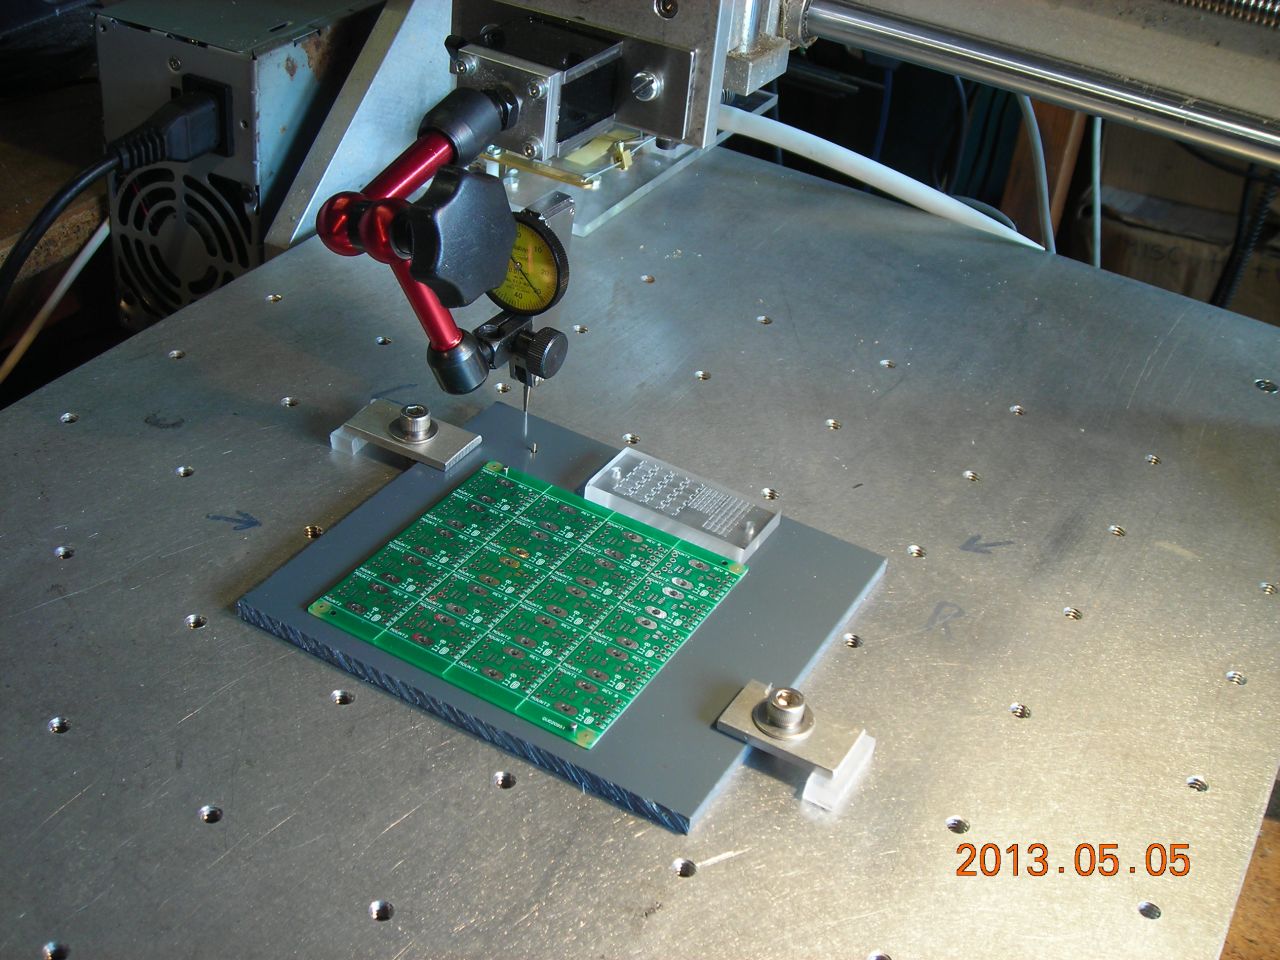 Checking the board is square with the router axes |
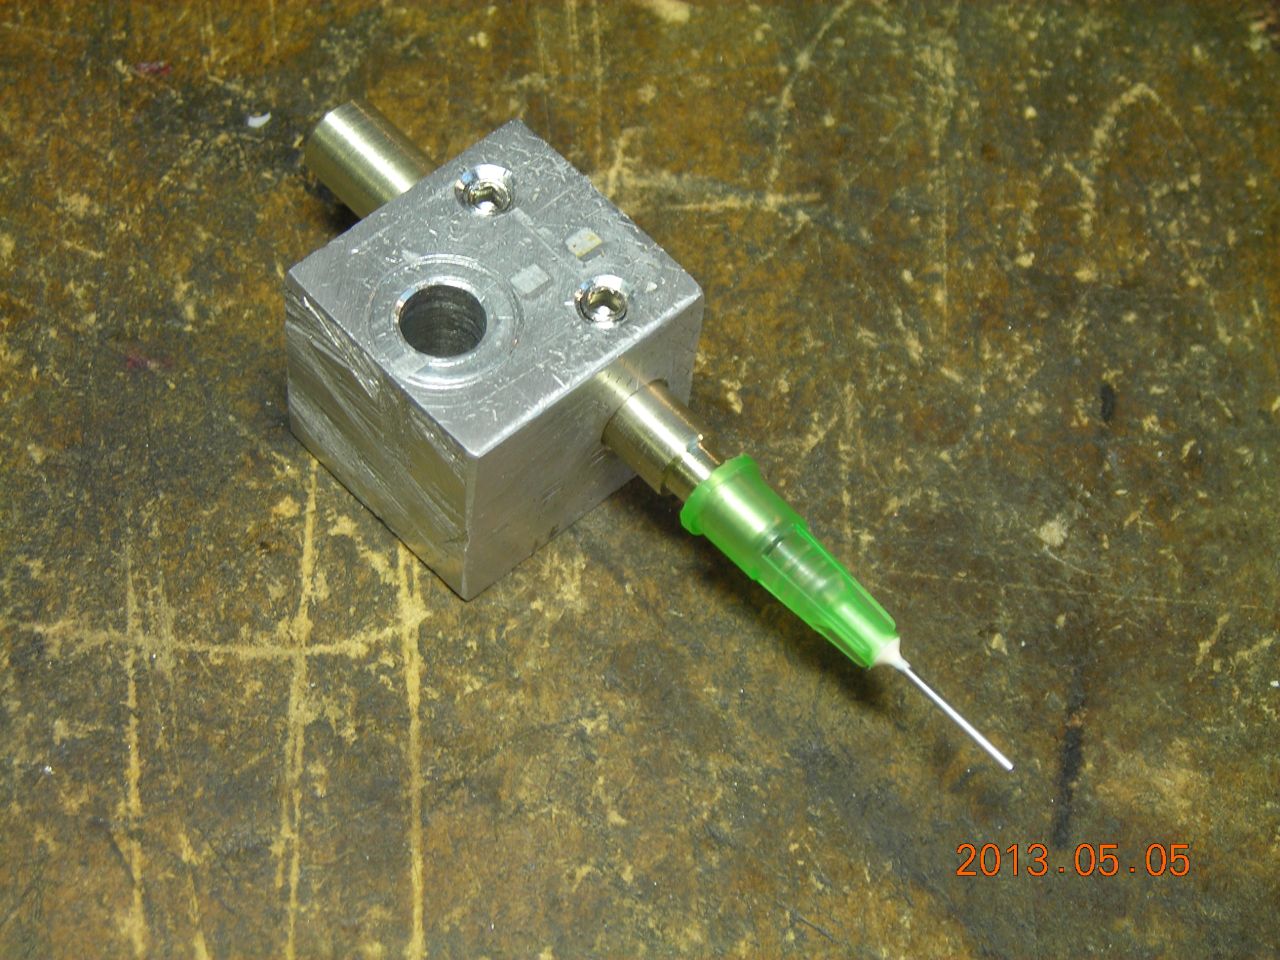 Nozzle |
 Nozzle mounted |
 |
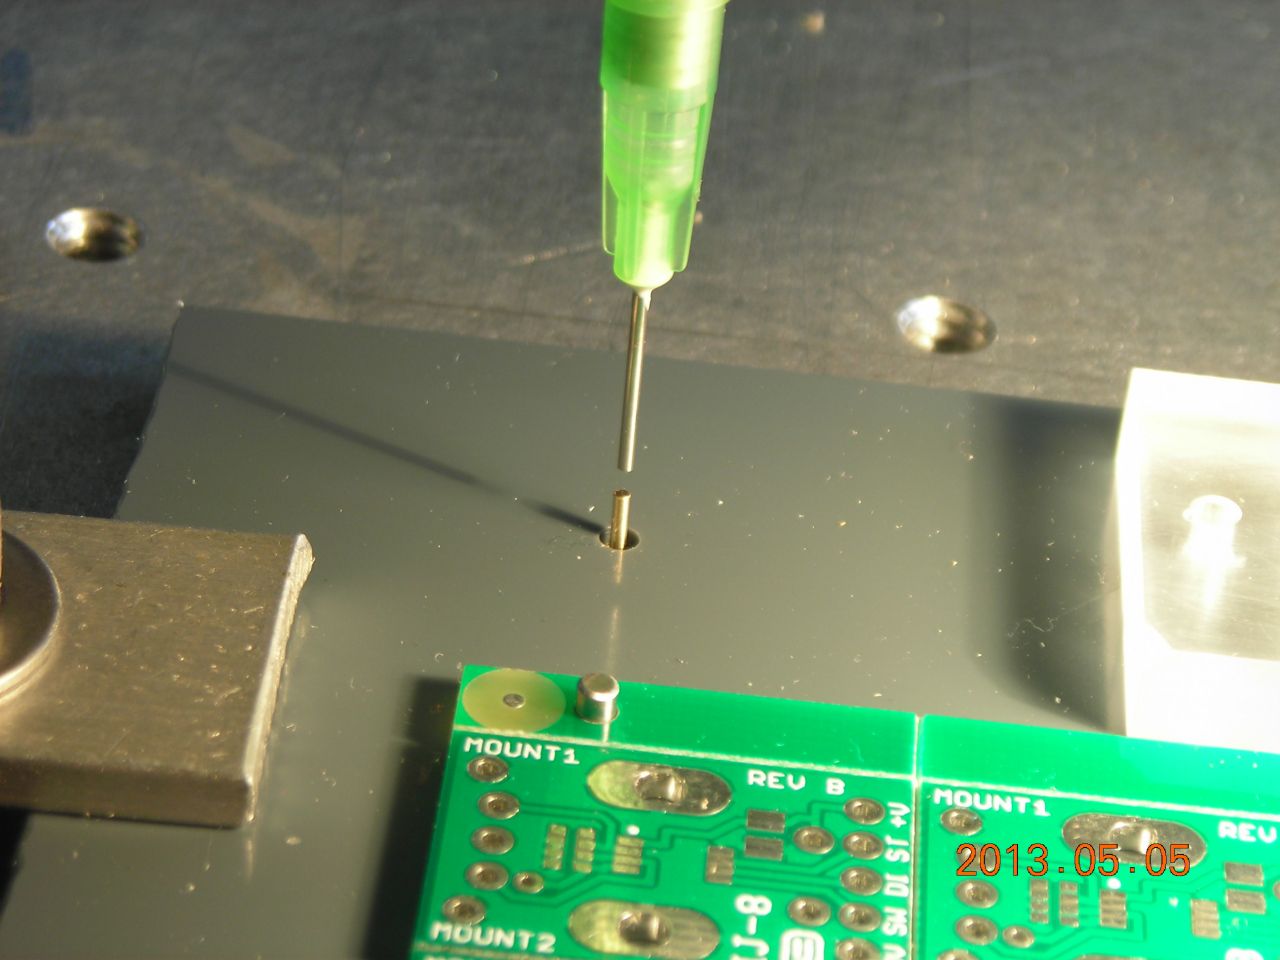 Nozzle is aligned visually with a small pin in the base board |
 |
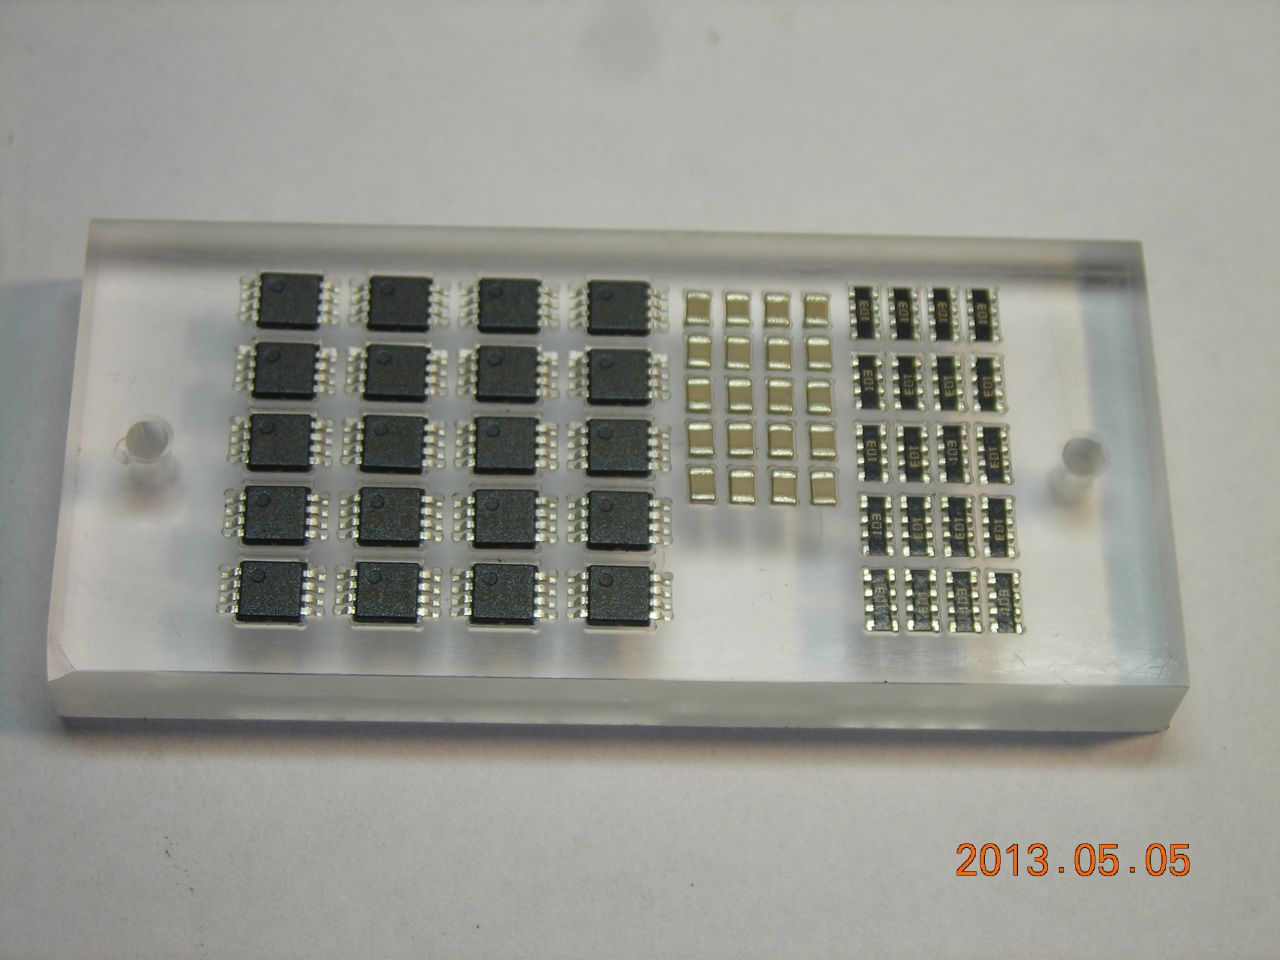 Component carrier |
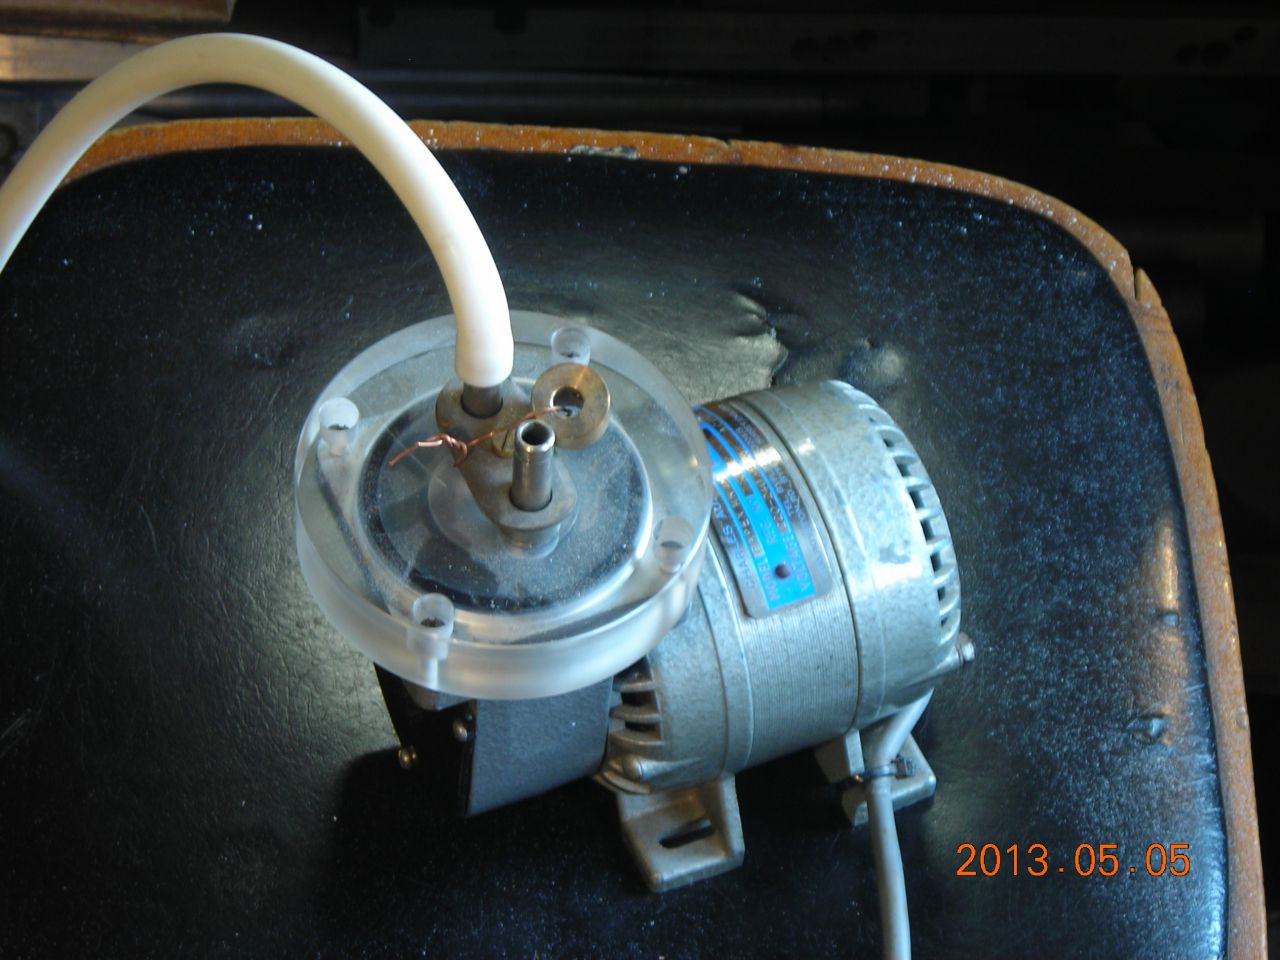 Vacuum pump |
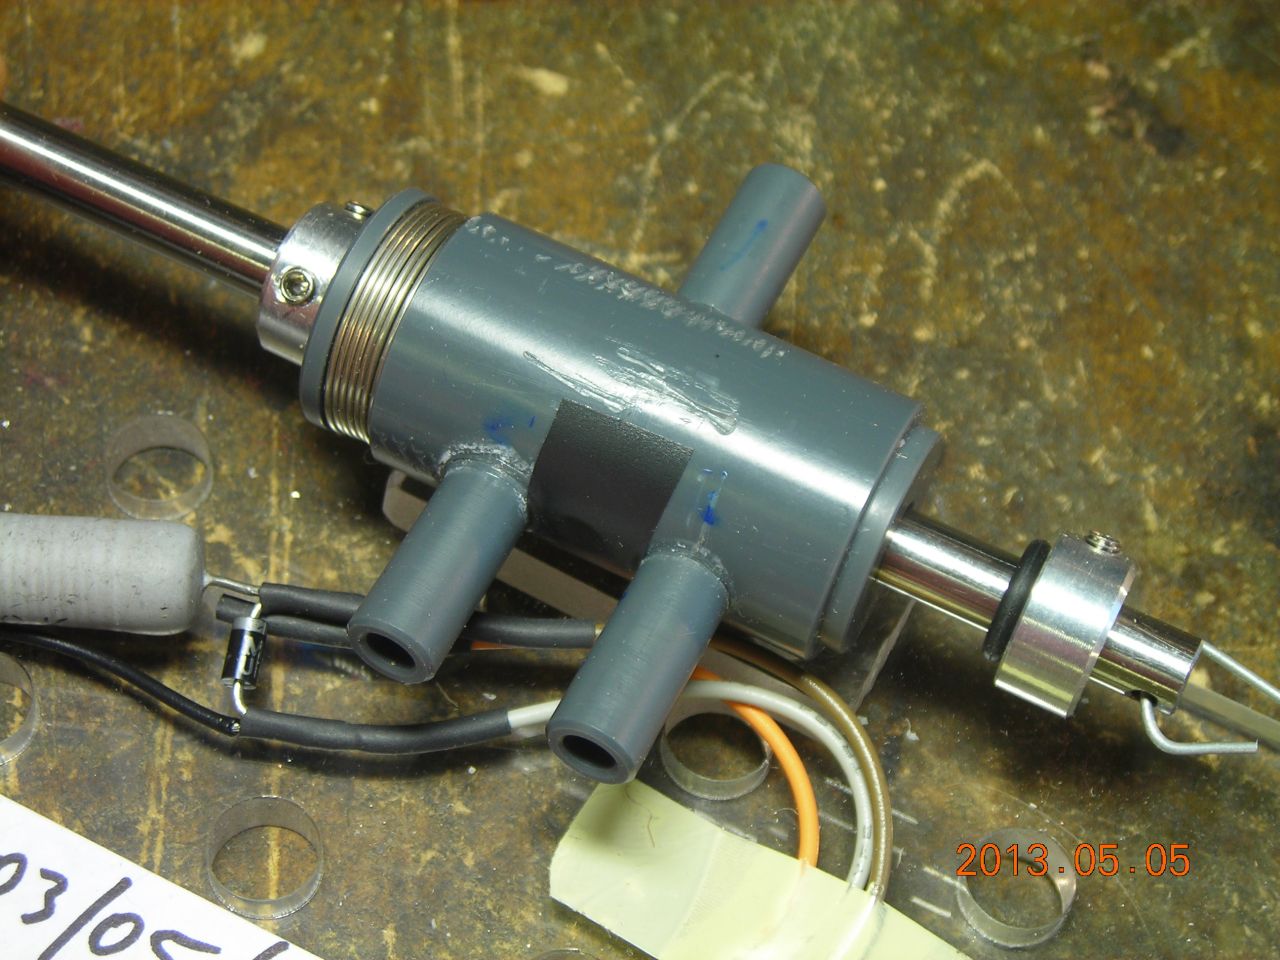
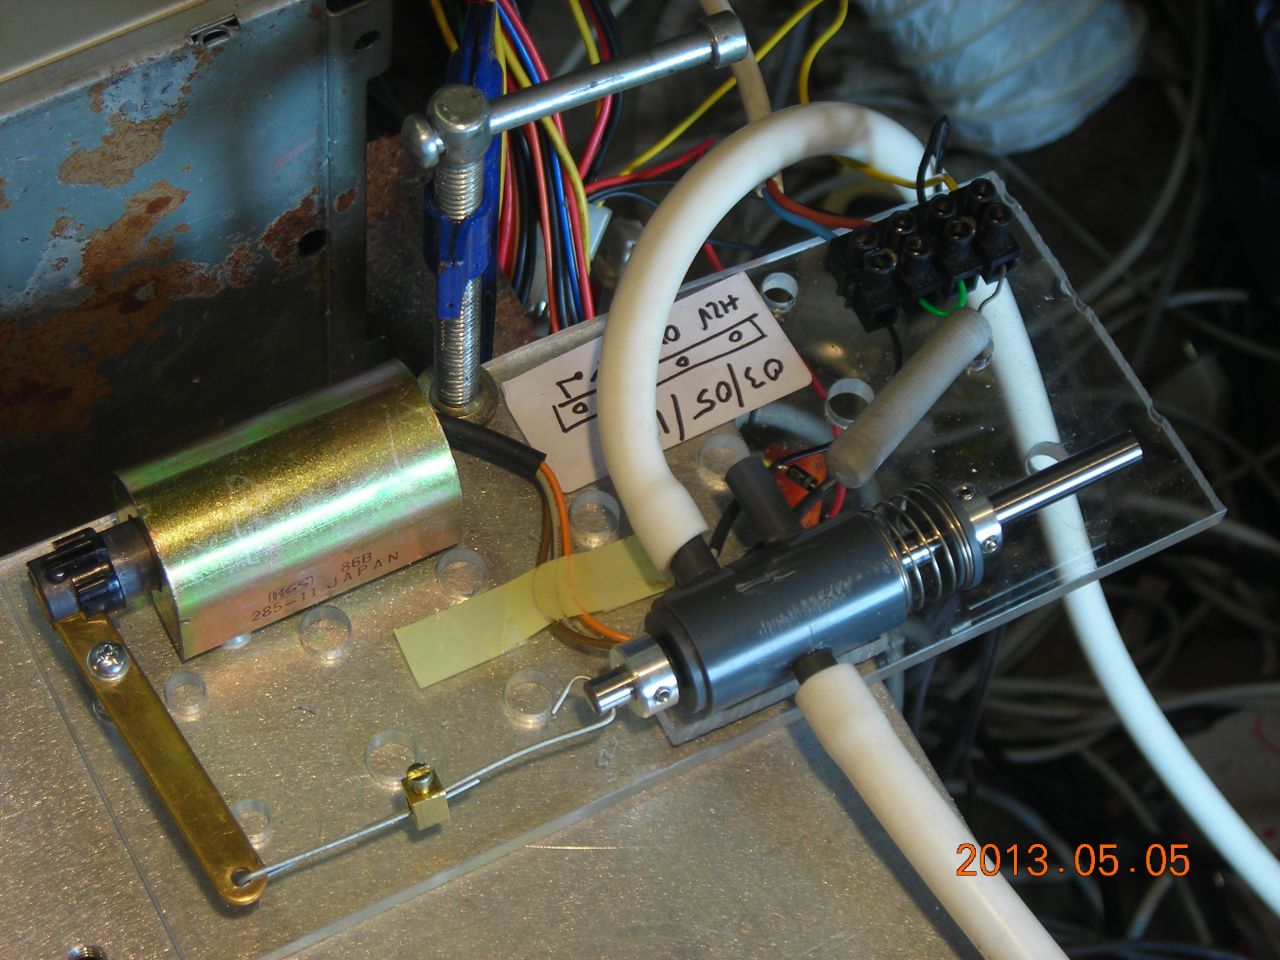 Solenoid valve |
 |
 "Release" position |
 "Suck" position |
 After placement |
 After soldering |
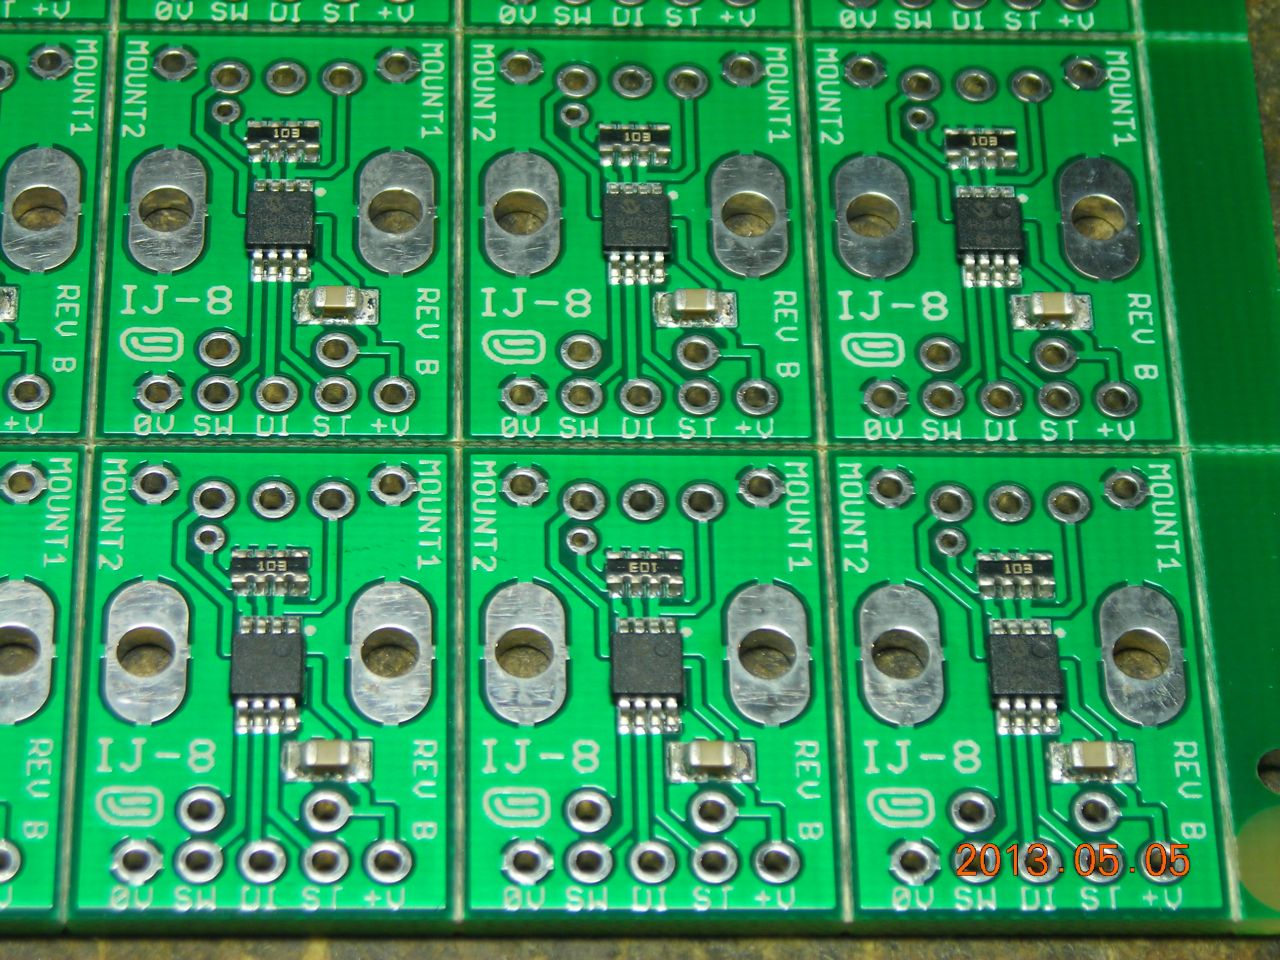 Closeup |
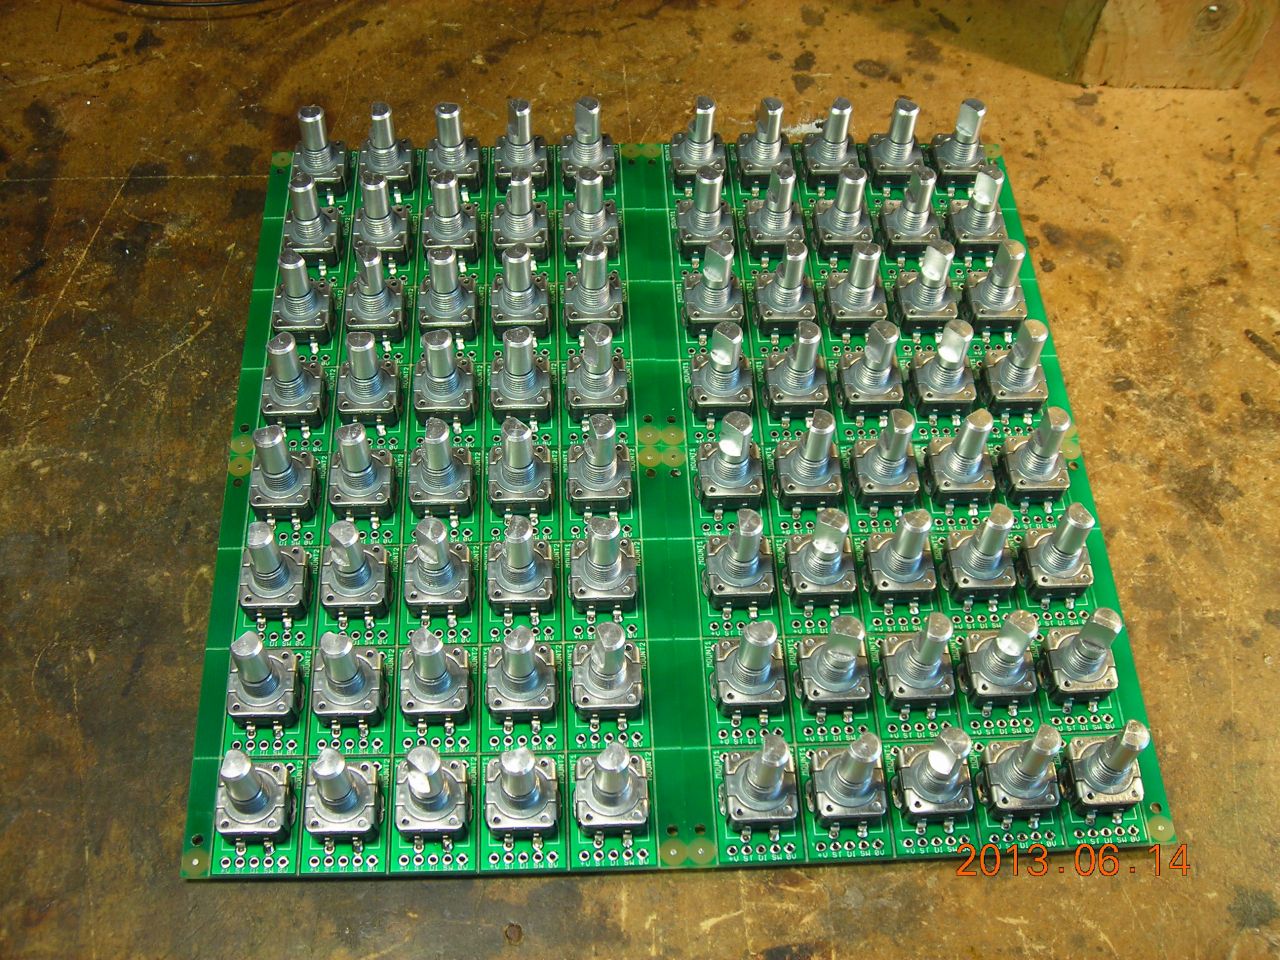 Encoders mounted |
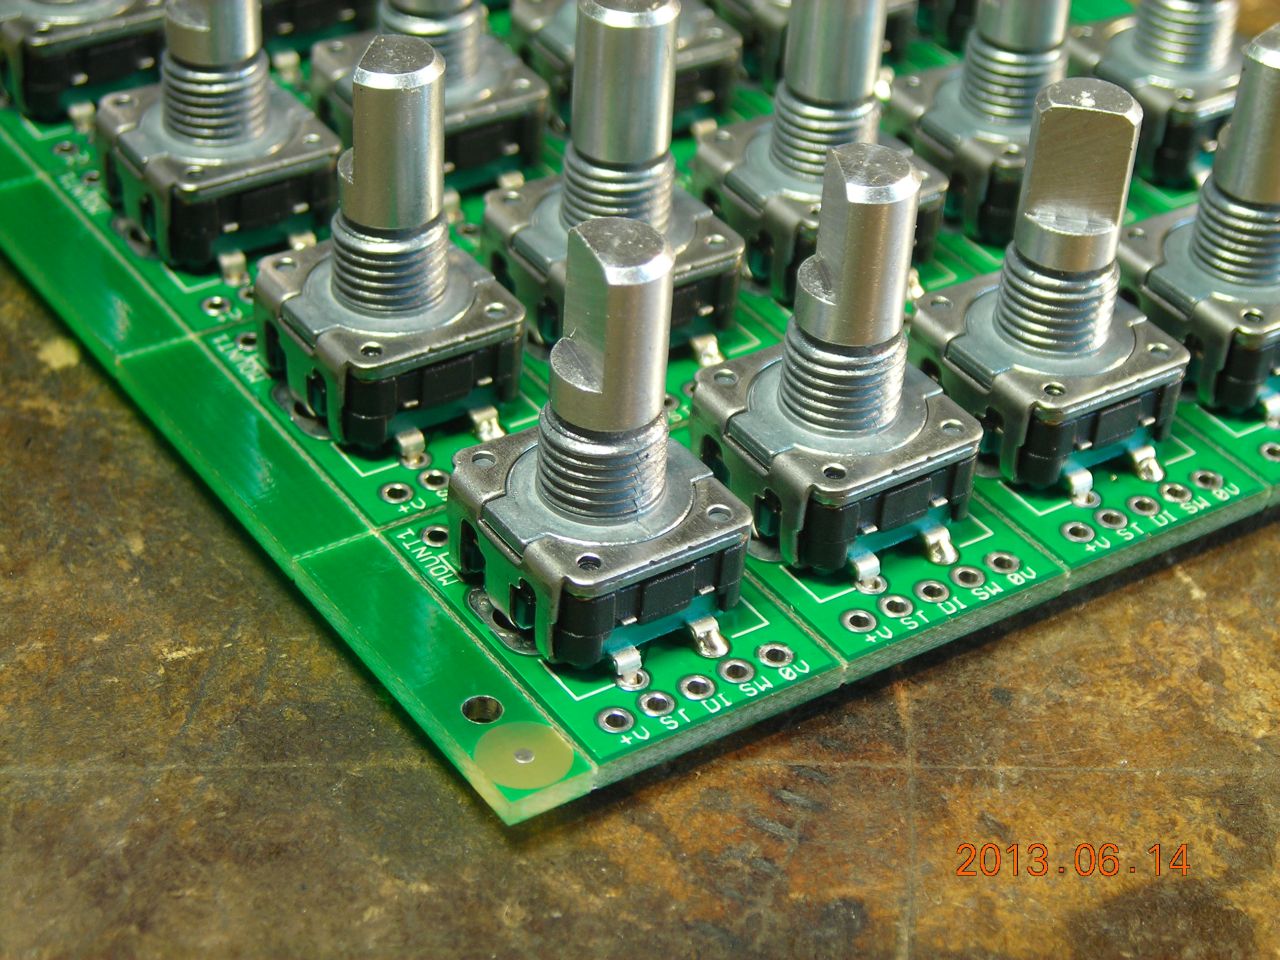 |
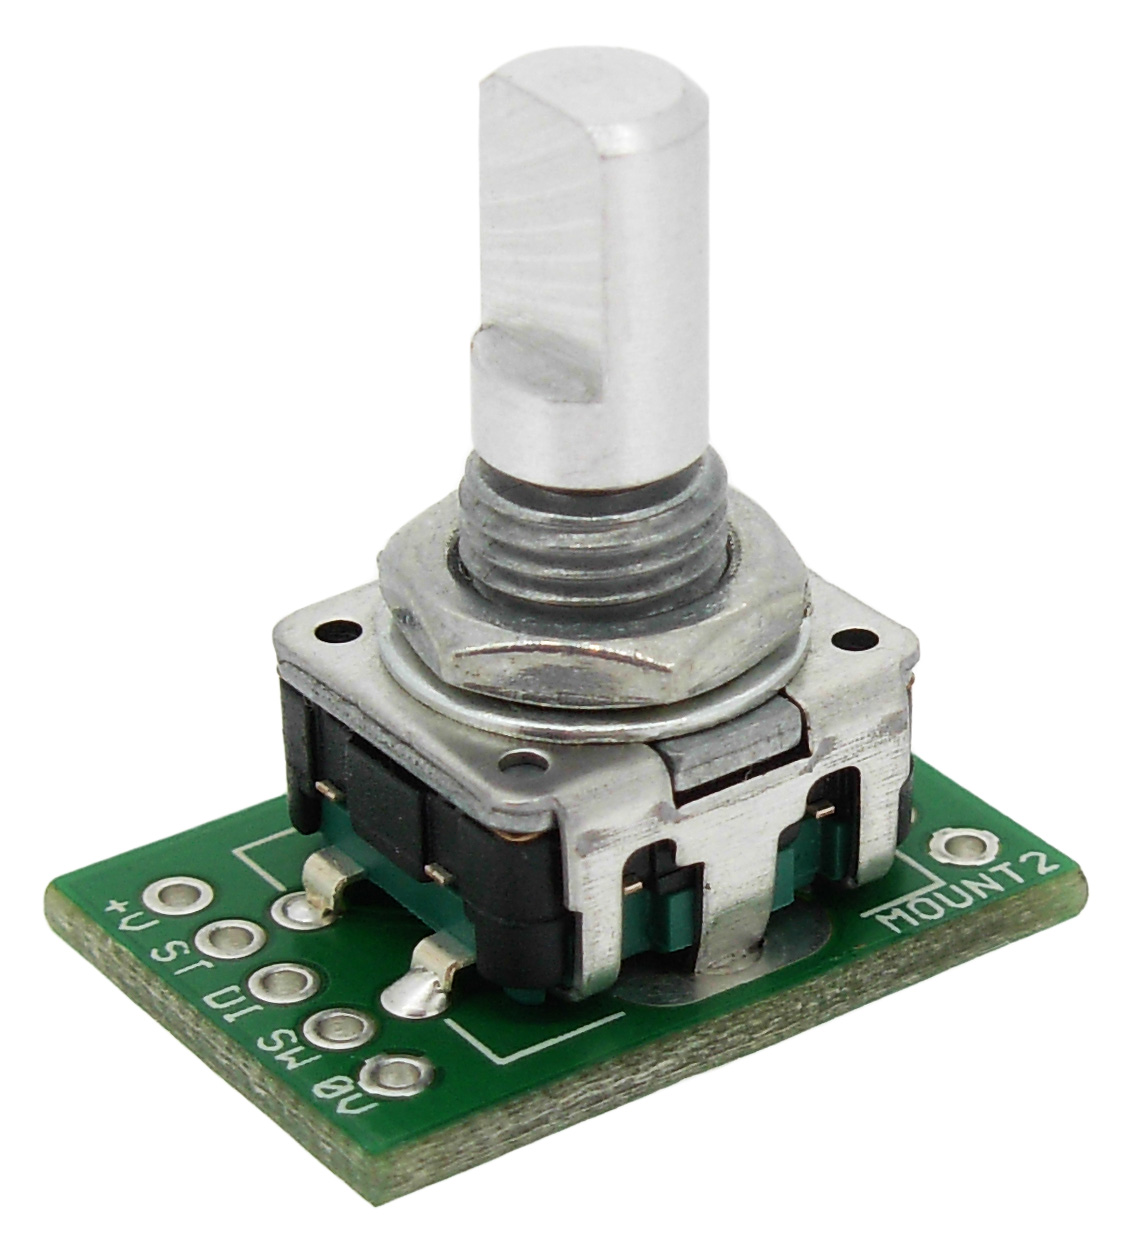 The finished module |
Applying solder paste to board (I used a cabinet scraper):
First attempt at pick and place:
Solenoid valve action:
Doing a full board (5x speed):
Another demonstration, this time with a better camera:
| ▲ Electronics |