
| ▲ Vacuum |
Important safety note: The video below shows me handling the jamjar under vacuum. This is NOT a good idea - jamjars were never intended as vacuum vessels and may implode. Use suitable protection - wire mesh shield, leather gloves, eye/face protection etc.
I've always been fascinated by vacuum sputtering guns, but was never exactly clear how the magnets were arranged inside (to confine the plasma).
Recently, I watched Ben Krasnow's excellent videos on his own sputter gun and plasma cleaning -
He does a great job showing how the magnet assembly is used to confine the plasma to a ring on the surface of the target. There are just two magnets - a central cylinder and an outer ring - sitting on a ferromagnetic plate to close the flux path.
I then found this video - Home built desktop DC Magnetron Sputtering machine - where the author makes a sputter gun assembly inside a jamjar and uses it to depost copper. However, the best part is when he slides the magnet assembly underneath the cathode, while the discharge is on, showing how the discharge changes from filling the entire jar to being confined on the cathode surface. I really liked this, and decided to try it. (Note: I didn't actually bother too much about trying to get sputtering, because there was a lot of heat generated and I couldn't run the discharge for long.)
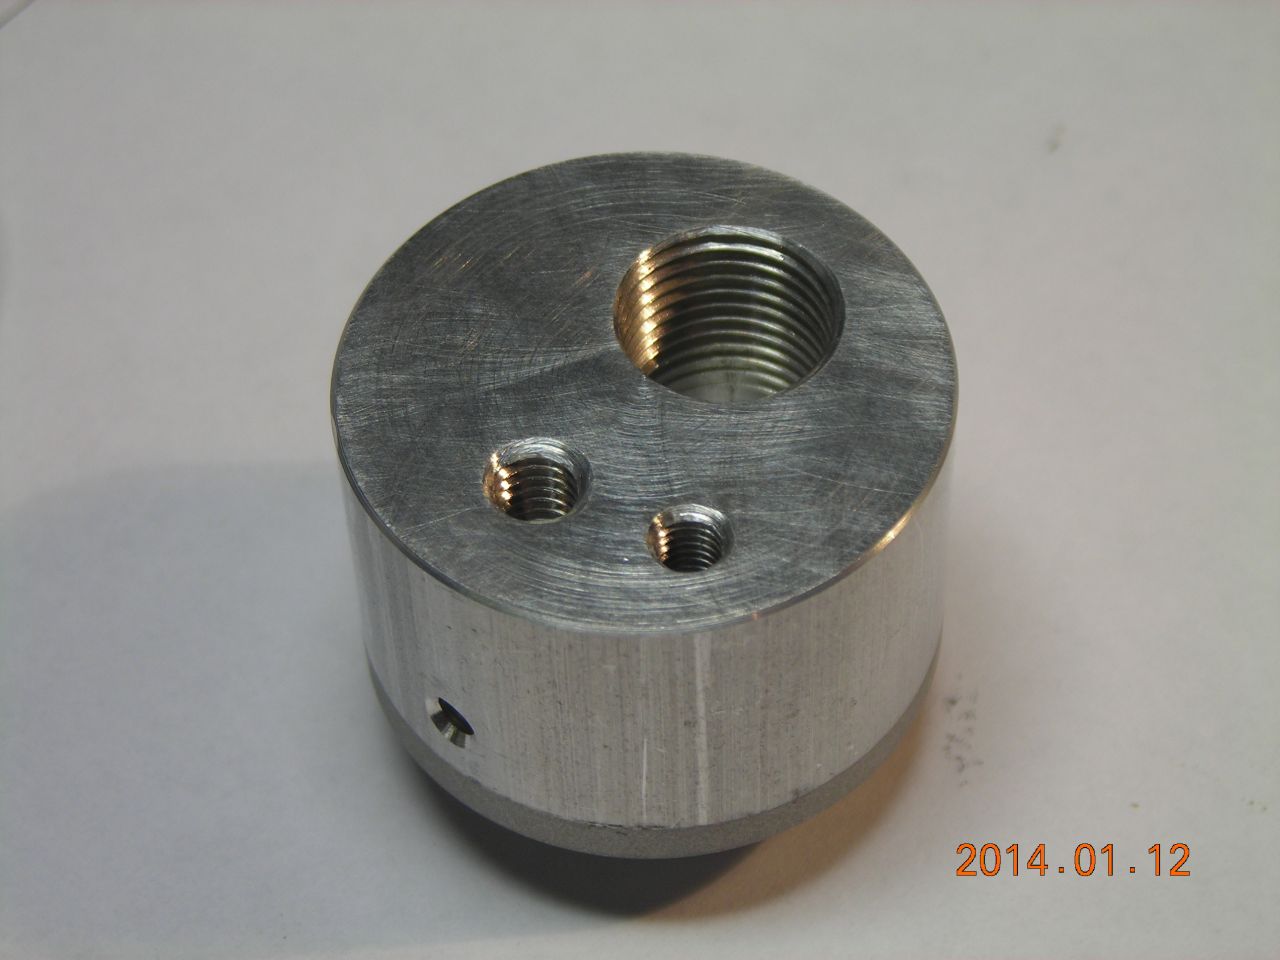
The construction is pretty simple. I drilled a hole through the bottom of a jamjar, made an aluminium fitting which has a vacuum connection and an air inlet valve, and glued this into the hole in the jamjar. The surfaces of both were sandblasted to give the glue a good hold. The base is a 3" polished aluminium disc and seals agains the lip of the jar with a 1mm thick silicone rubber gasket.
The magnet assembly consists of a microwave oven magnetron magnet and a central steel pole piece (I didn't have any suitable small magnets at the time). There is a piece of steel plate placed underneath to complete the flux path.
I was going to use a microwave oven transformer, as per the video, but it turned out that my simmer power supply worked very well. I unfortunately don't have a page on this yet, but there is a Flickr set here. It comprises a flyback converter to produce 1000V from a 24V input, then a hysteretic constant-current buck converter to produce a regulated output current, regardless of load. It will handle arcs, gas discharges, direct shorts etc. without a problem, and can output up to 300mA current. Maximum power is limited to 80W. I set the current to about 200mA for this test.
Here's the photos. I've no idea what the gas pressure is - maybe 100mTorr.
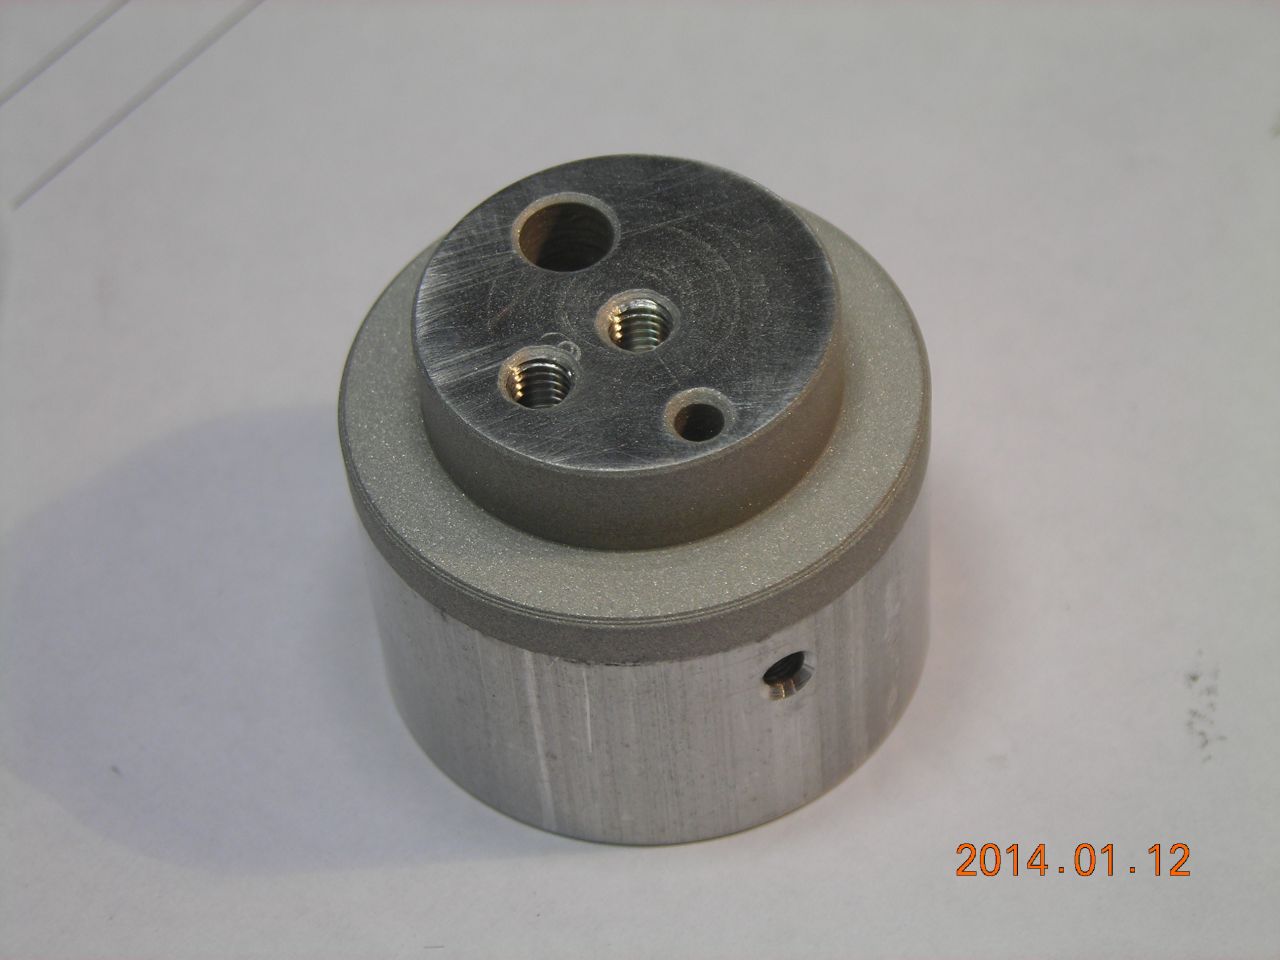 Top fitting |
 |
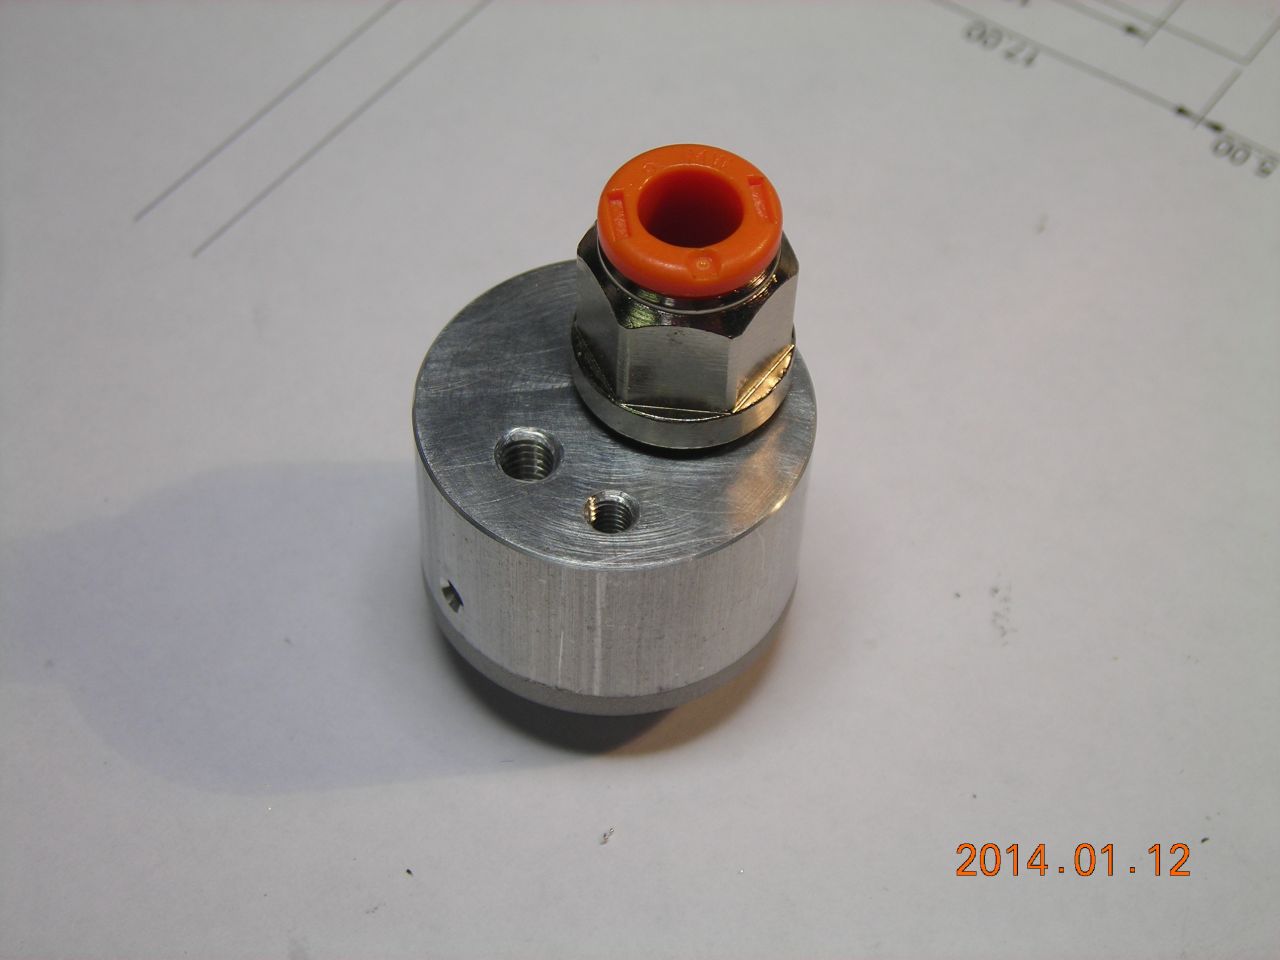 6mm push-fit hose connection |
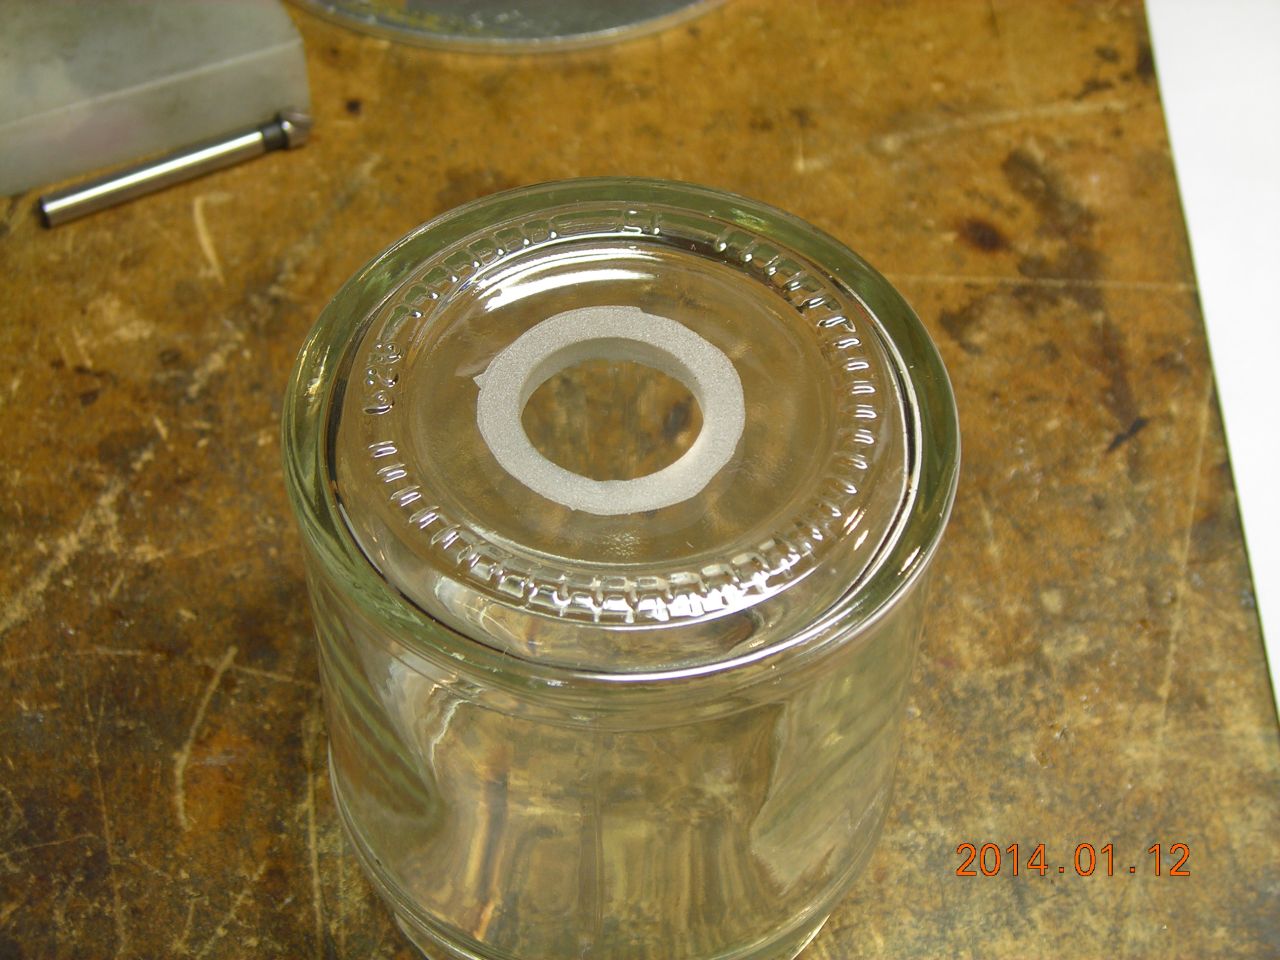 Jamjar drilled and sandblasted |
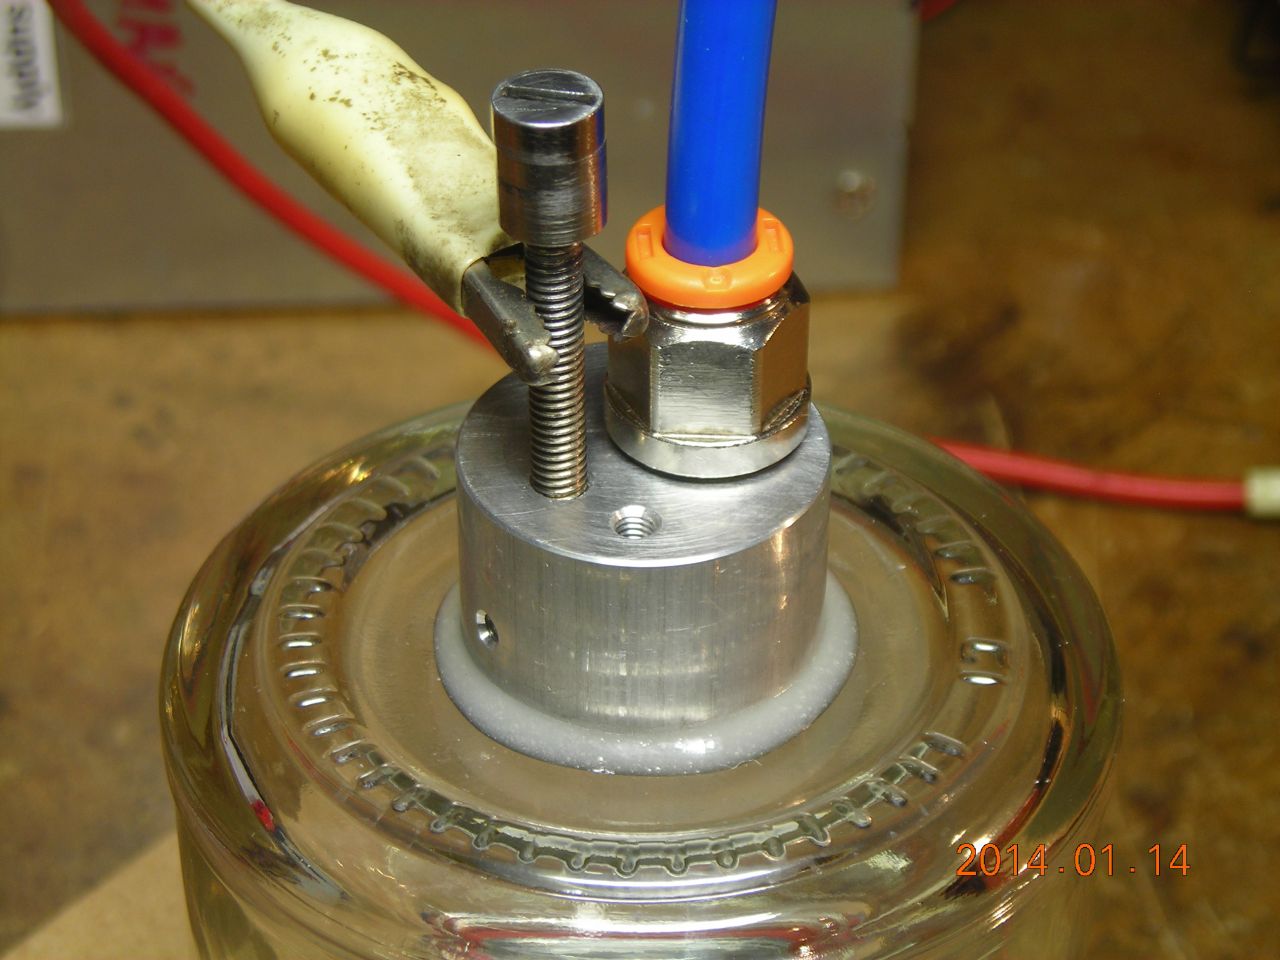 Fitting glued in. The screw is an air admittance valve. |
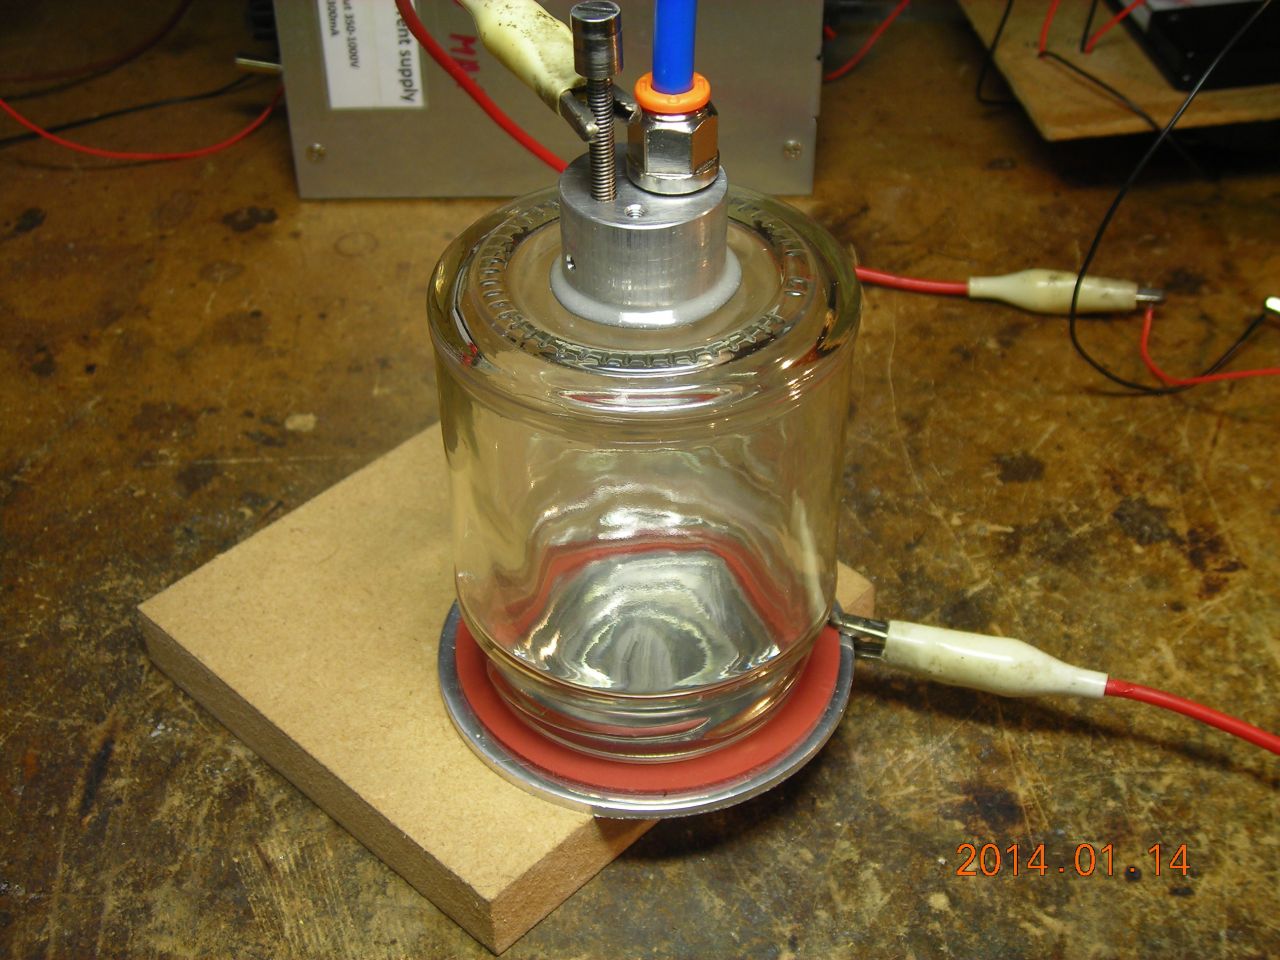 Sitting on the aluminium base |
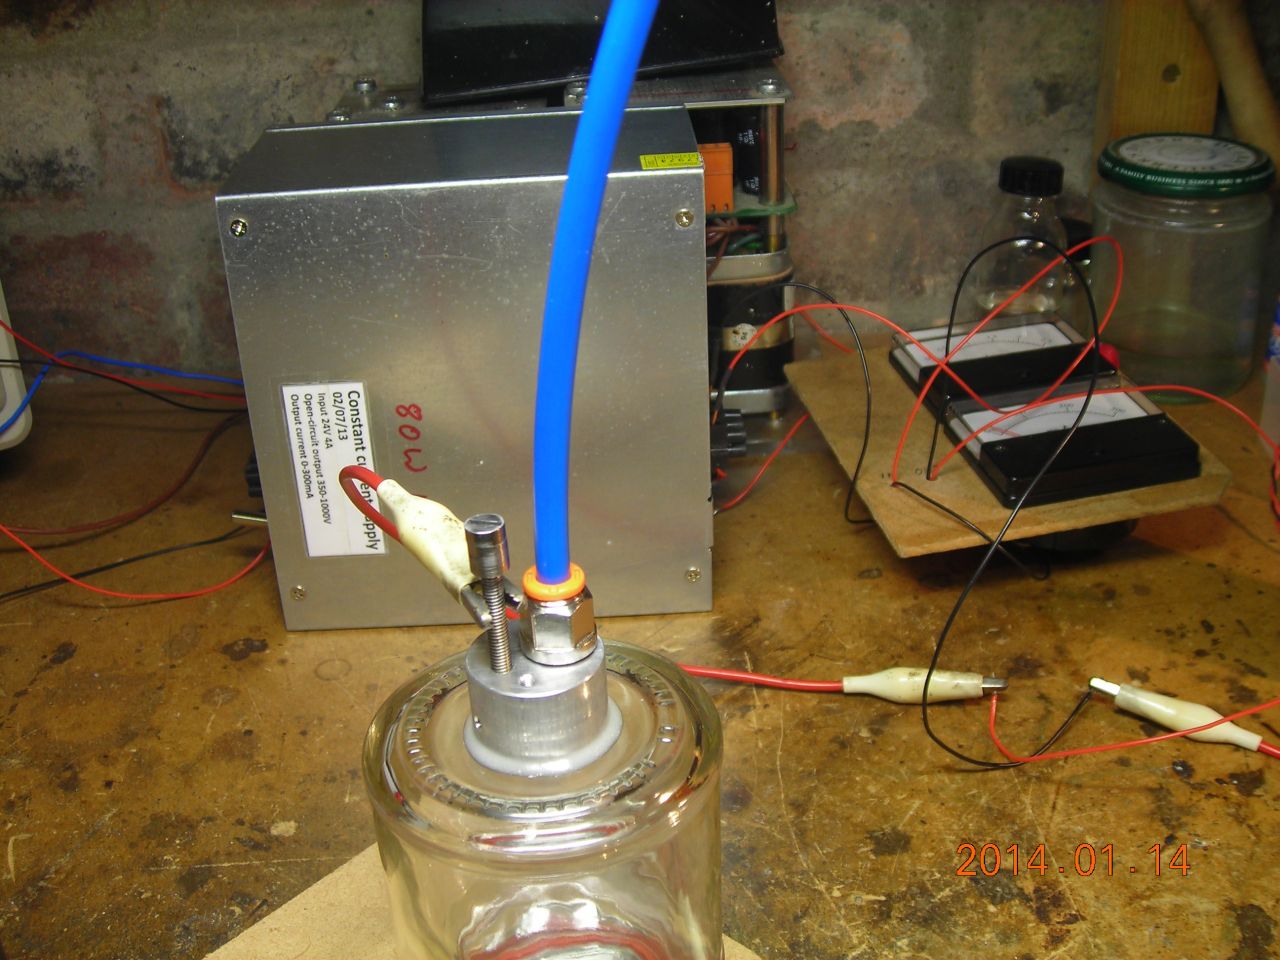 Power supply and meters behind |
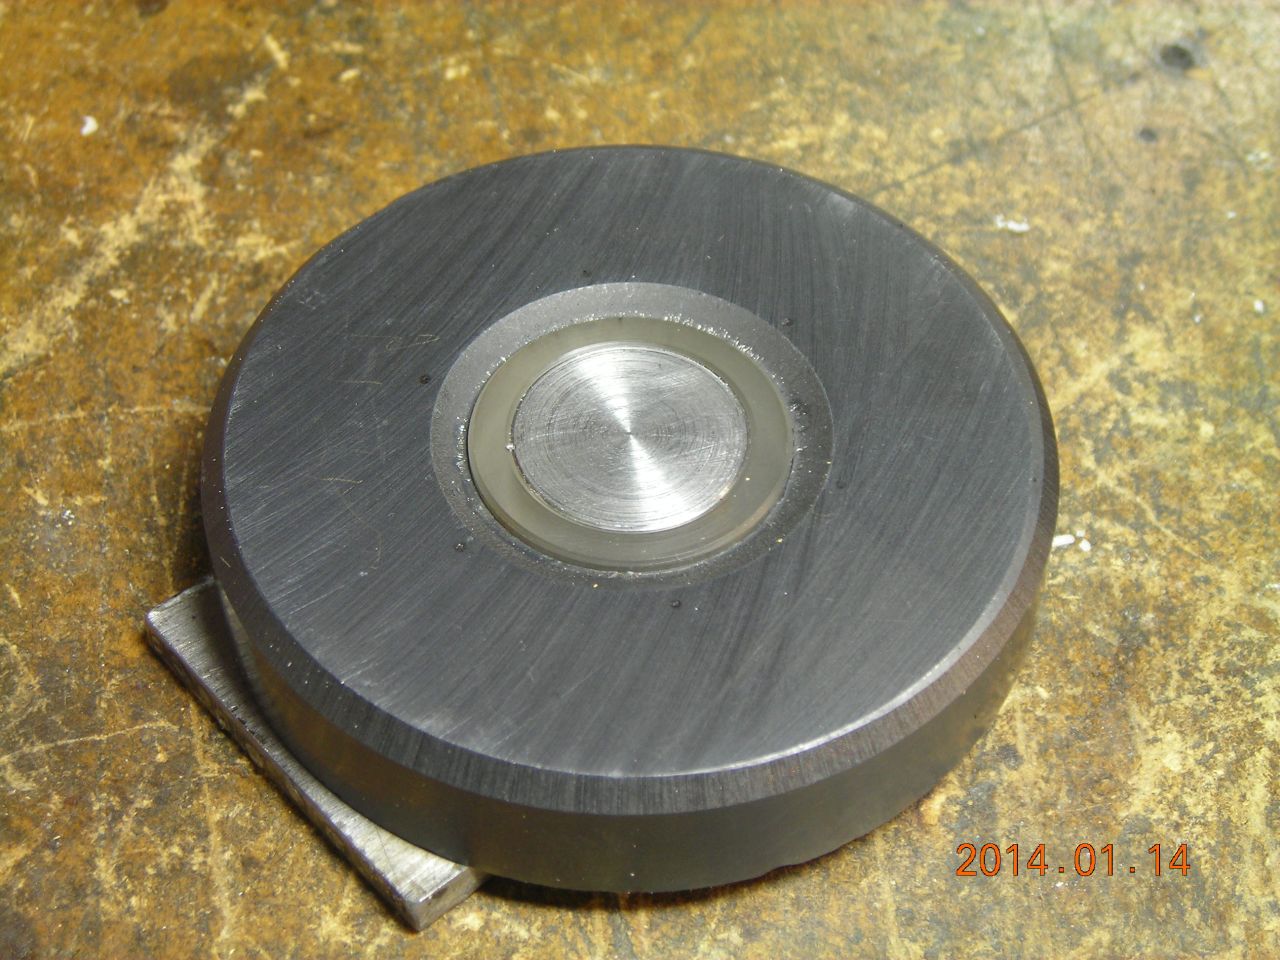 Magnet assembly |
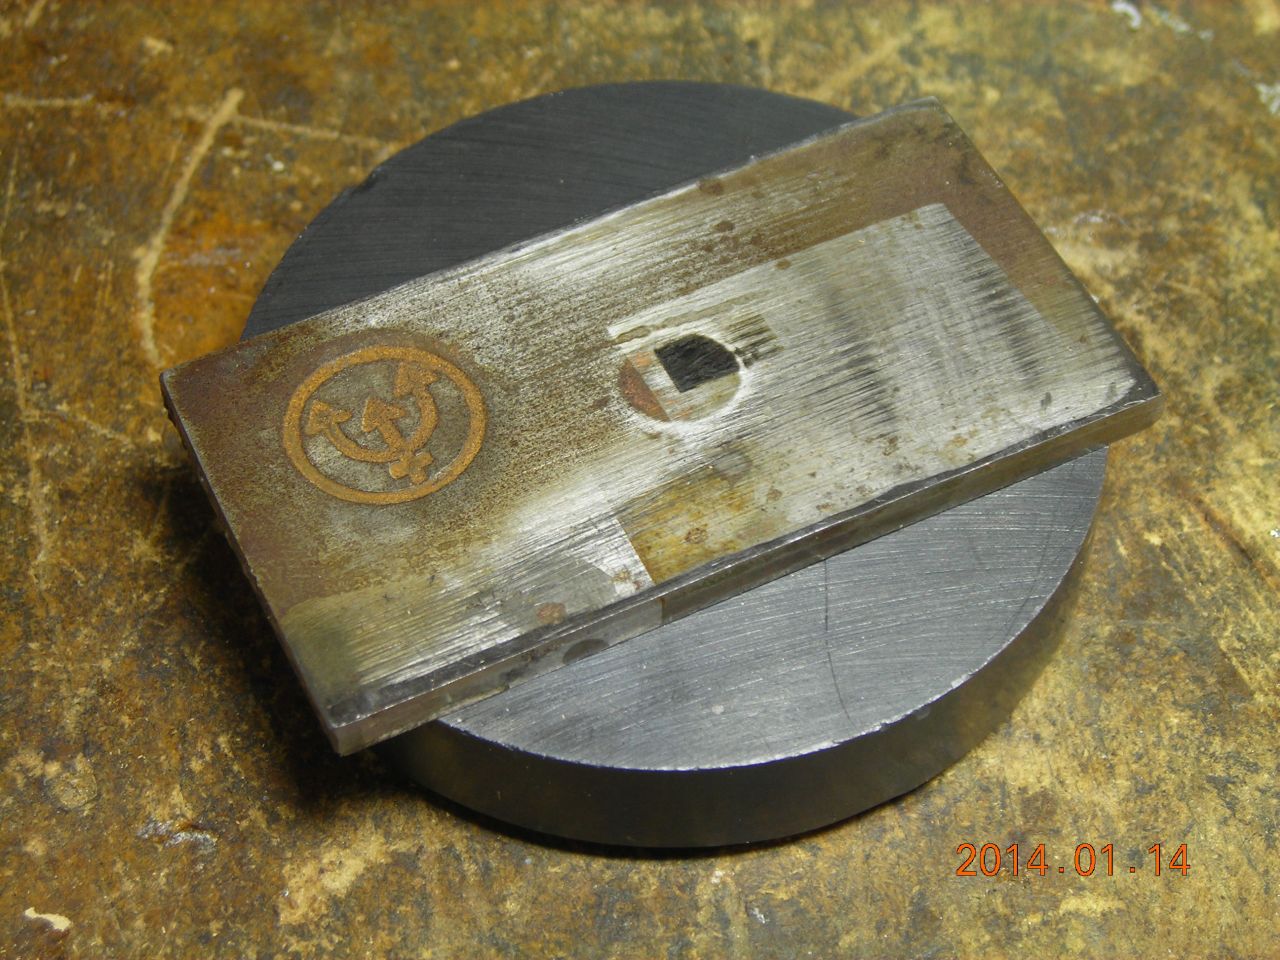 Bit of steel plate to complete flux path |
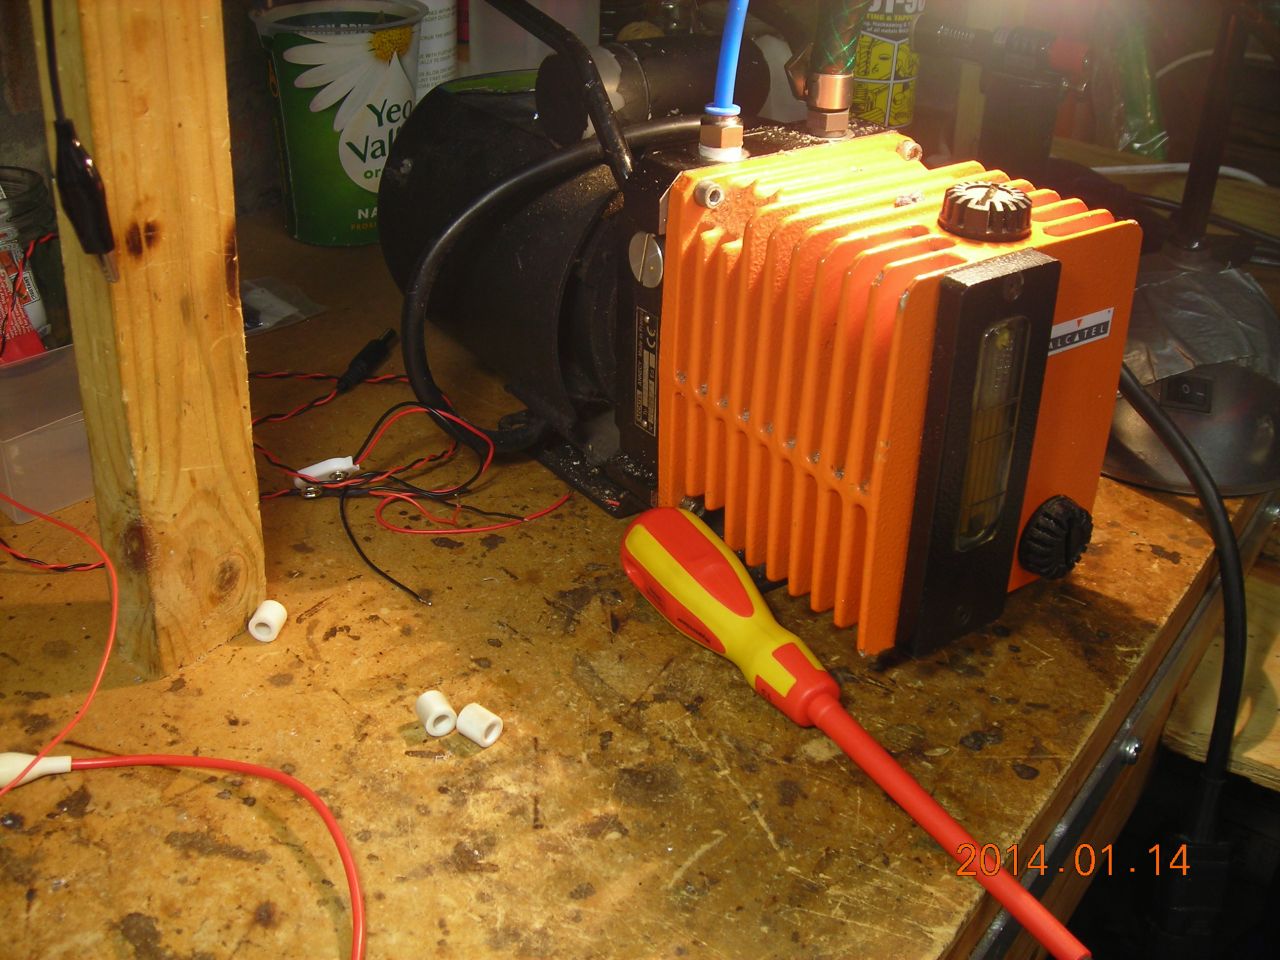 Pump |
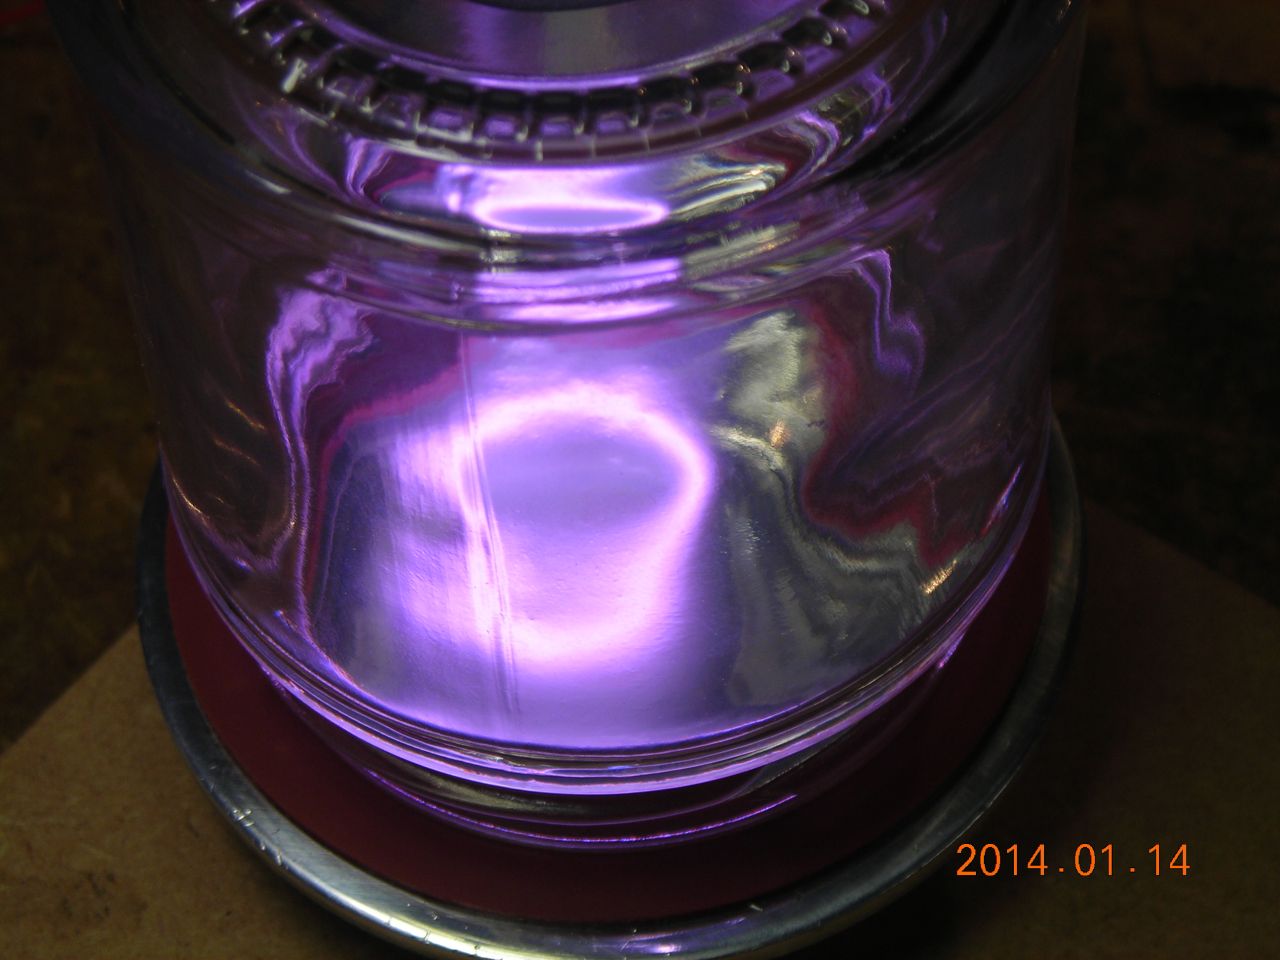
 Discharge without the magnet in place - it fills the entire jar |
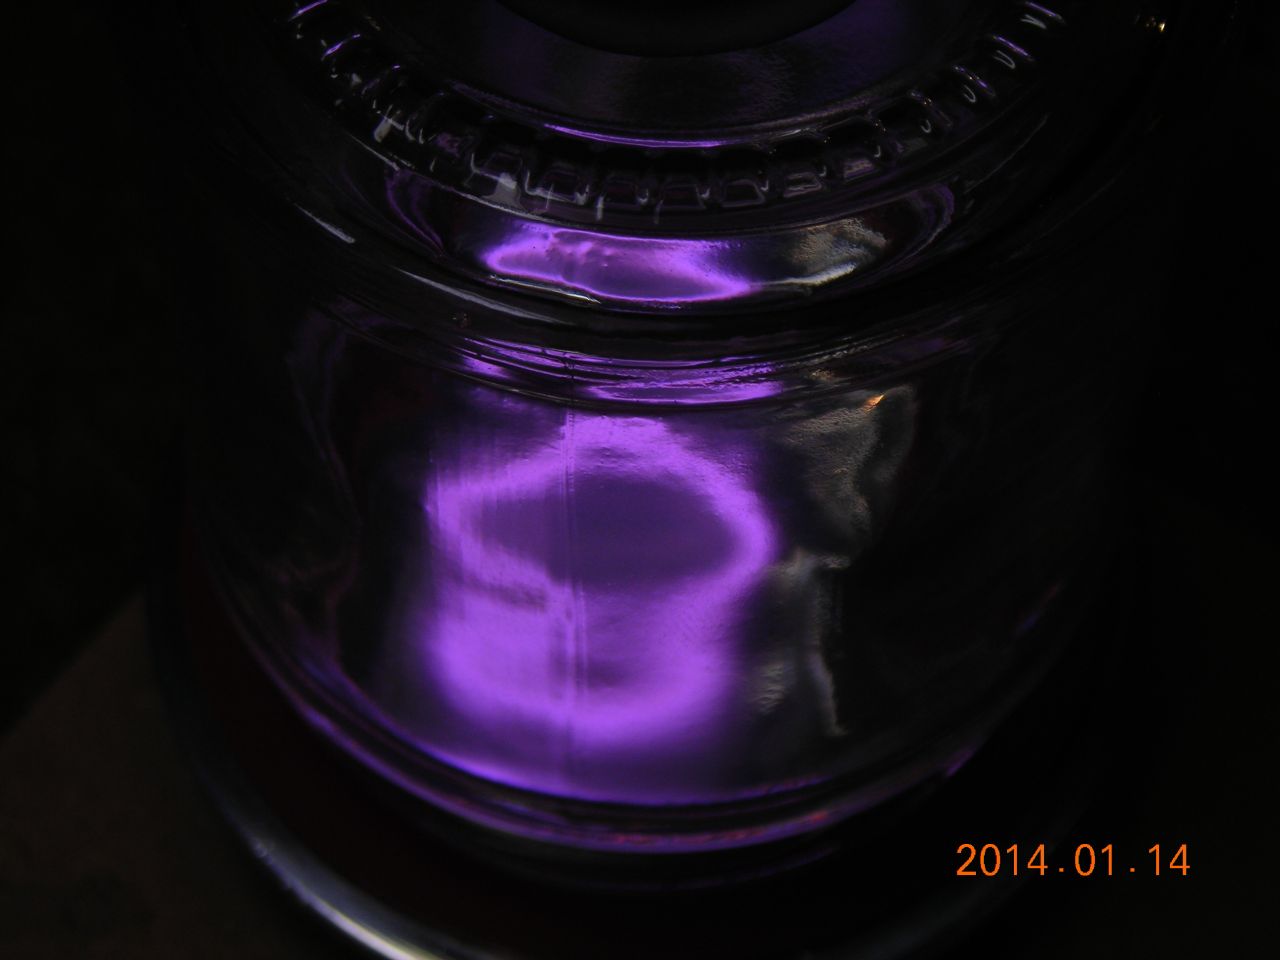
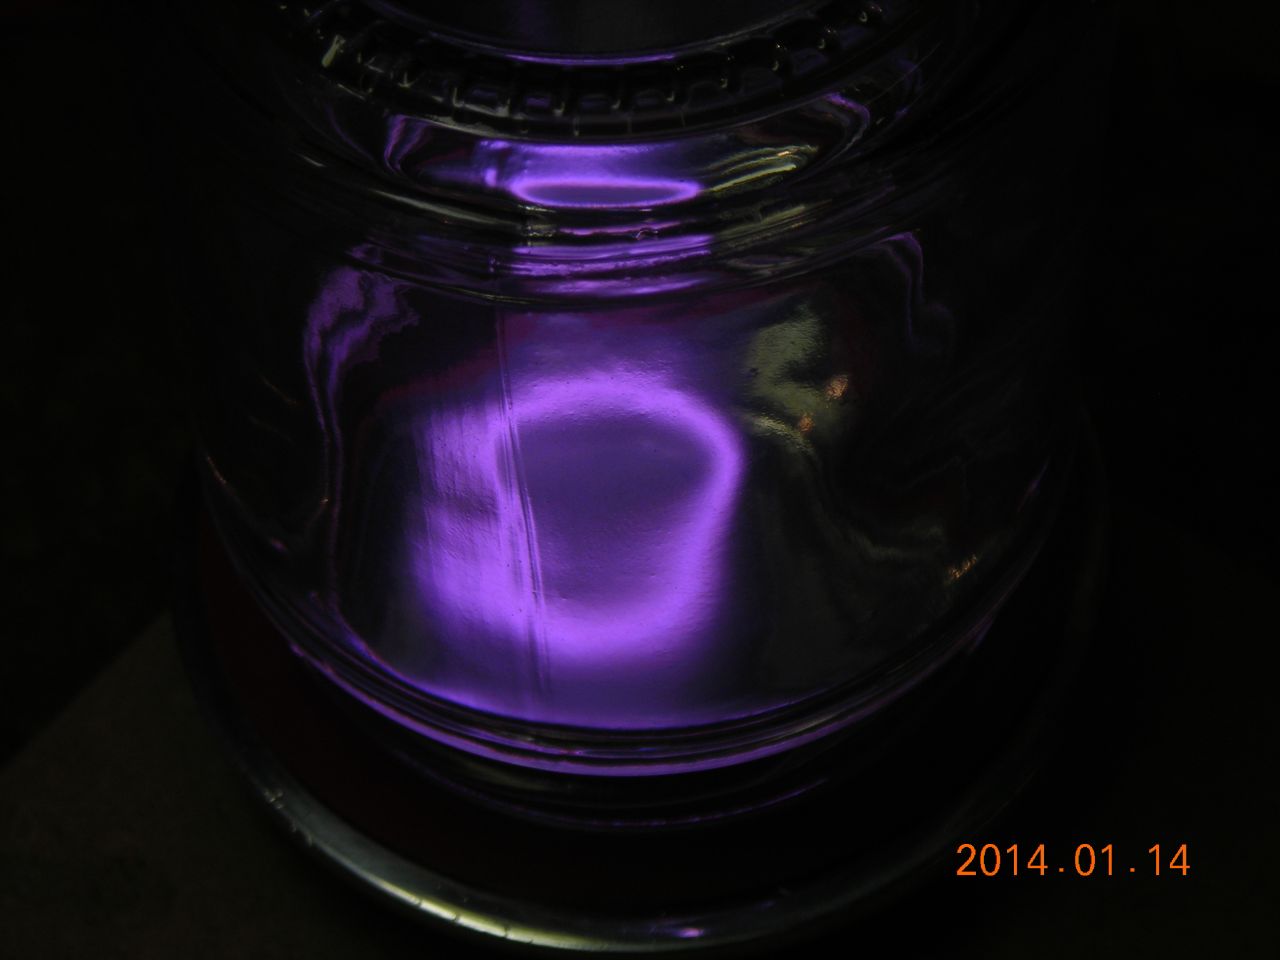
 Discharge with the magnet - confined to a ring above the annular gap between the magnets |
 |
 |
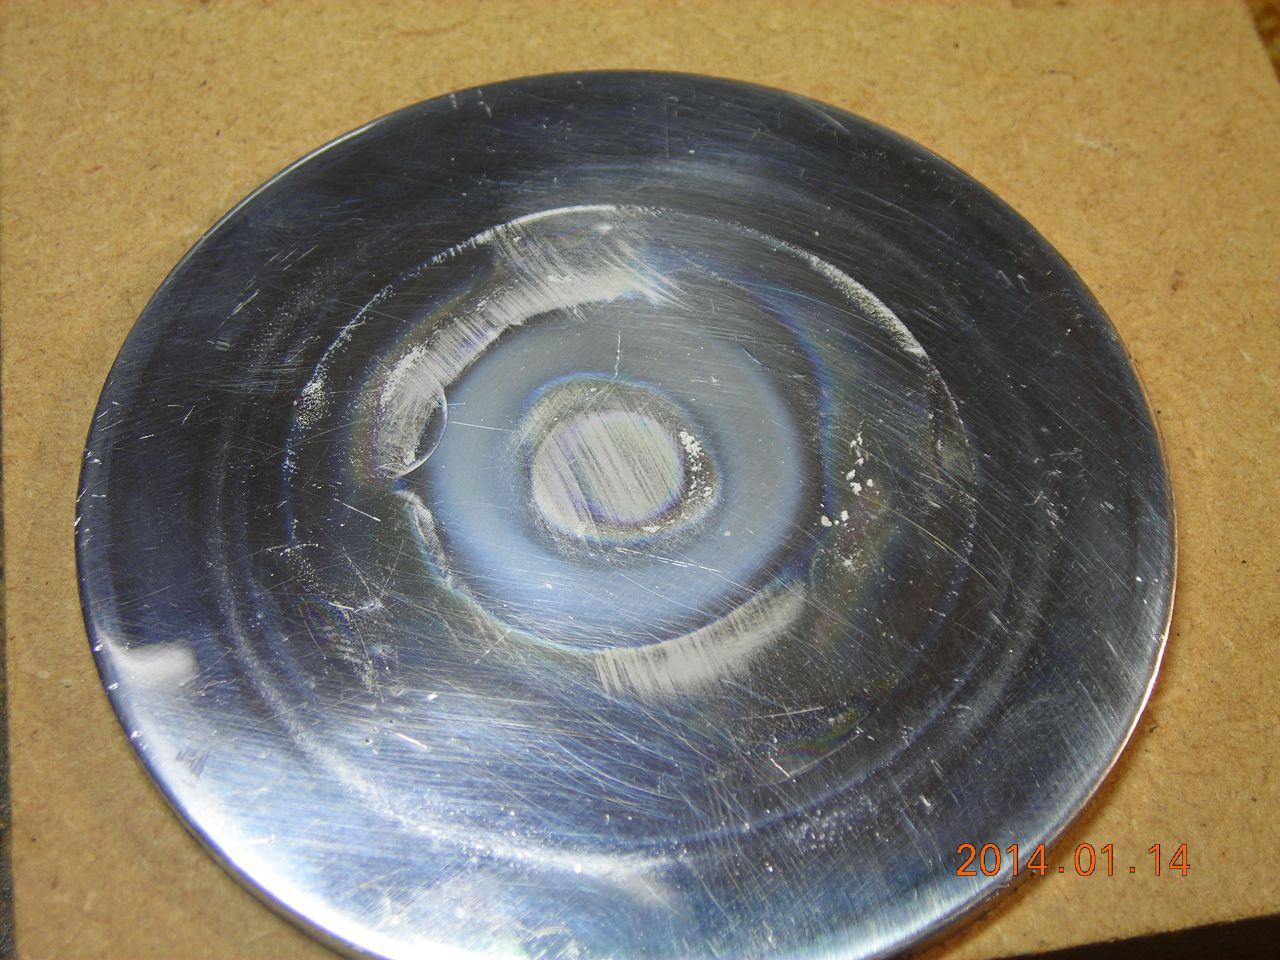 Cathode after operation - some evidence of sputtering |
The change in appearance is quite impressive - the entire discharge "collapses" to a ring on the cathode, with only a faint glow left in the rest of the jar. The resistance of the discharge appears to decrease significantly - my supply was only able to put 80mA or so through the discharge without the magnet, but was easily able to do 200mA once the magnets were in place. This is probably due to the greatly increase ionisation from the magnetron effect. Based on the values observed, the resistance dropped from about 12kΩ down to 1.5kΩ.
Video of operation:
I found that, if I slid the magnet out sideways, the plasma actually burns the silicone gasket if it comes into contact with it!
| ▲ Vacuum |