
| ▲ Computer |
I thought it would be neat to try writing a script to calculate the Lorenz Attractor in real time and then output the path to the AxiDraw drawing machine. I'd previously experimented with light painting and drawing on glow in the dark vinyl with a small UV laser diode, and the Lorenz attractor would make a great design to try.
I've written the script in Python (I'm using v2.7) and you can download it here. It needs both the numpy and serial libraries. You also need the ebb_serial.py script, available from Evilmadscientist here - put it in the same folder as the lorenz_axidraw.py script.
The Lorenz code is taken from the matplotlib website, but I'm not actually using the matplotlib library (it's for doing nice on-screen graphics - the calculations are separate).
You can control various parameters - I won't go into too much detail here, see the code instead. xScale & yScale define the actual size of the output drawing (in mm). drawPlane specifies which plane to draw (XY, YZ or XZ). dt & stepCnt specify the timestep and total number of iterations (points) to calculate - 6000 points gives a good drawing. There's some other parameters to specify the velocity, pen up/down heights and delays. I also wrote a little script to help set the pen heights - you can enter a position and it'll move the pen slide.
The script also writes the data points to an output text file. Another feature is the ability to pause part-way through to change pens - it checks the loop counter and pauses whenever it equals specified values.
Note the "dummy" moves (SM,1,0,0) on the lines commented with "Blocking 1/2" - the EiBotBoard which controls the AxiDraw has a 3-deep command buffer, so passing two dummy move commands ensures that the EBB waits until all the move commands have completed before executing the next command, for example a pen up/down or laser on/off.
Let's do some drawing!
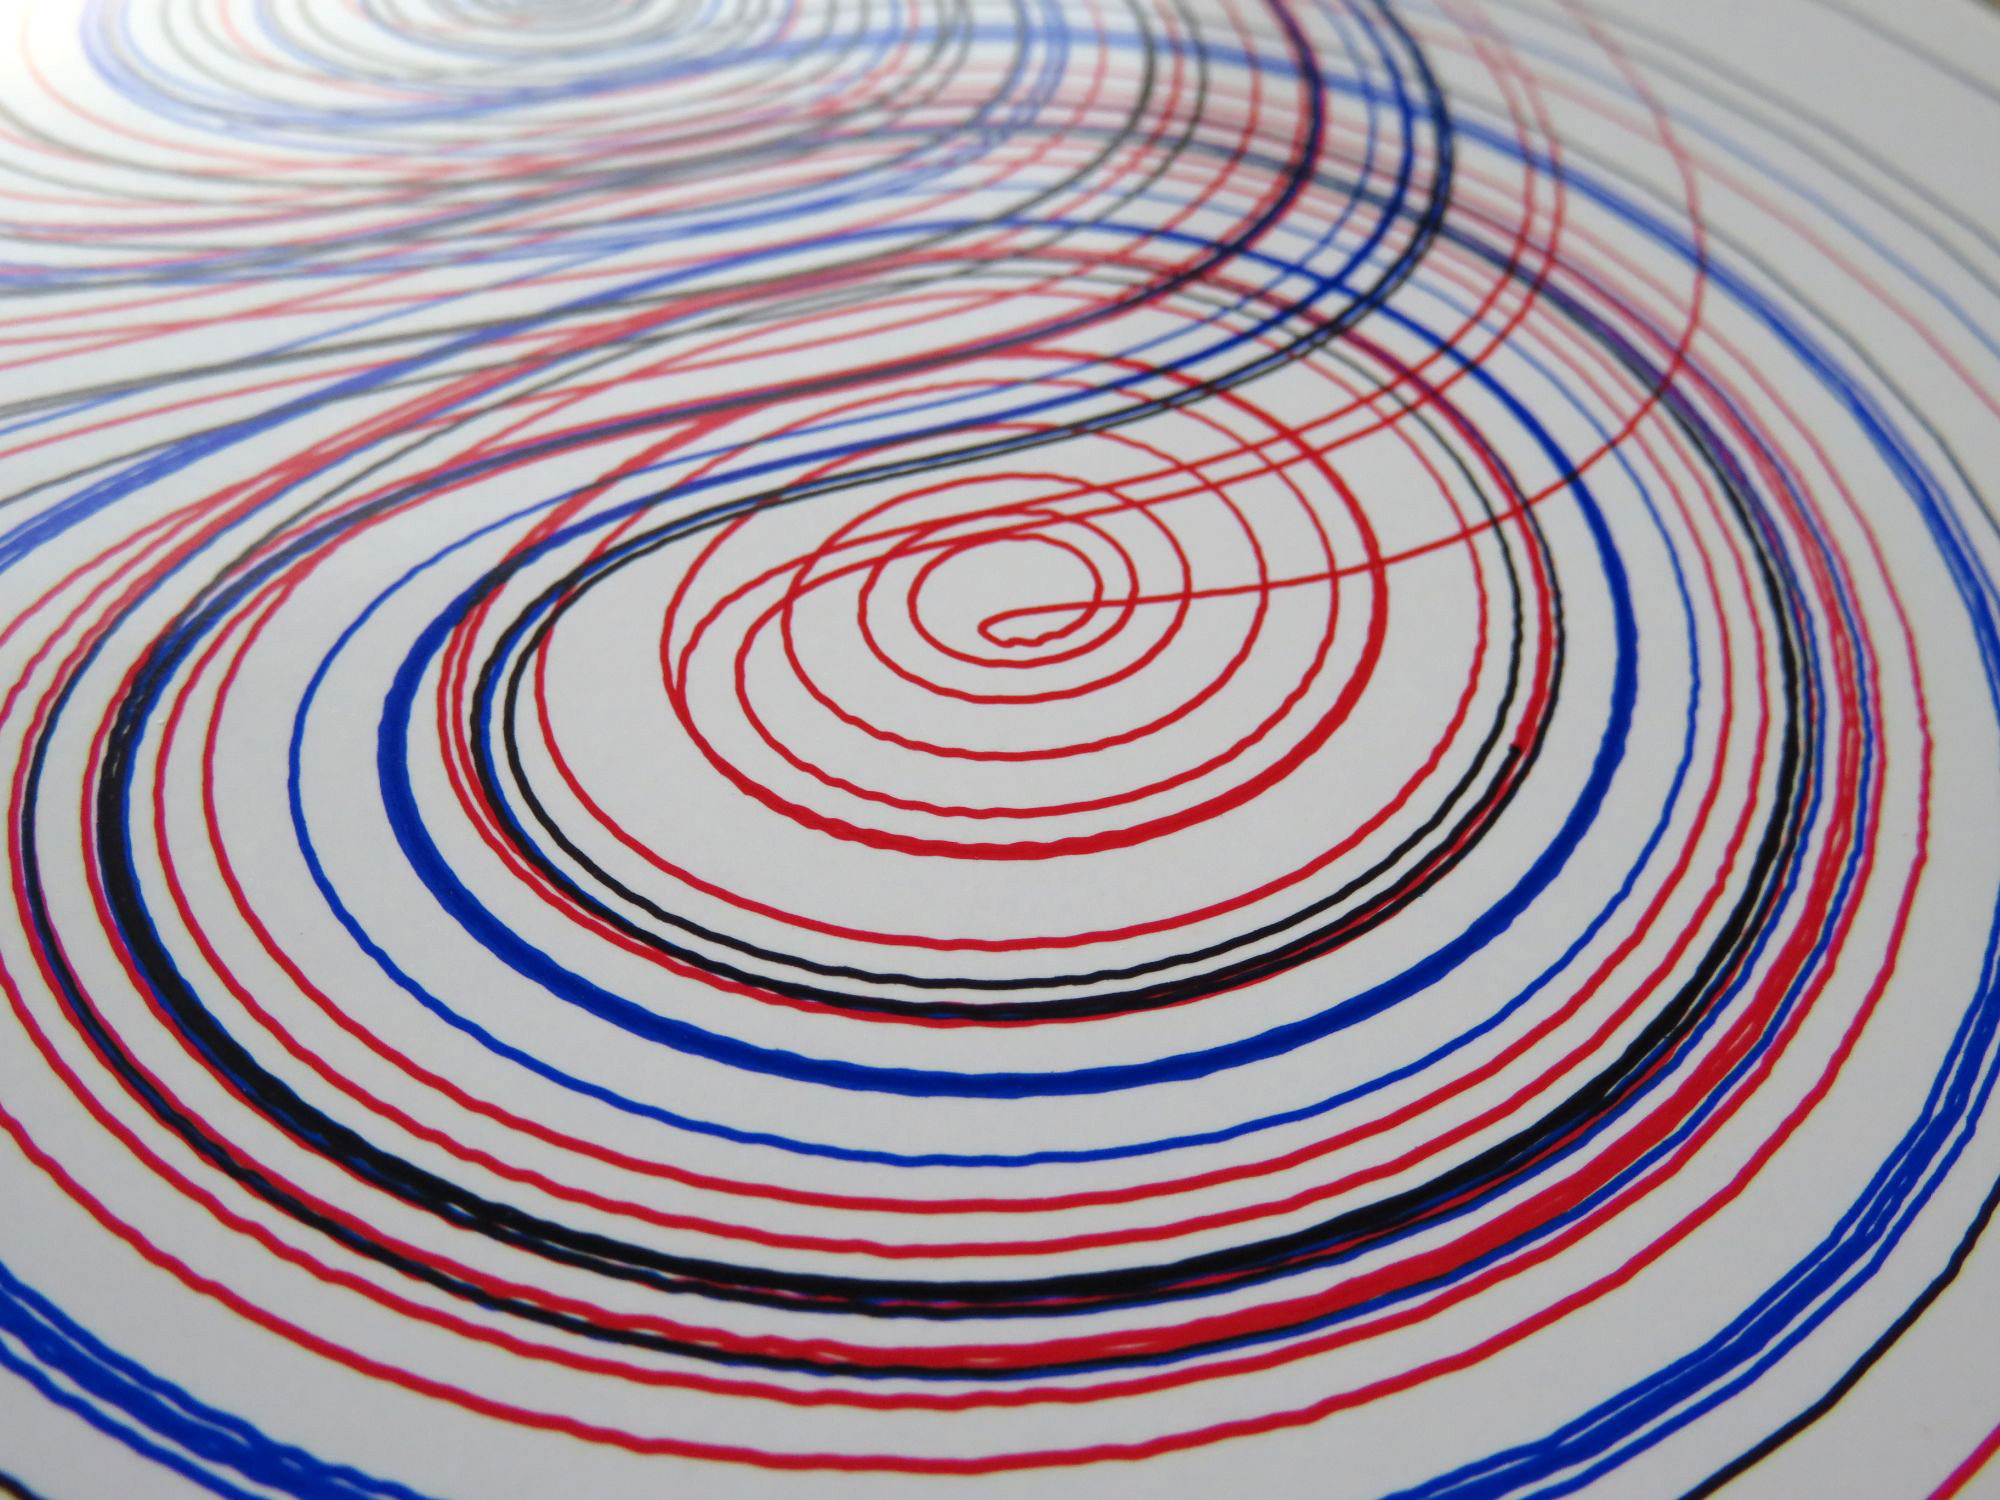
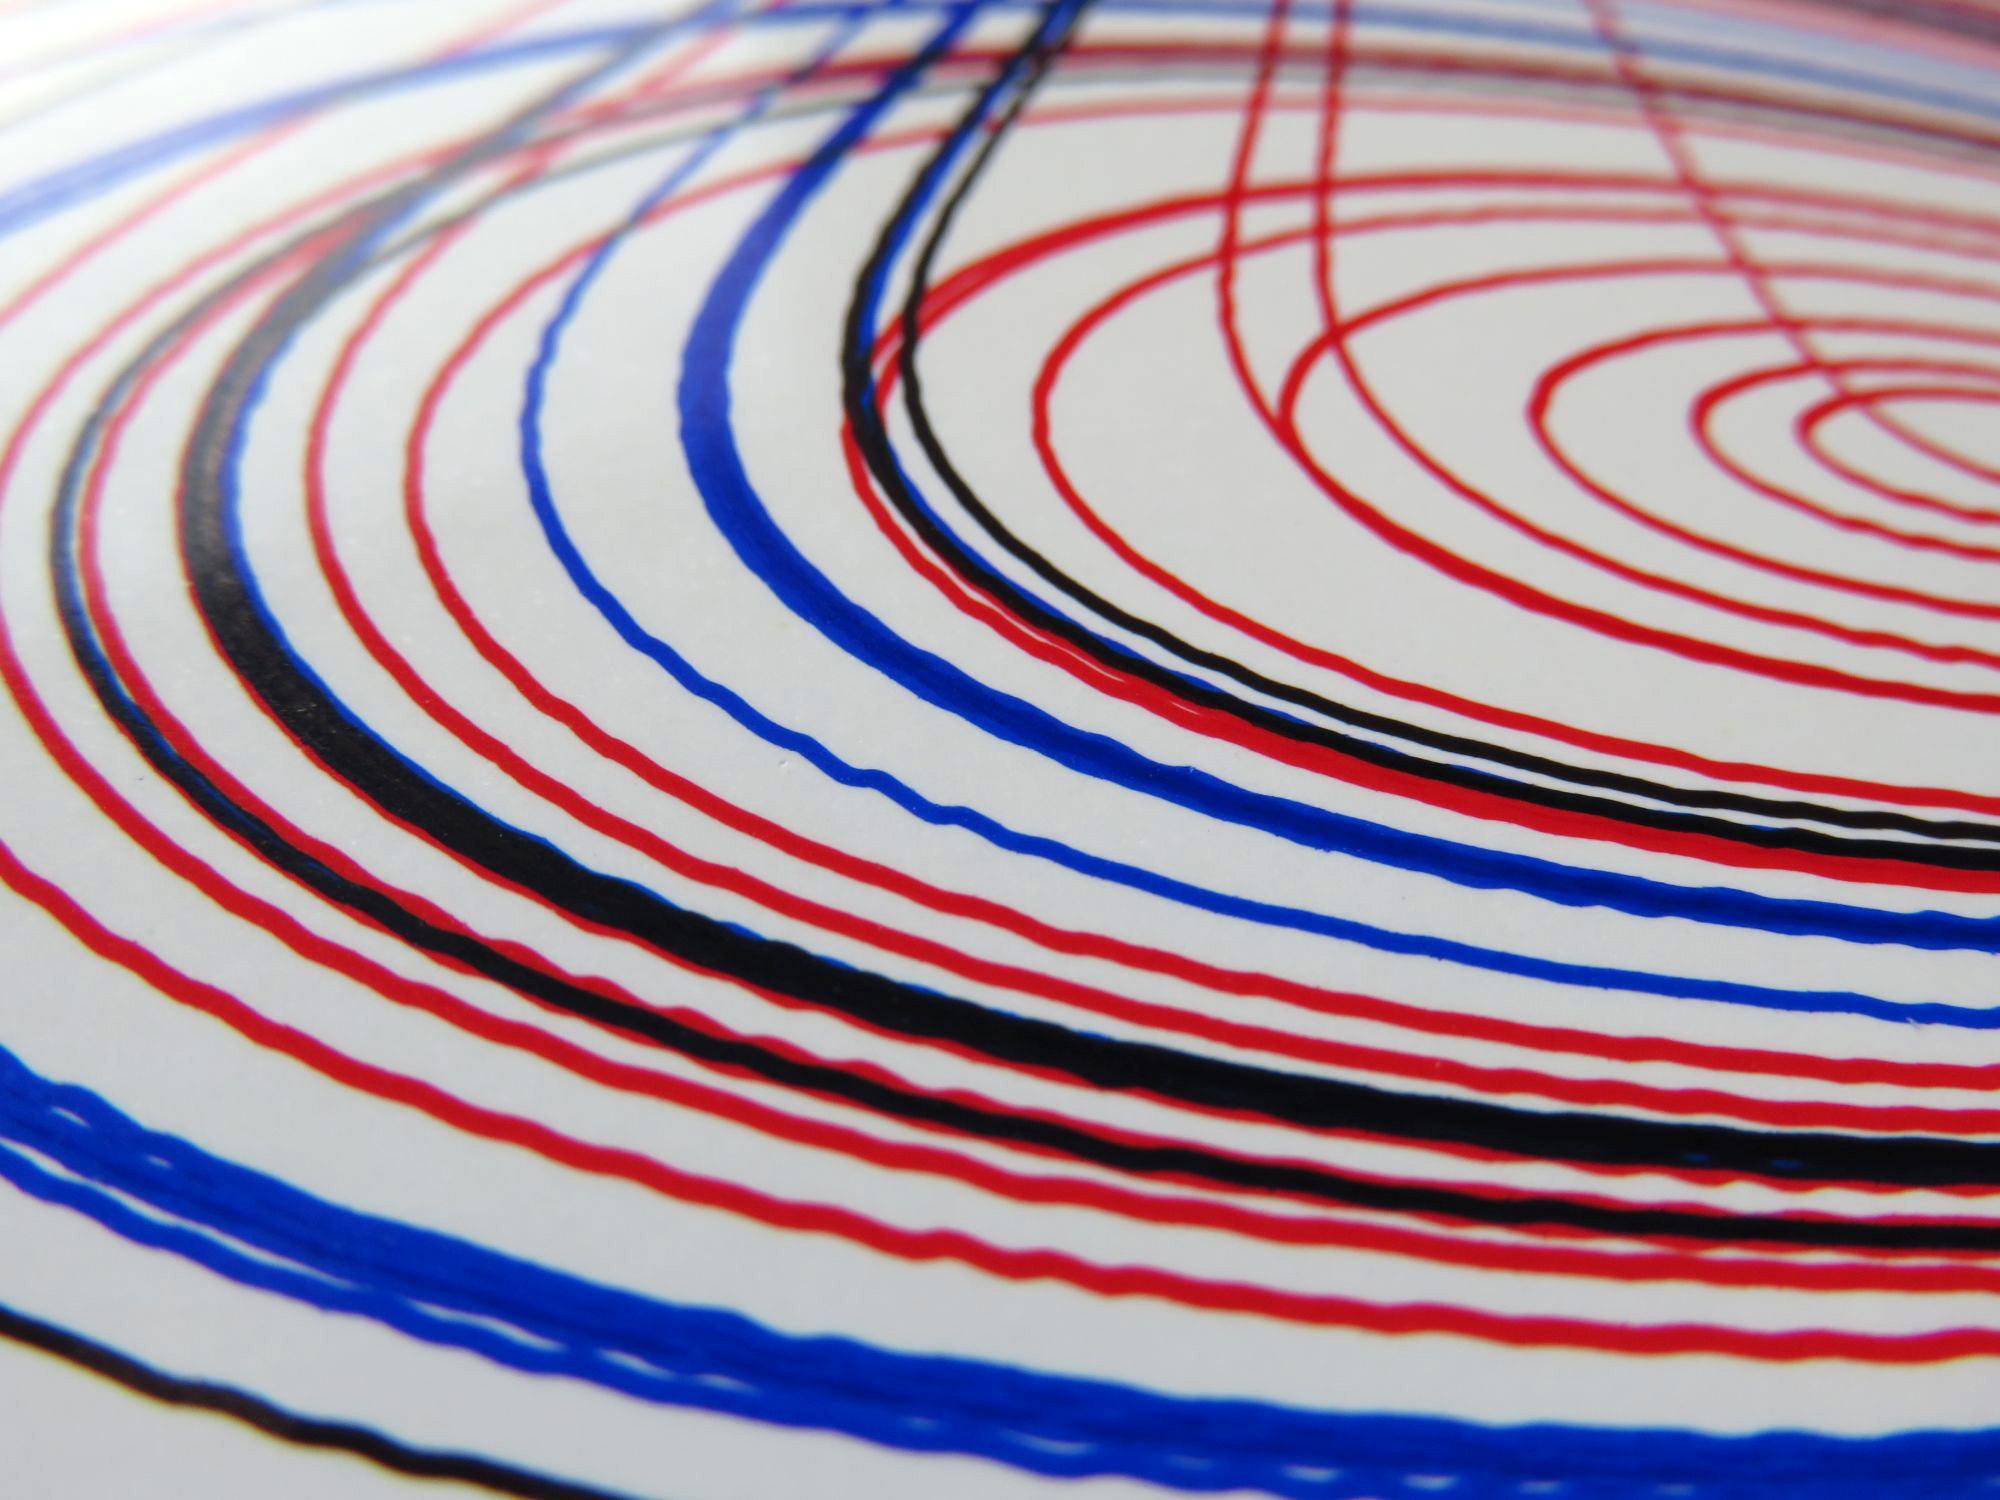
I used two combinations - either Pilot V5 pens and normal copy paper, which gives nice thin lines, or Sharpie Ultra Fine Point markers and glossy inkjet photo paper - this gives fantastic smooth, bold lines. I imagine that the inkjet paper is coated to absorb printer ink, so it'll also absorb marker ink readily as well.
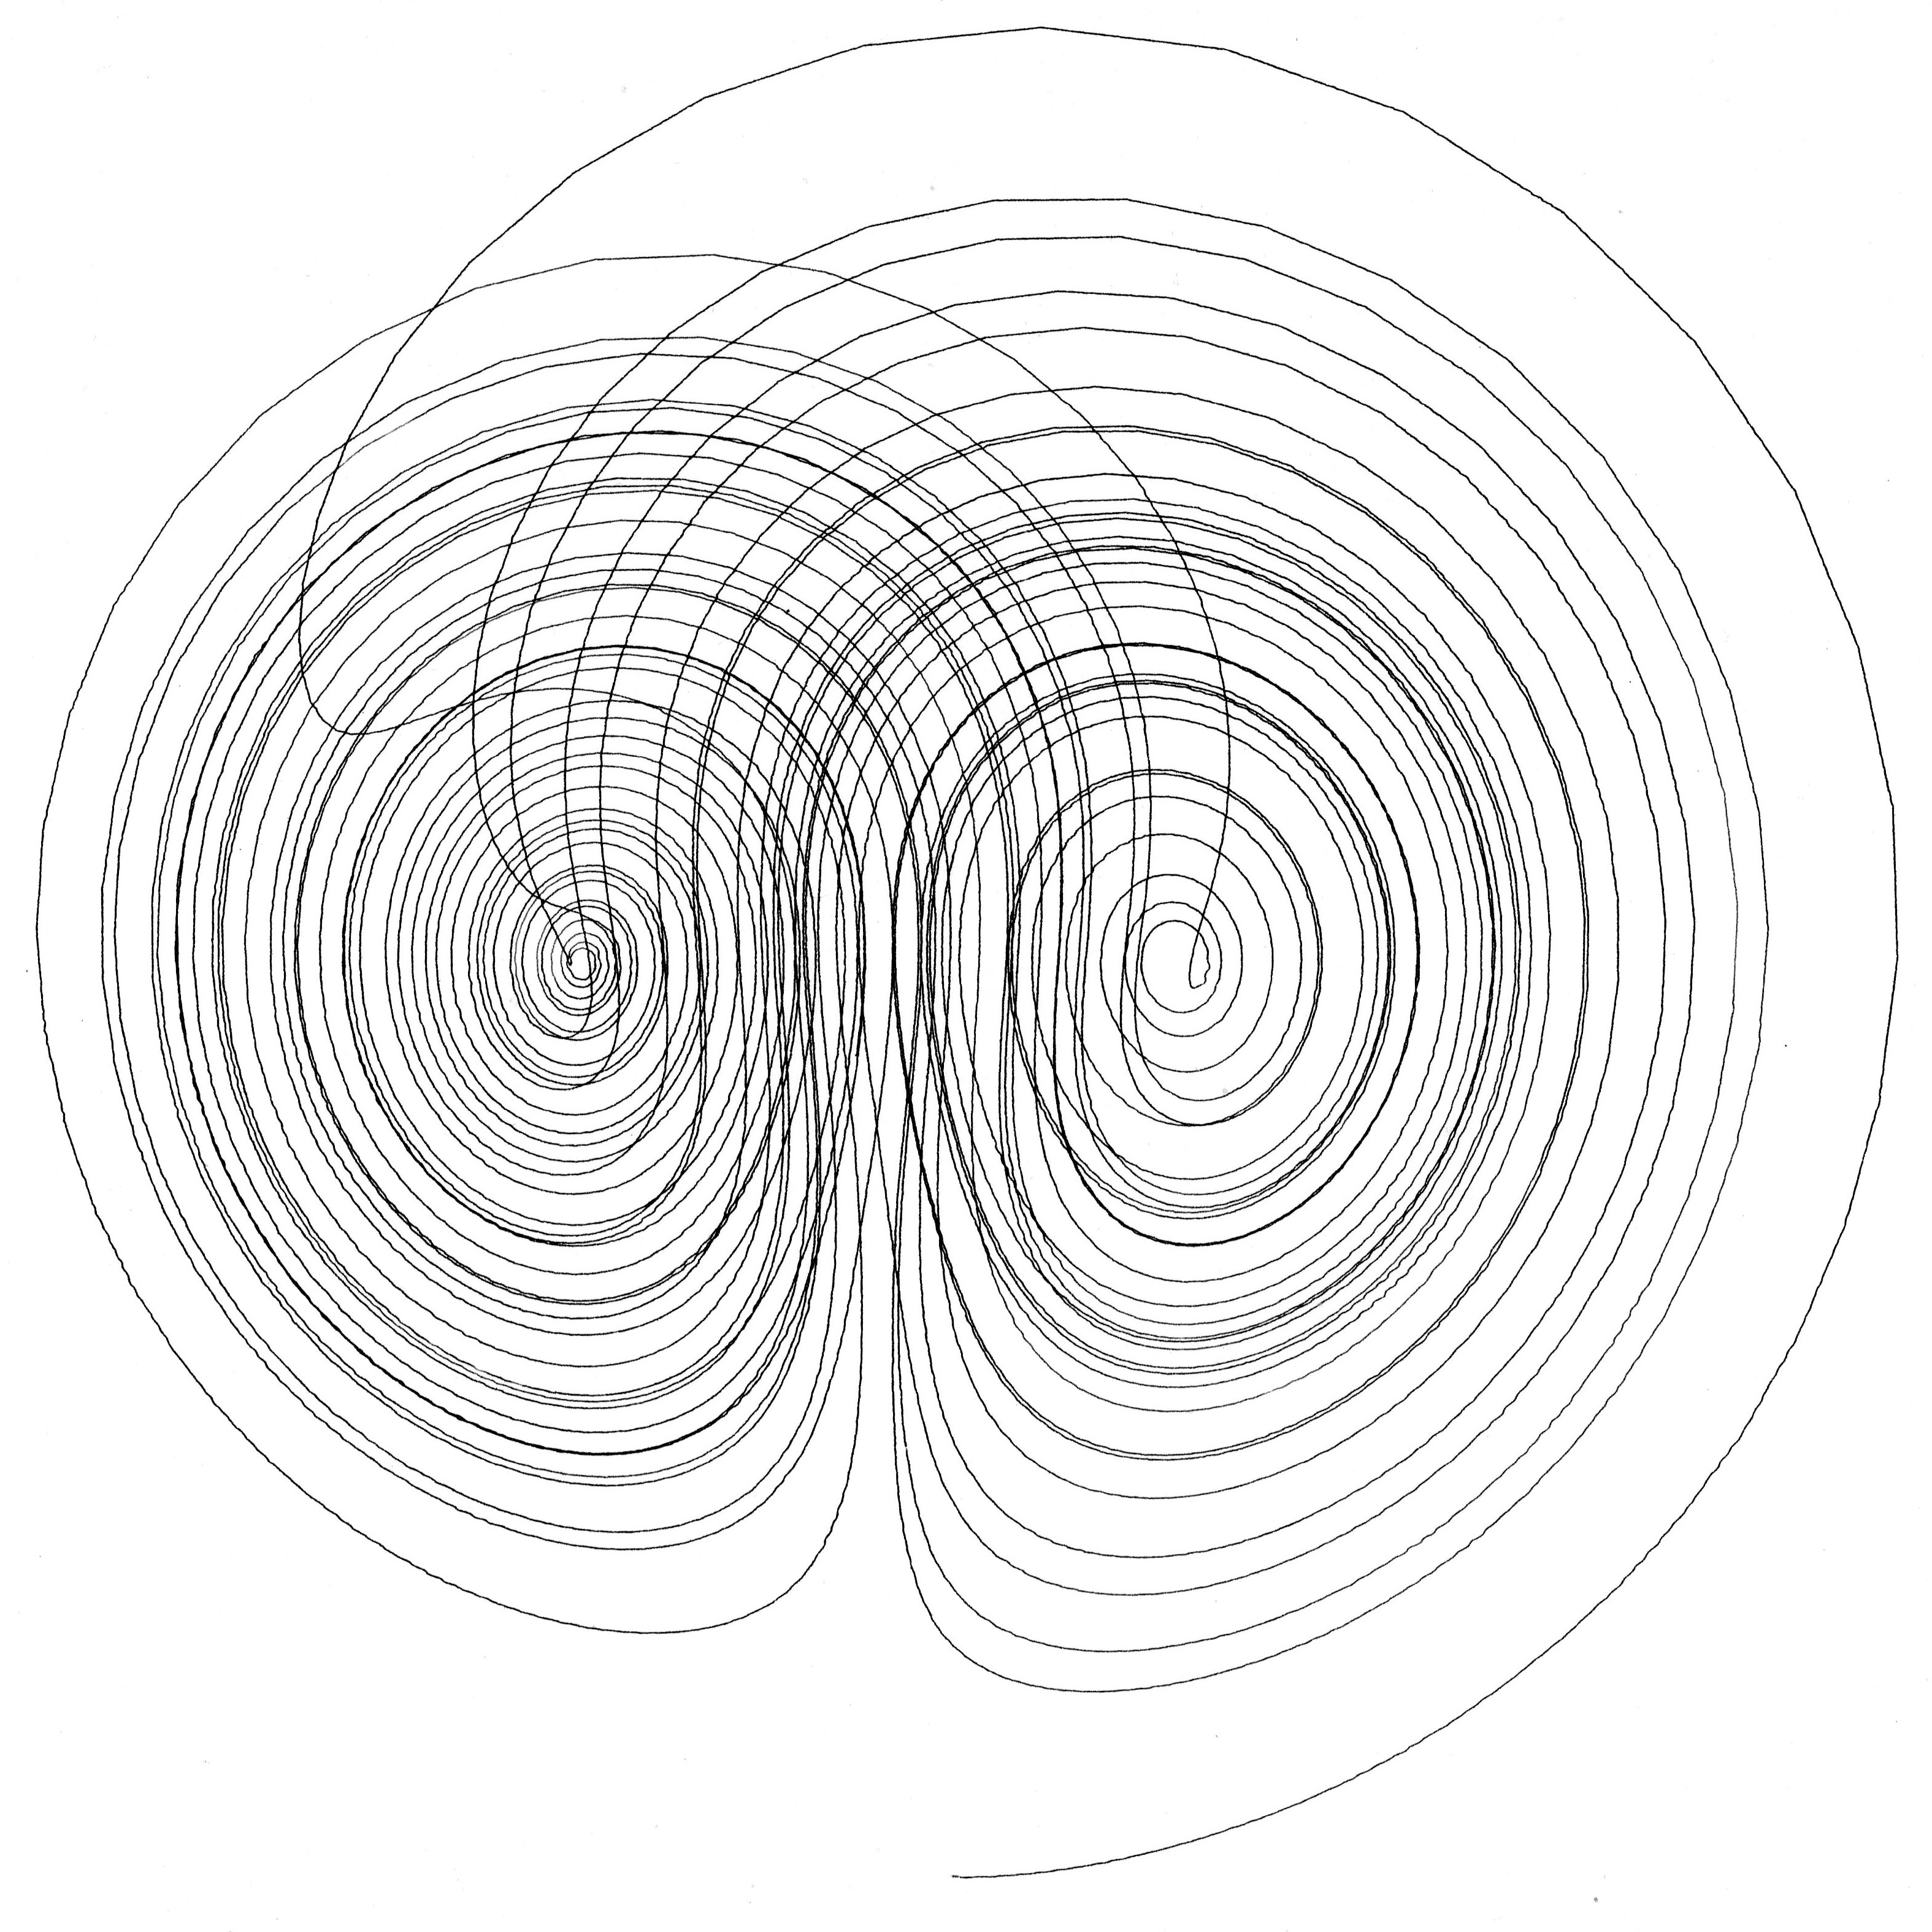
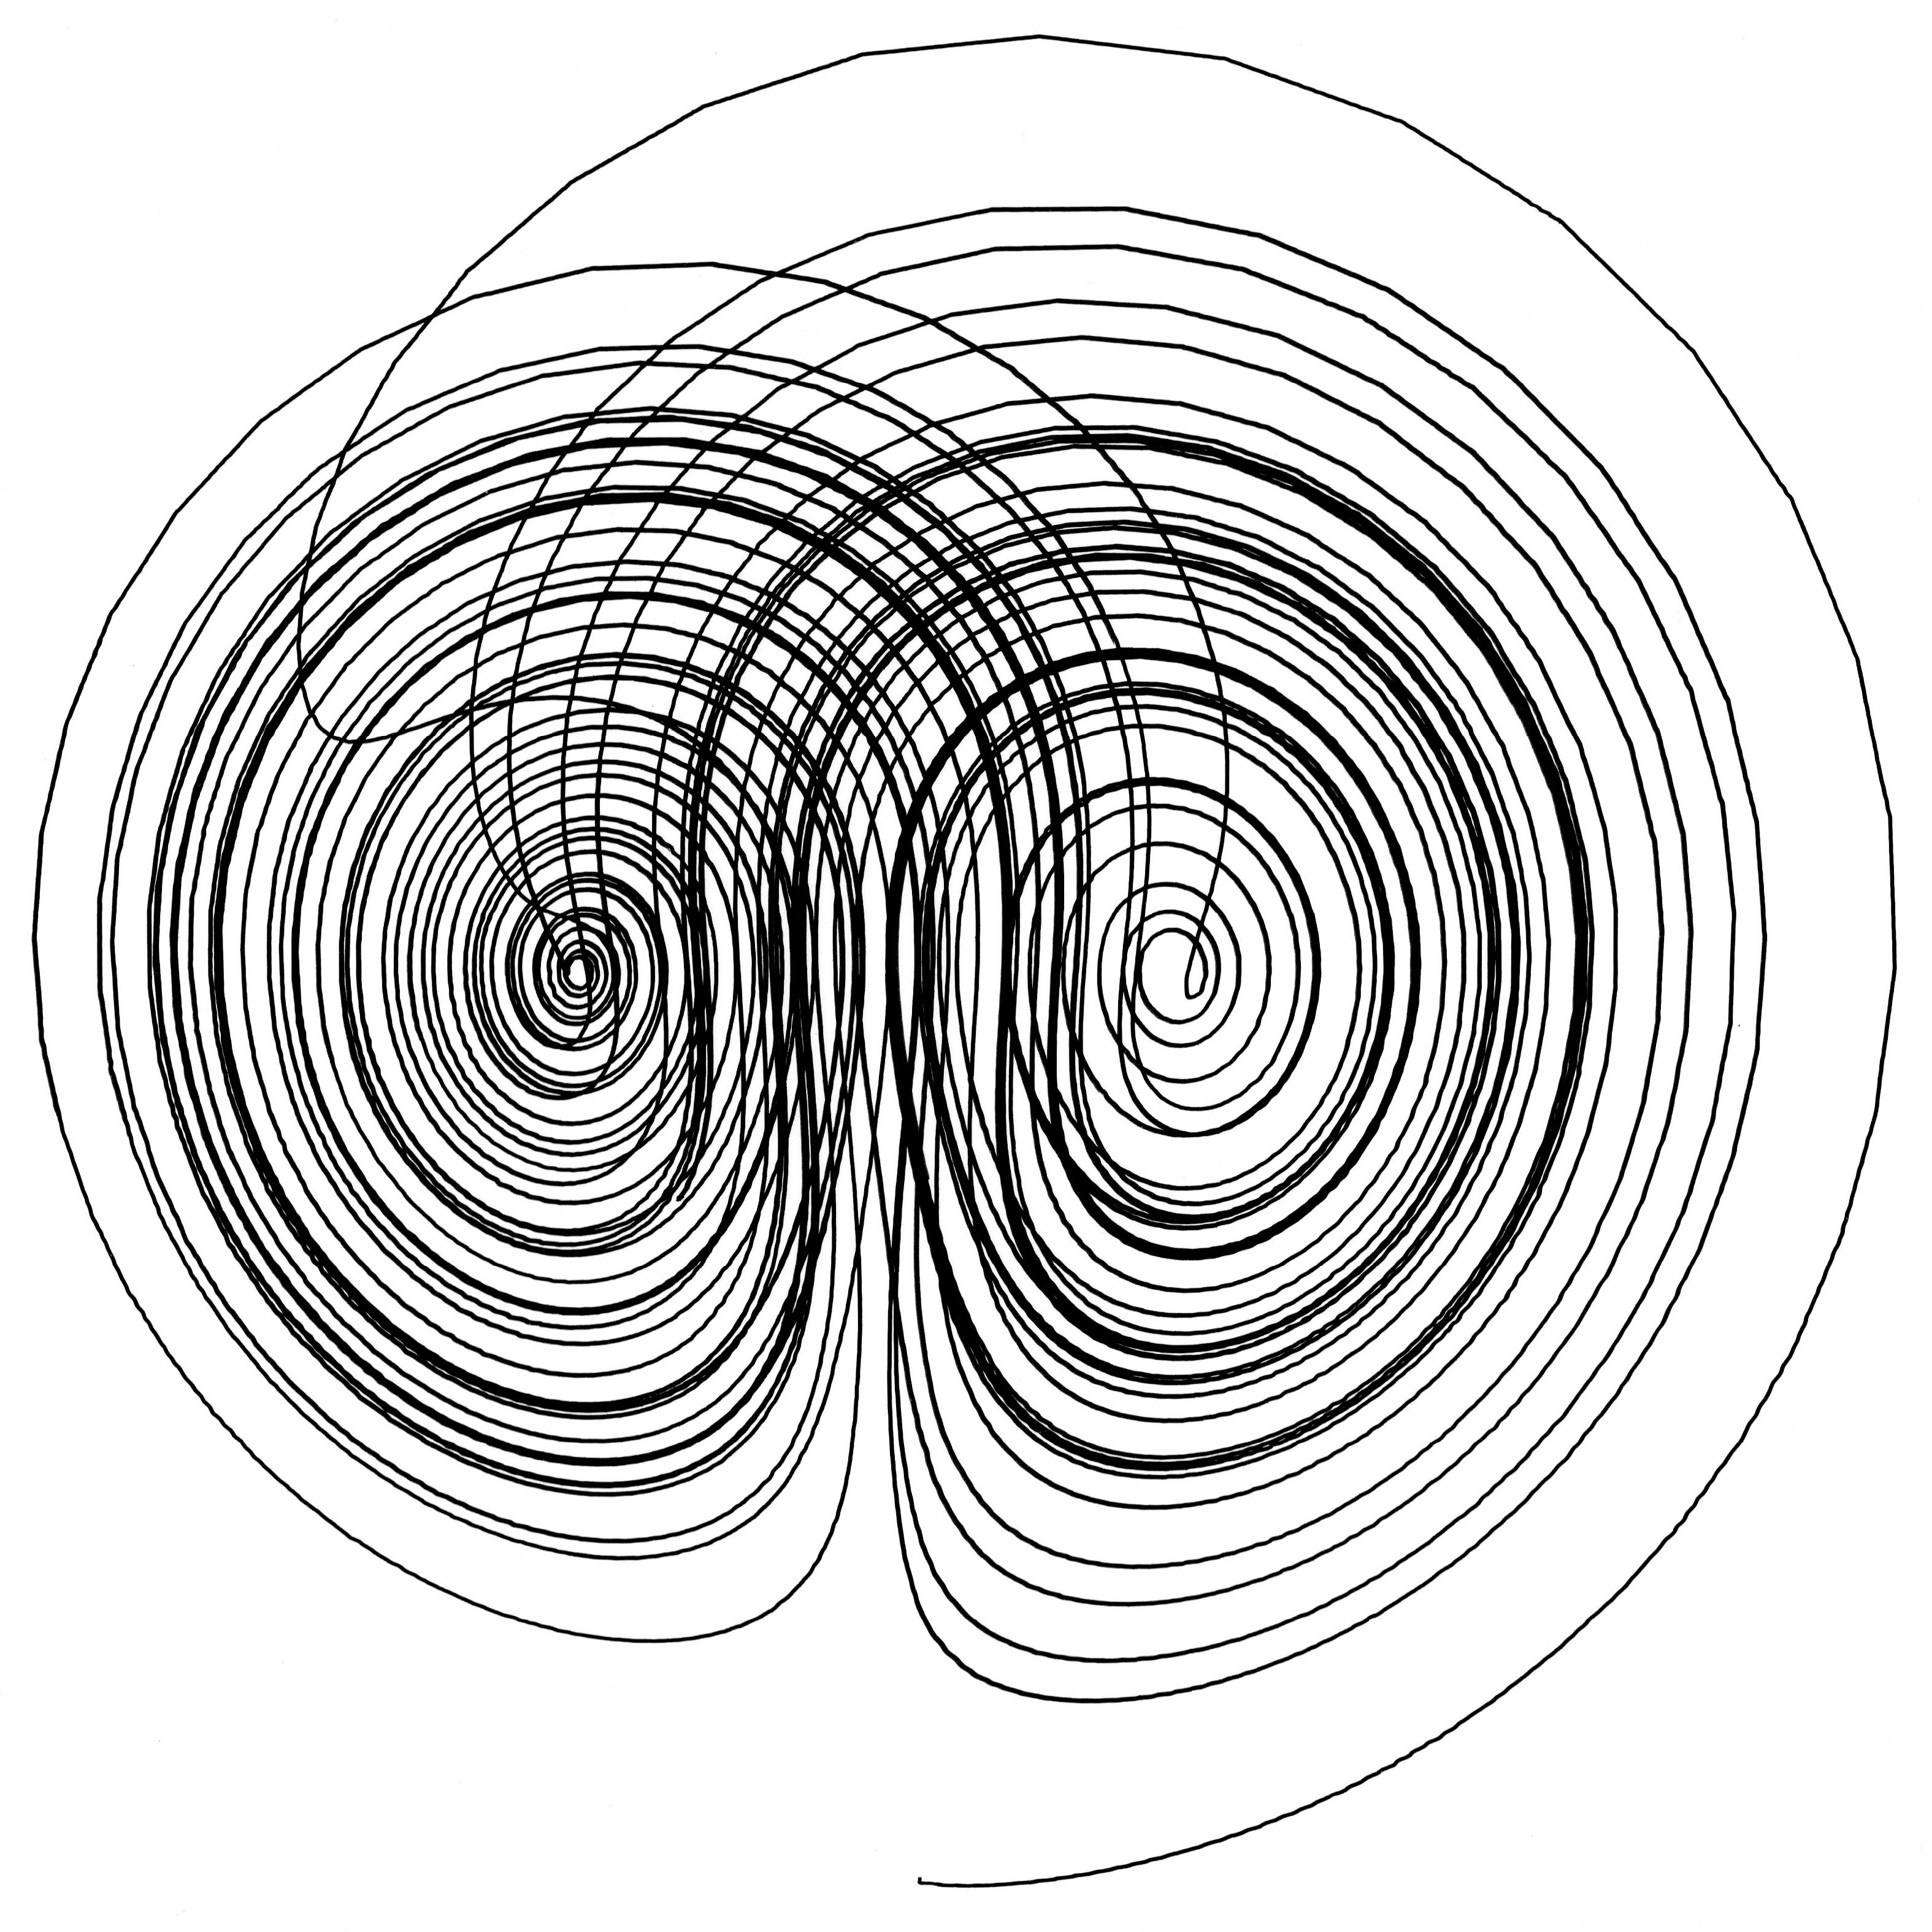
Here are videos of each plane being drawn - each has 6000 total points. First, the XY plane:
Next, YZ plane:
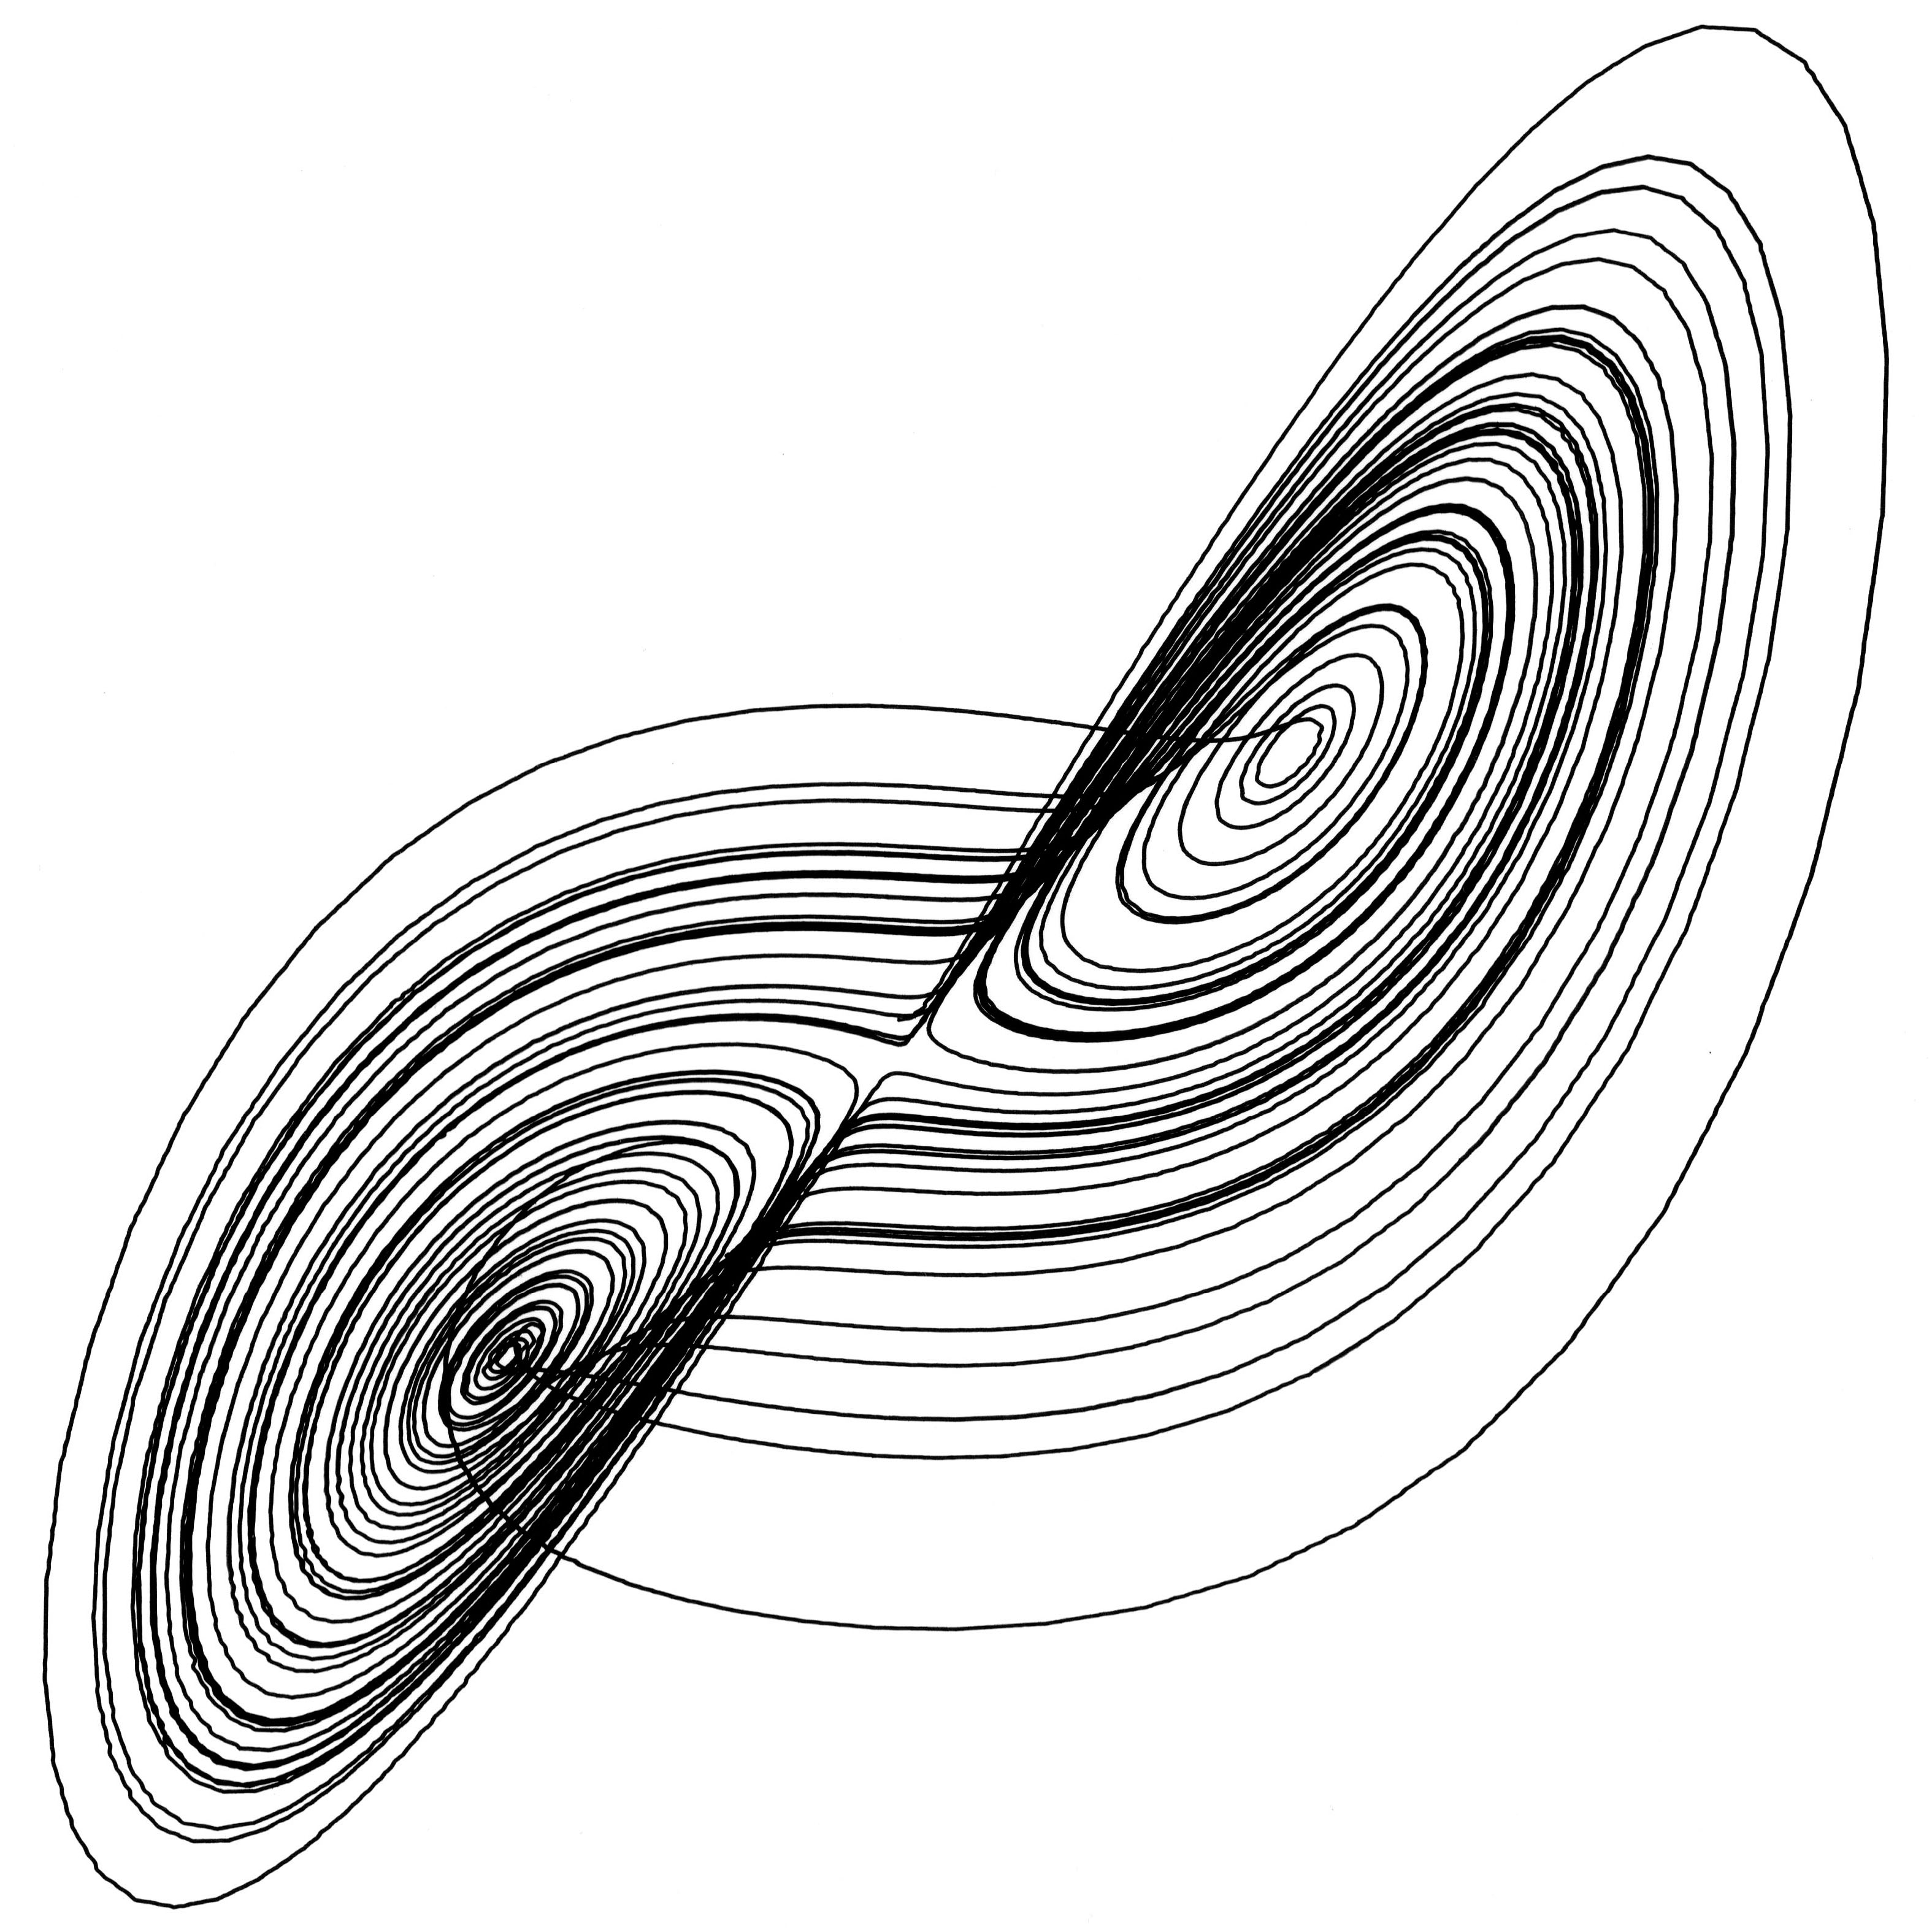
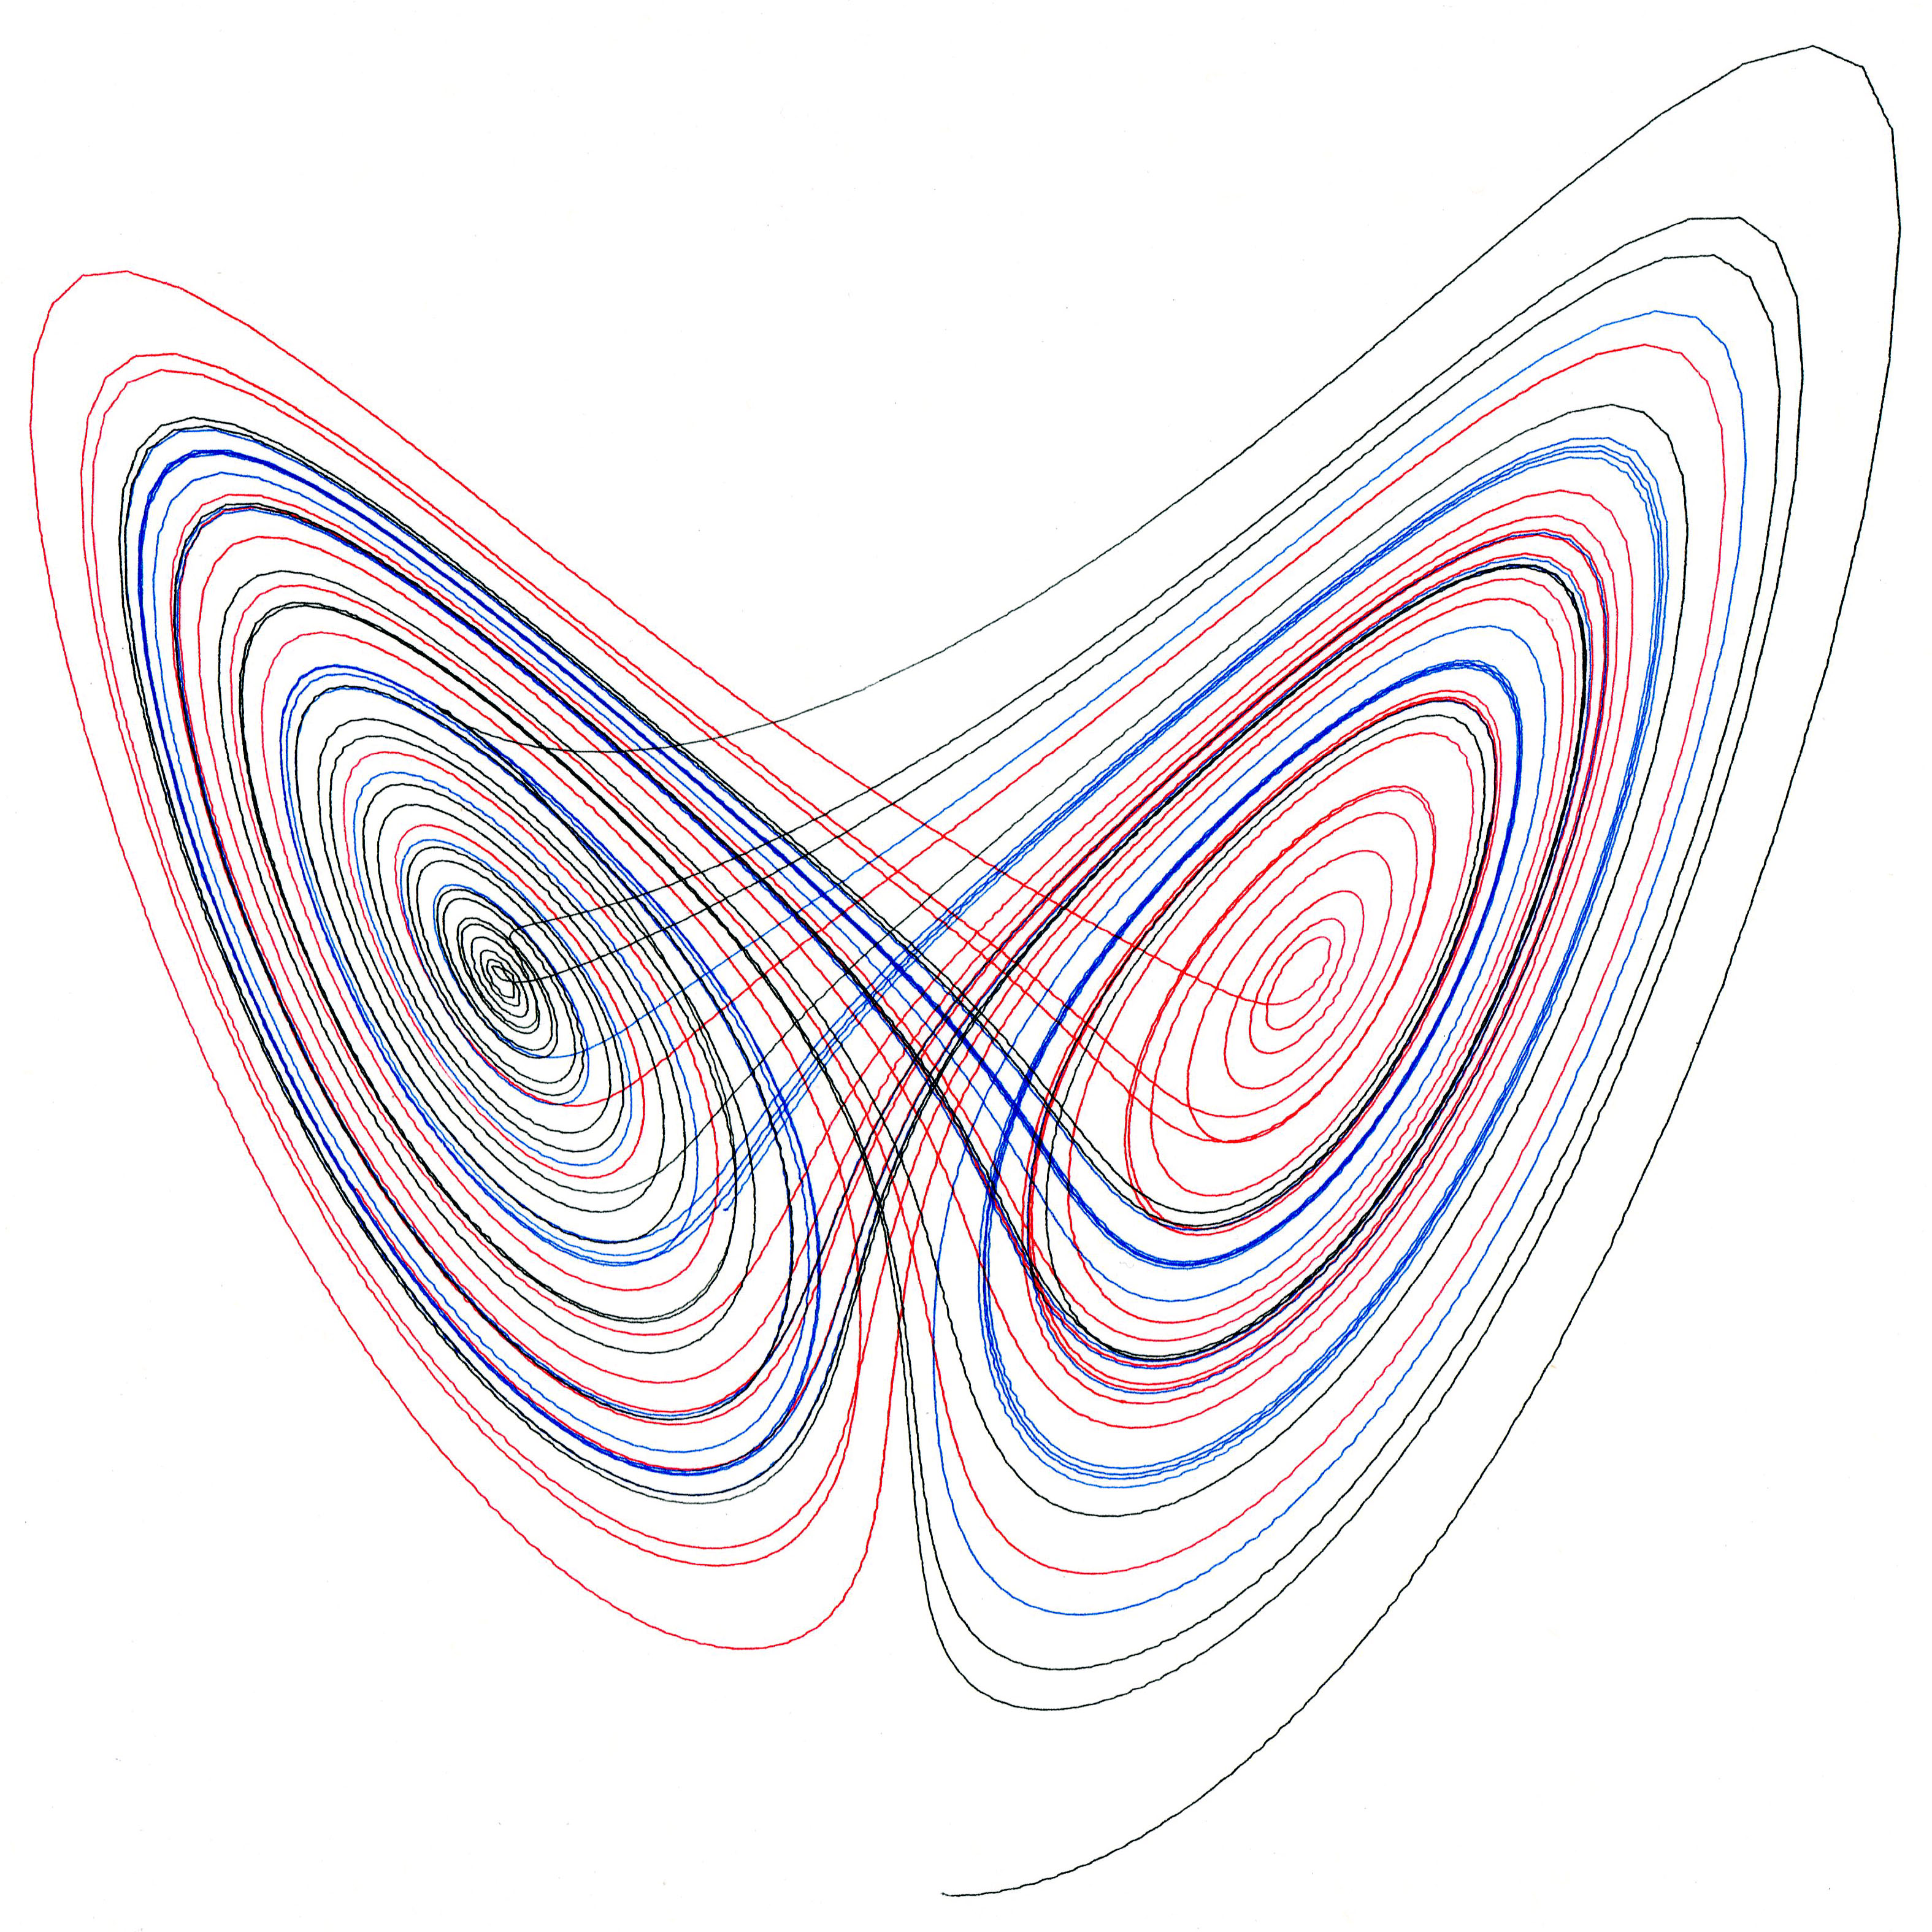
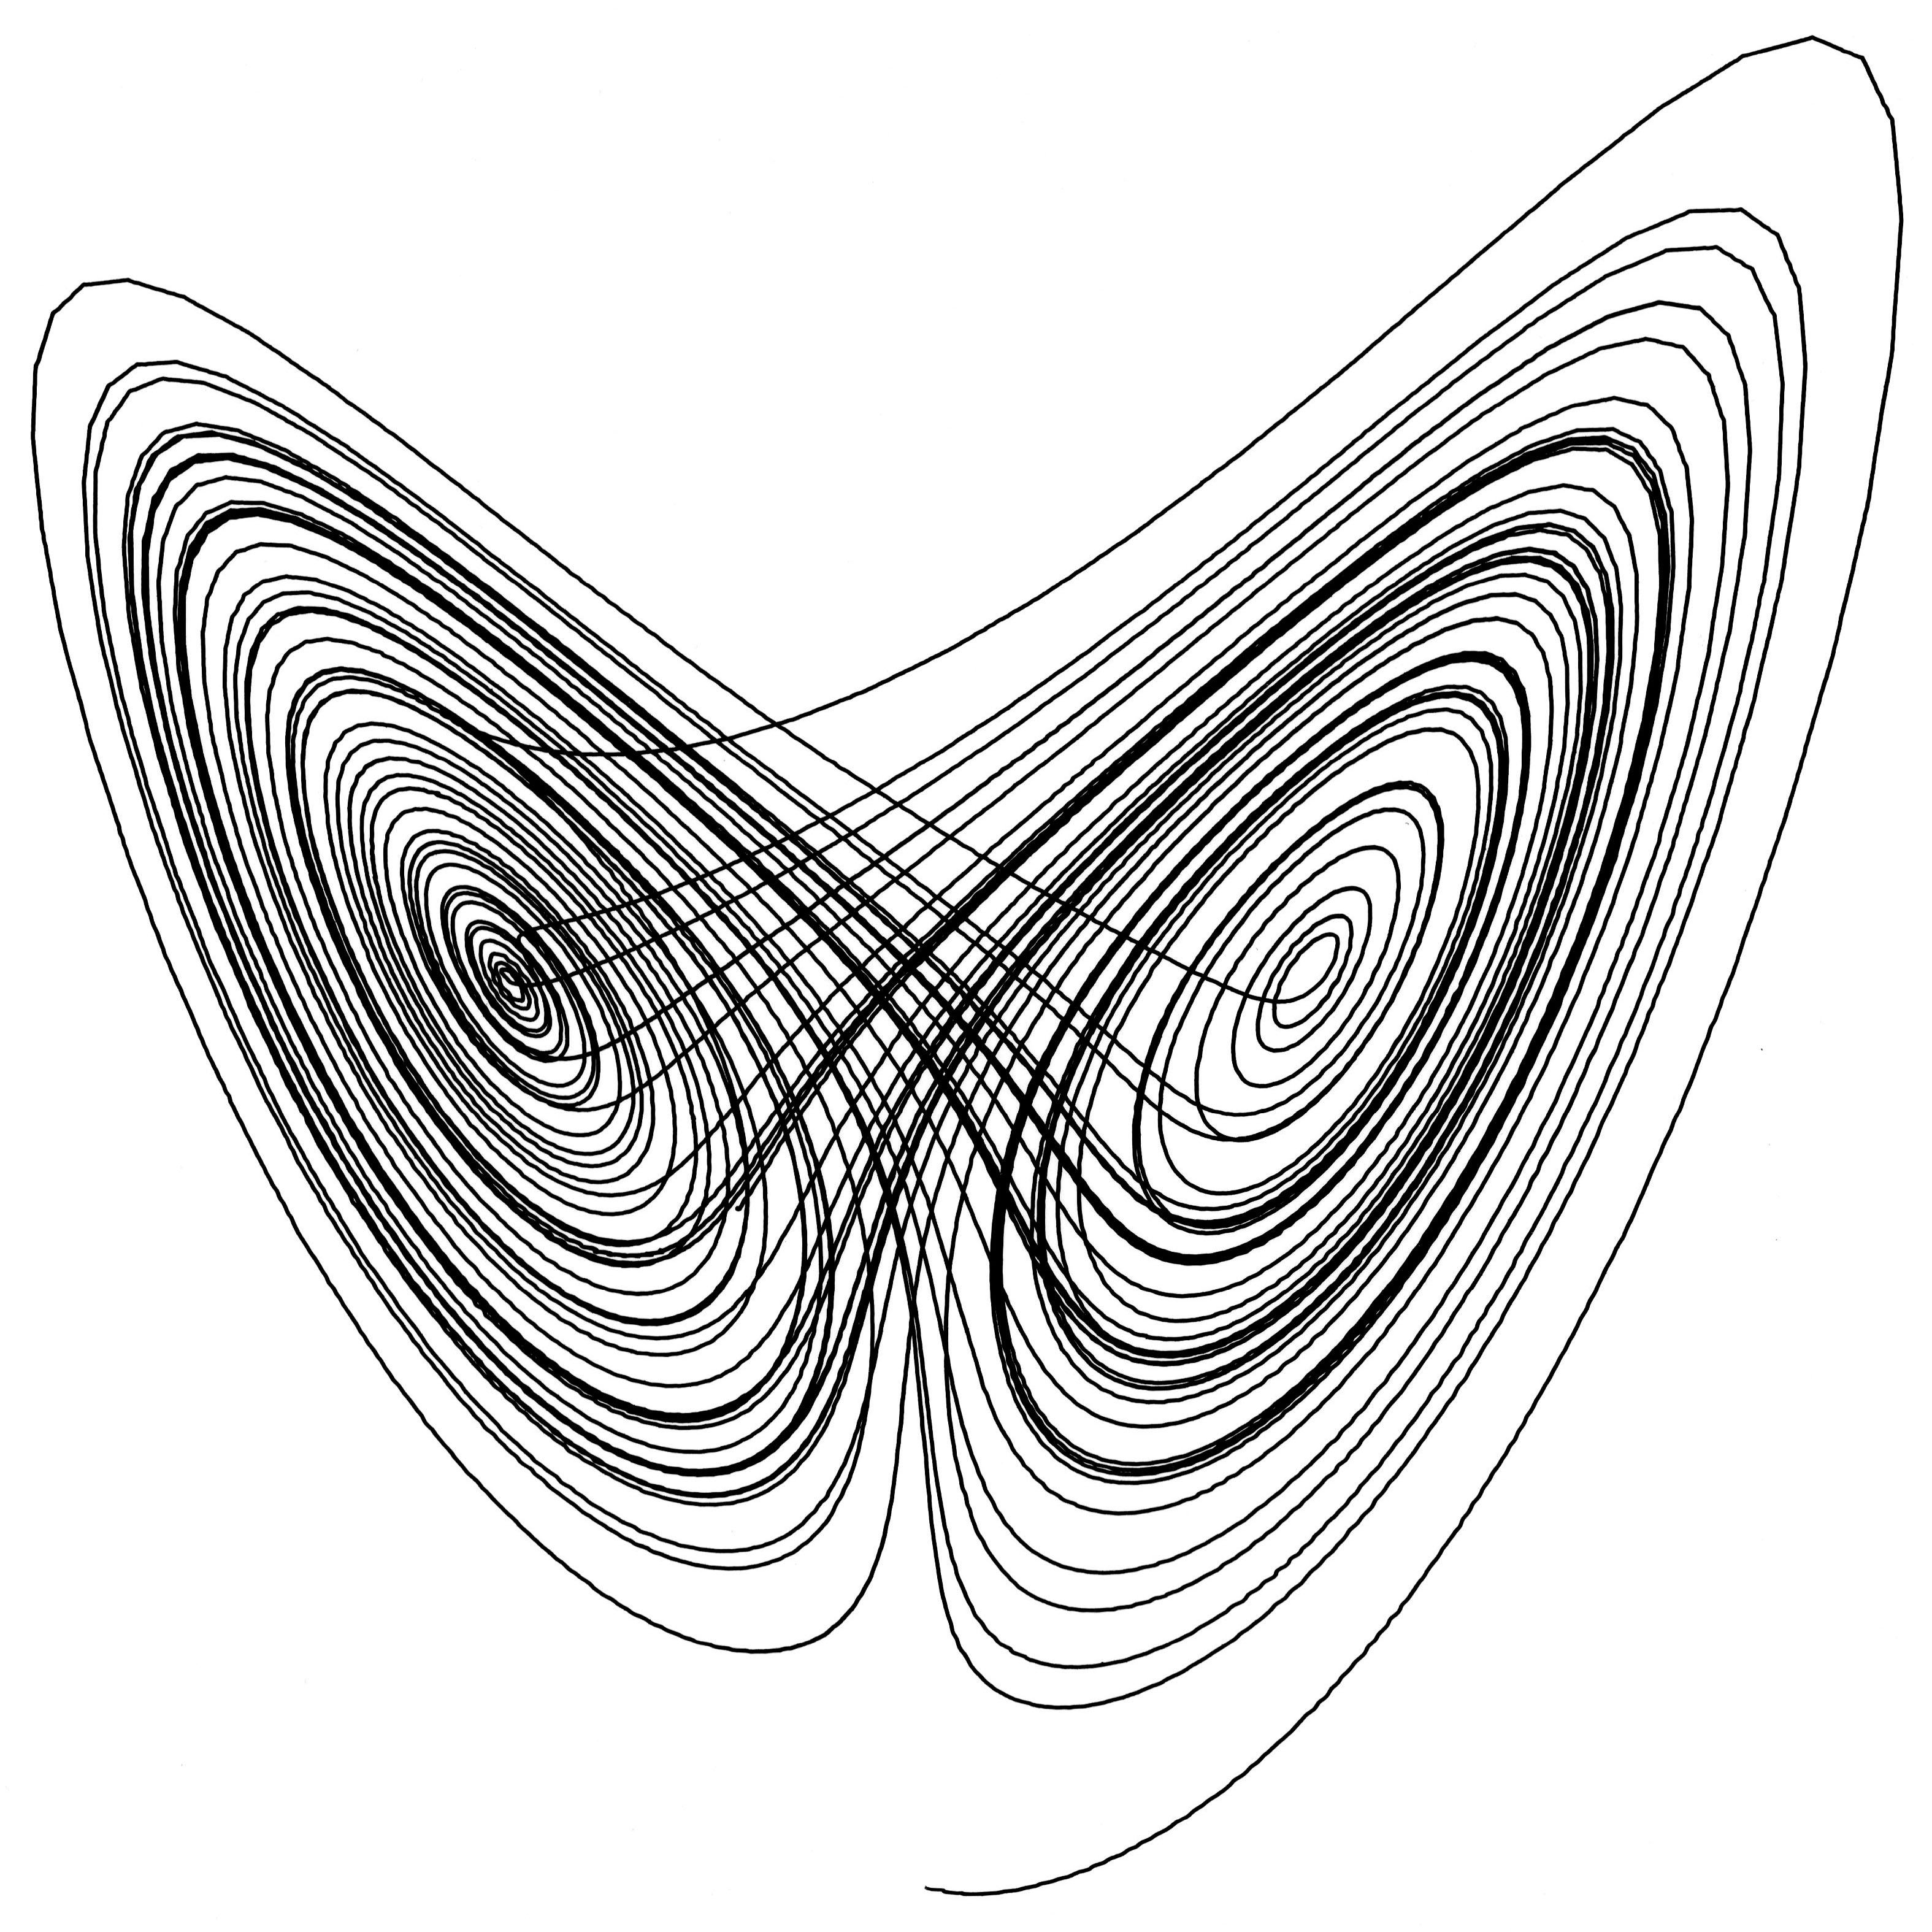
Lastly, XZ plane, which is the pattern most people are familiar with:
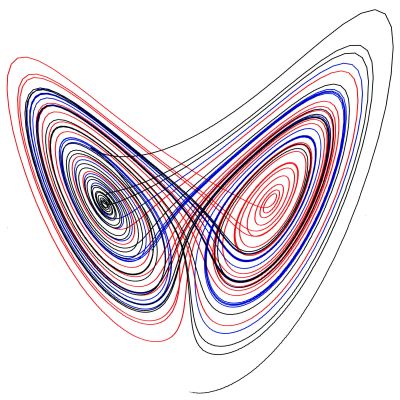
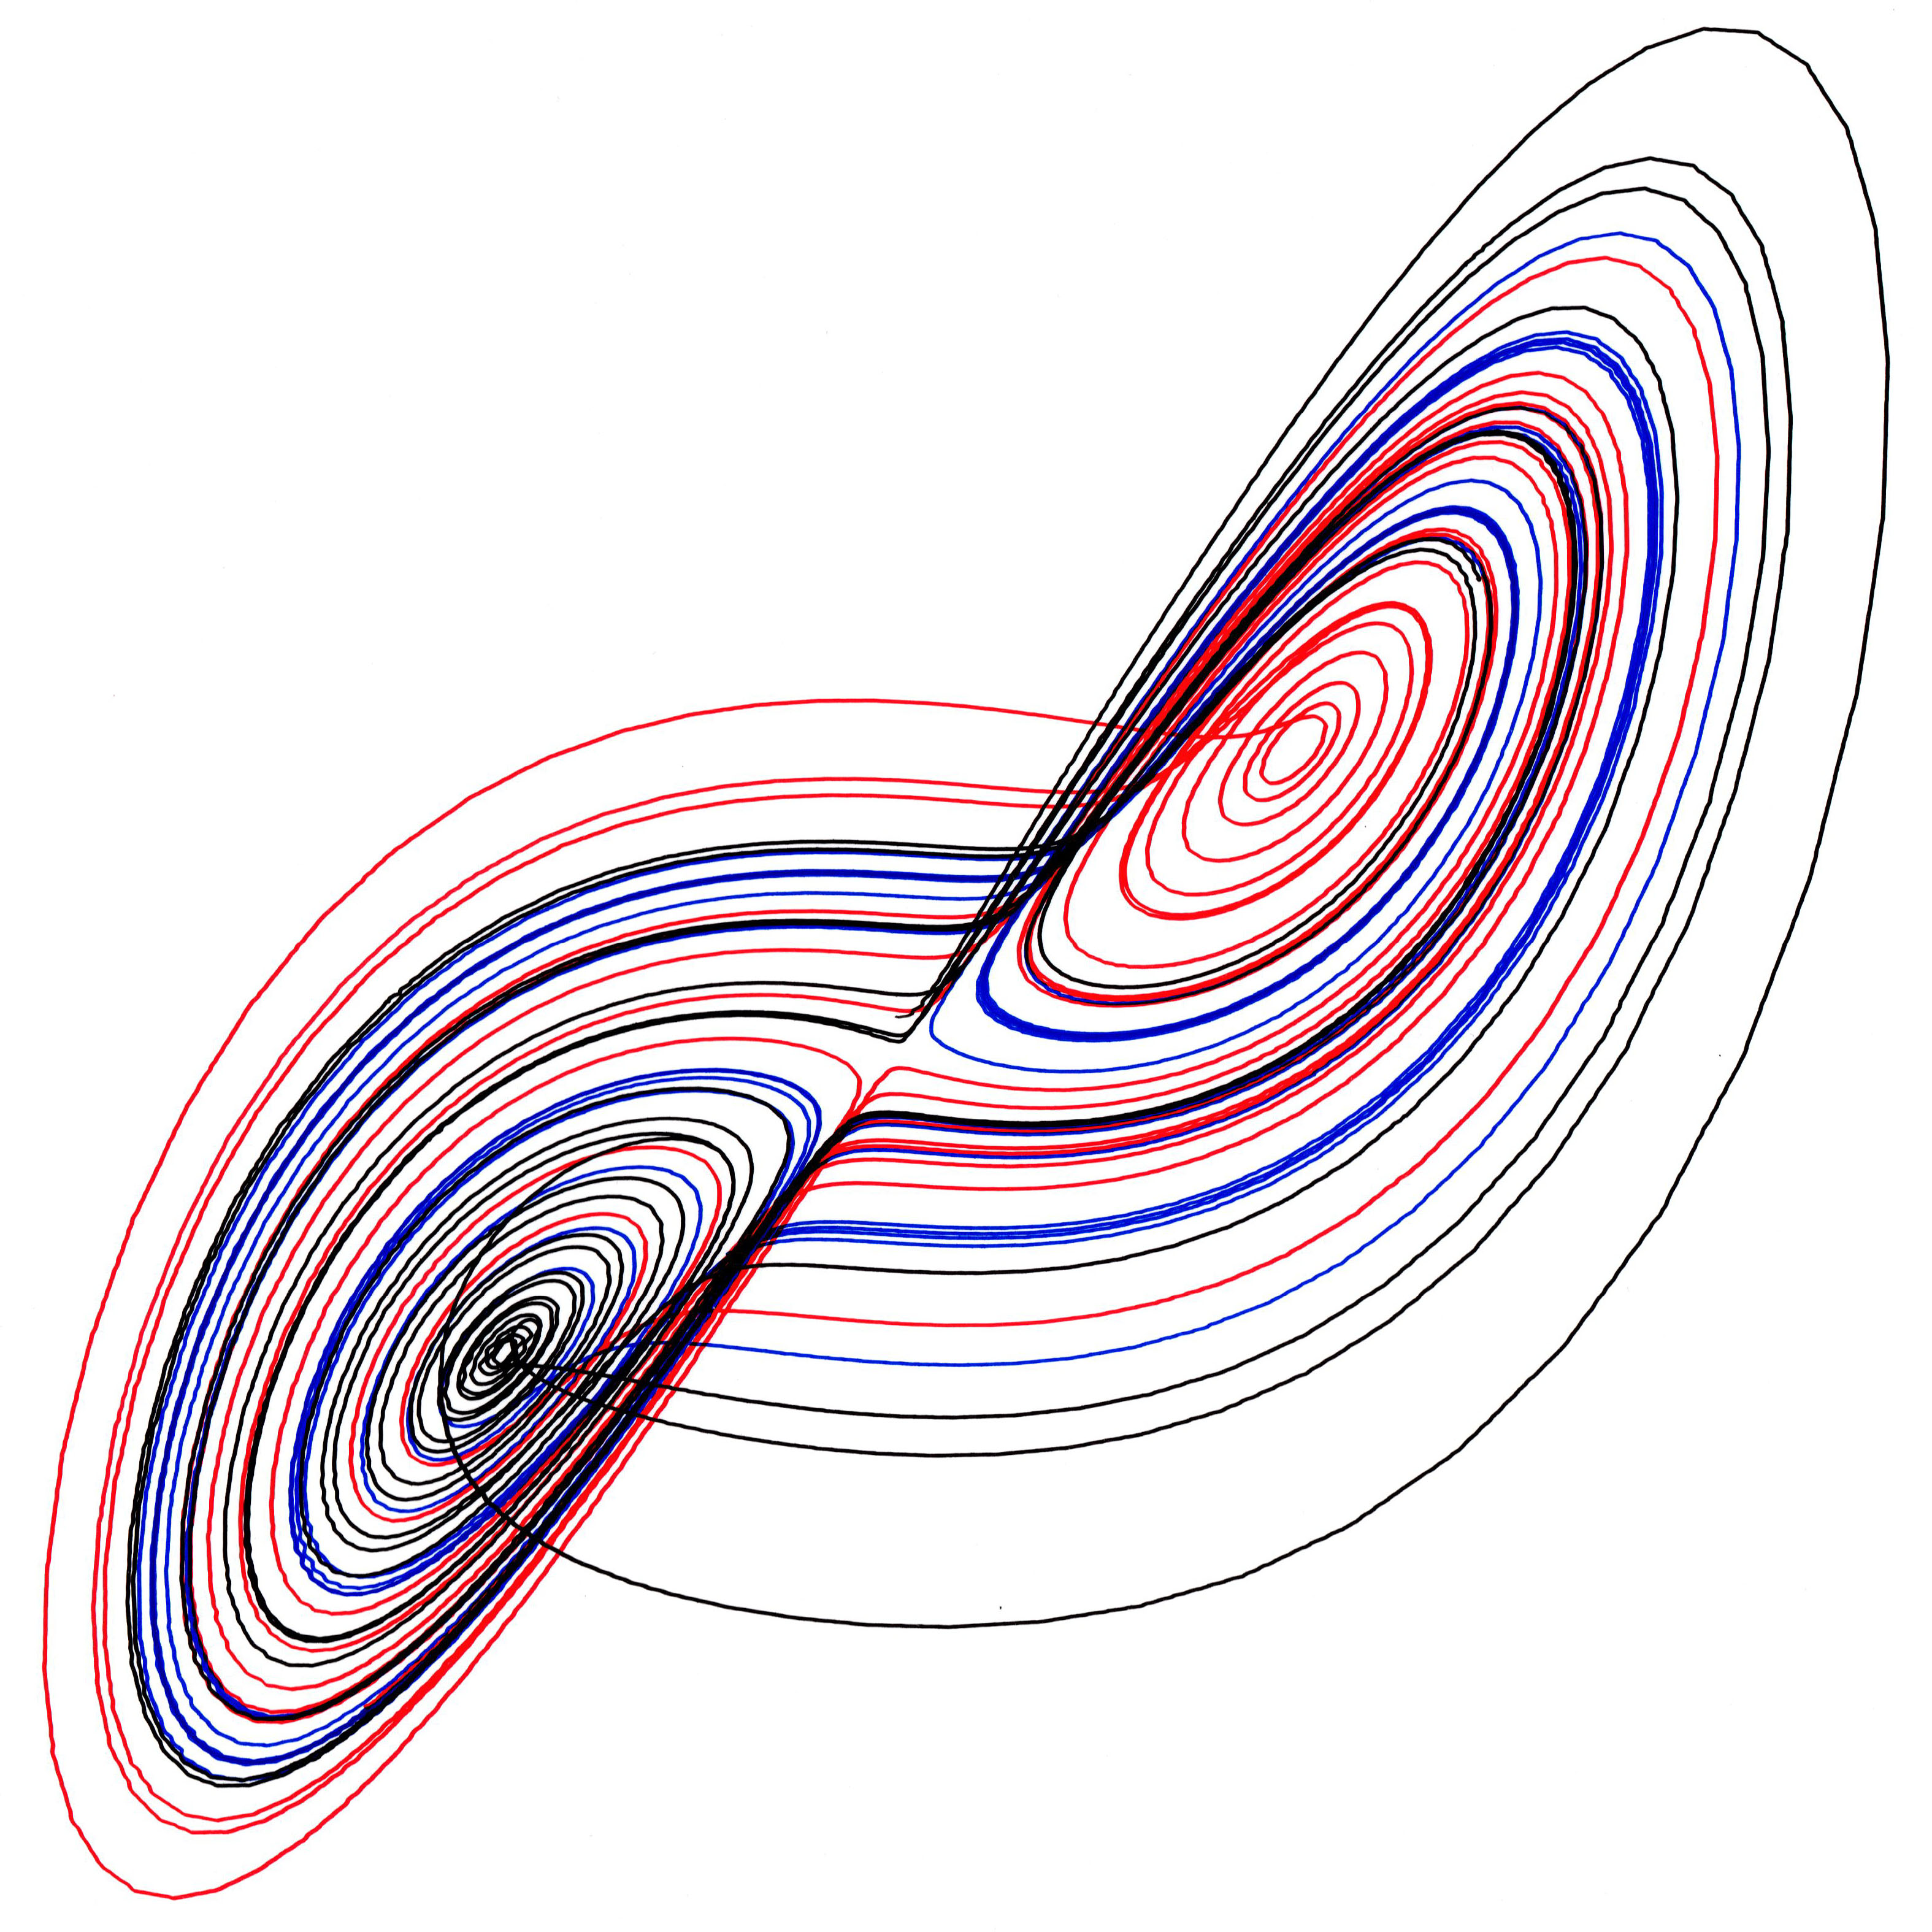
I also did multicolor drawings by pausing and changing pens part-way through, as mentioned above. Here's the XY plane again, drawn with three colors (black, red, blue). 6000 total points, changing pens at 2000 and 4000 points.
Some photos of the setup - the lines produced on the inkjet paper are really smooth.
 |
 |
 |
Here's scans of all the drawings I made. Rows top to bottom are the XY, YZ & XZ planes. First two images are Pilot V5 pens on plain paper, last two images are Sharpie marker on inkjet photo paper.
 |
 |
 |
 |
 |
 |
 |
 |
 |
 |
 |
 |
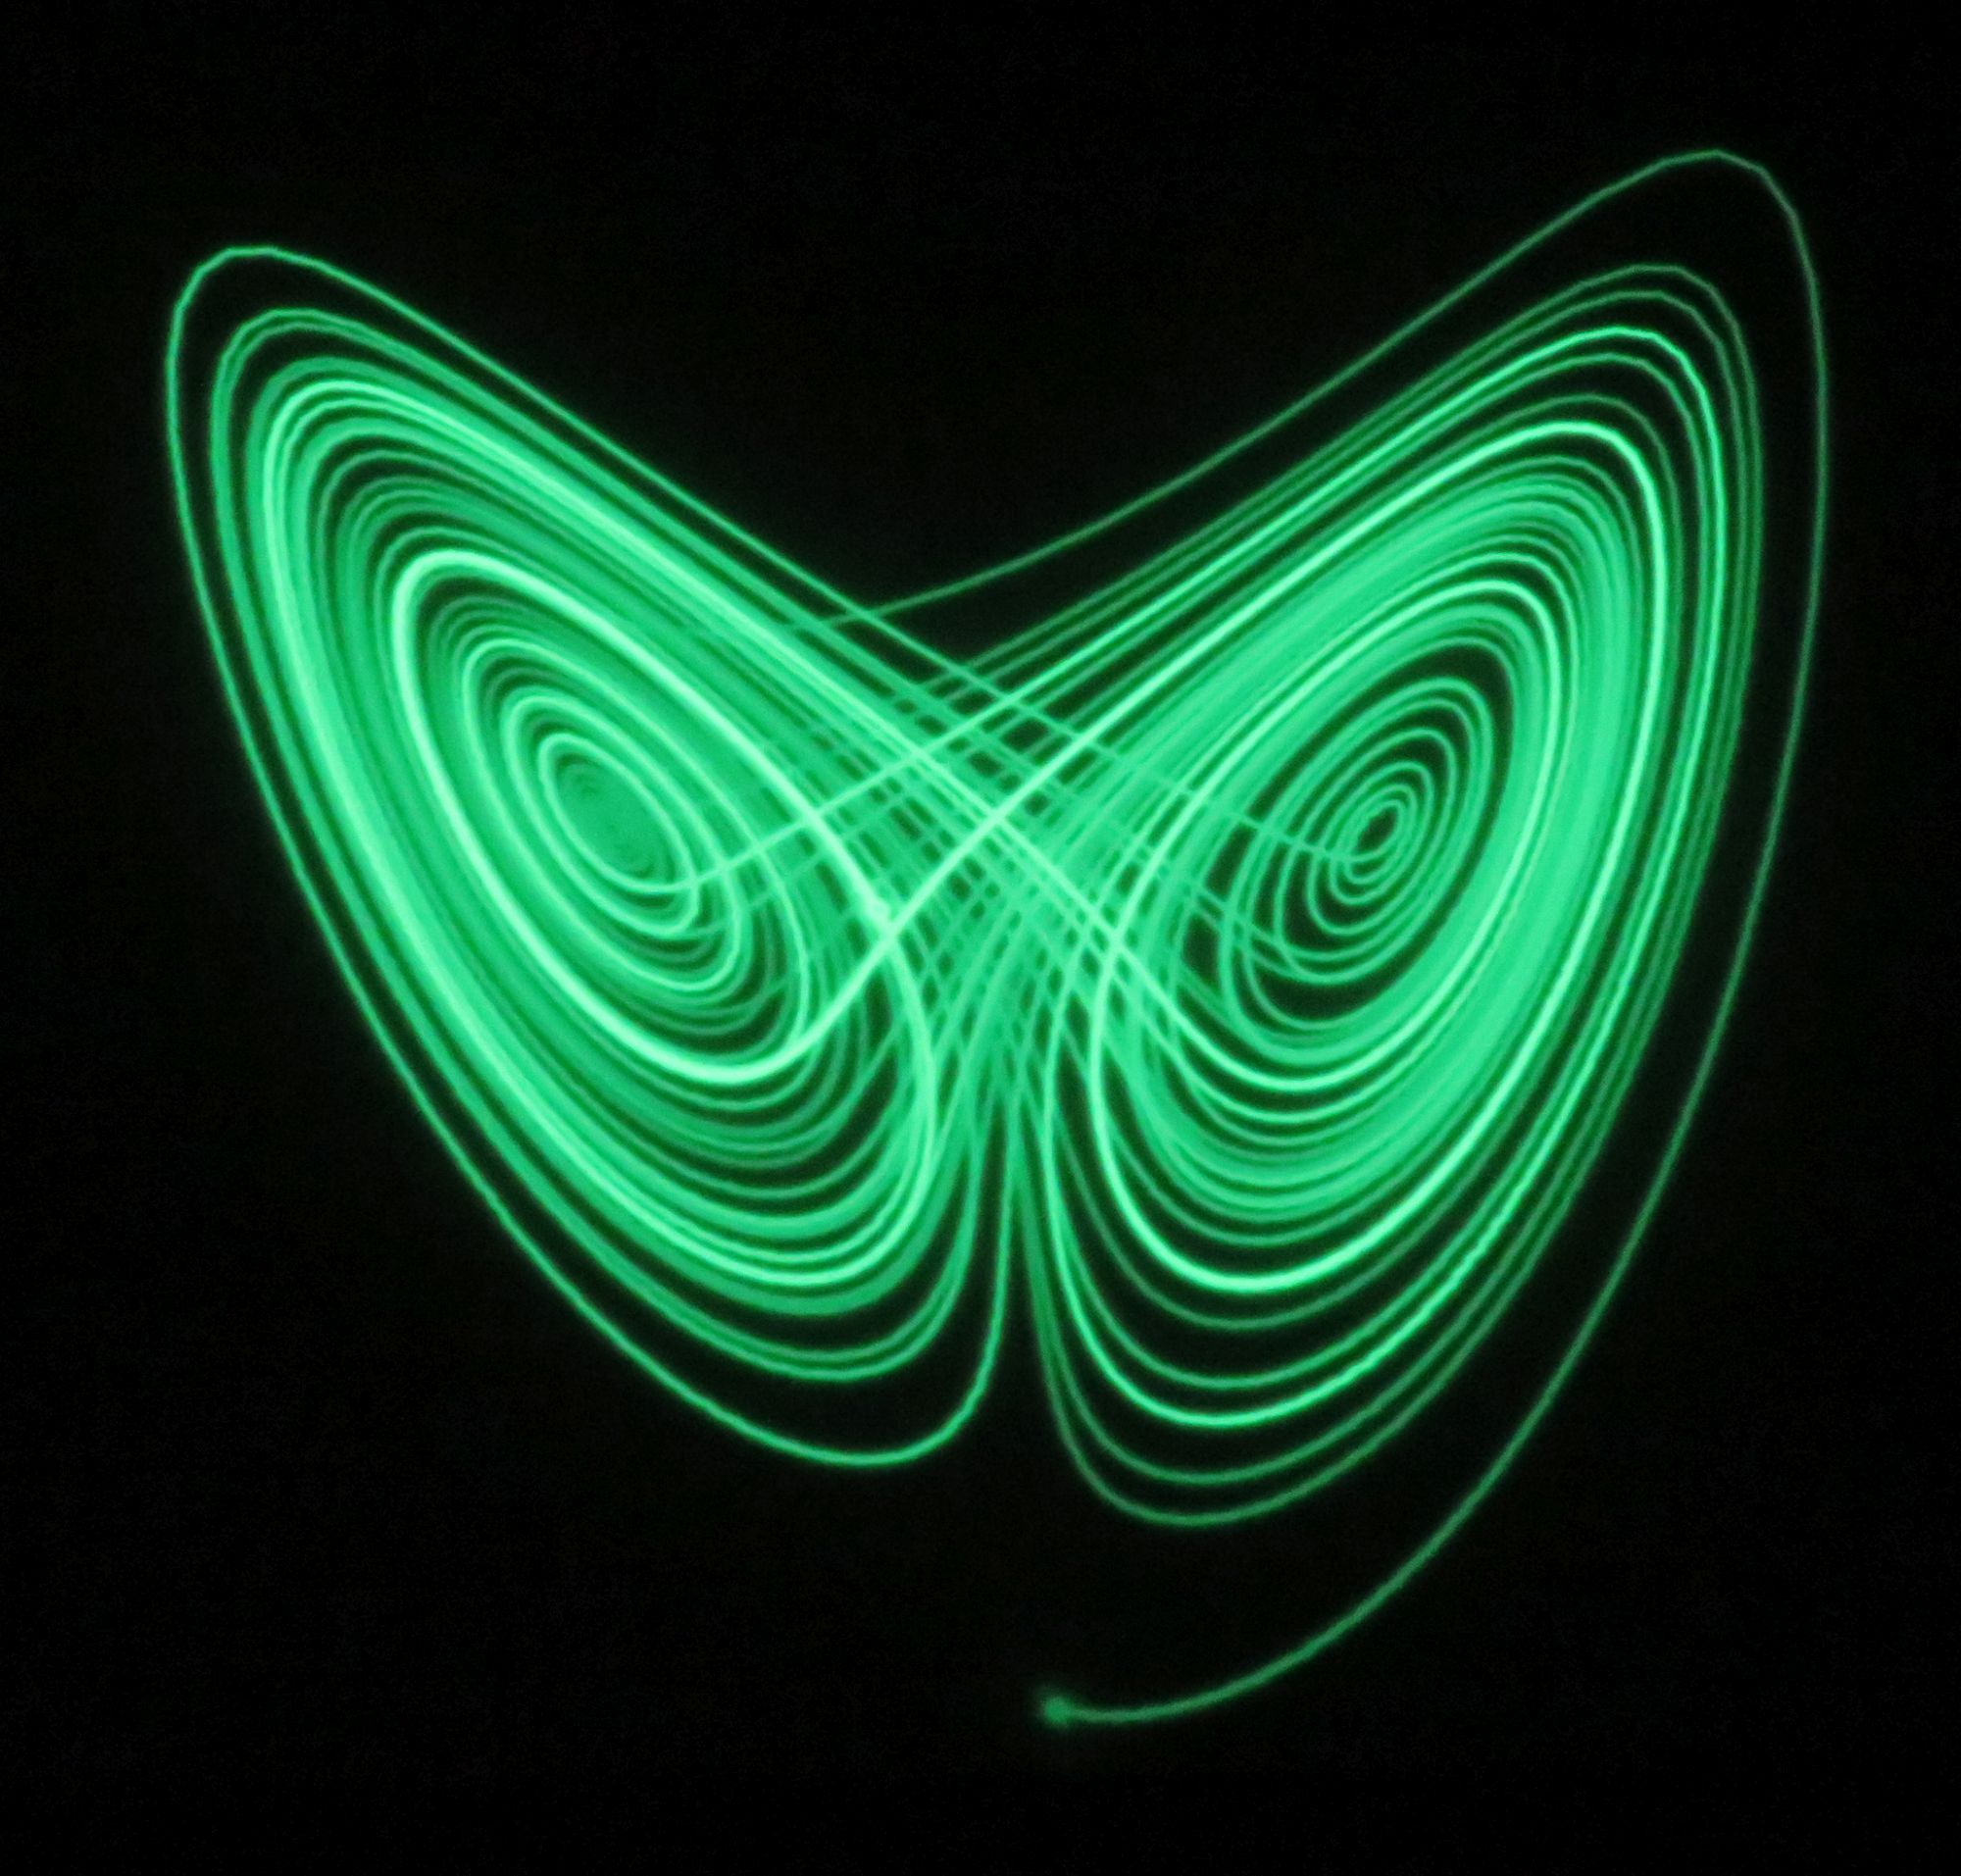
I had previously used a UV laser to "draw" on phosphorescent/glow in the dark vinyl sticker sheet, which worked really well. Here's a video of the XZ plane being drawn:
Final image:
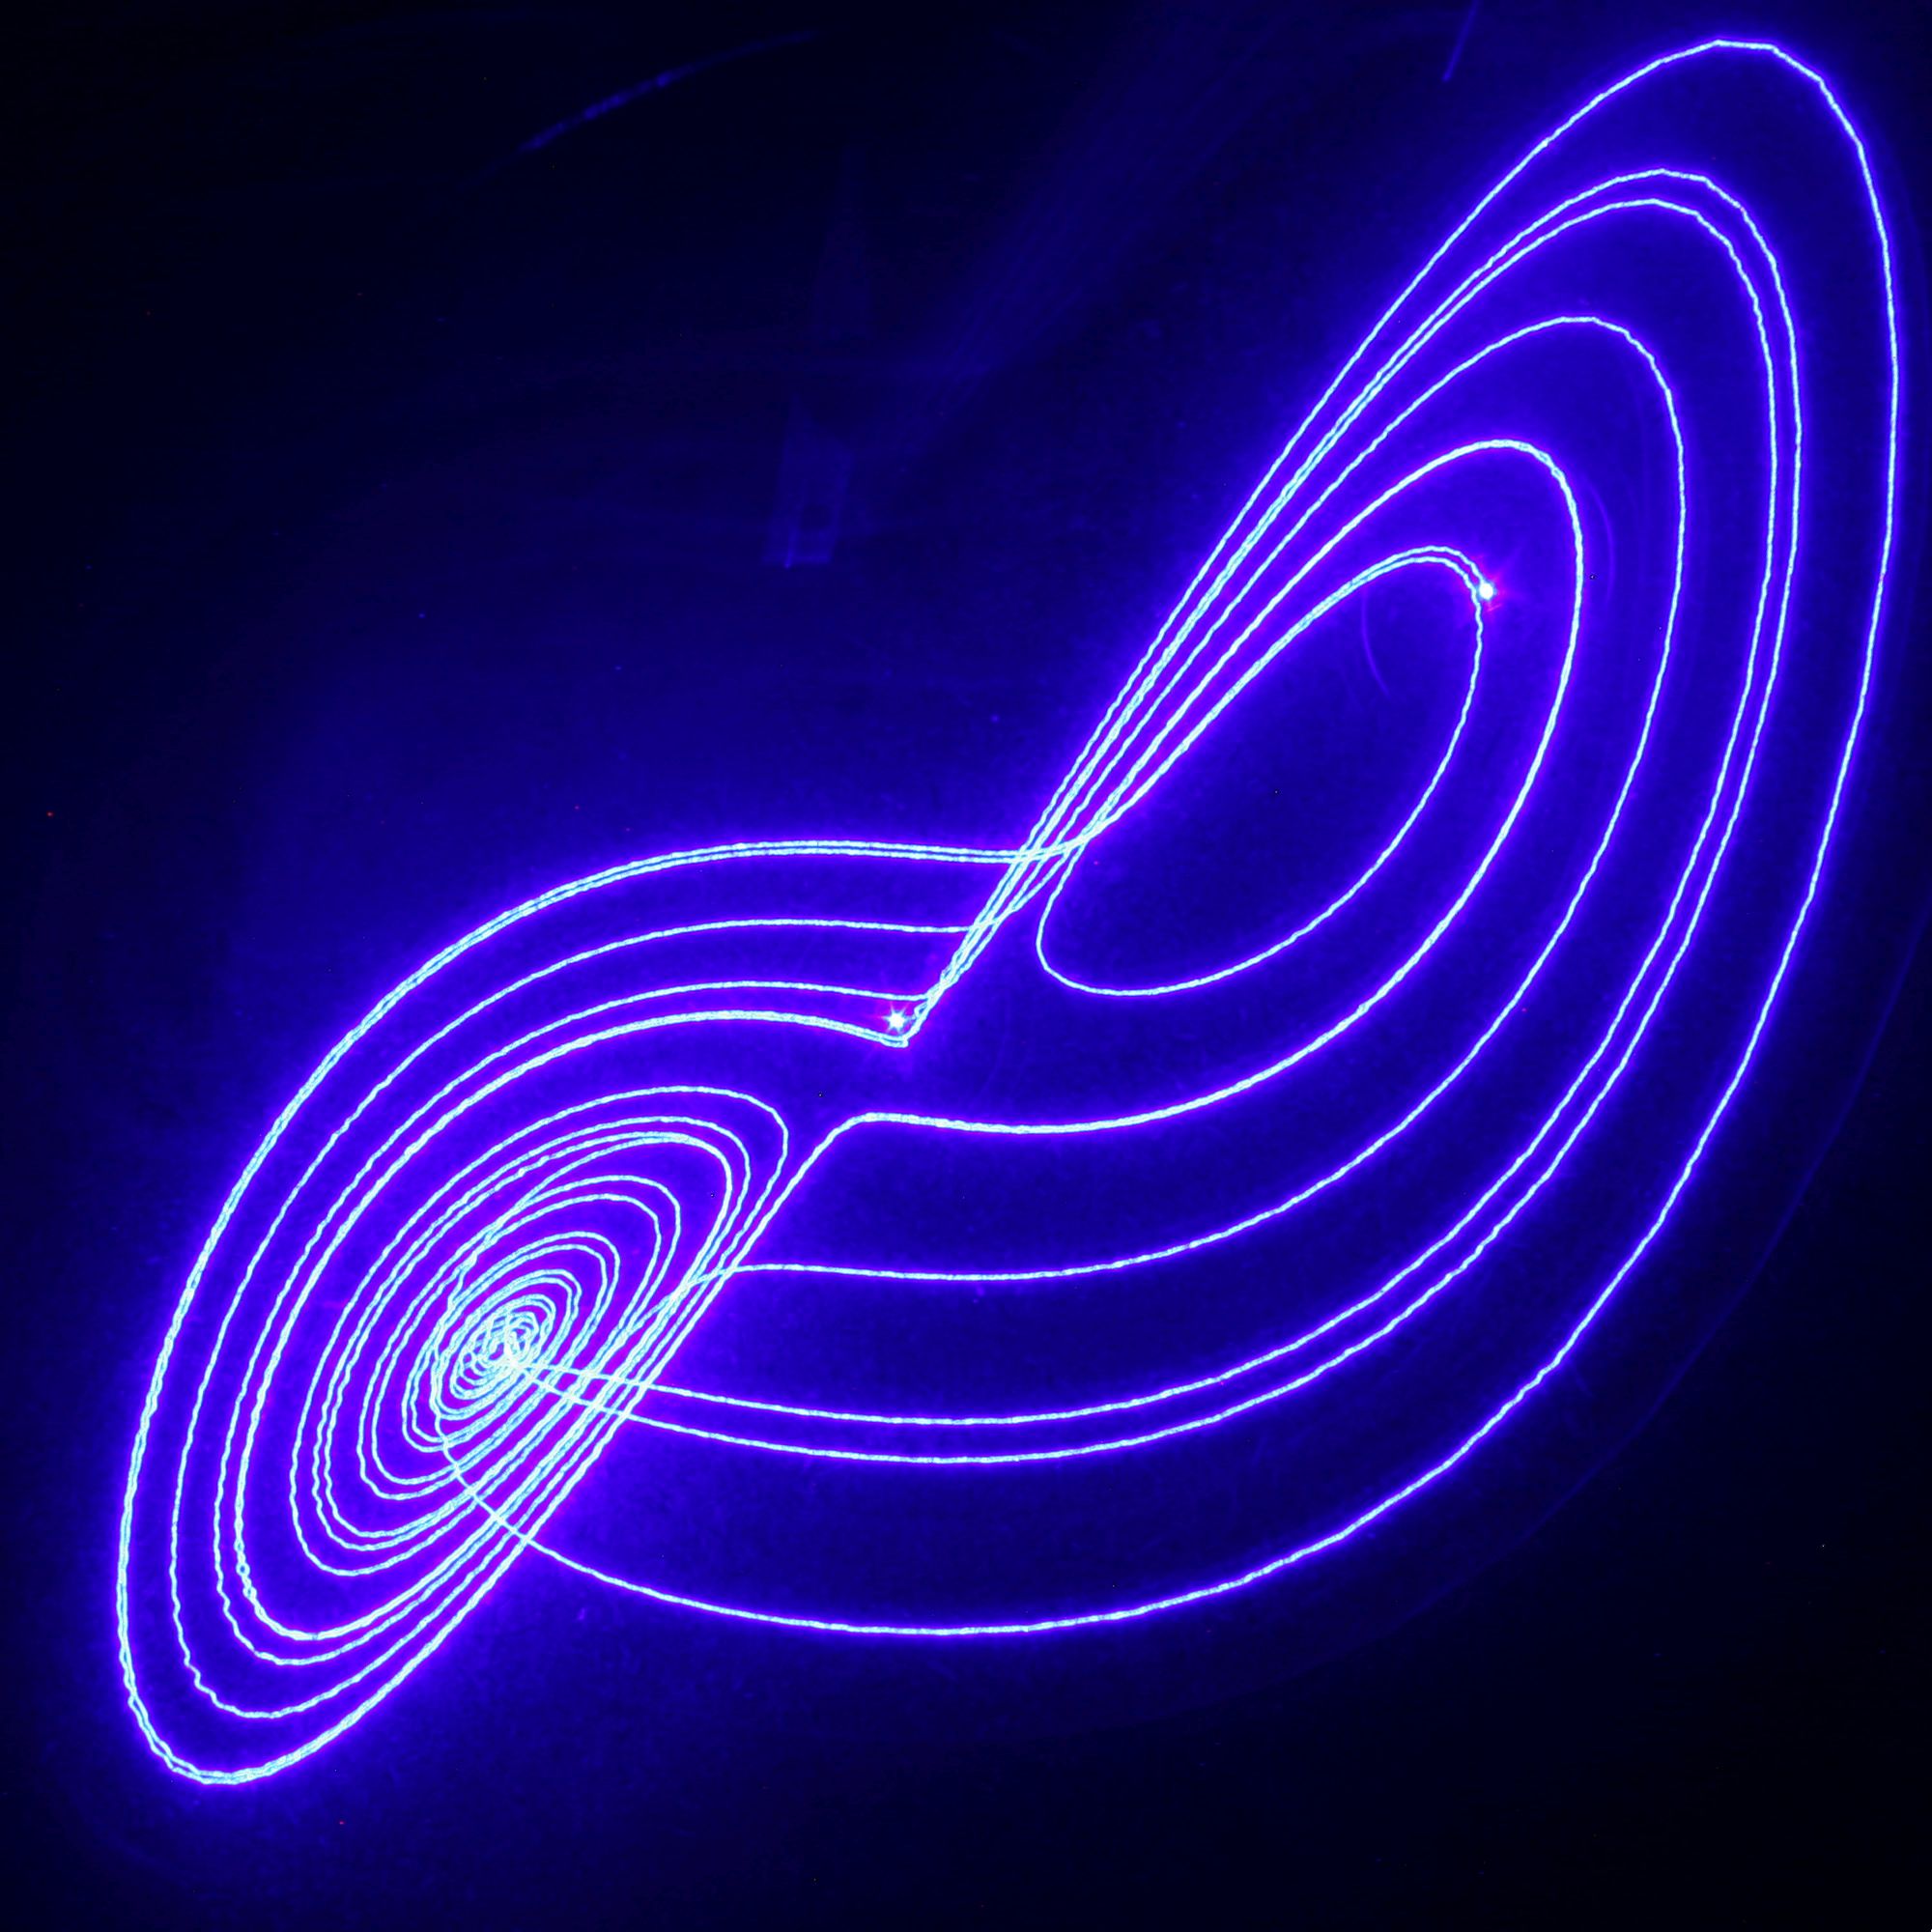
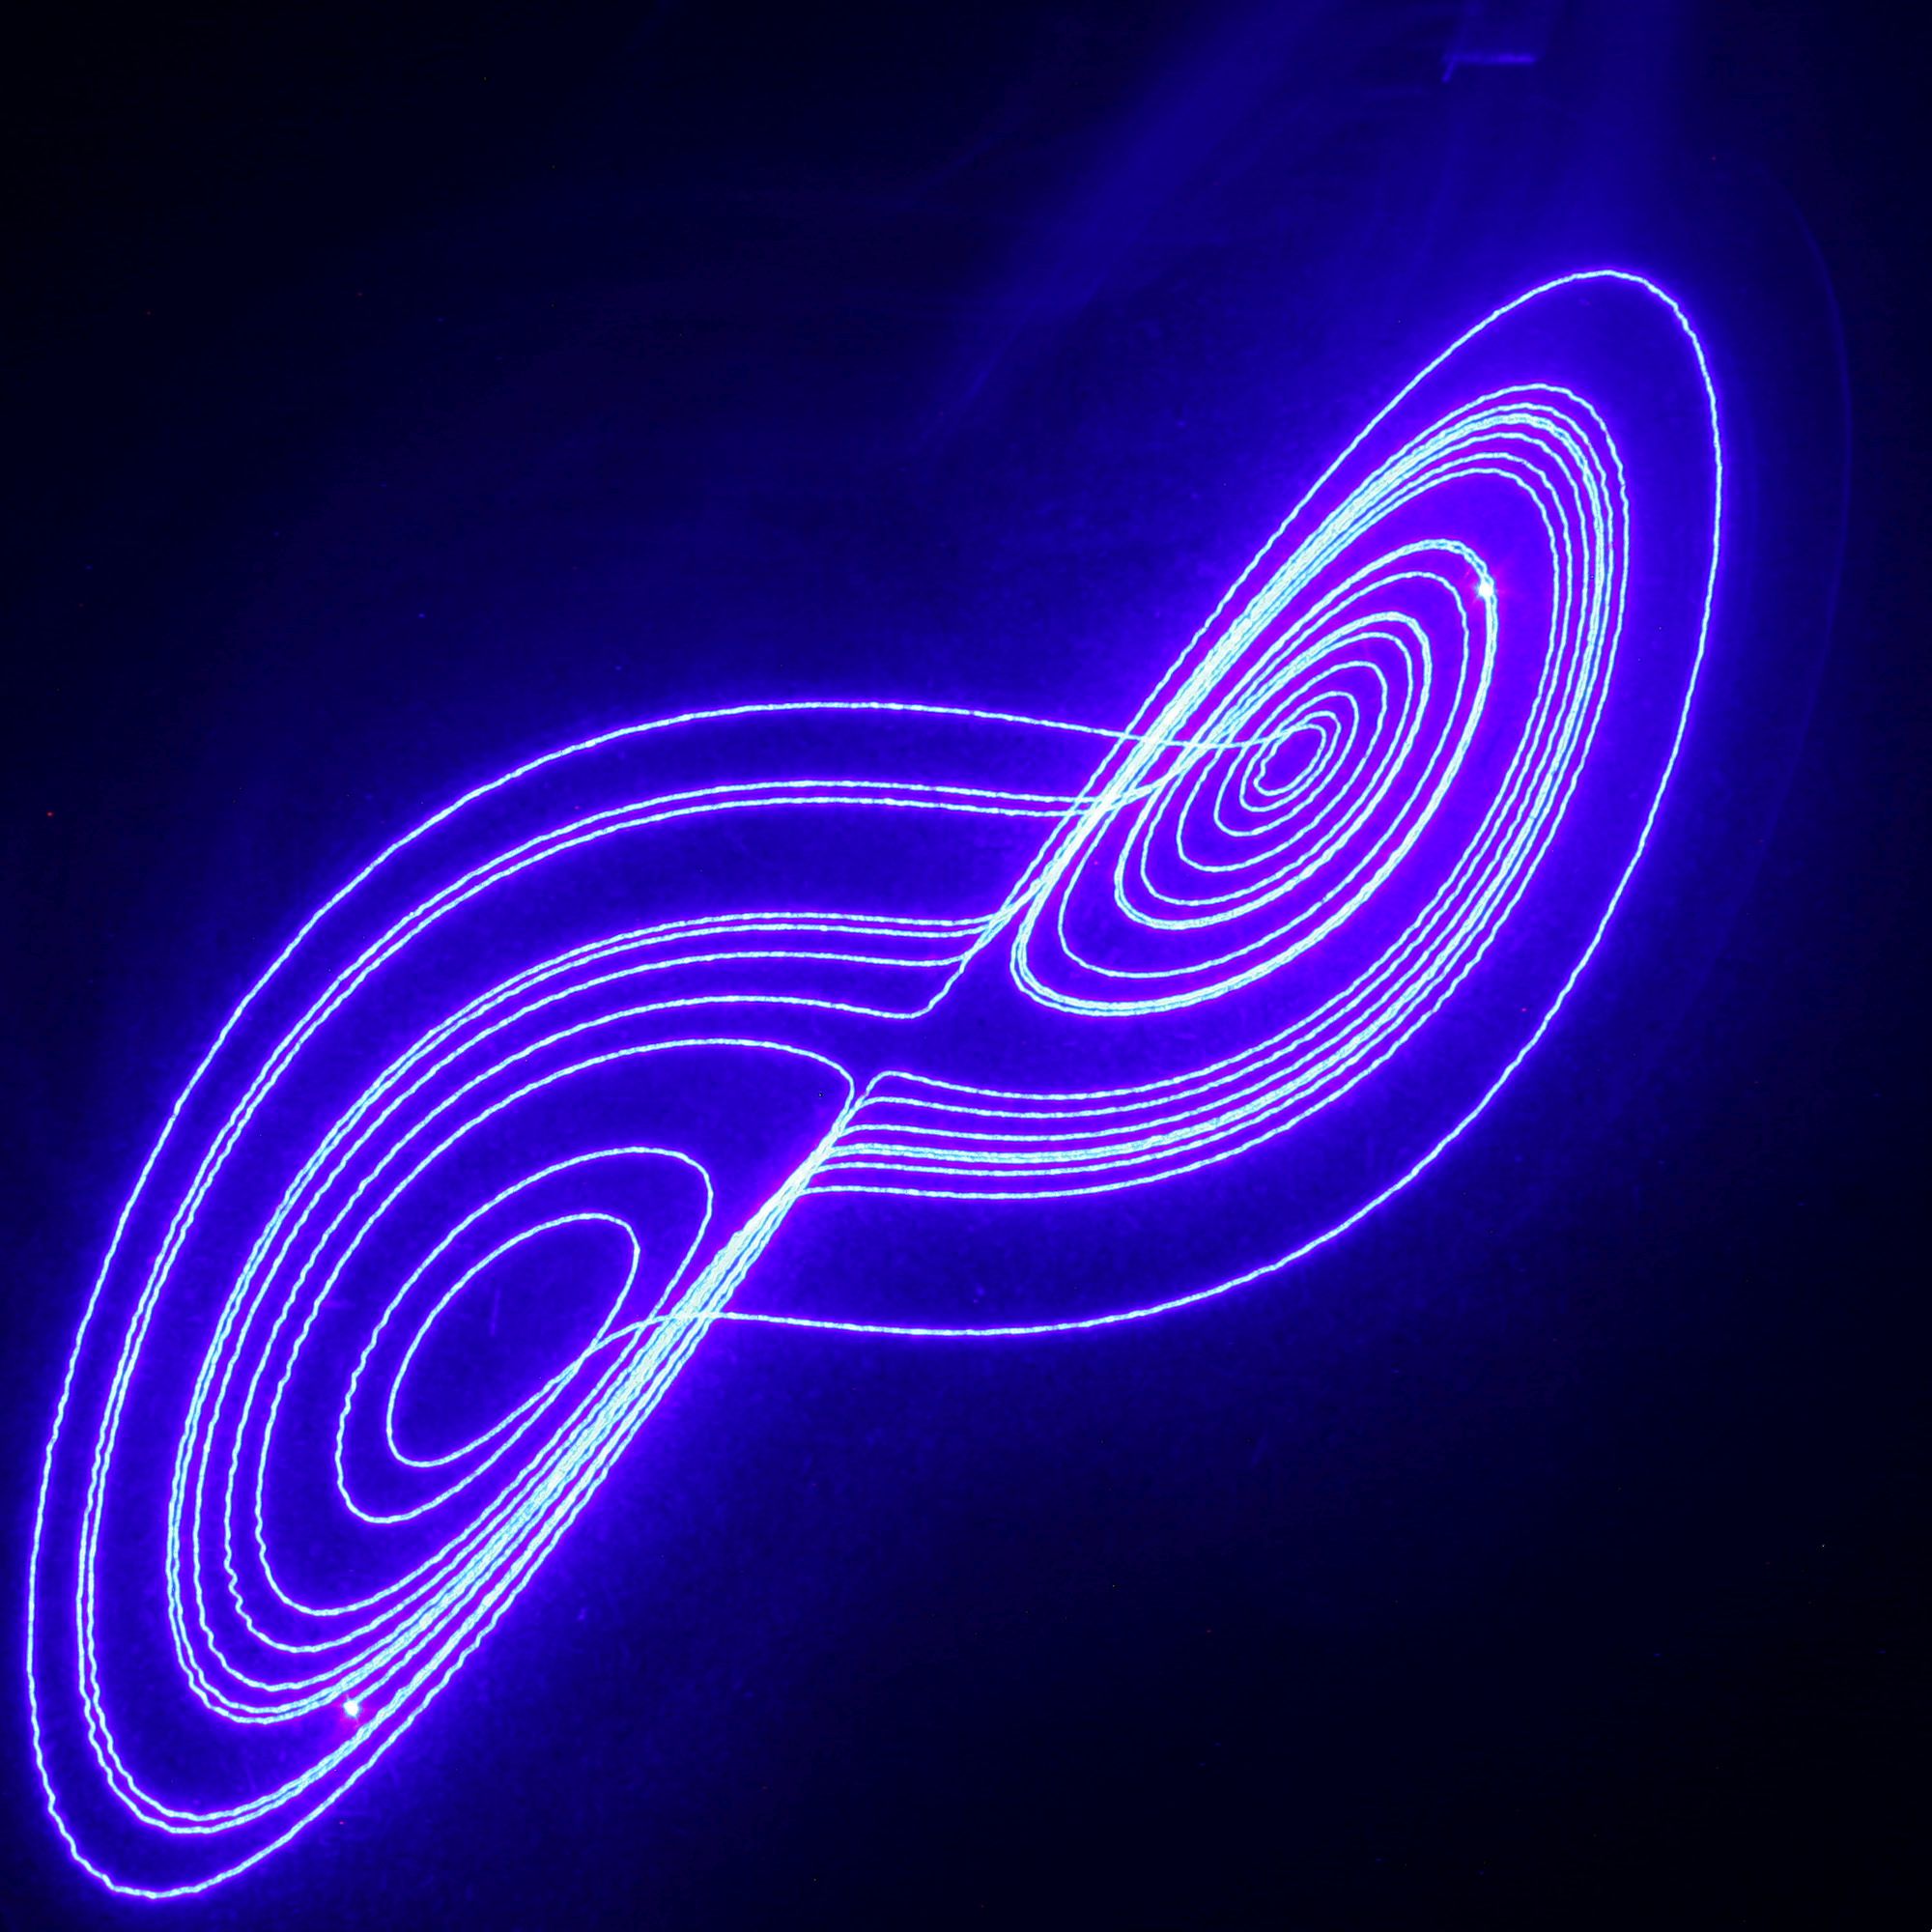
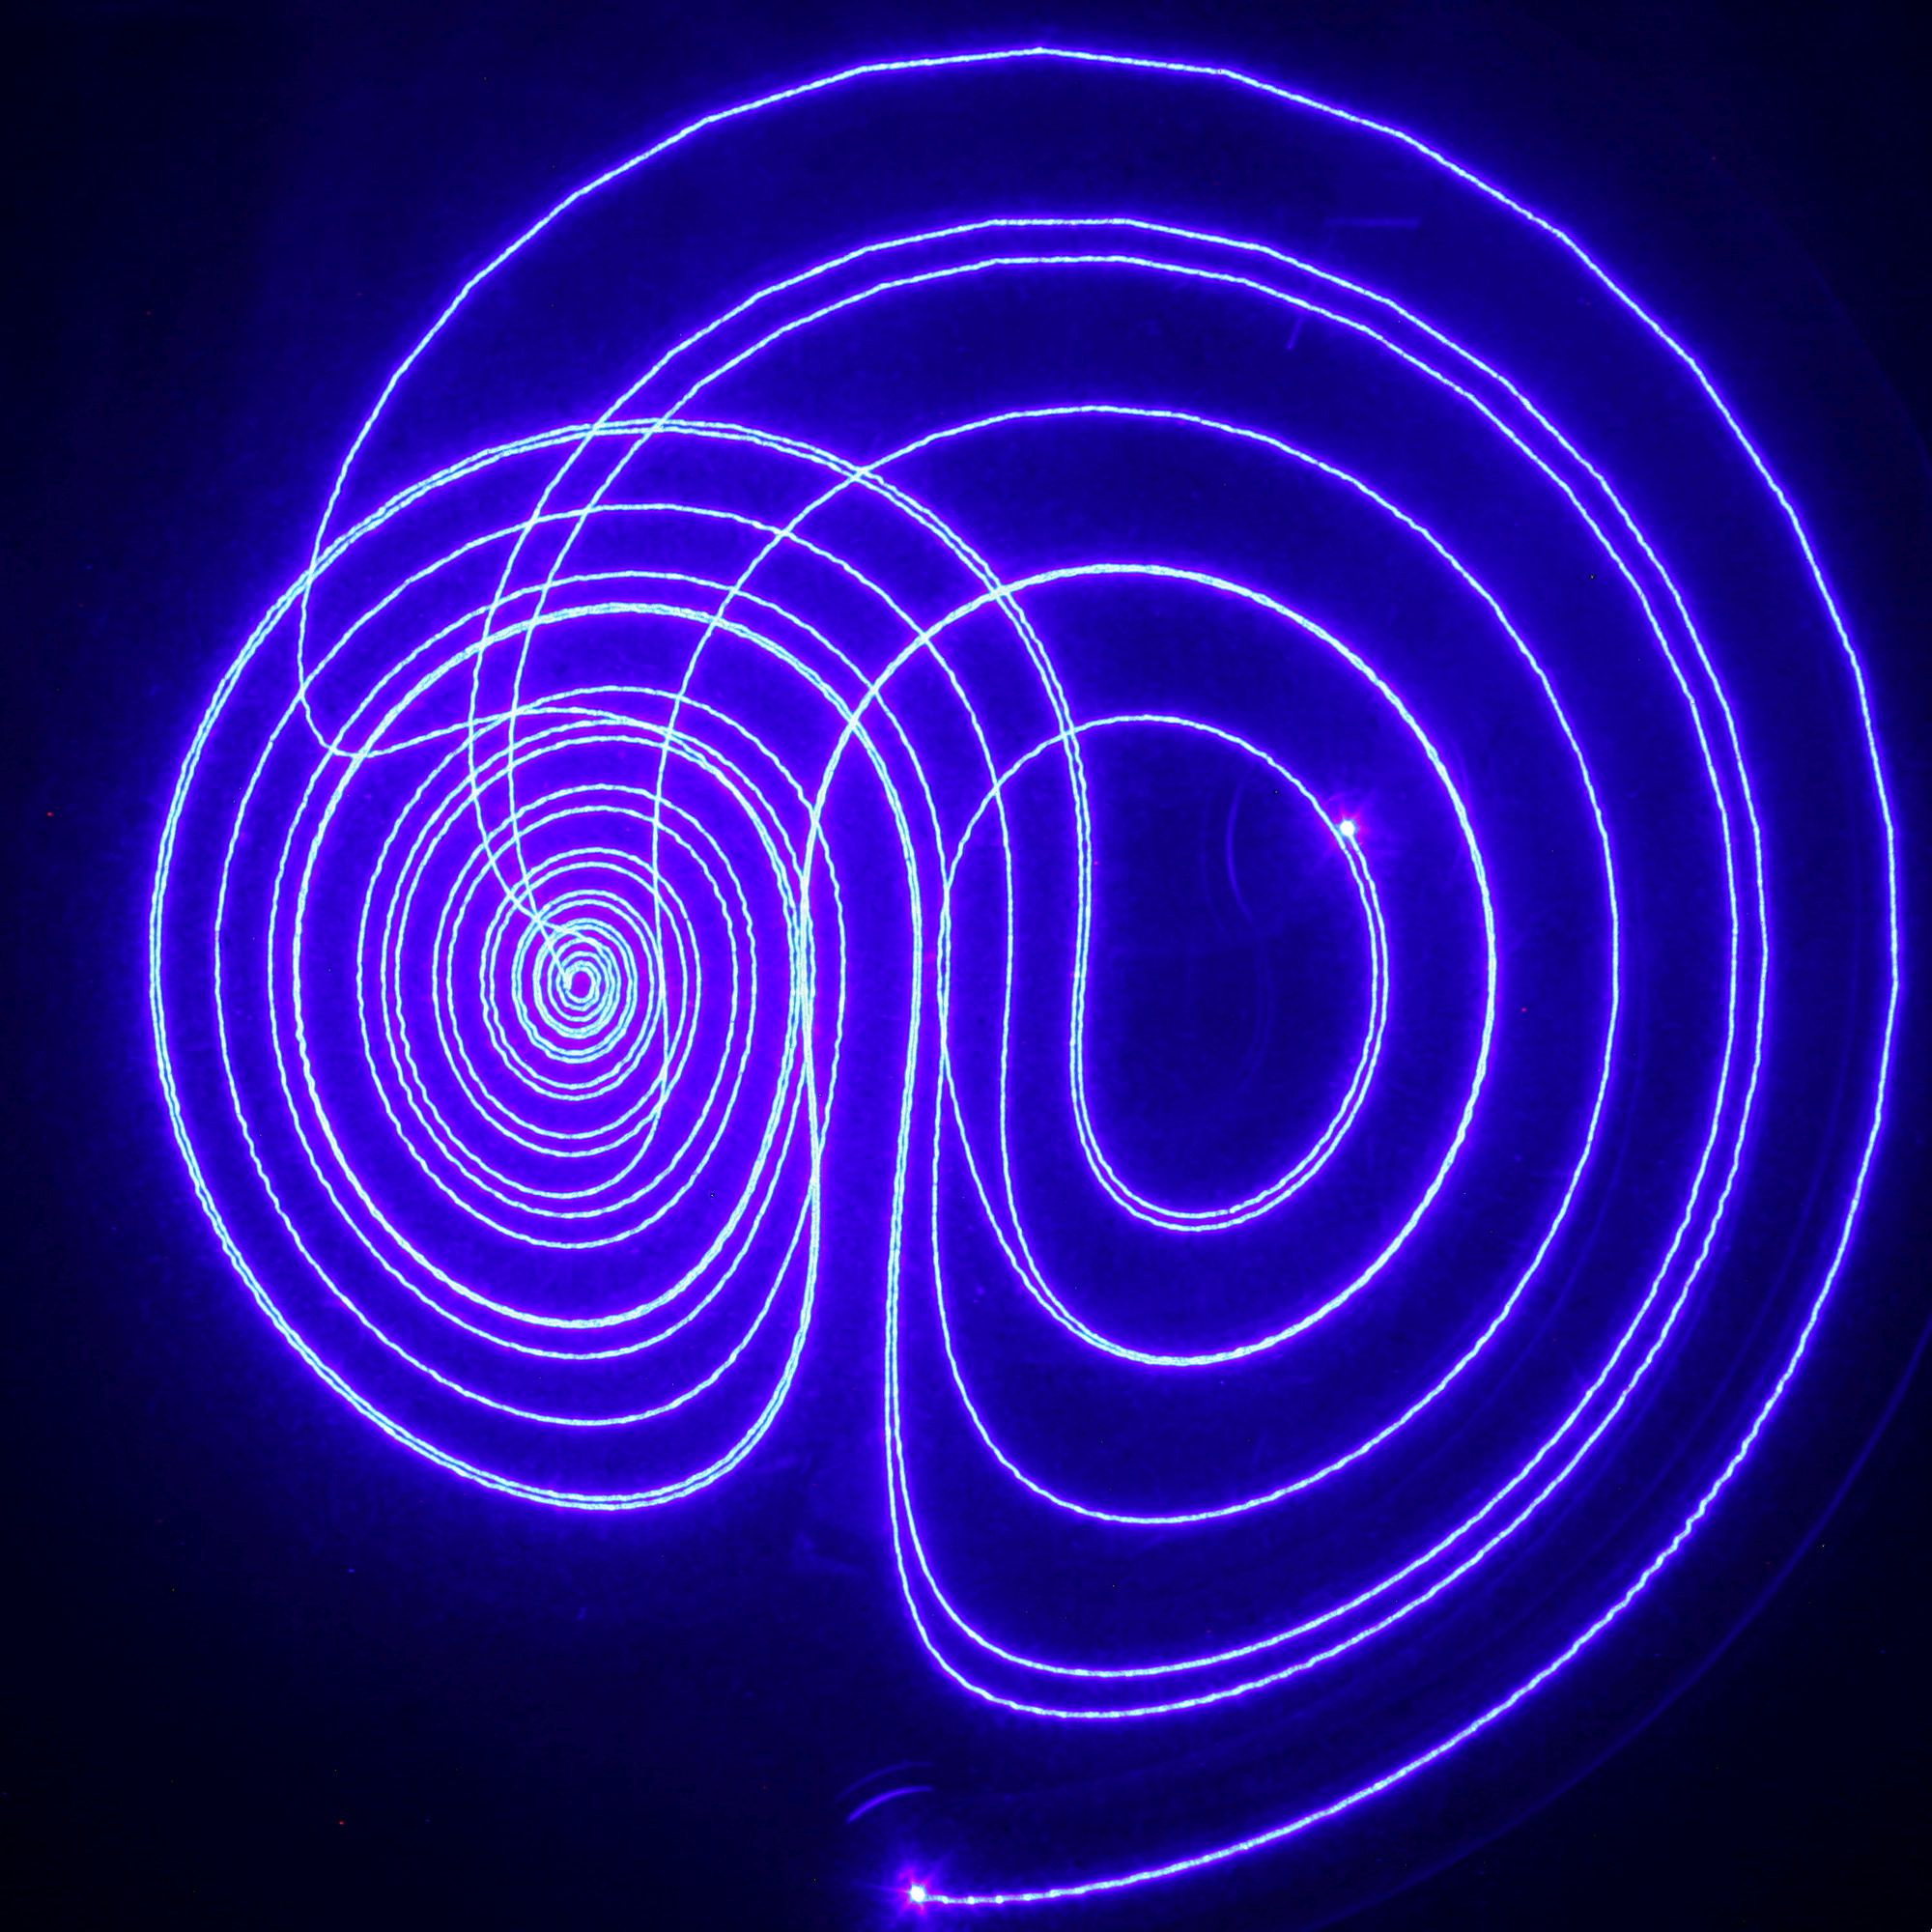
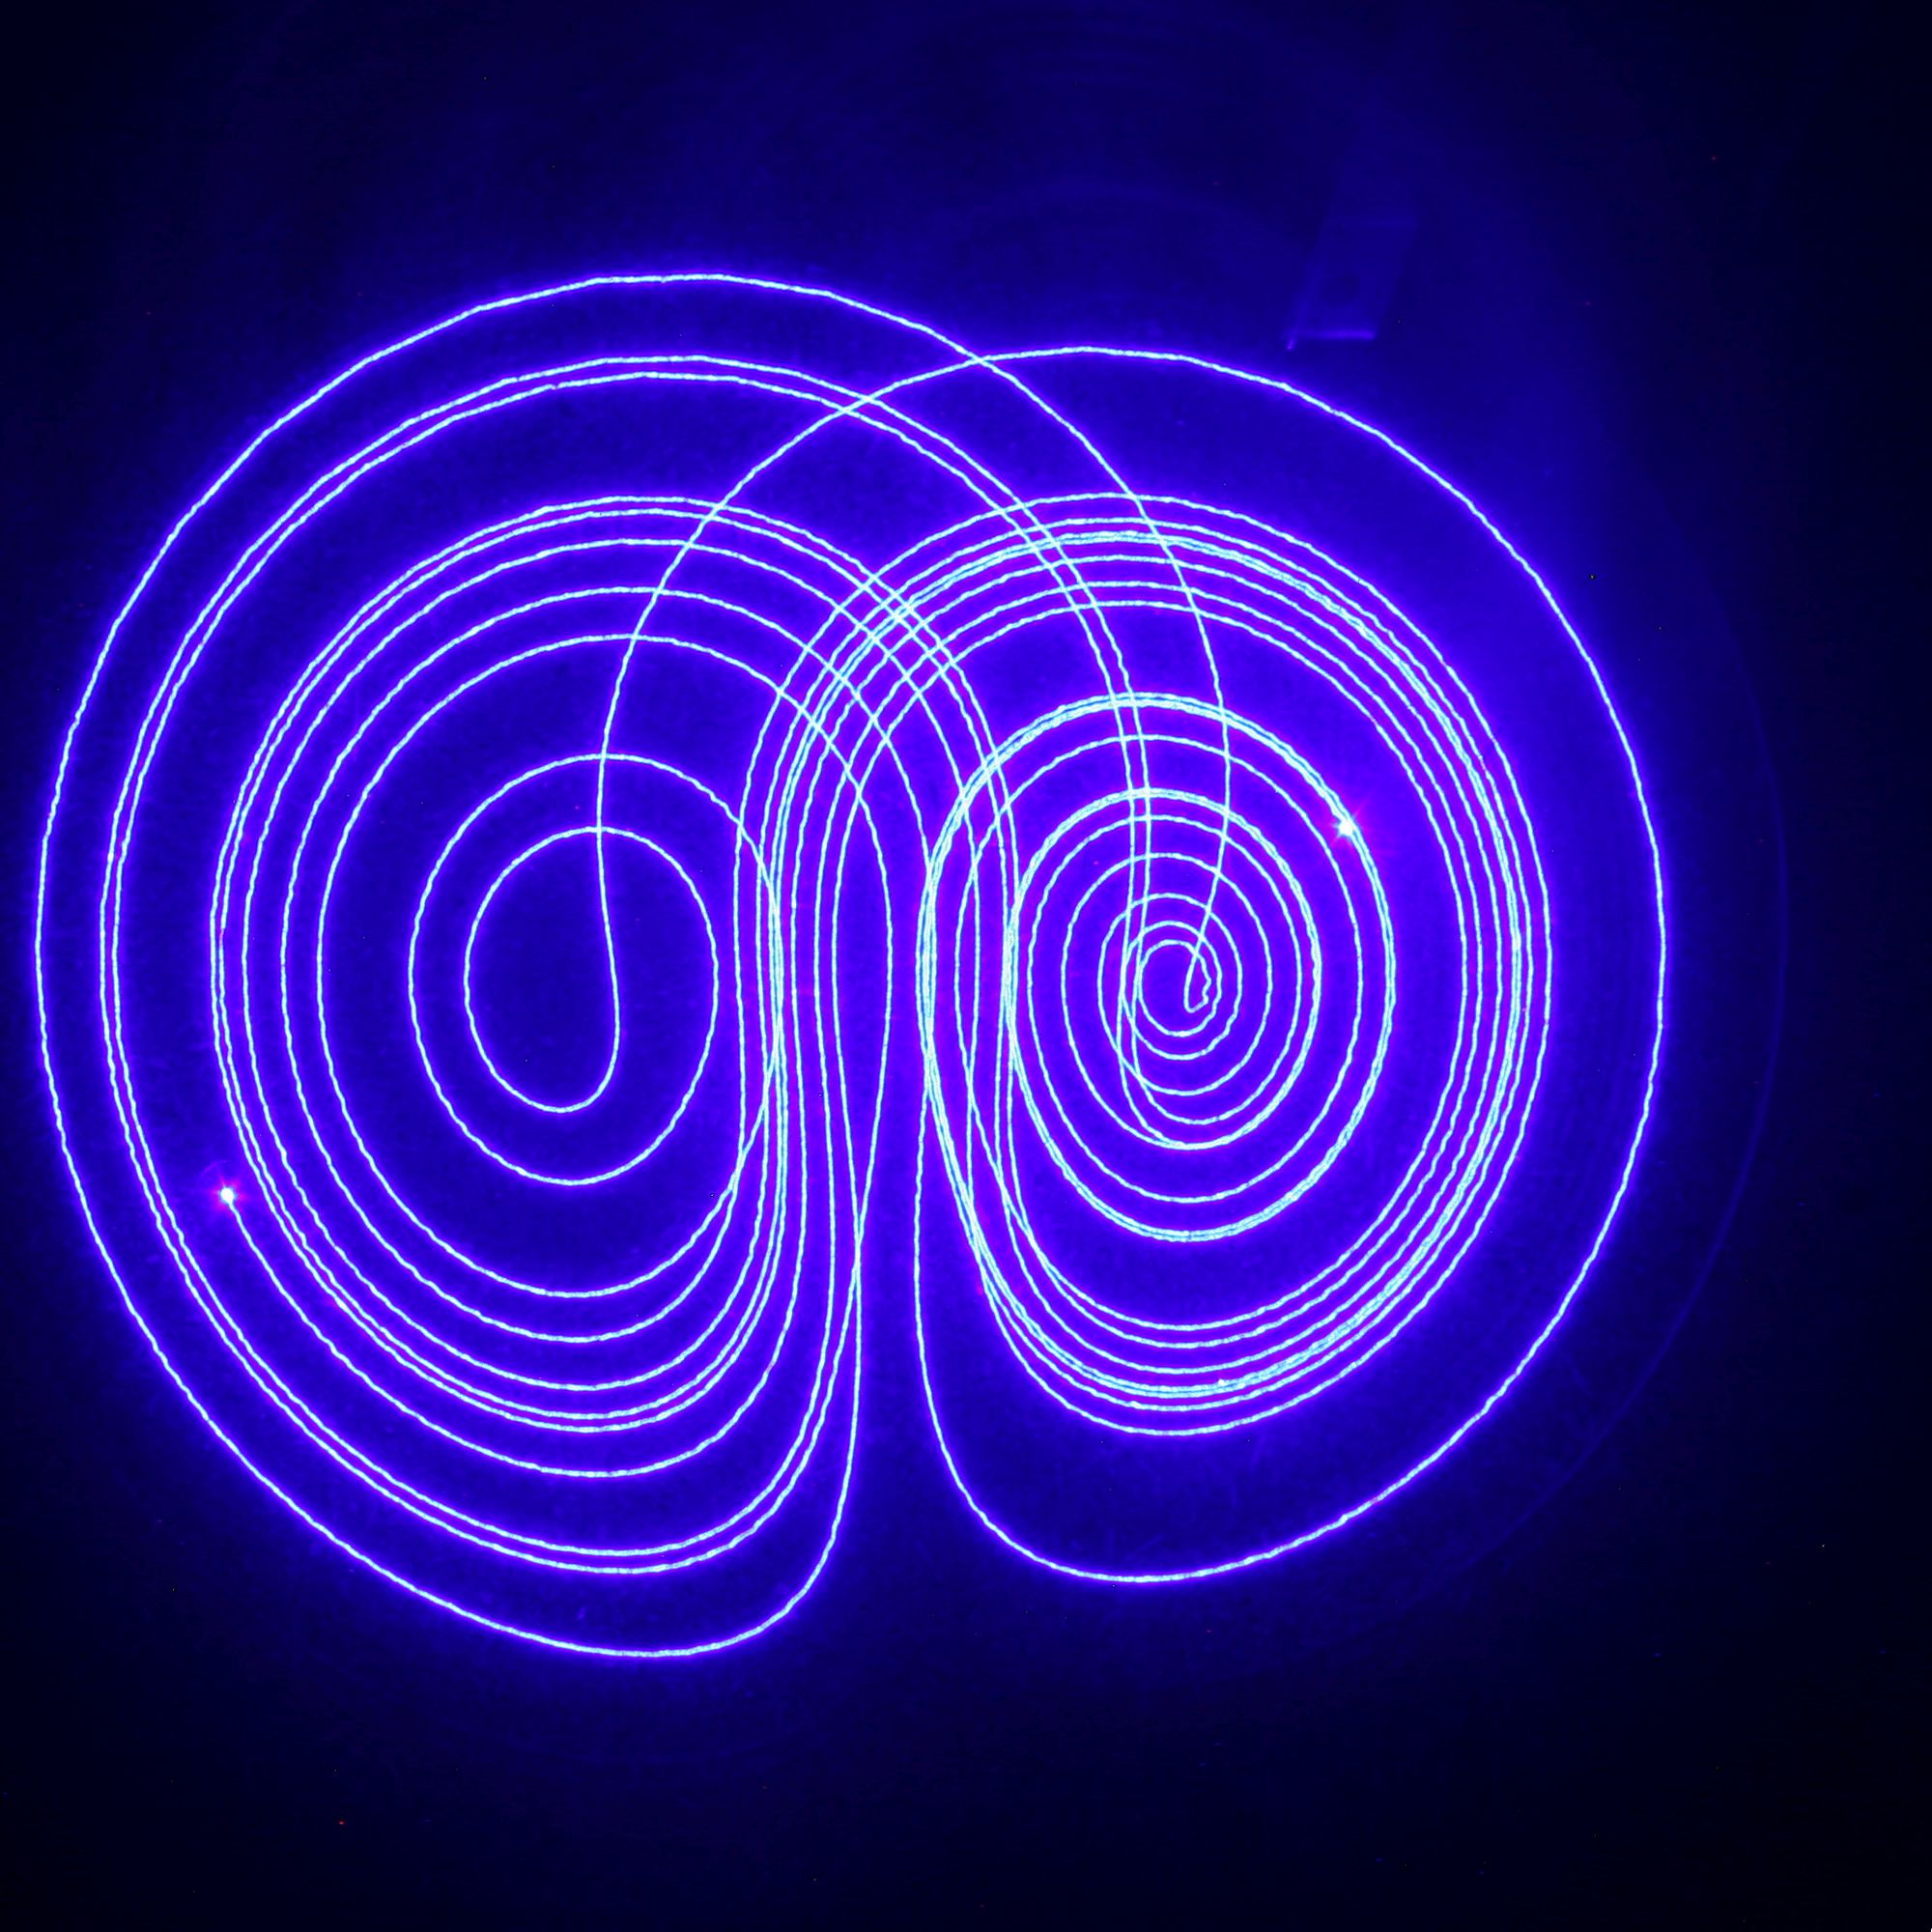
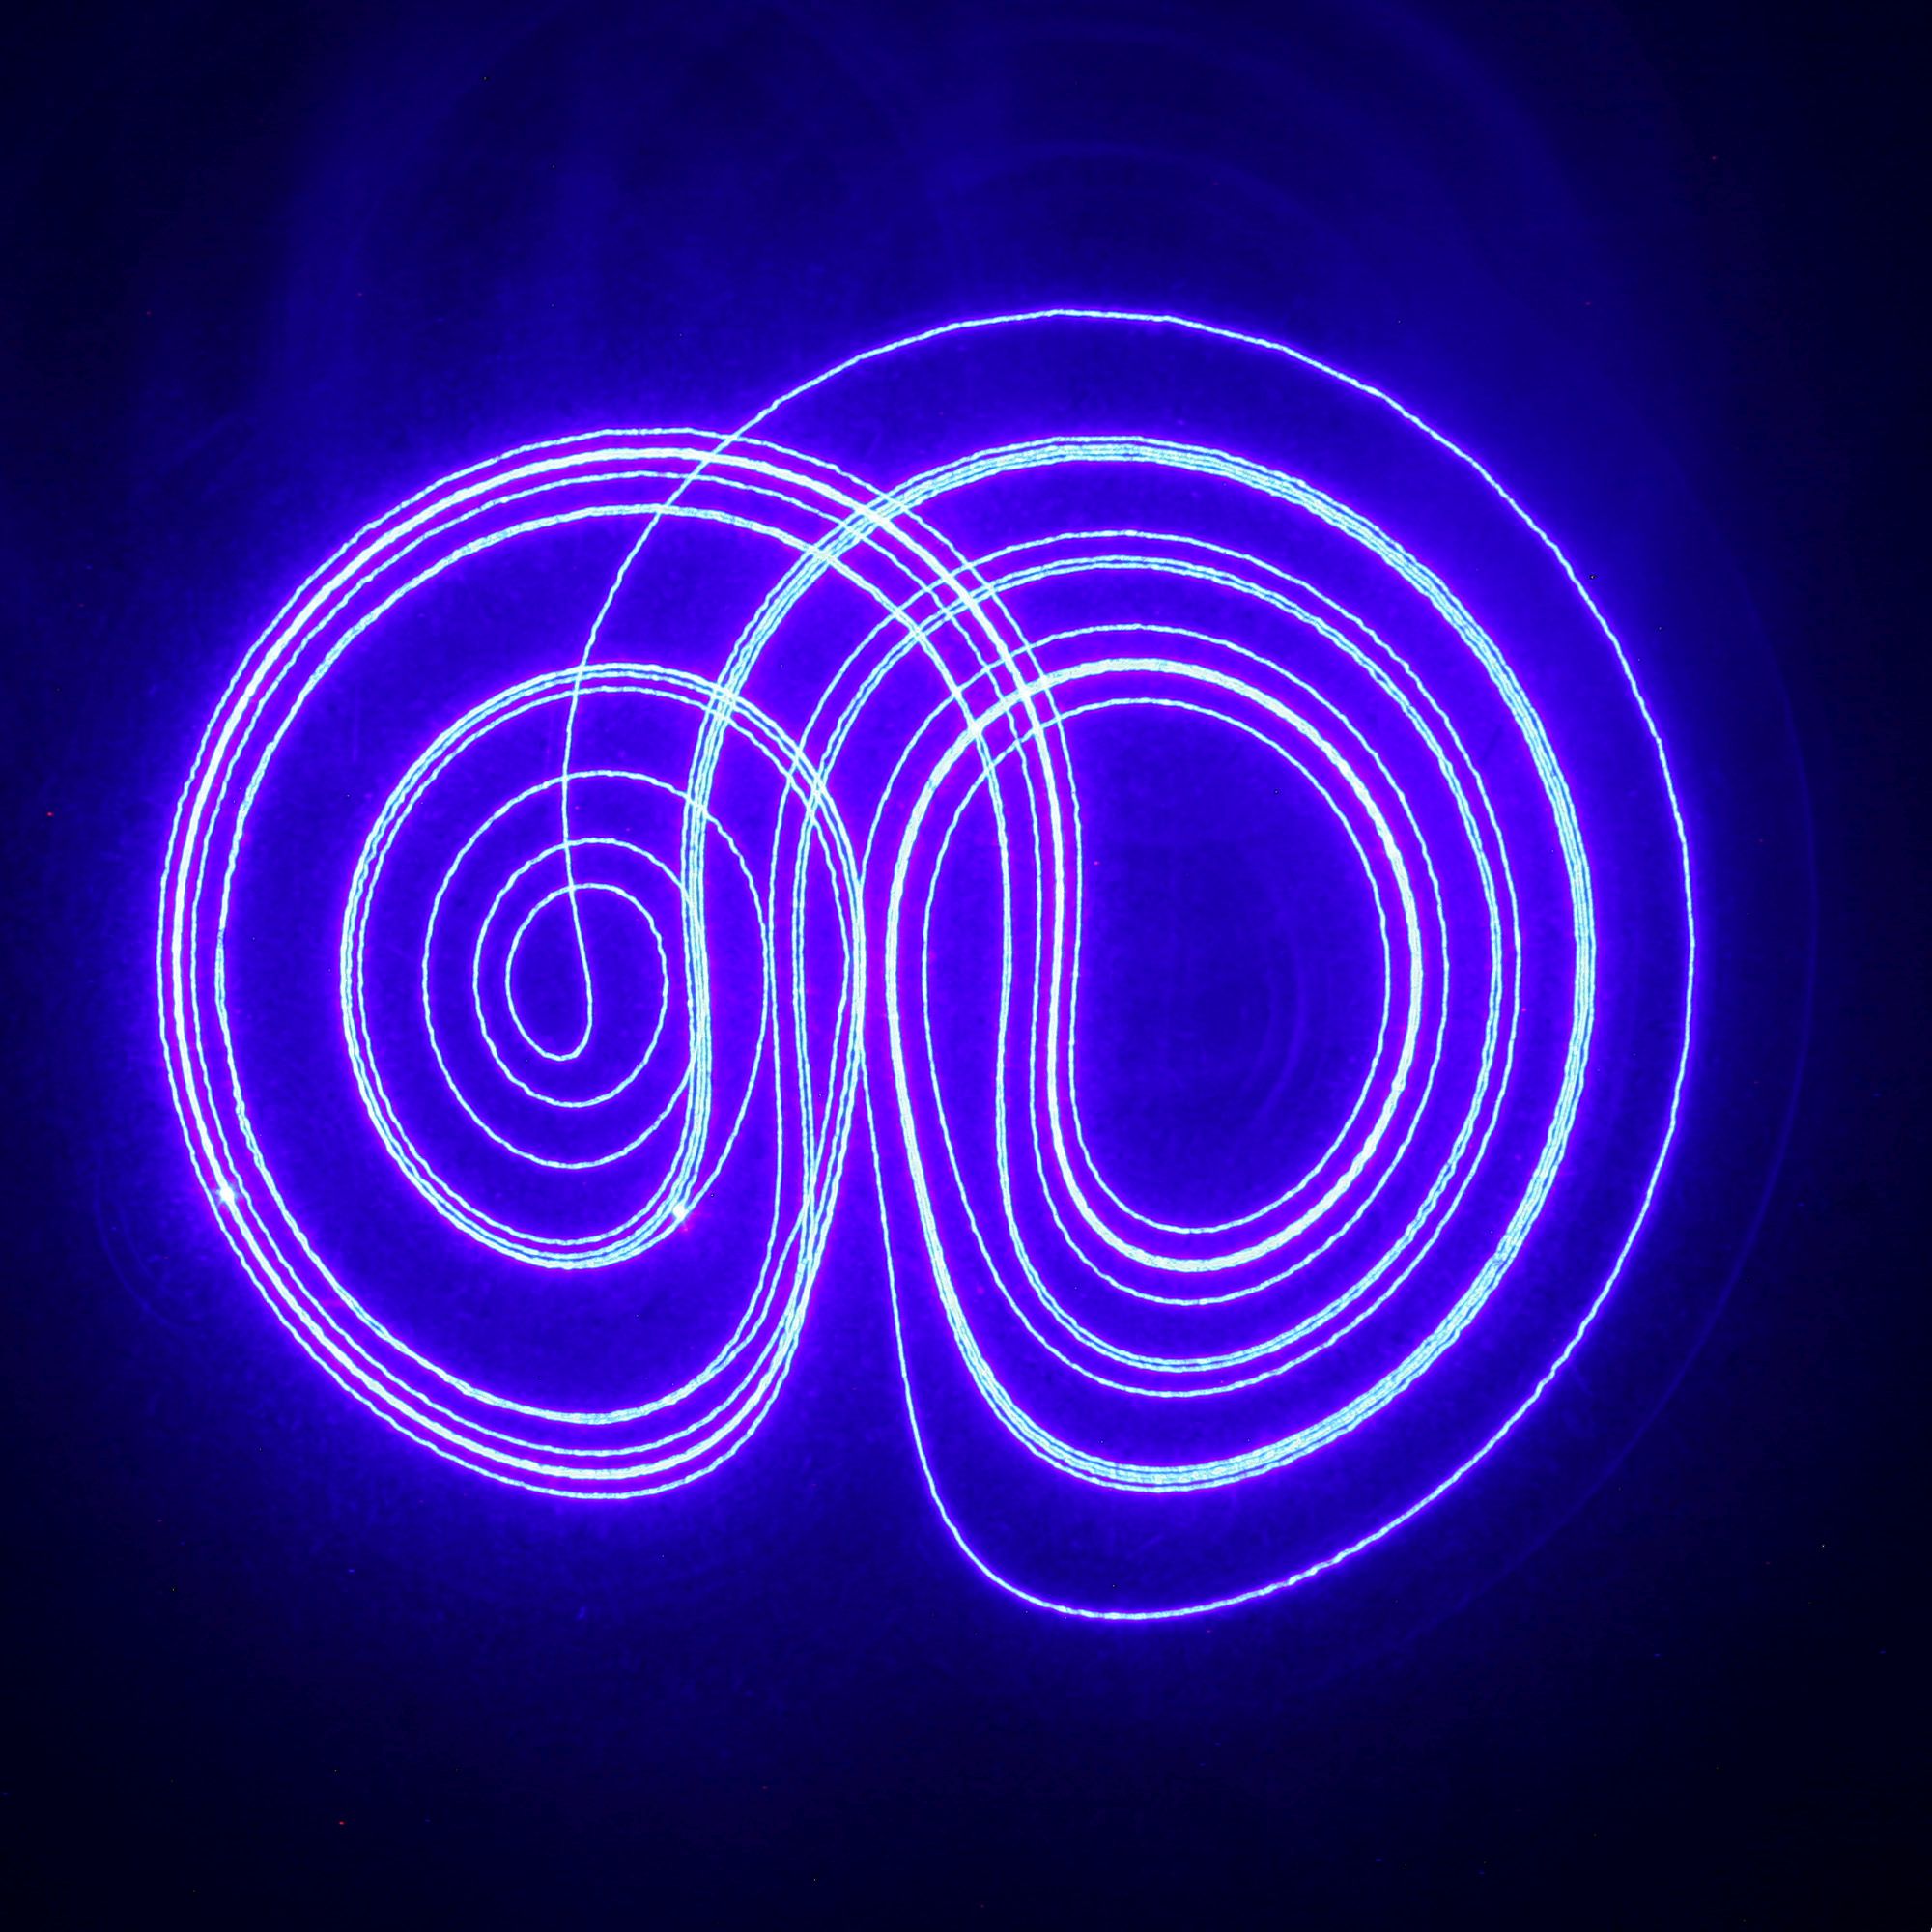
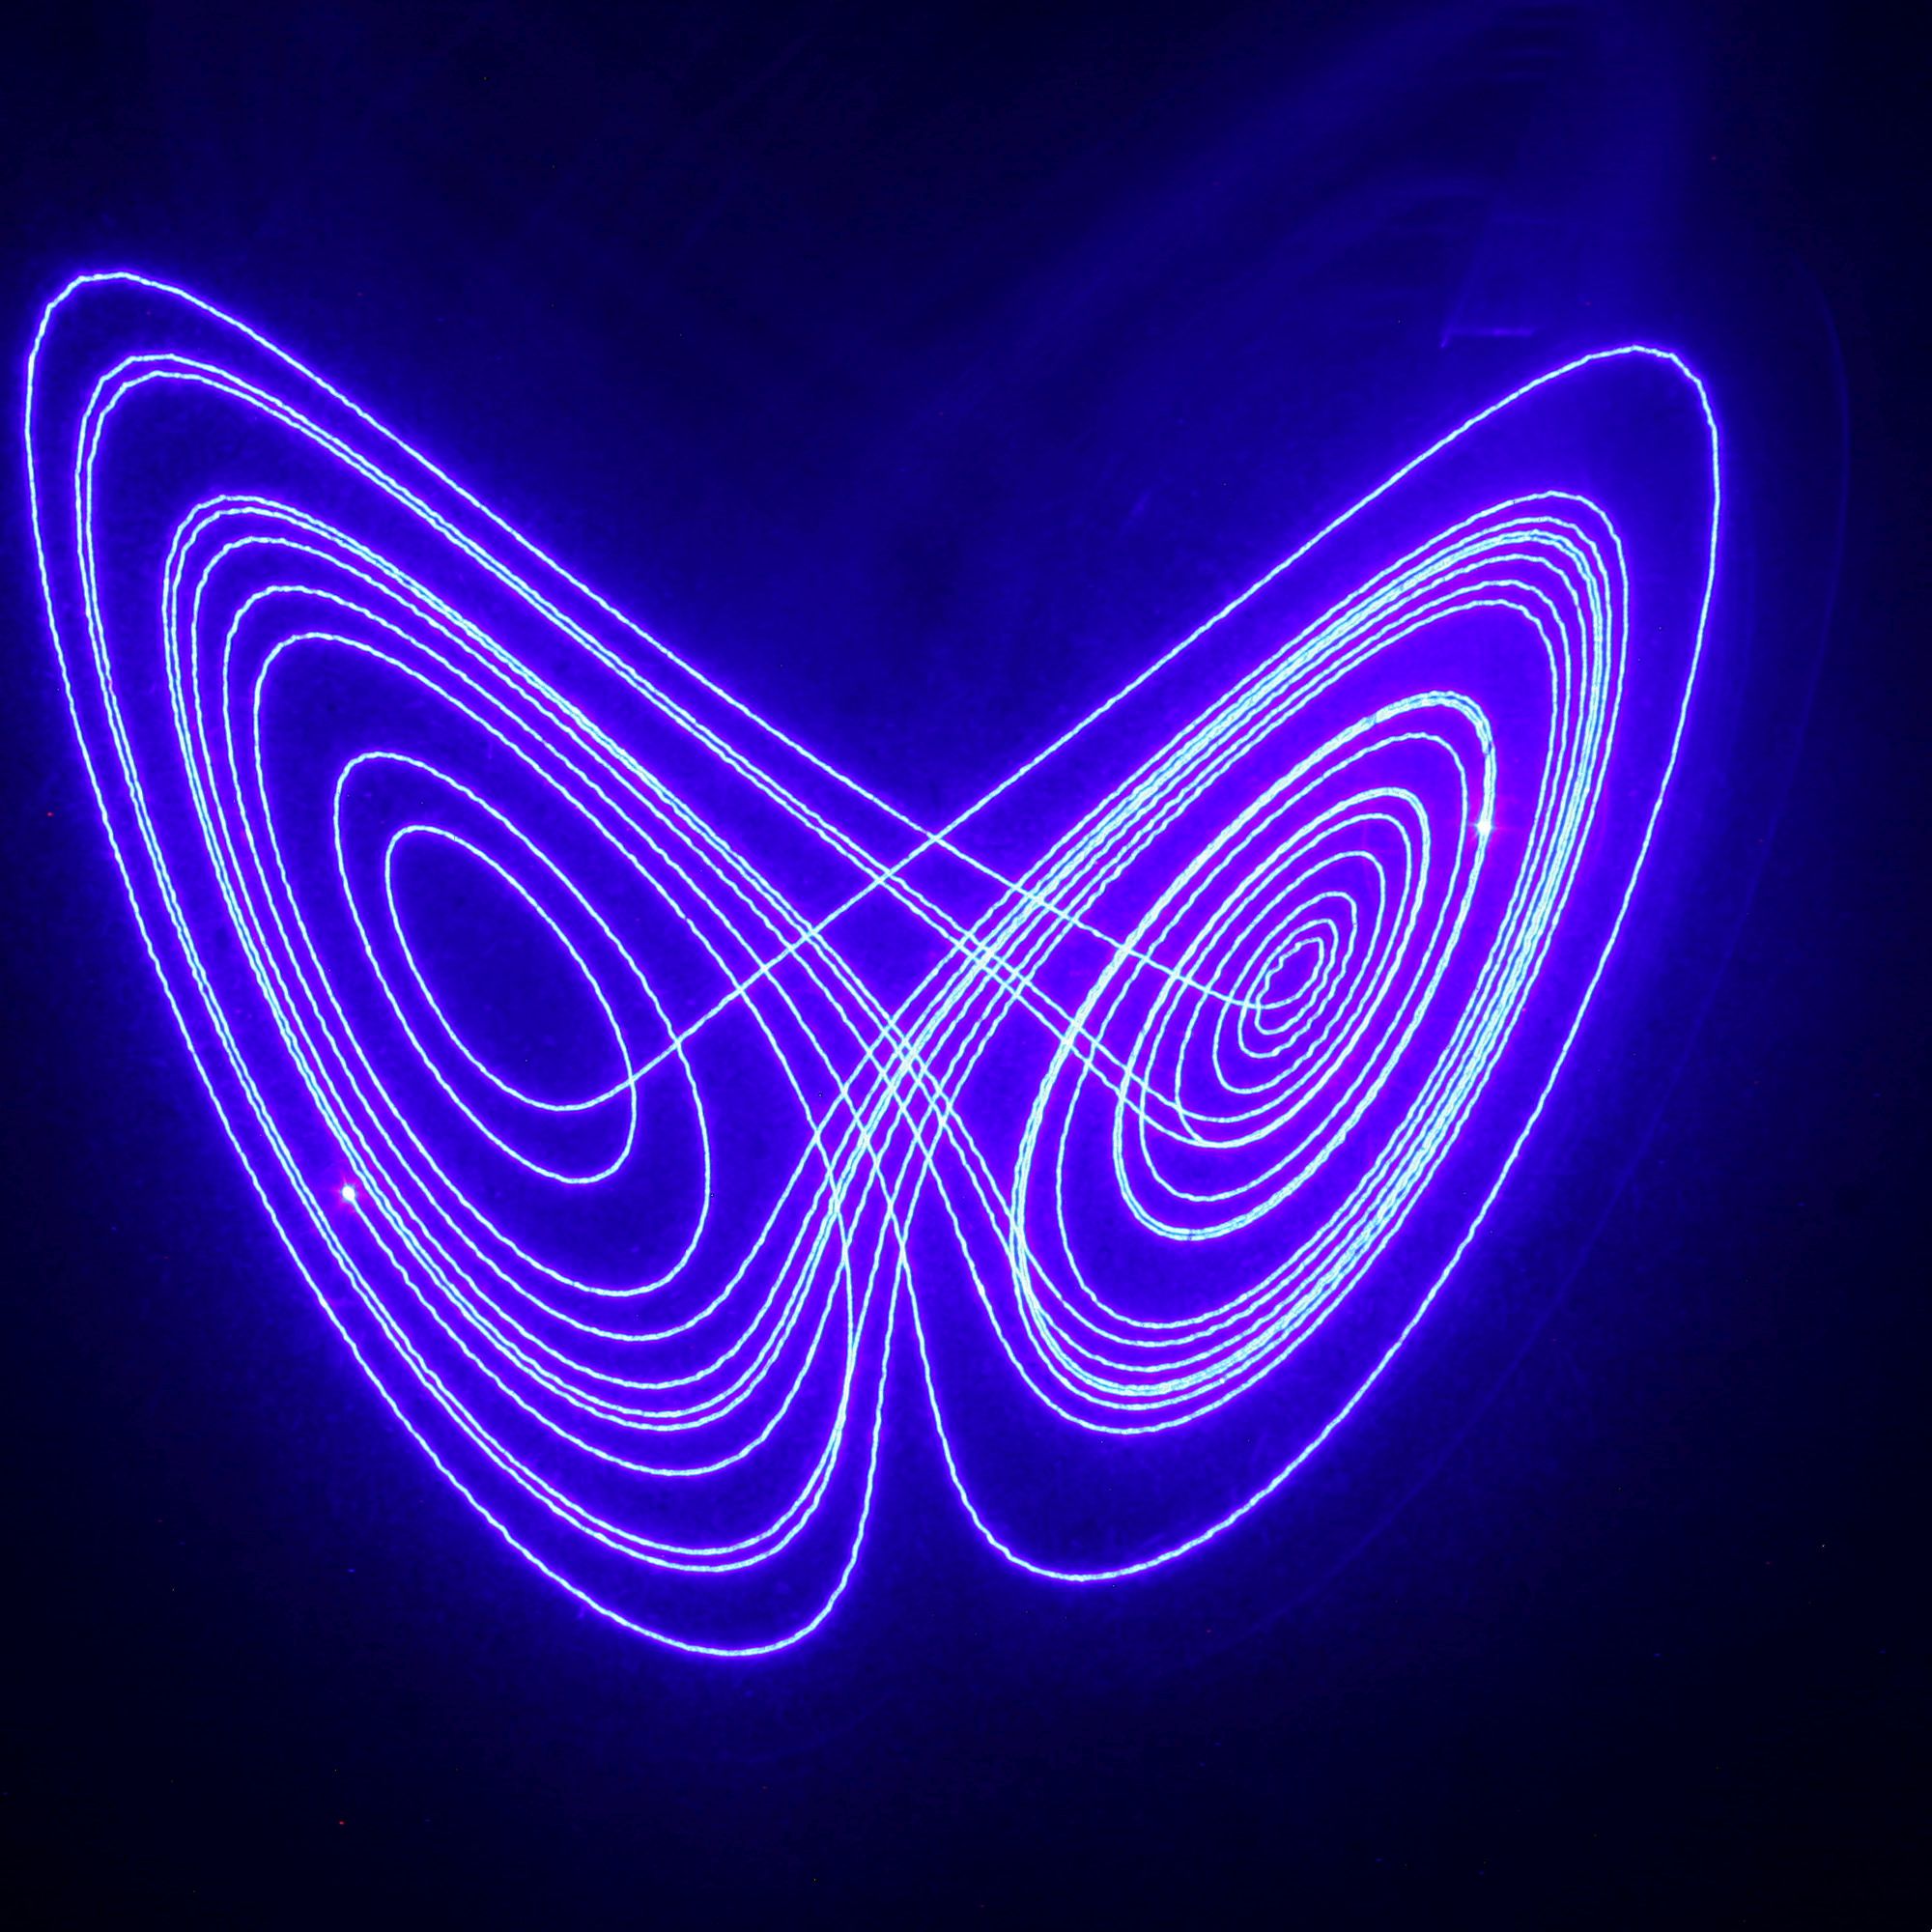
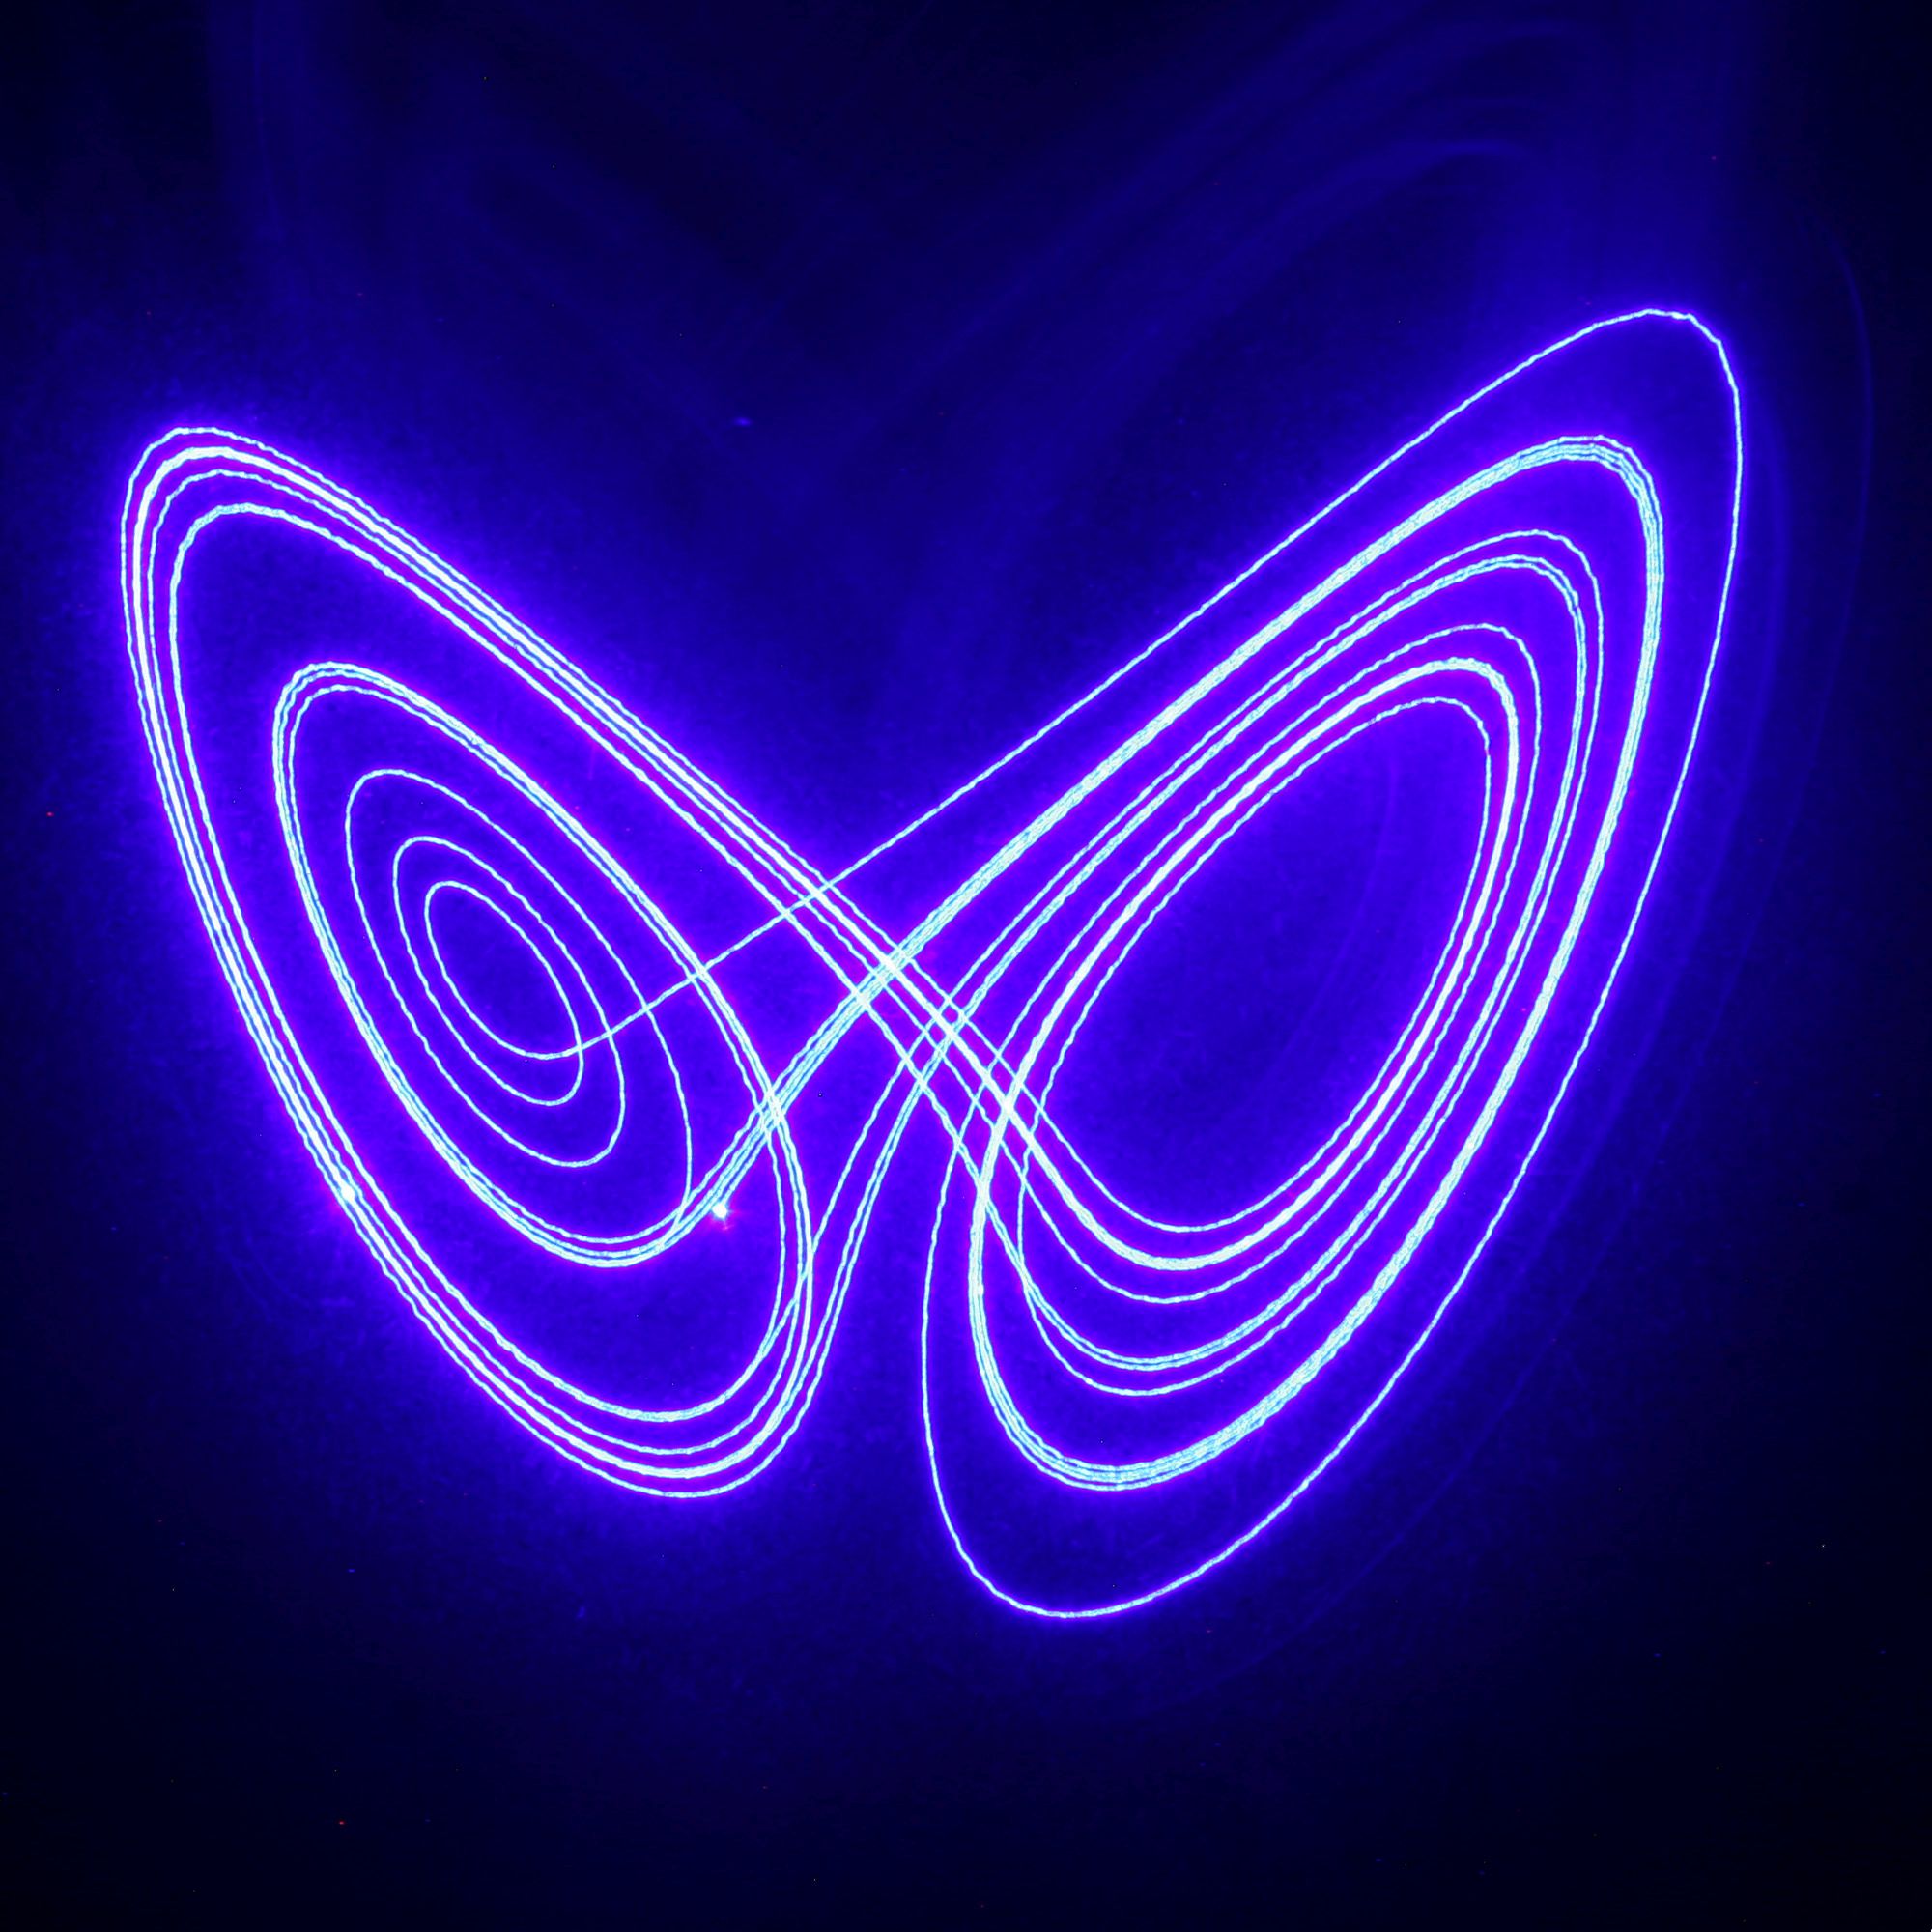
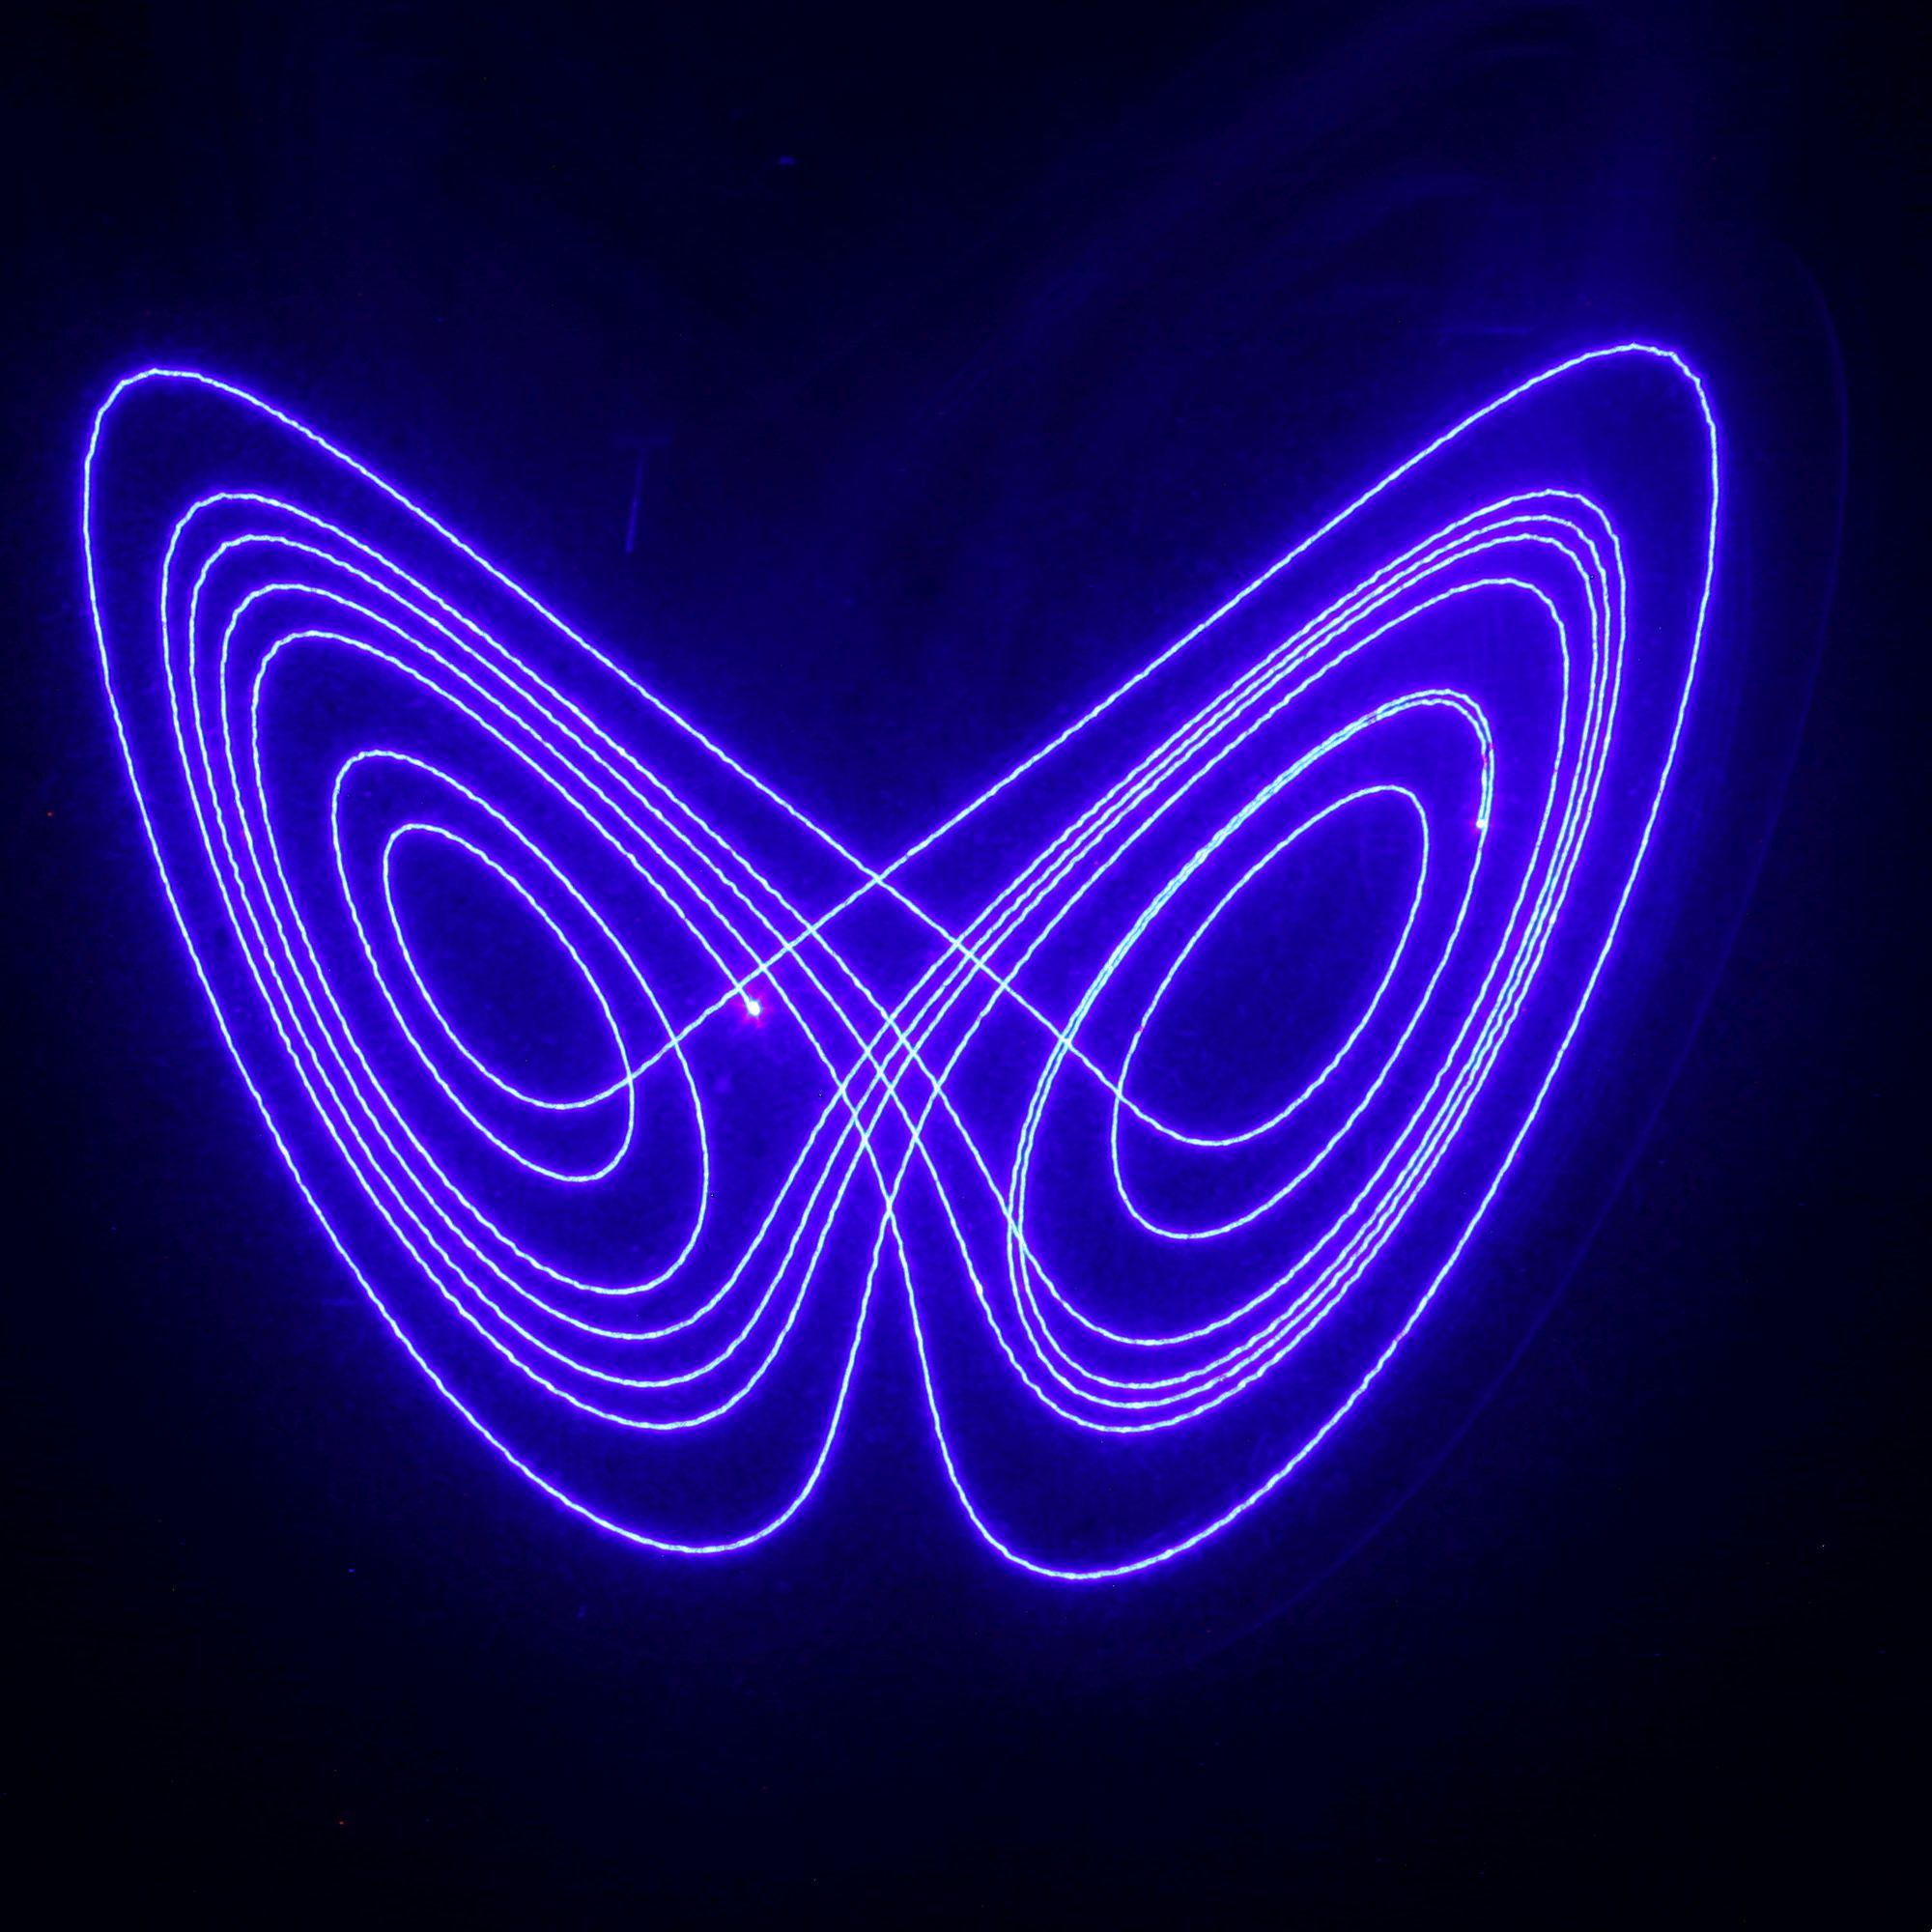
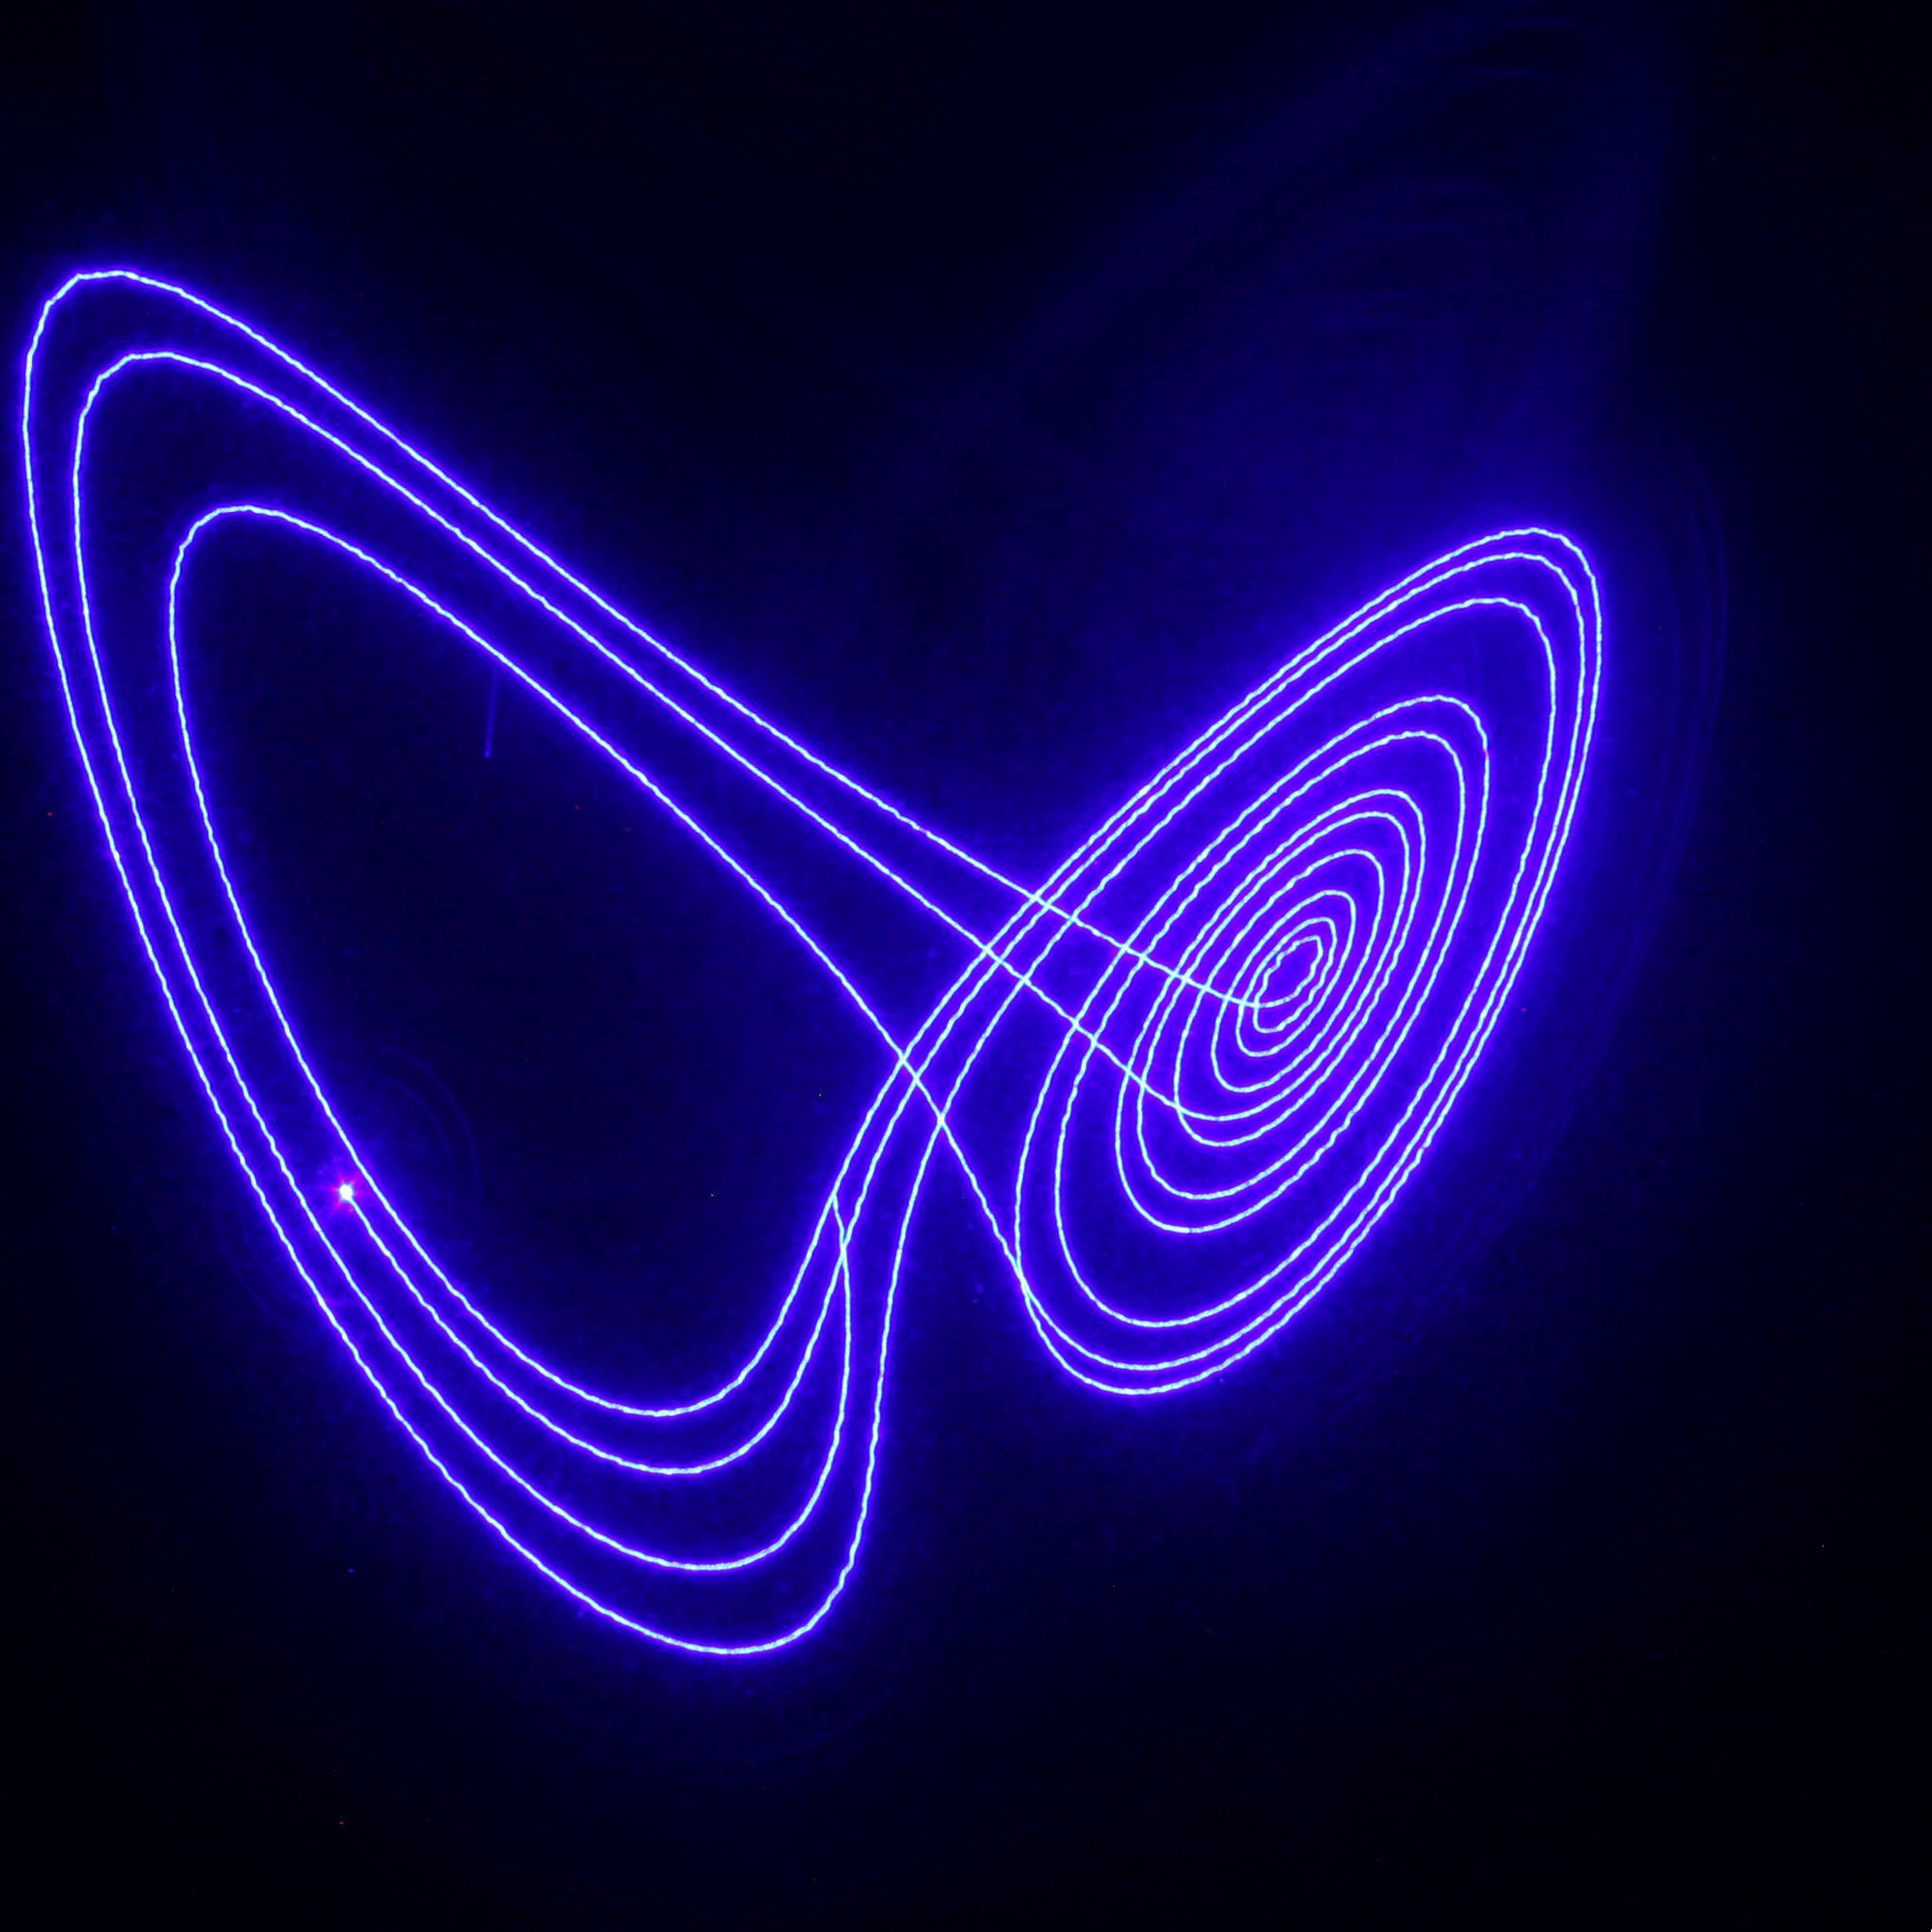
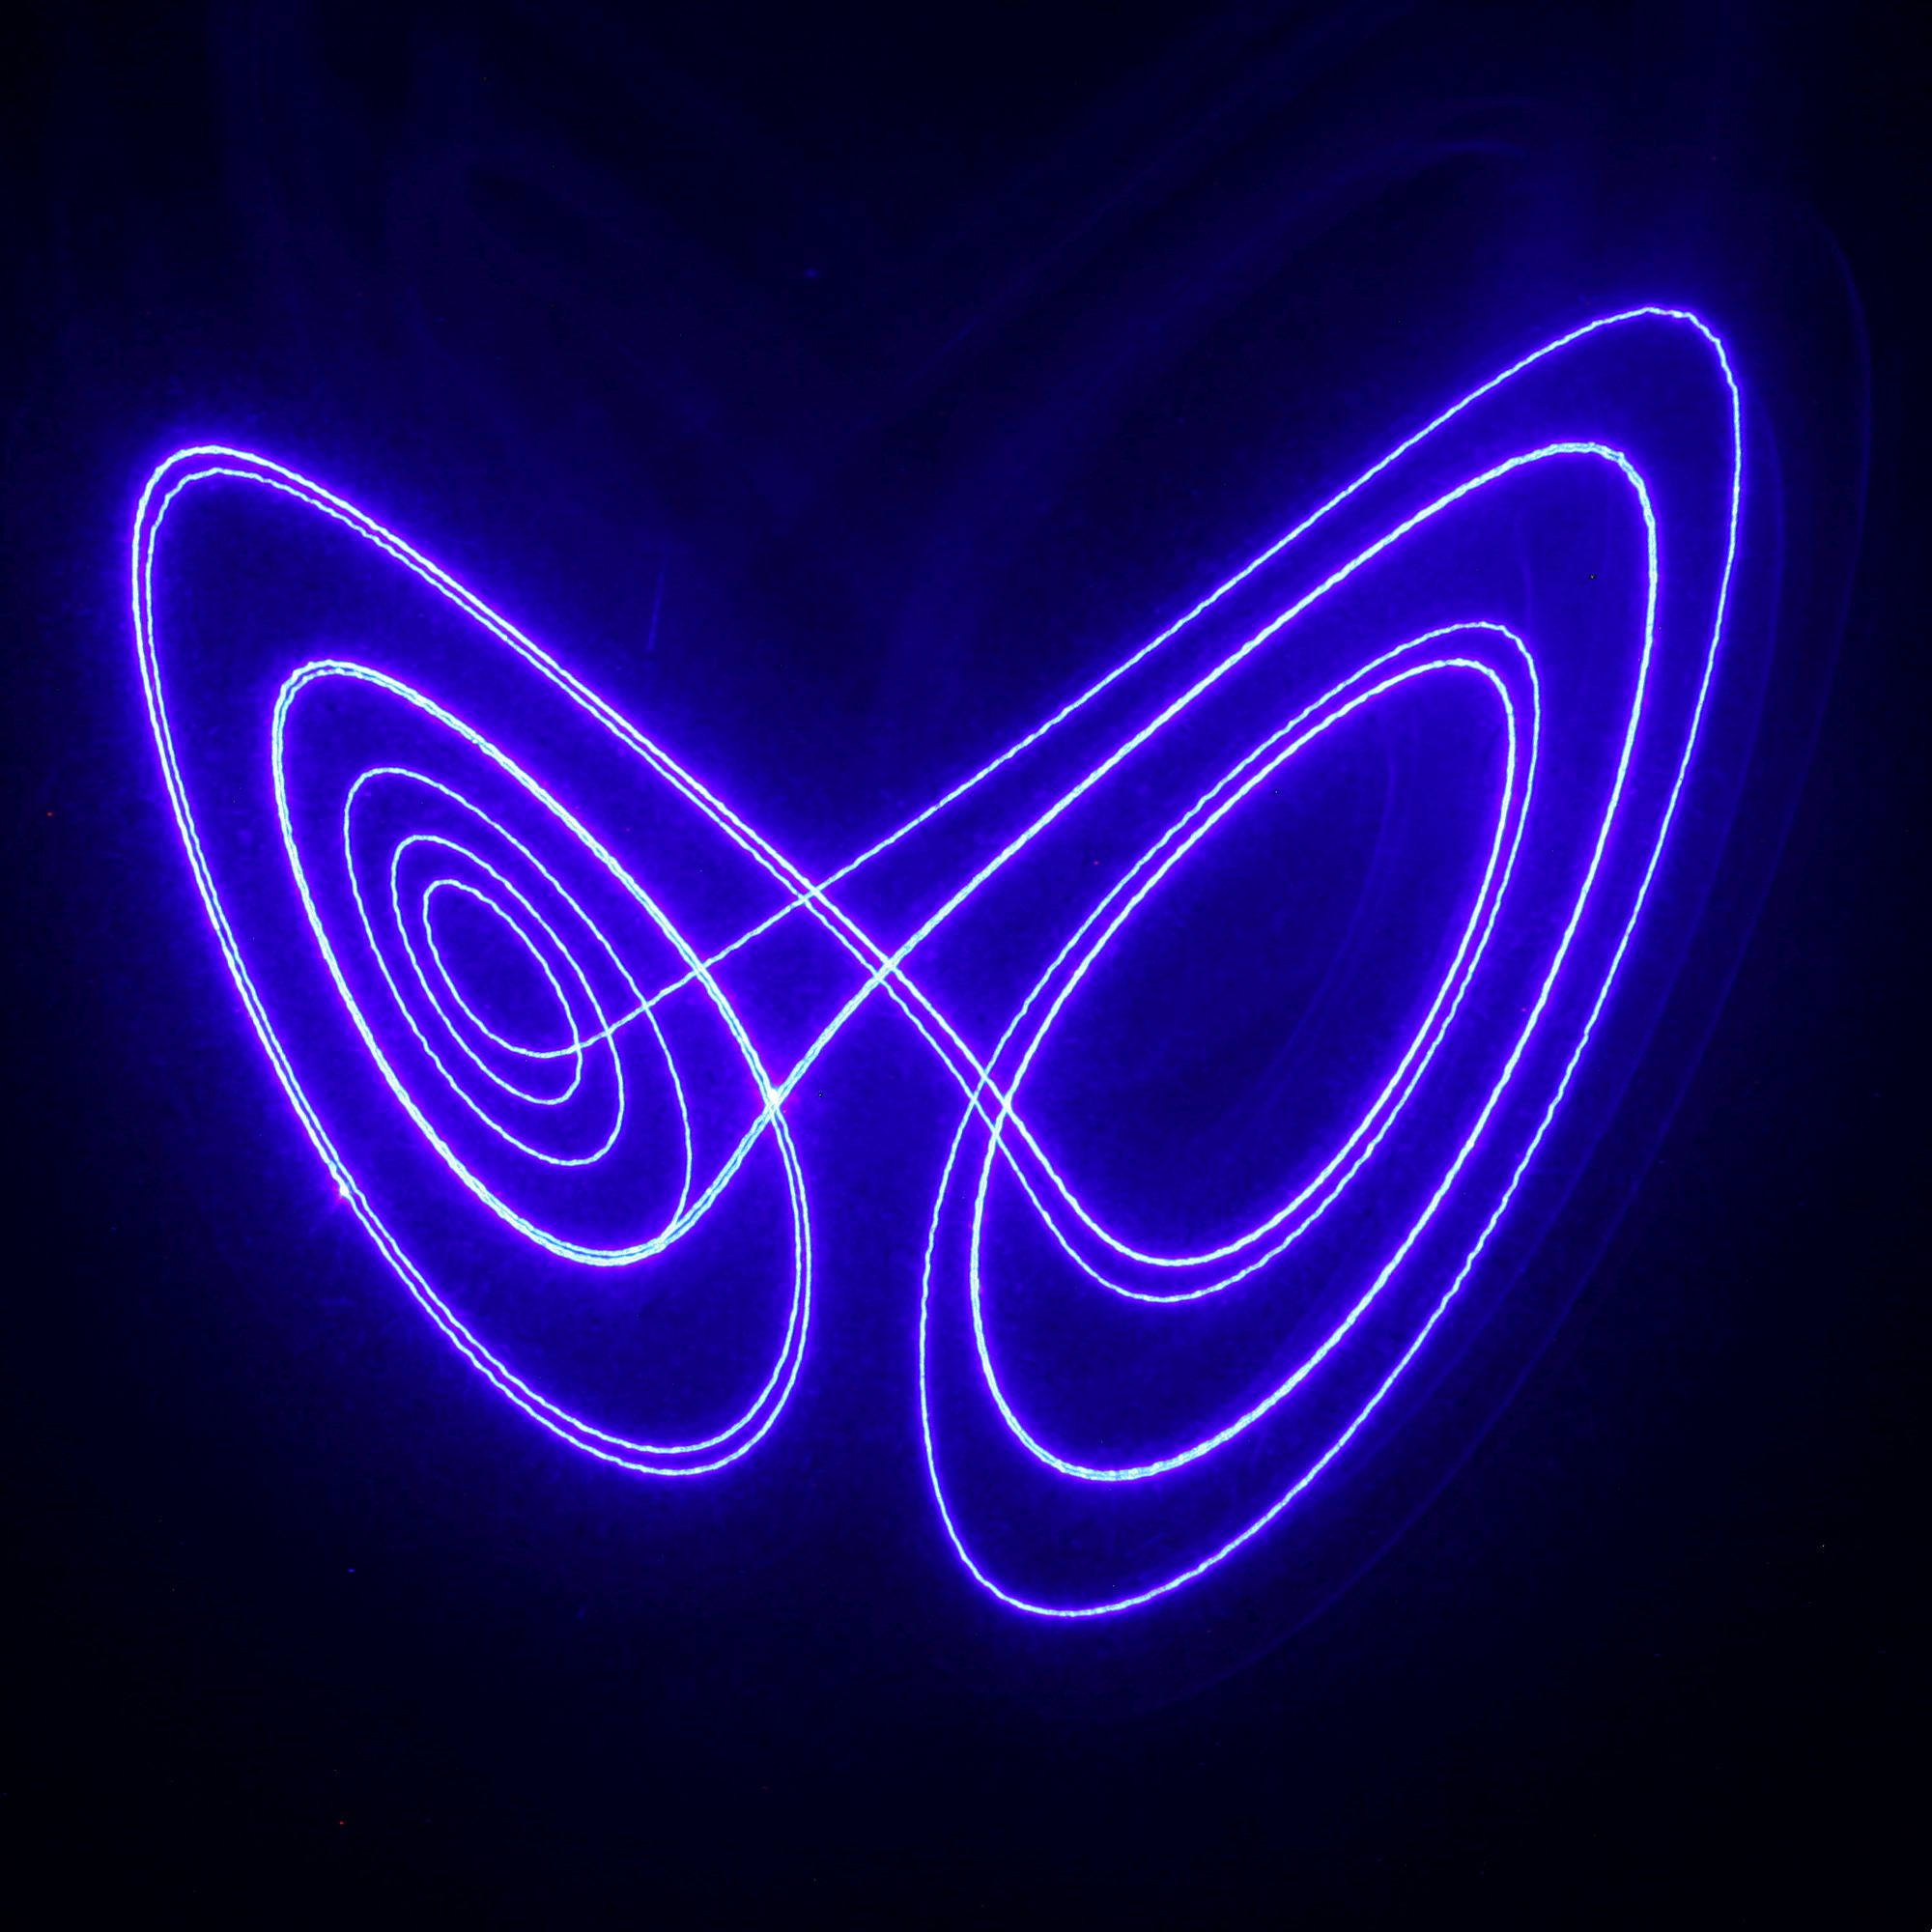
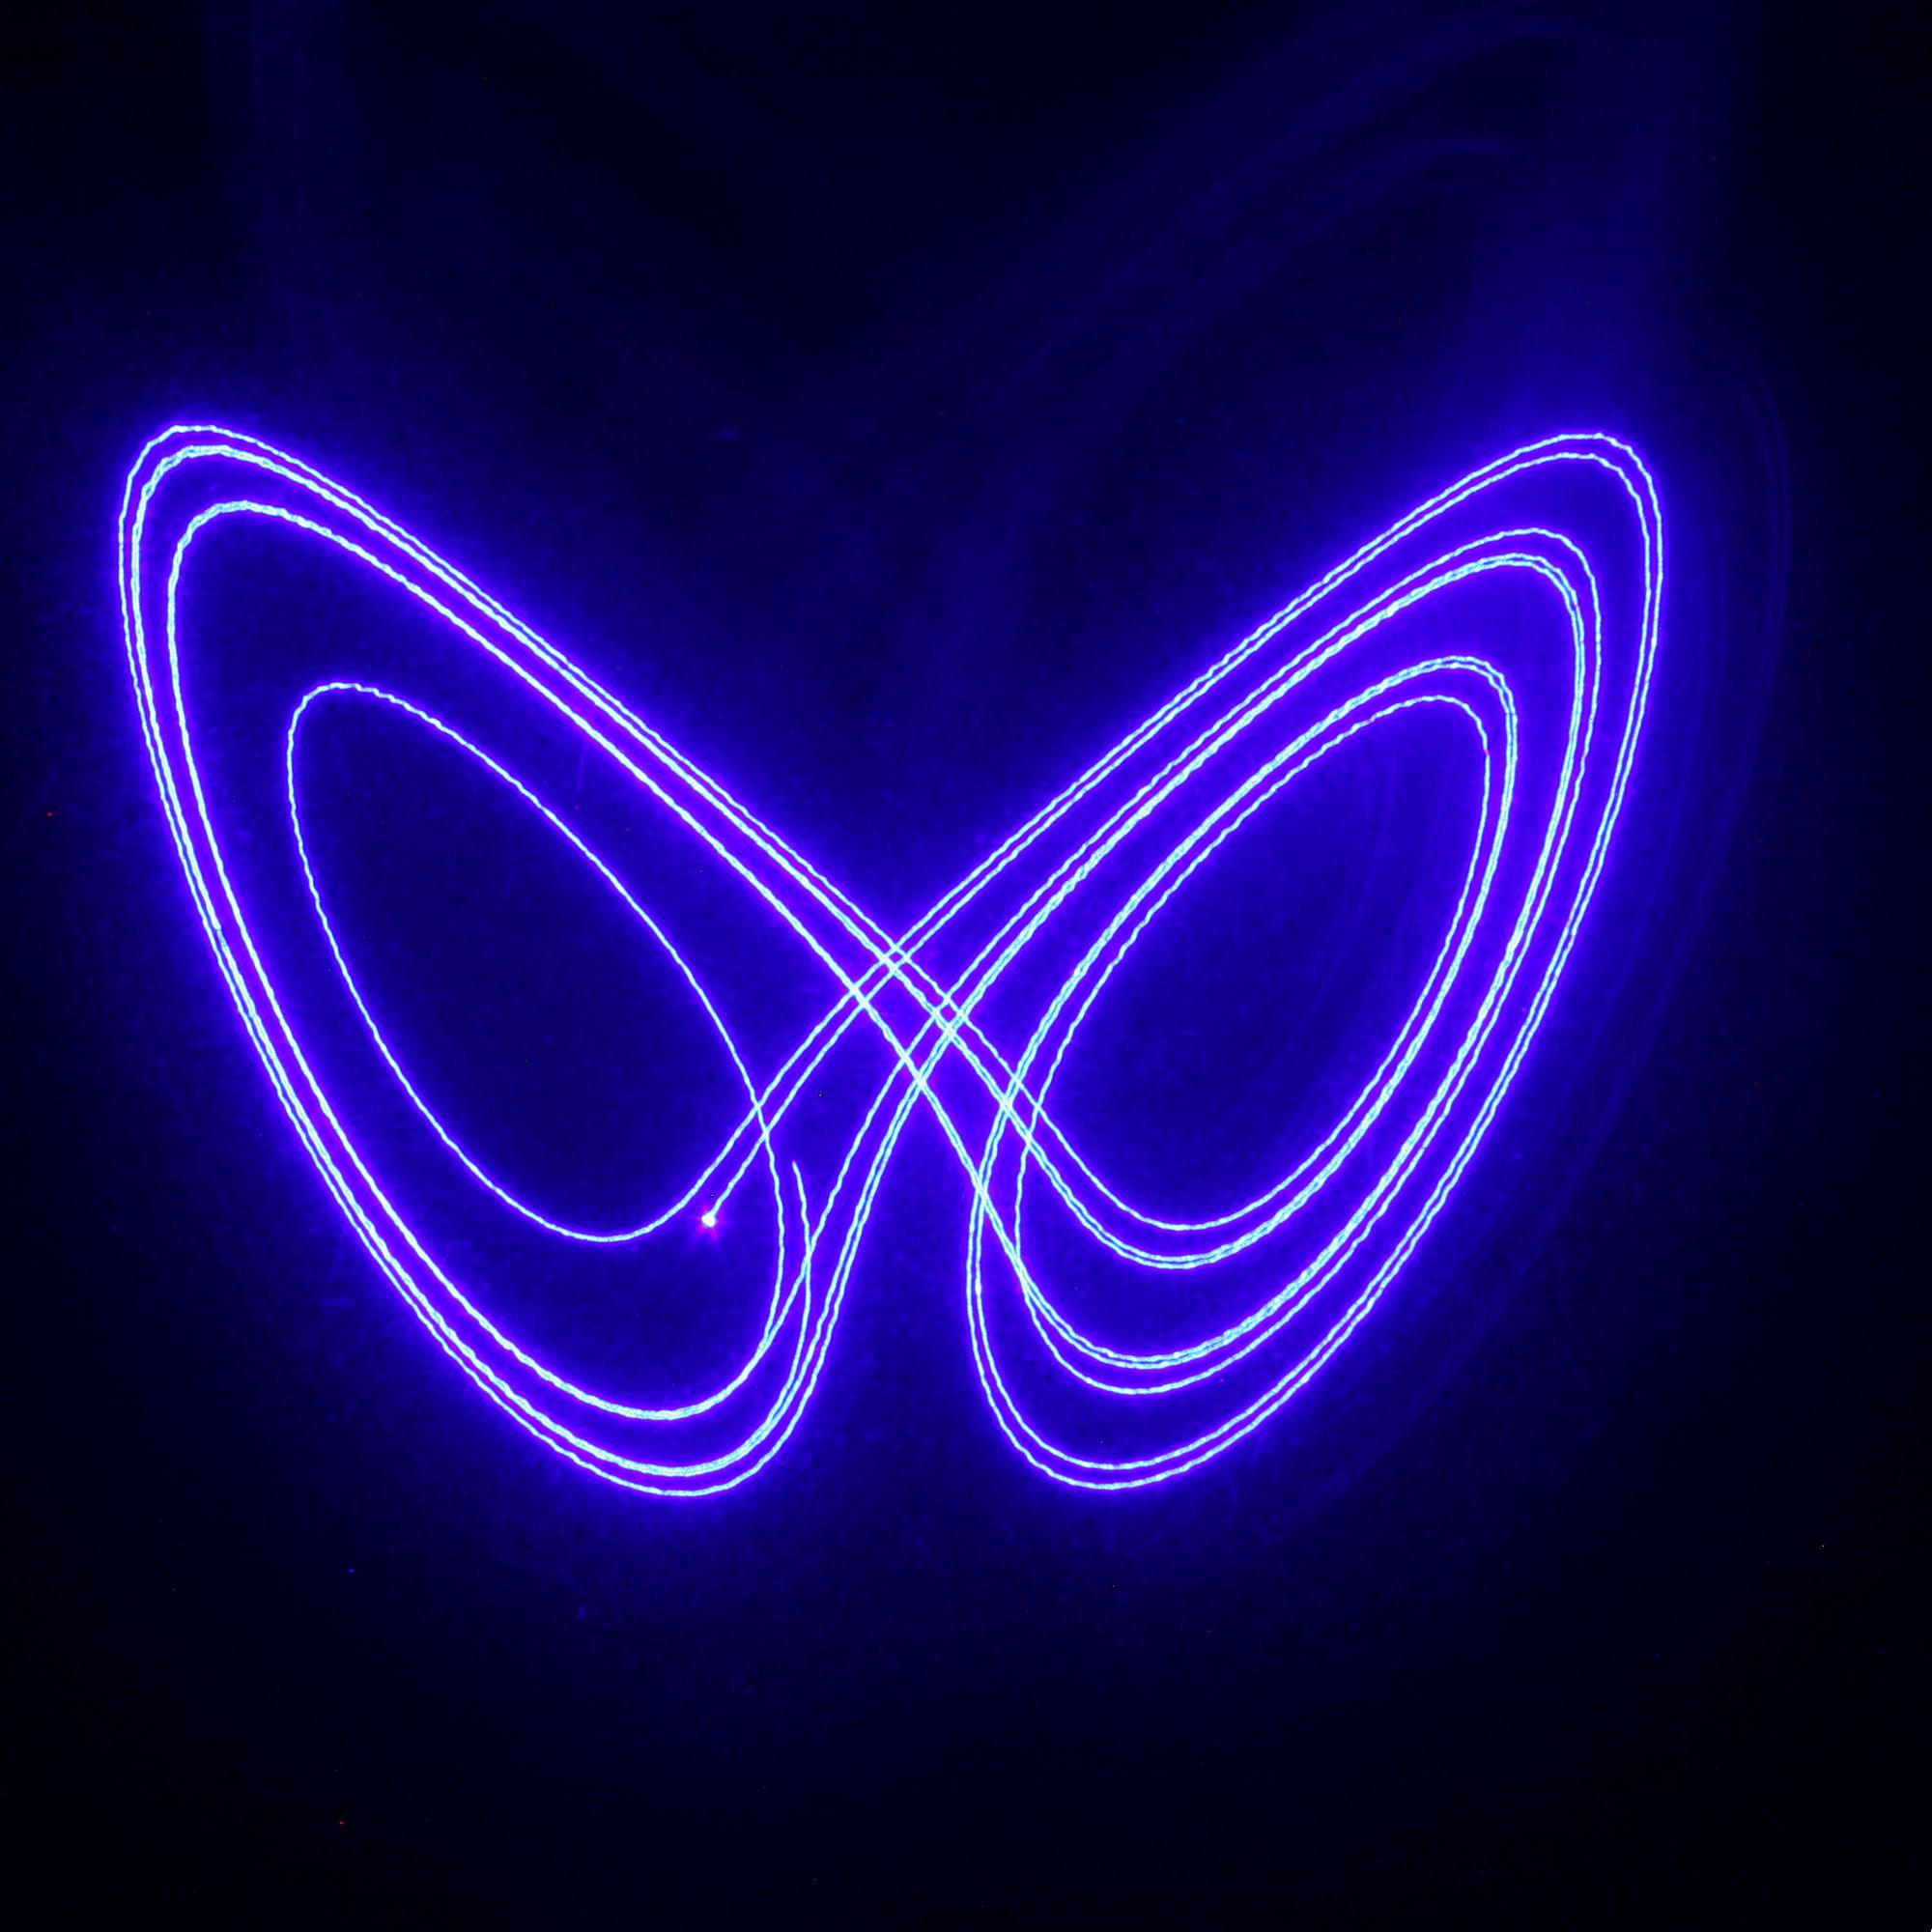
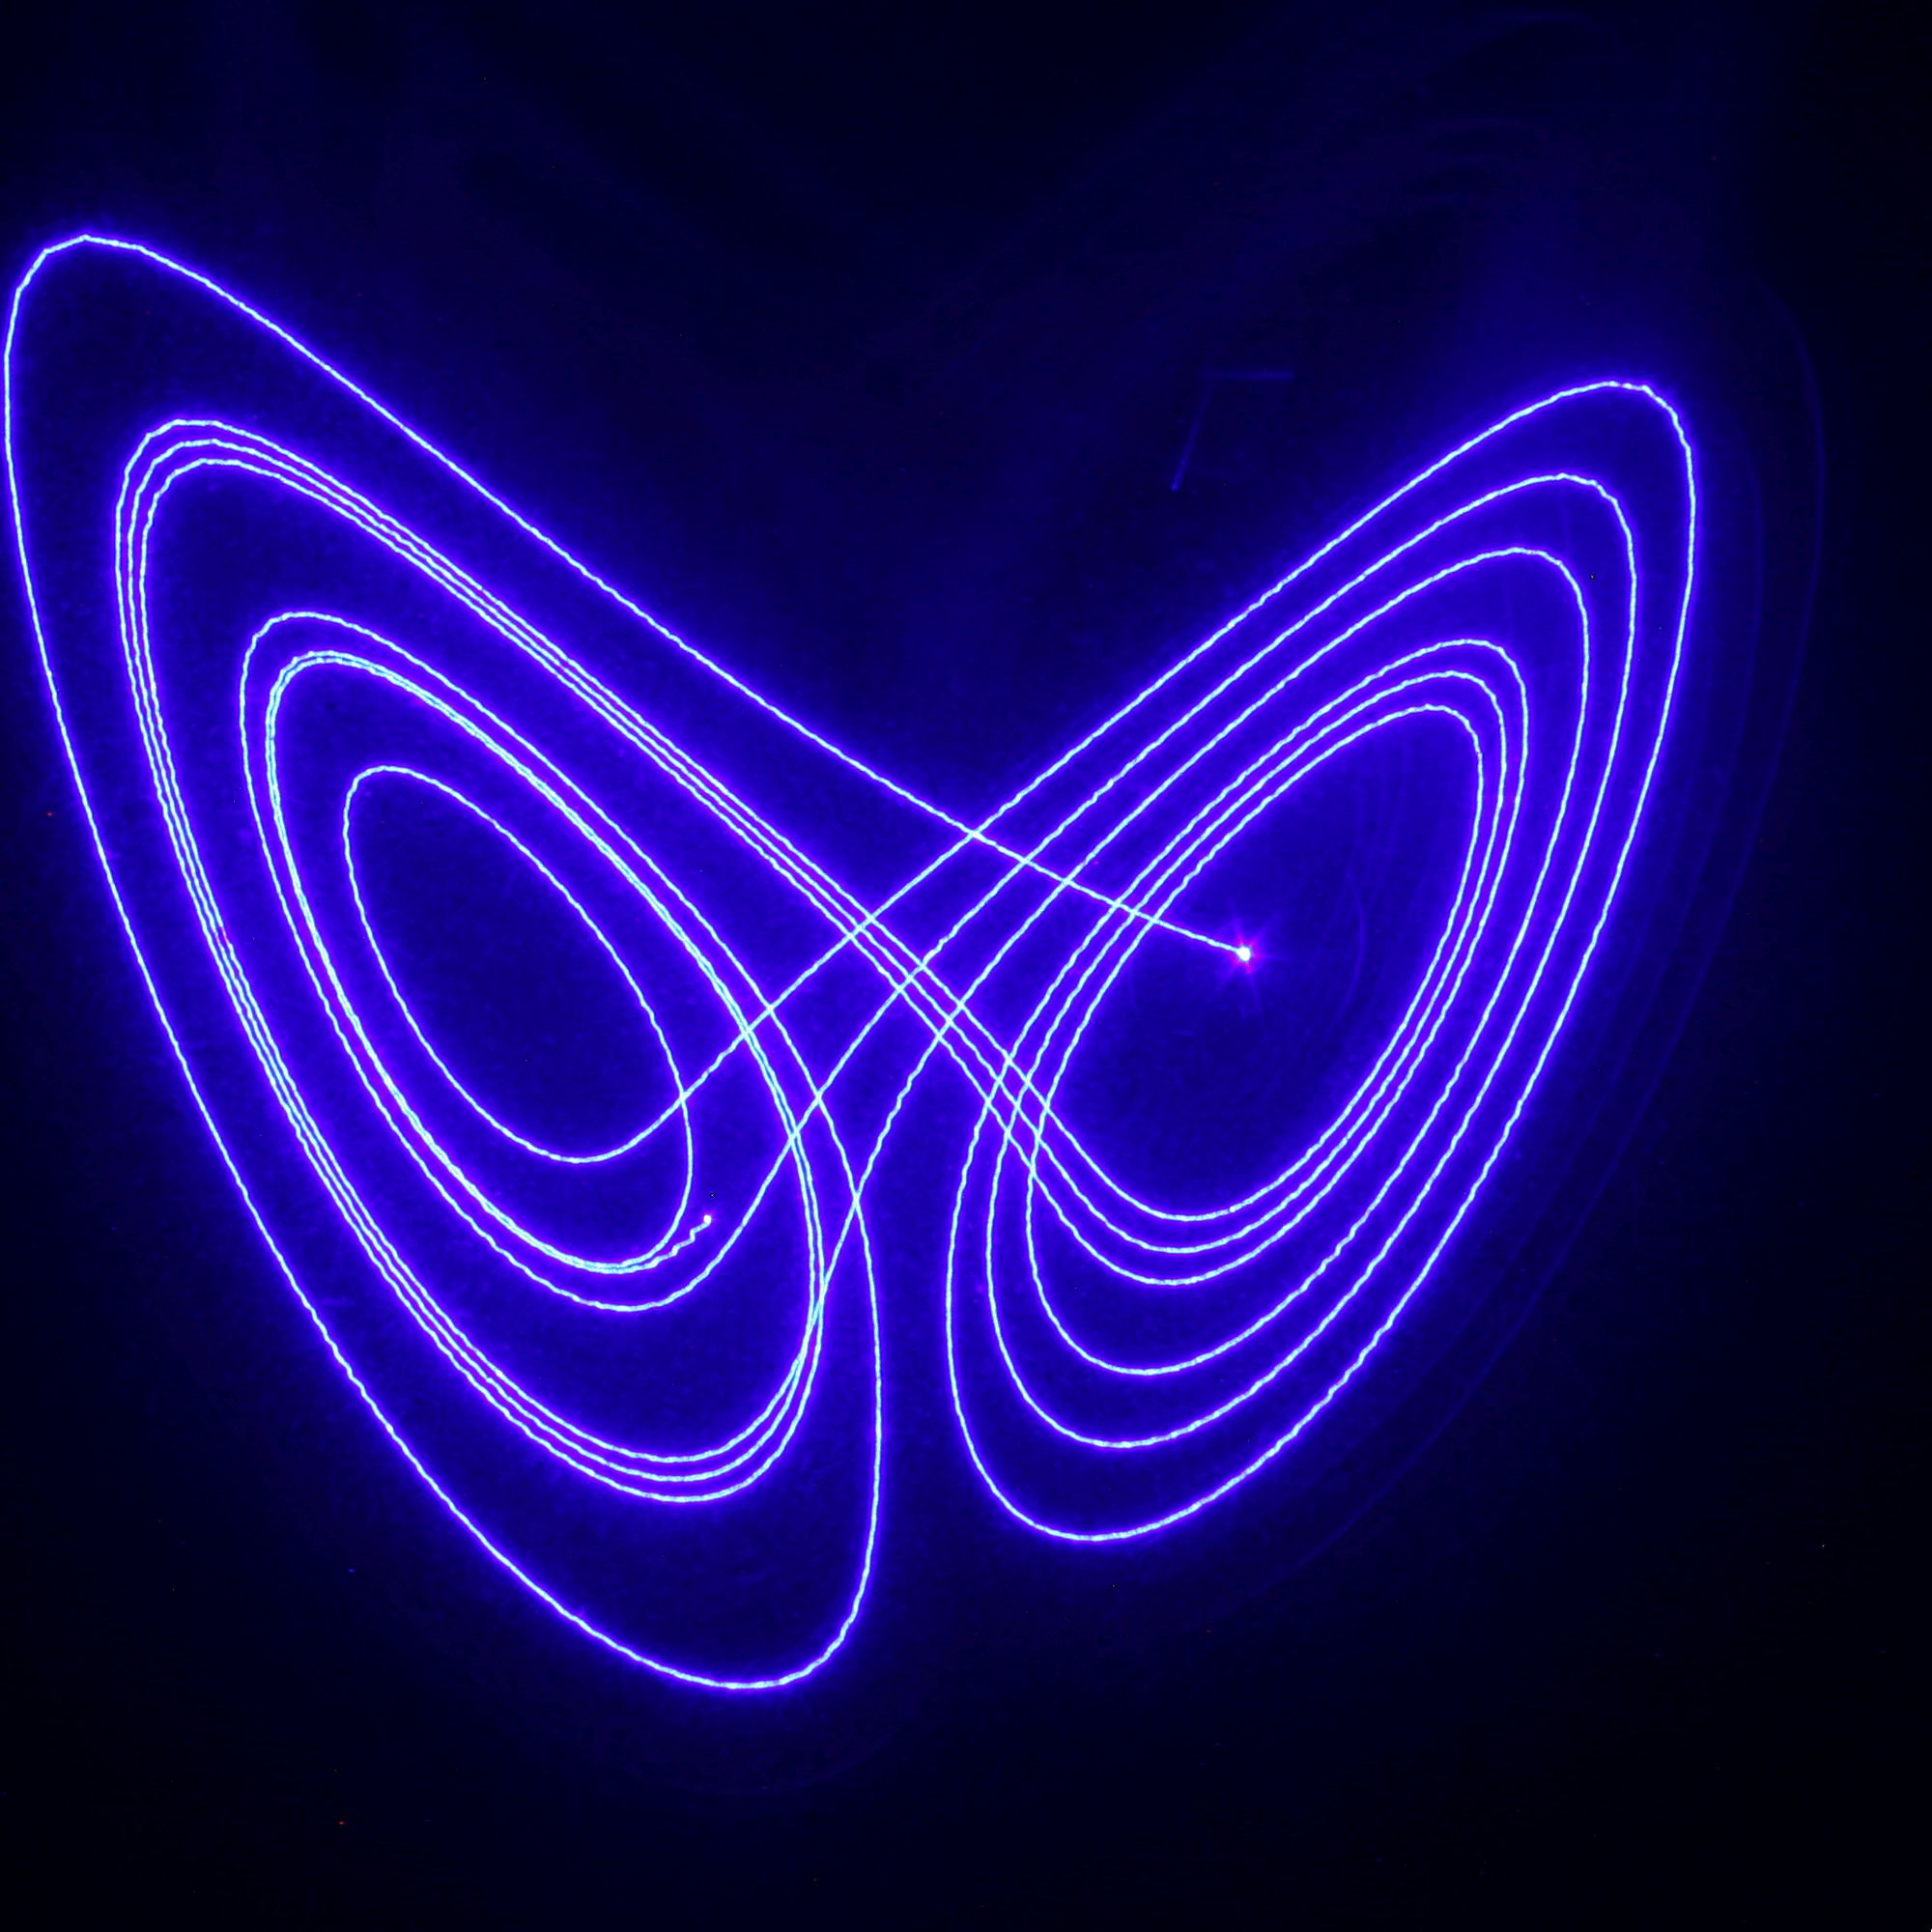
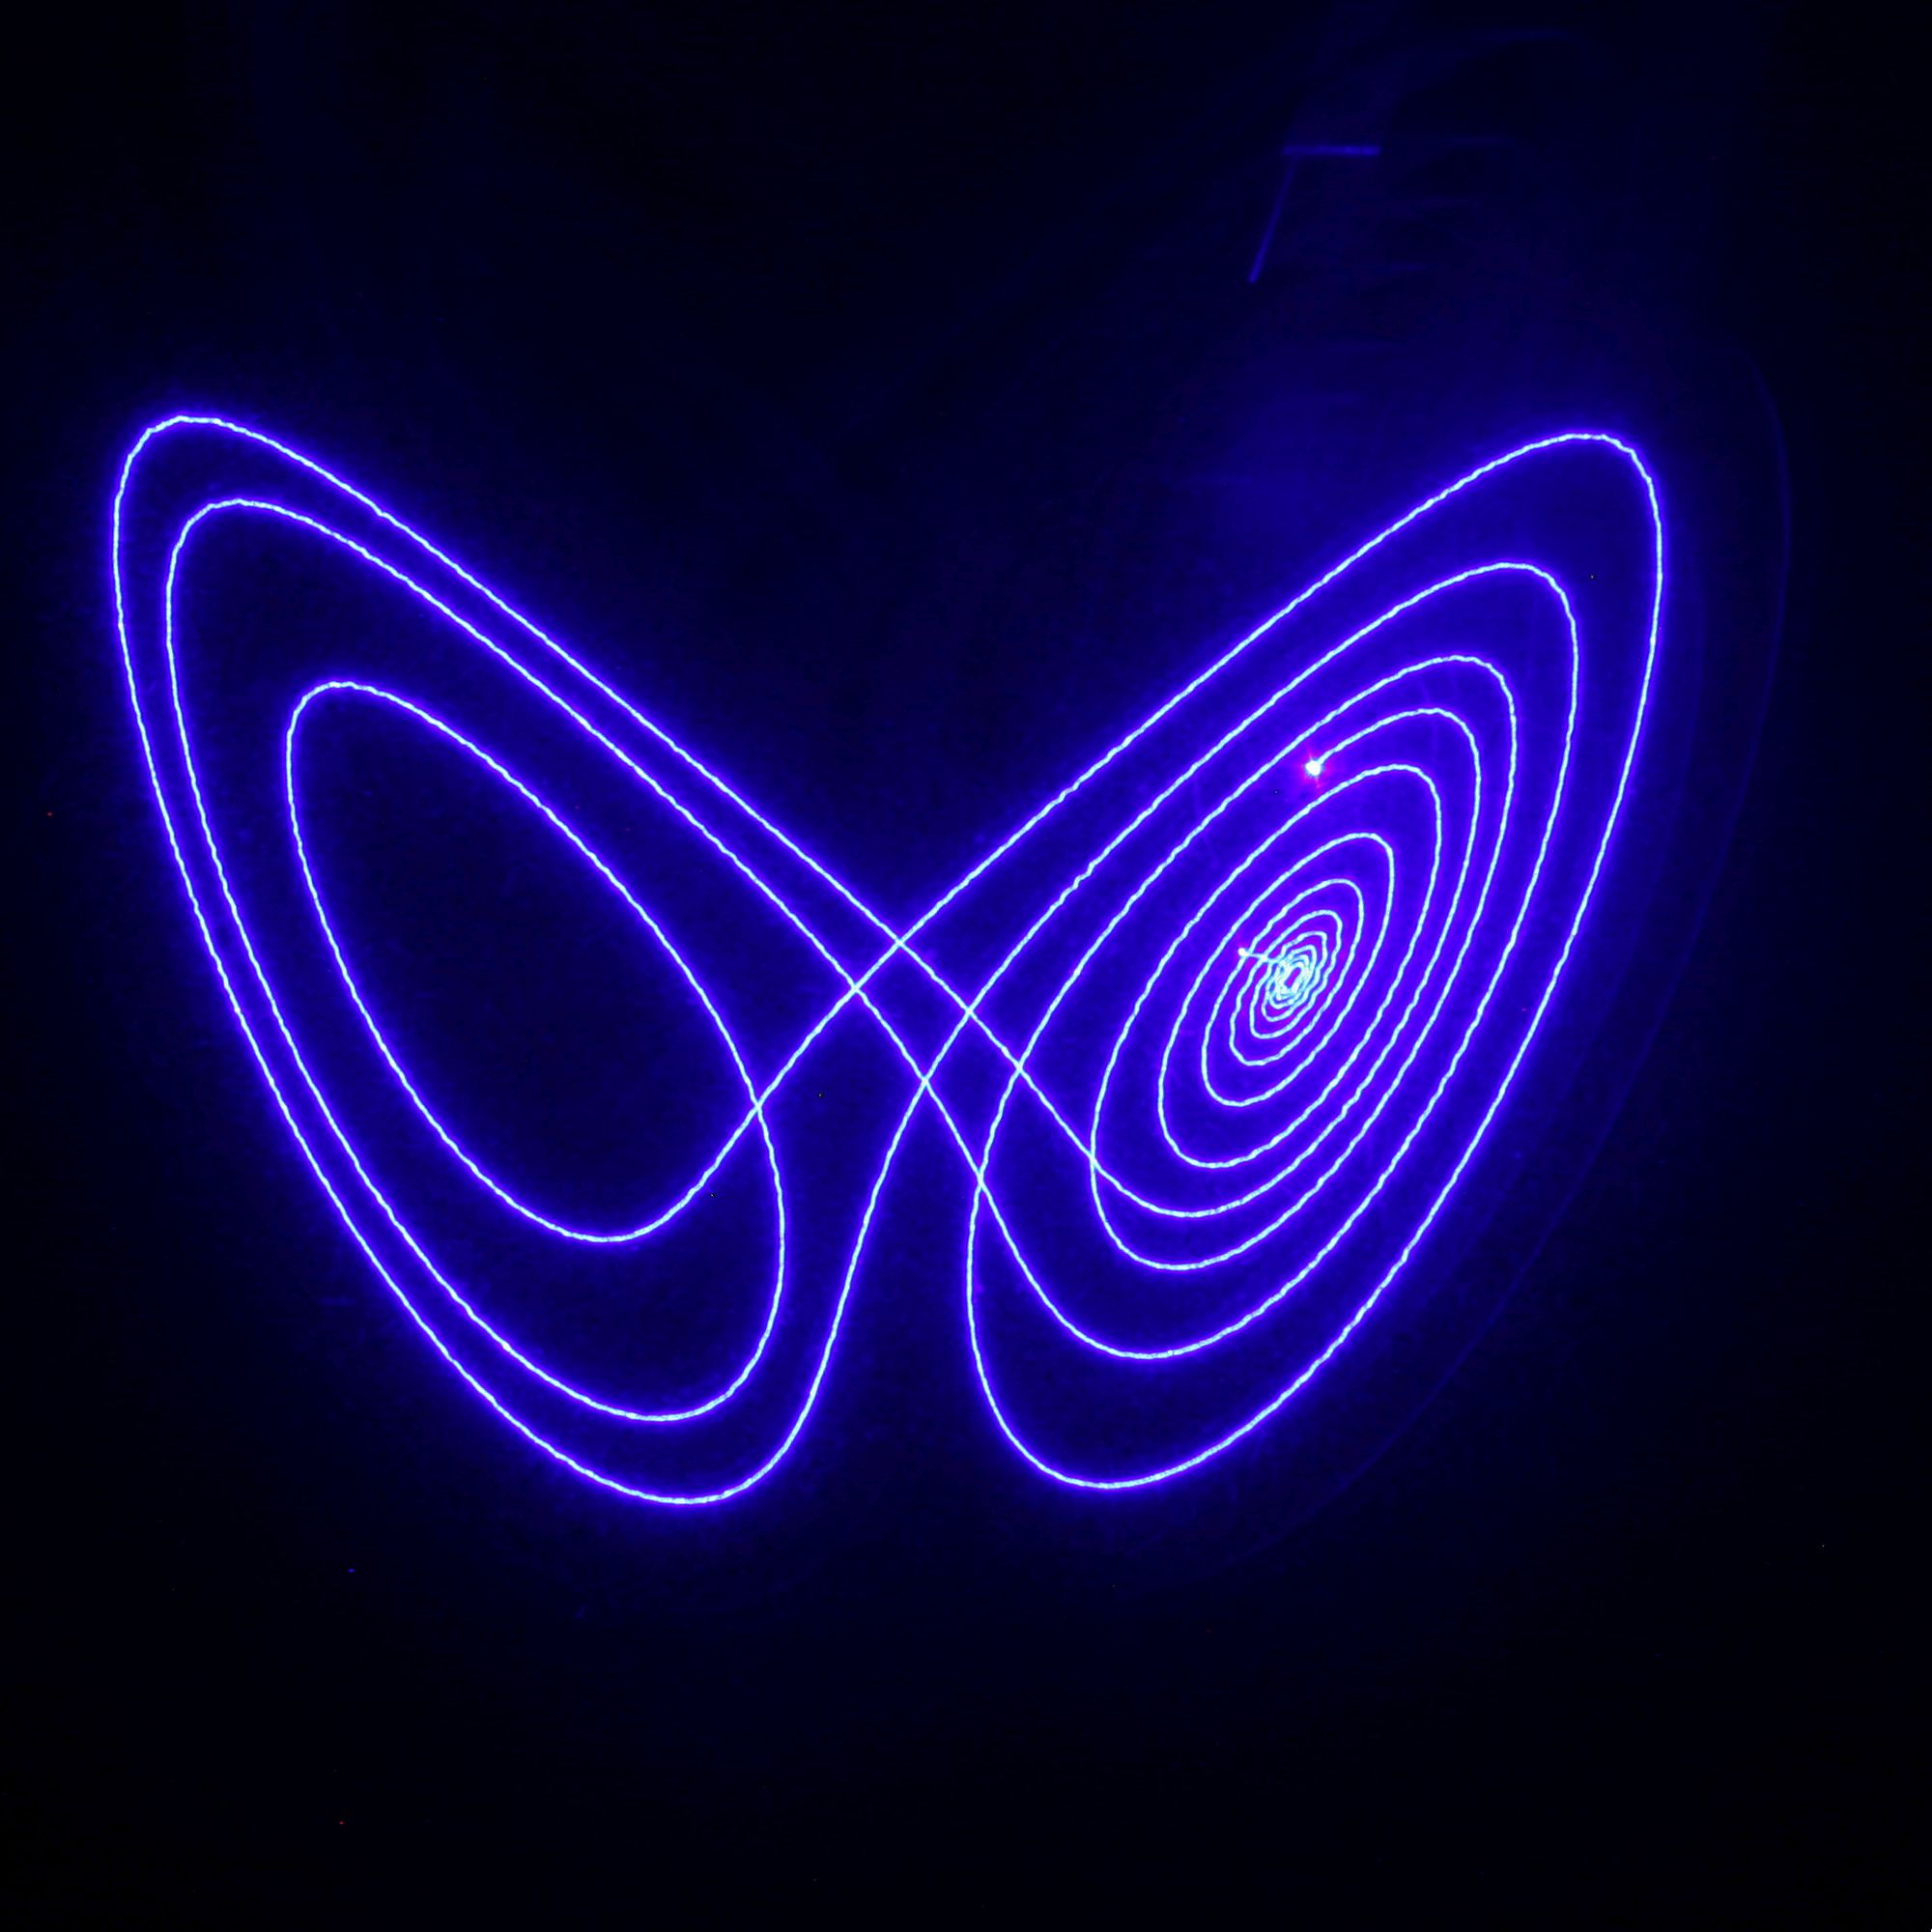
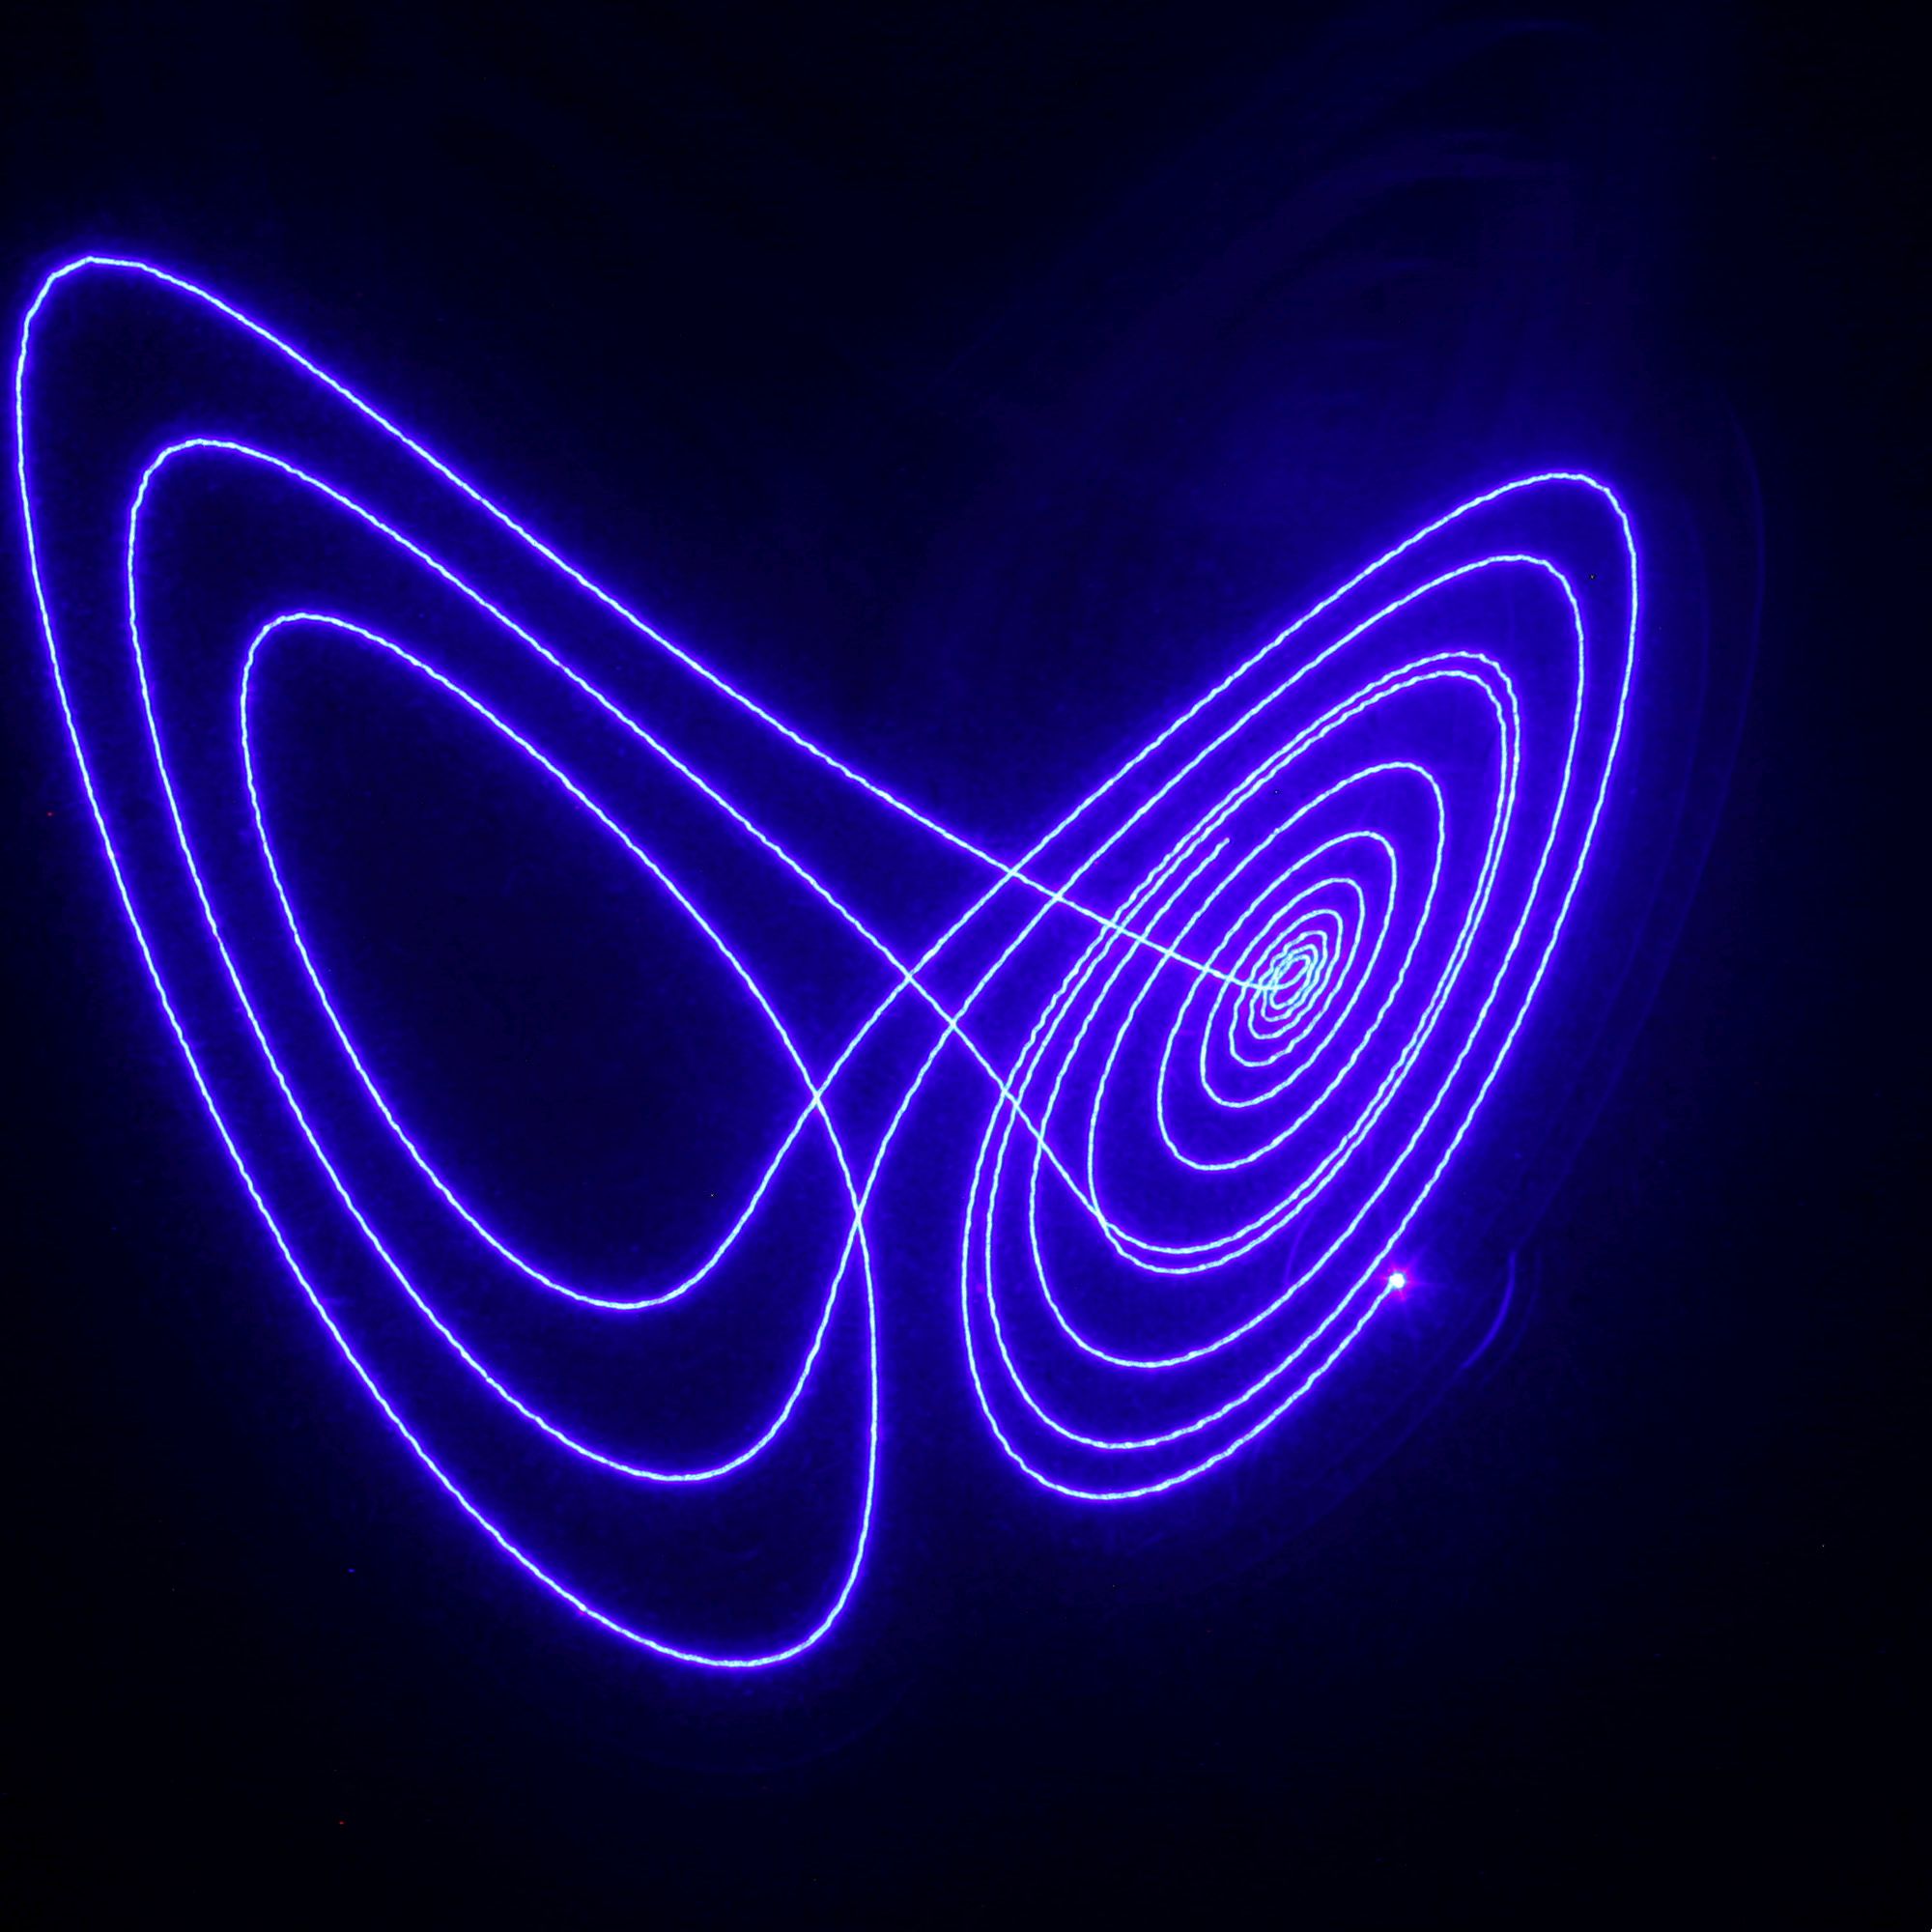
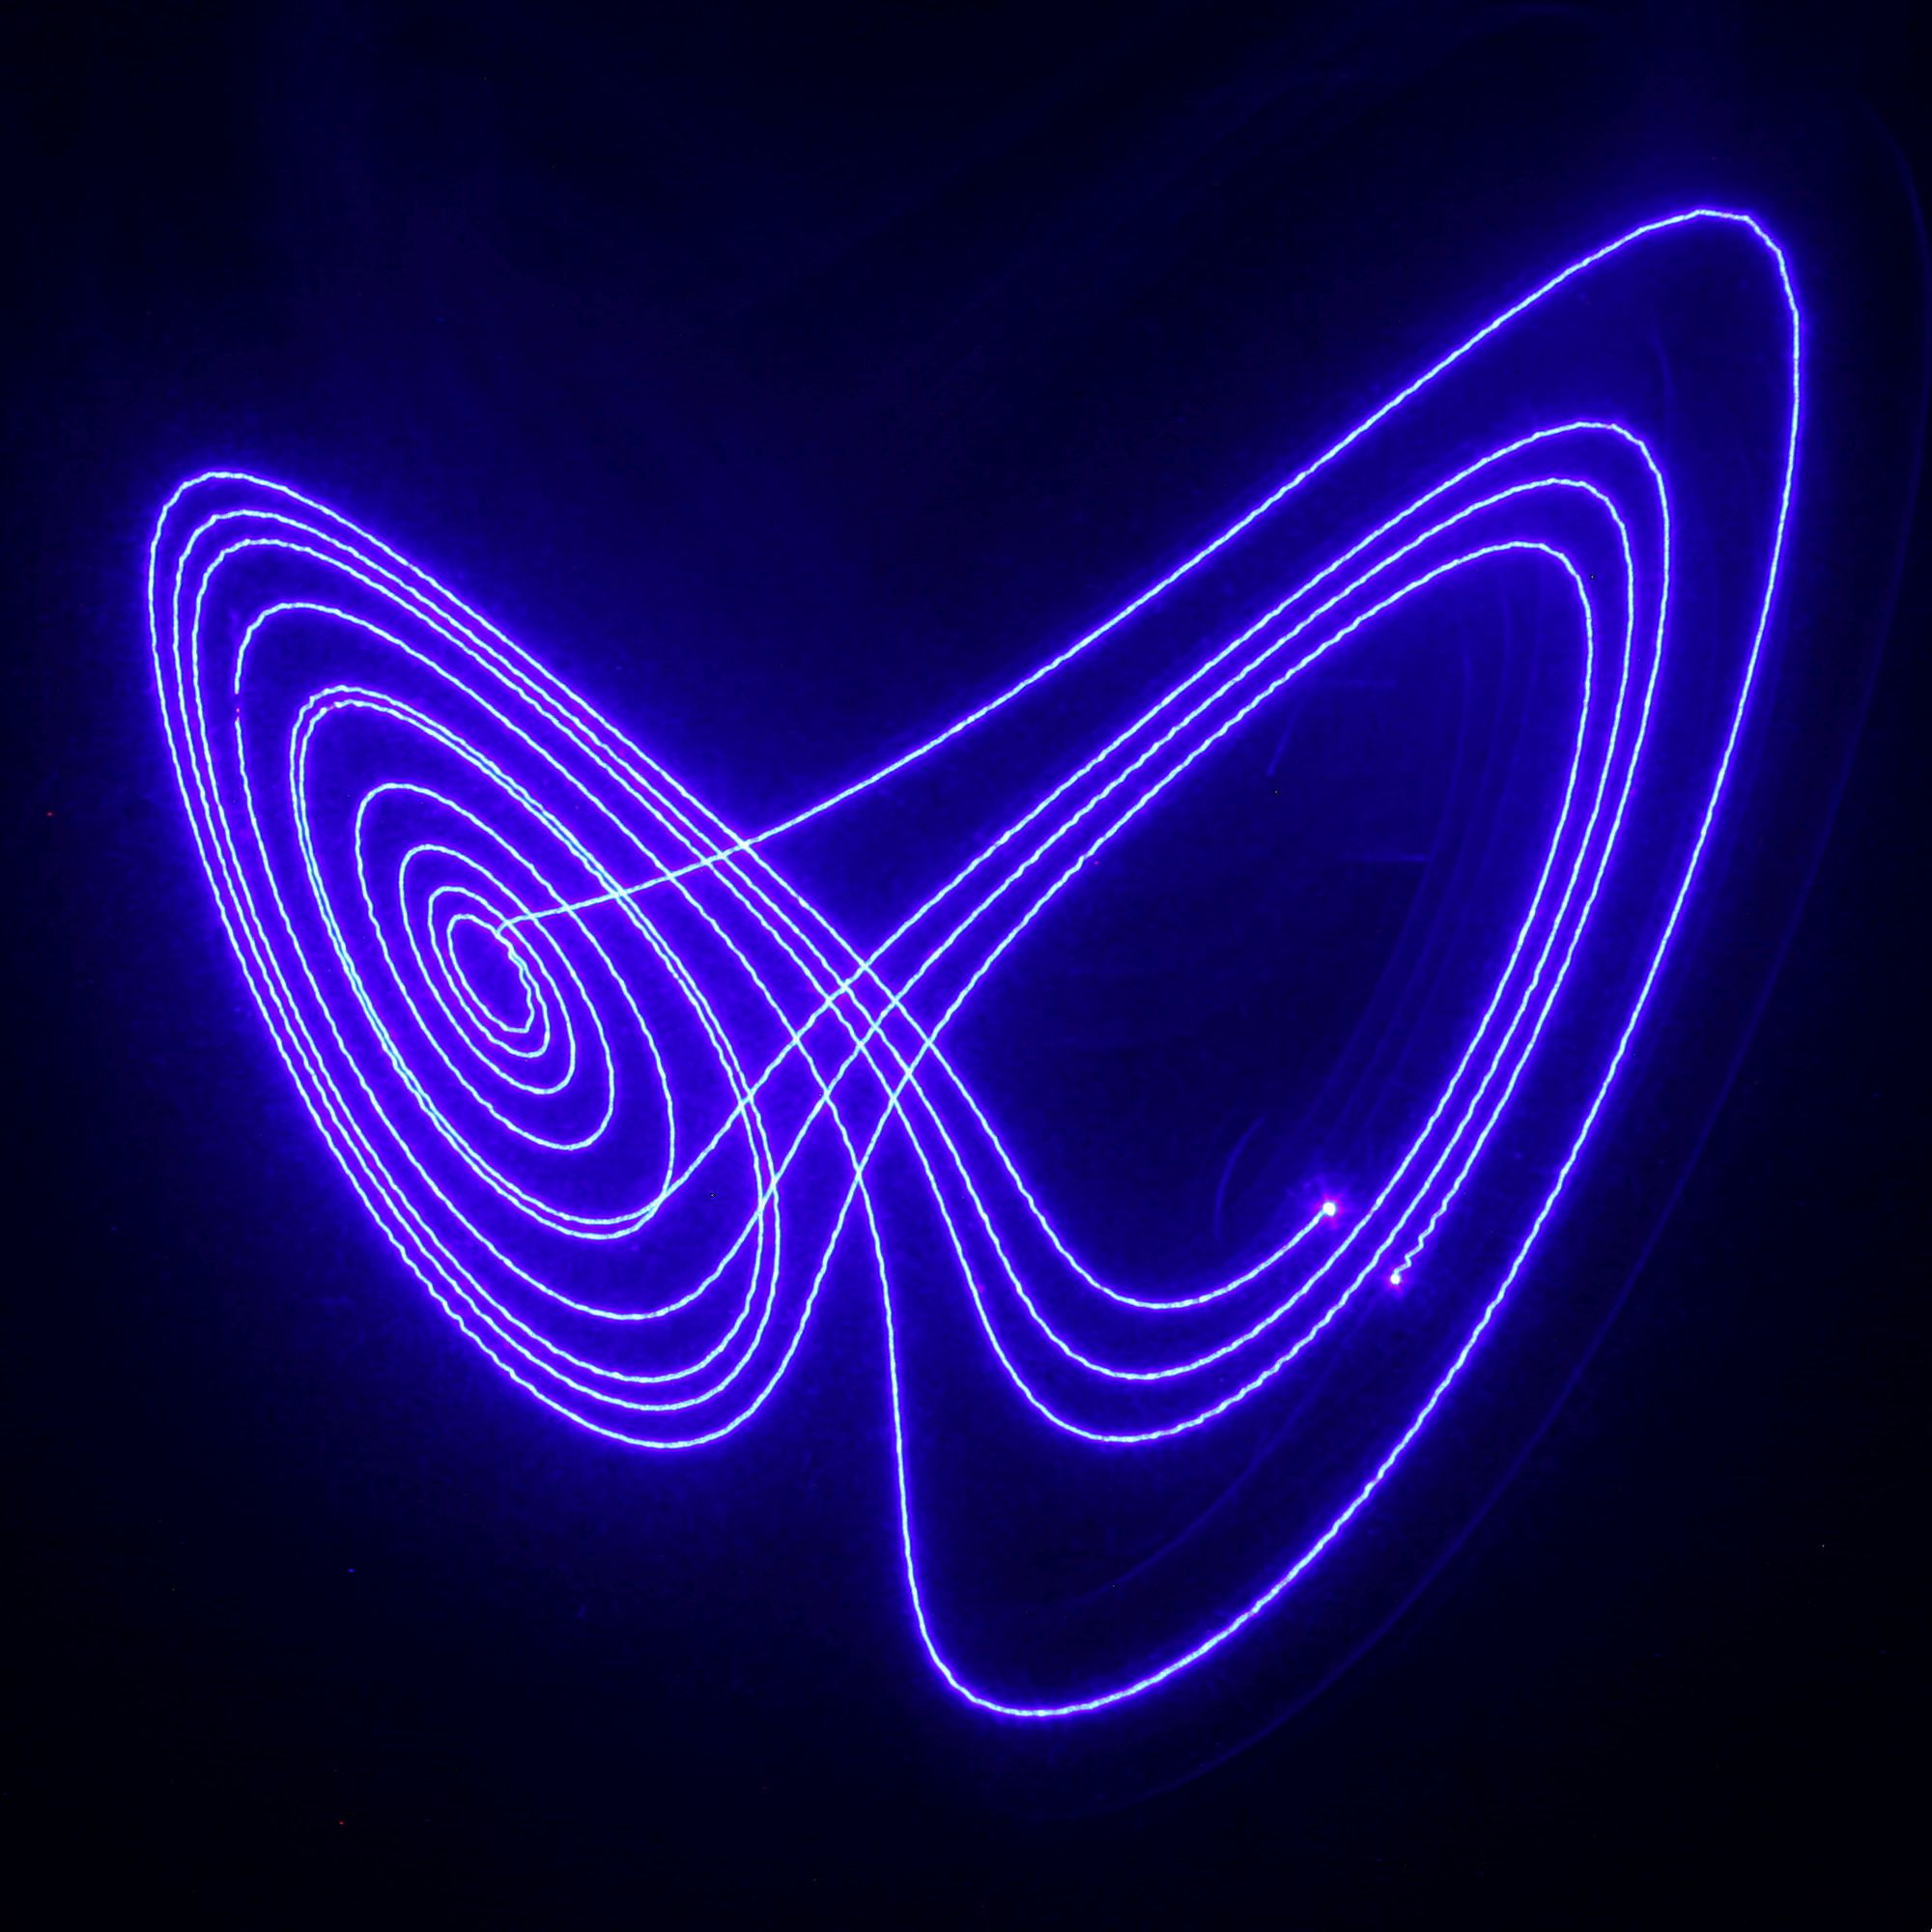
Light painting also worked really well, with the UV laser just shining on to the wooden bench top. Here's long-exposure images of the XY, YZ & XZ planes. I had forgotten to disable the "pause to change pen" feature, so I ended up taking three separate images, corresponding to 2000 points each - the first image is points 1 to 2000, second is 2001 to 4000, third is 4001 to 6000. These correspond to the black, red and blue paths traced out in the multicolor images above. If you look closely, you can see a bright dot where the laser paused at the start and end of each path.
 |
 |
 |
 |
 |
 |
 |
 |
 |
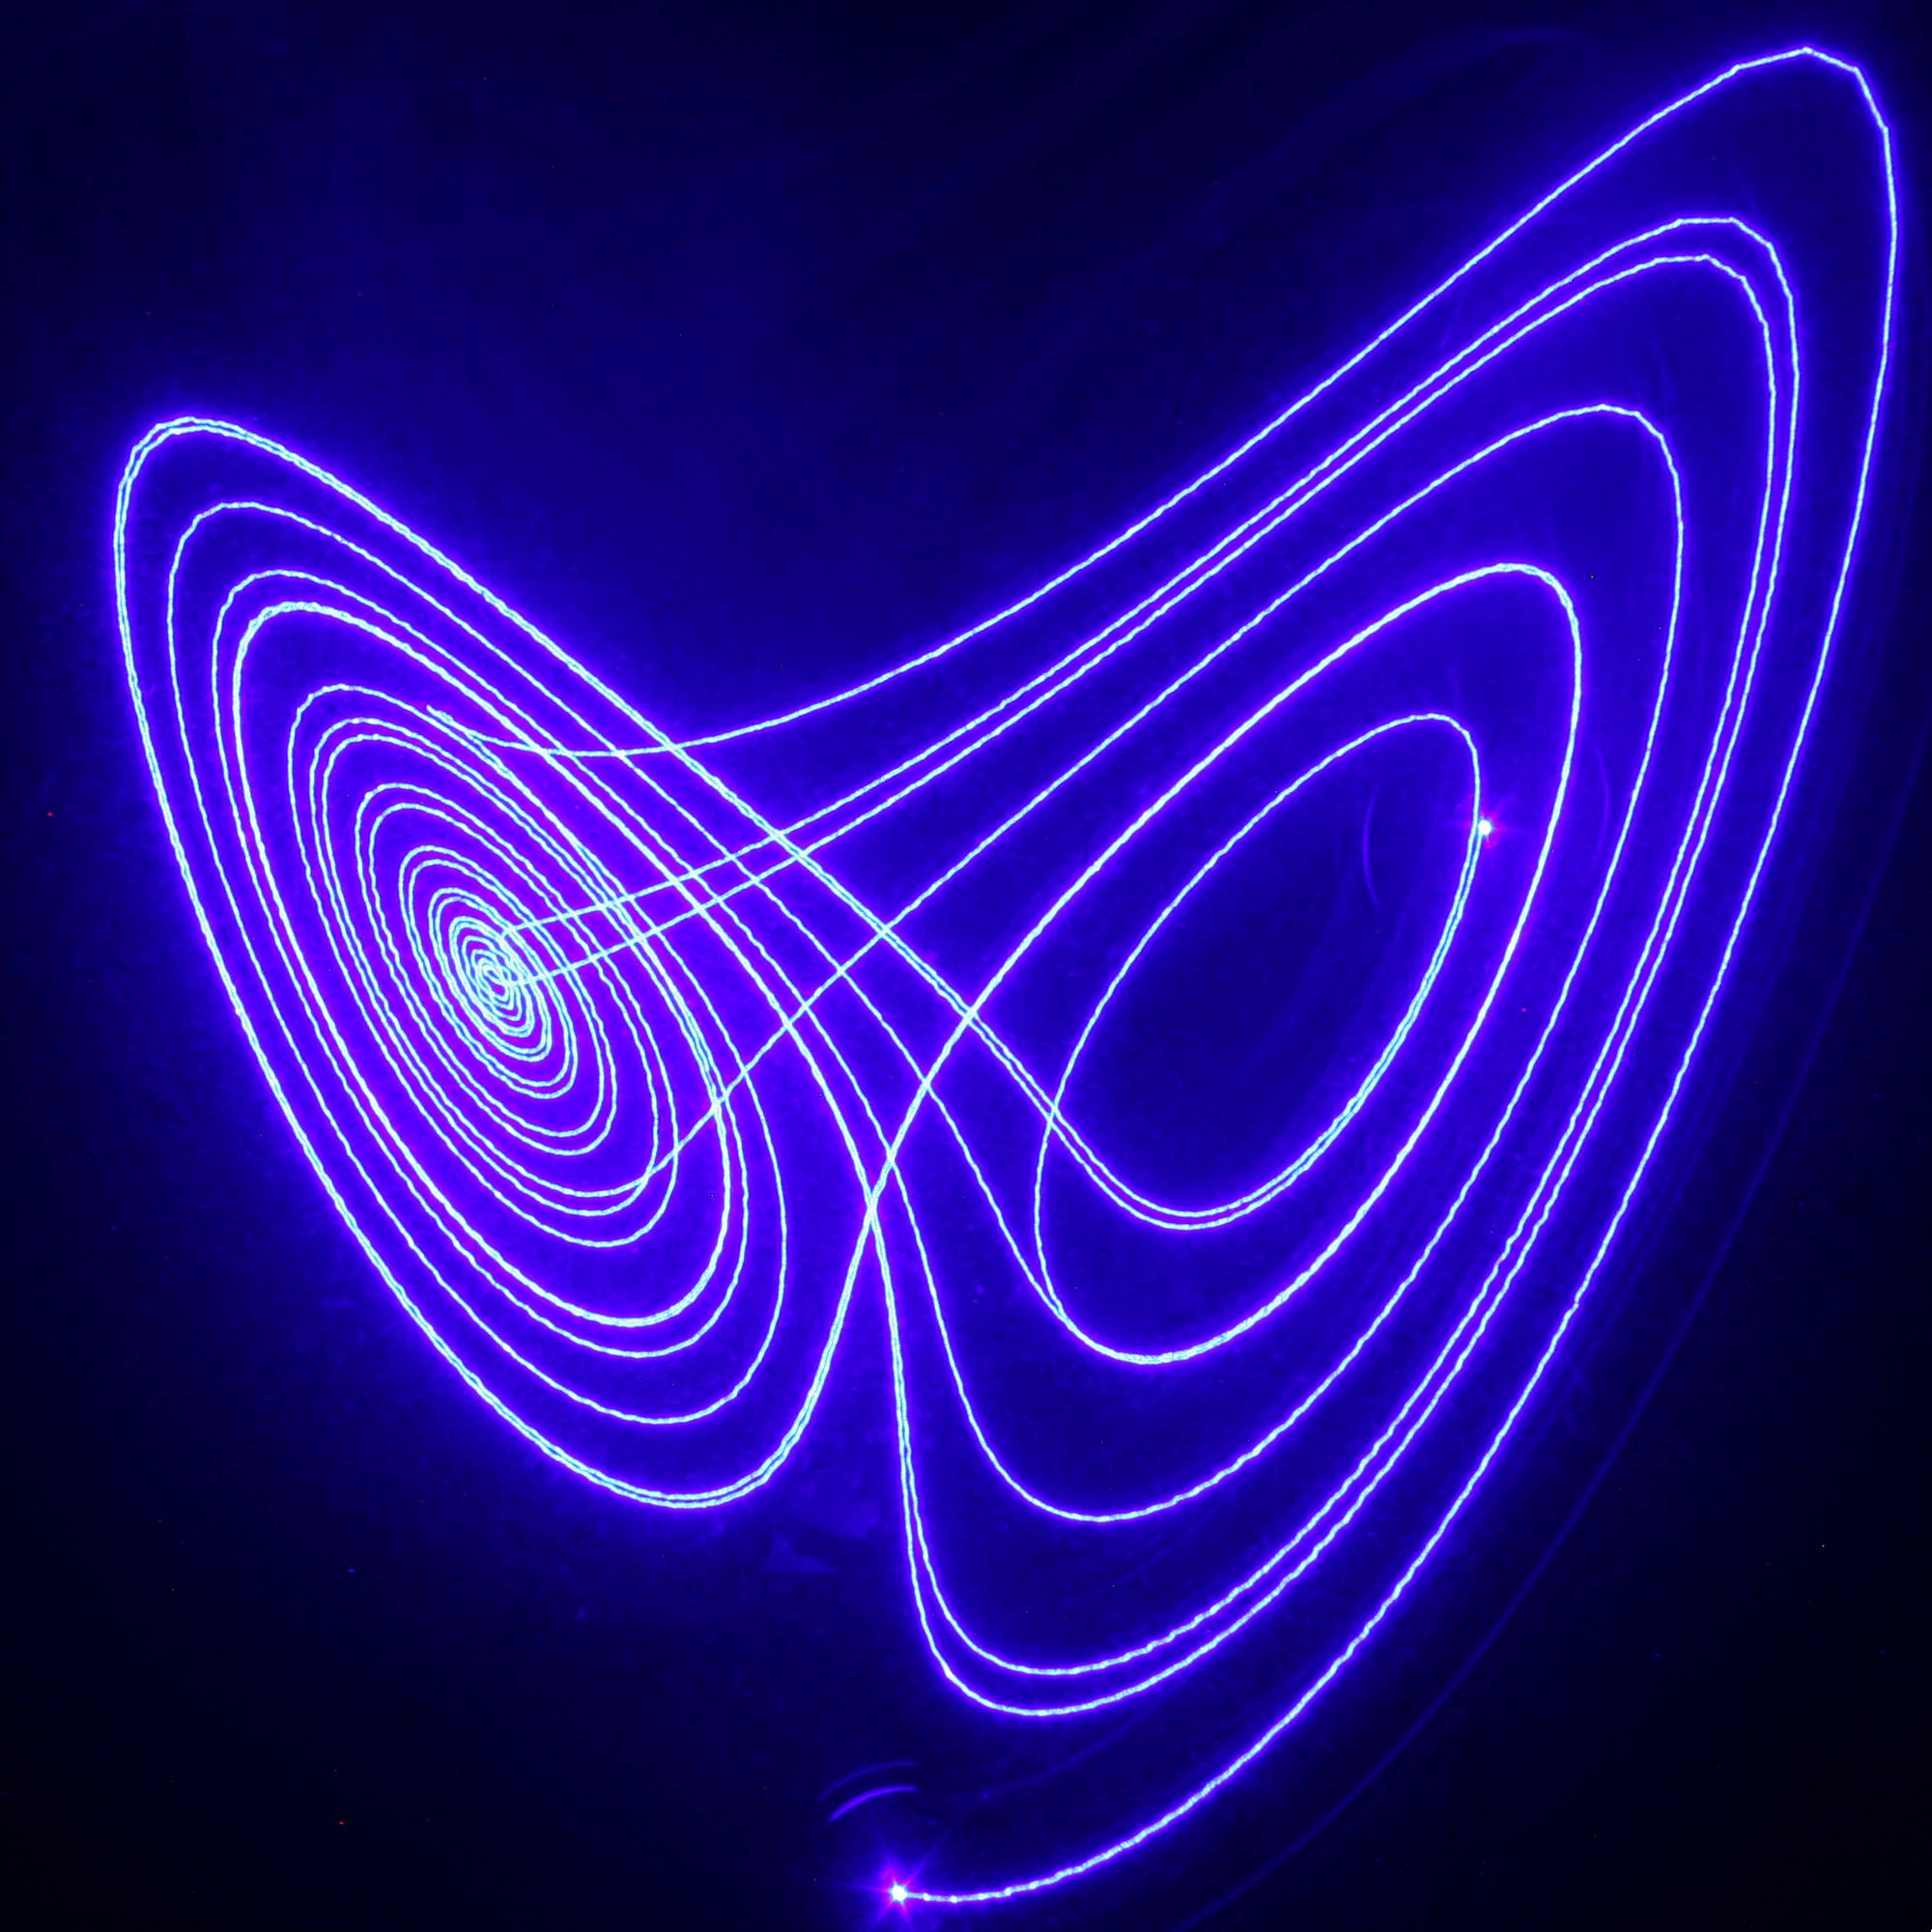
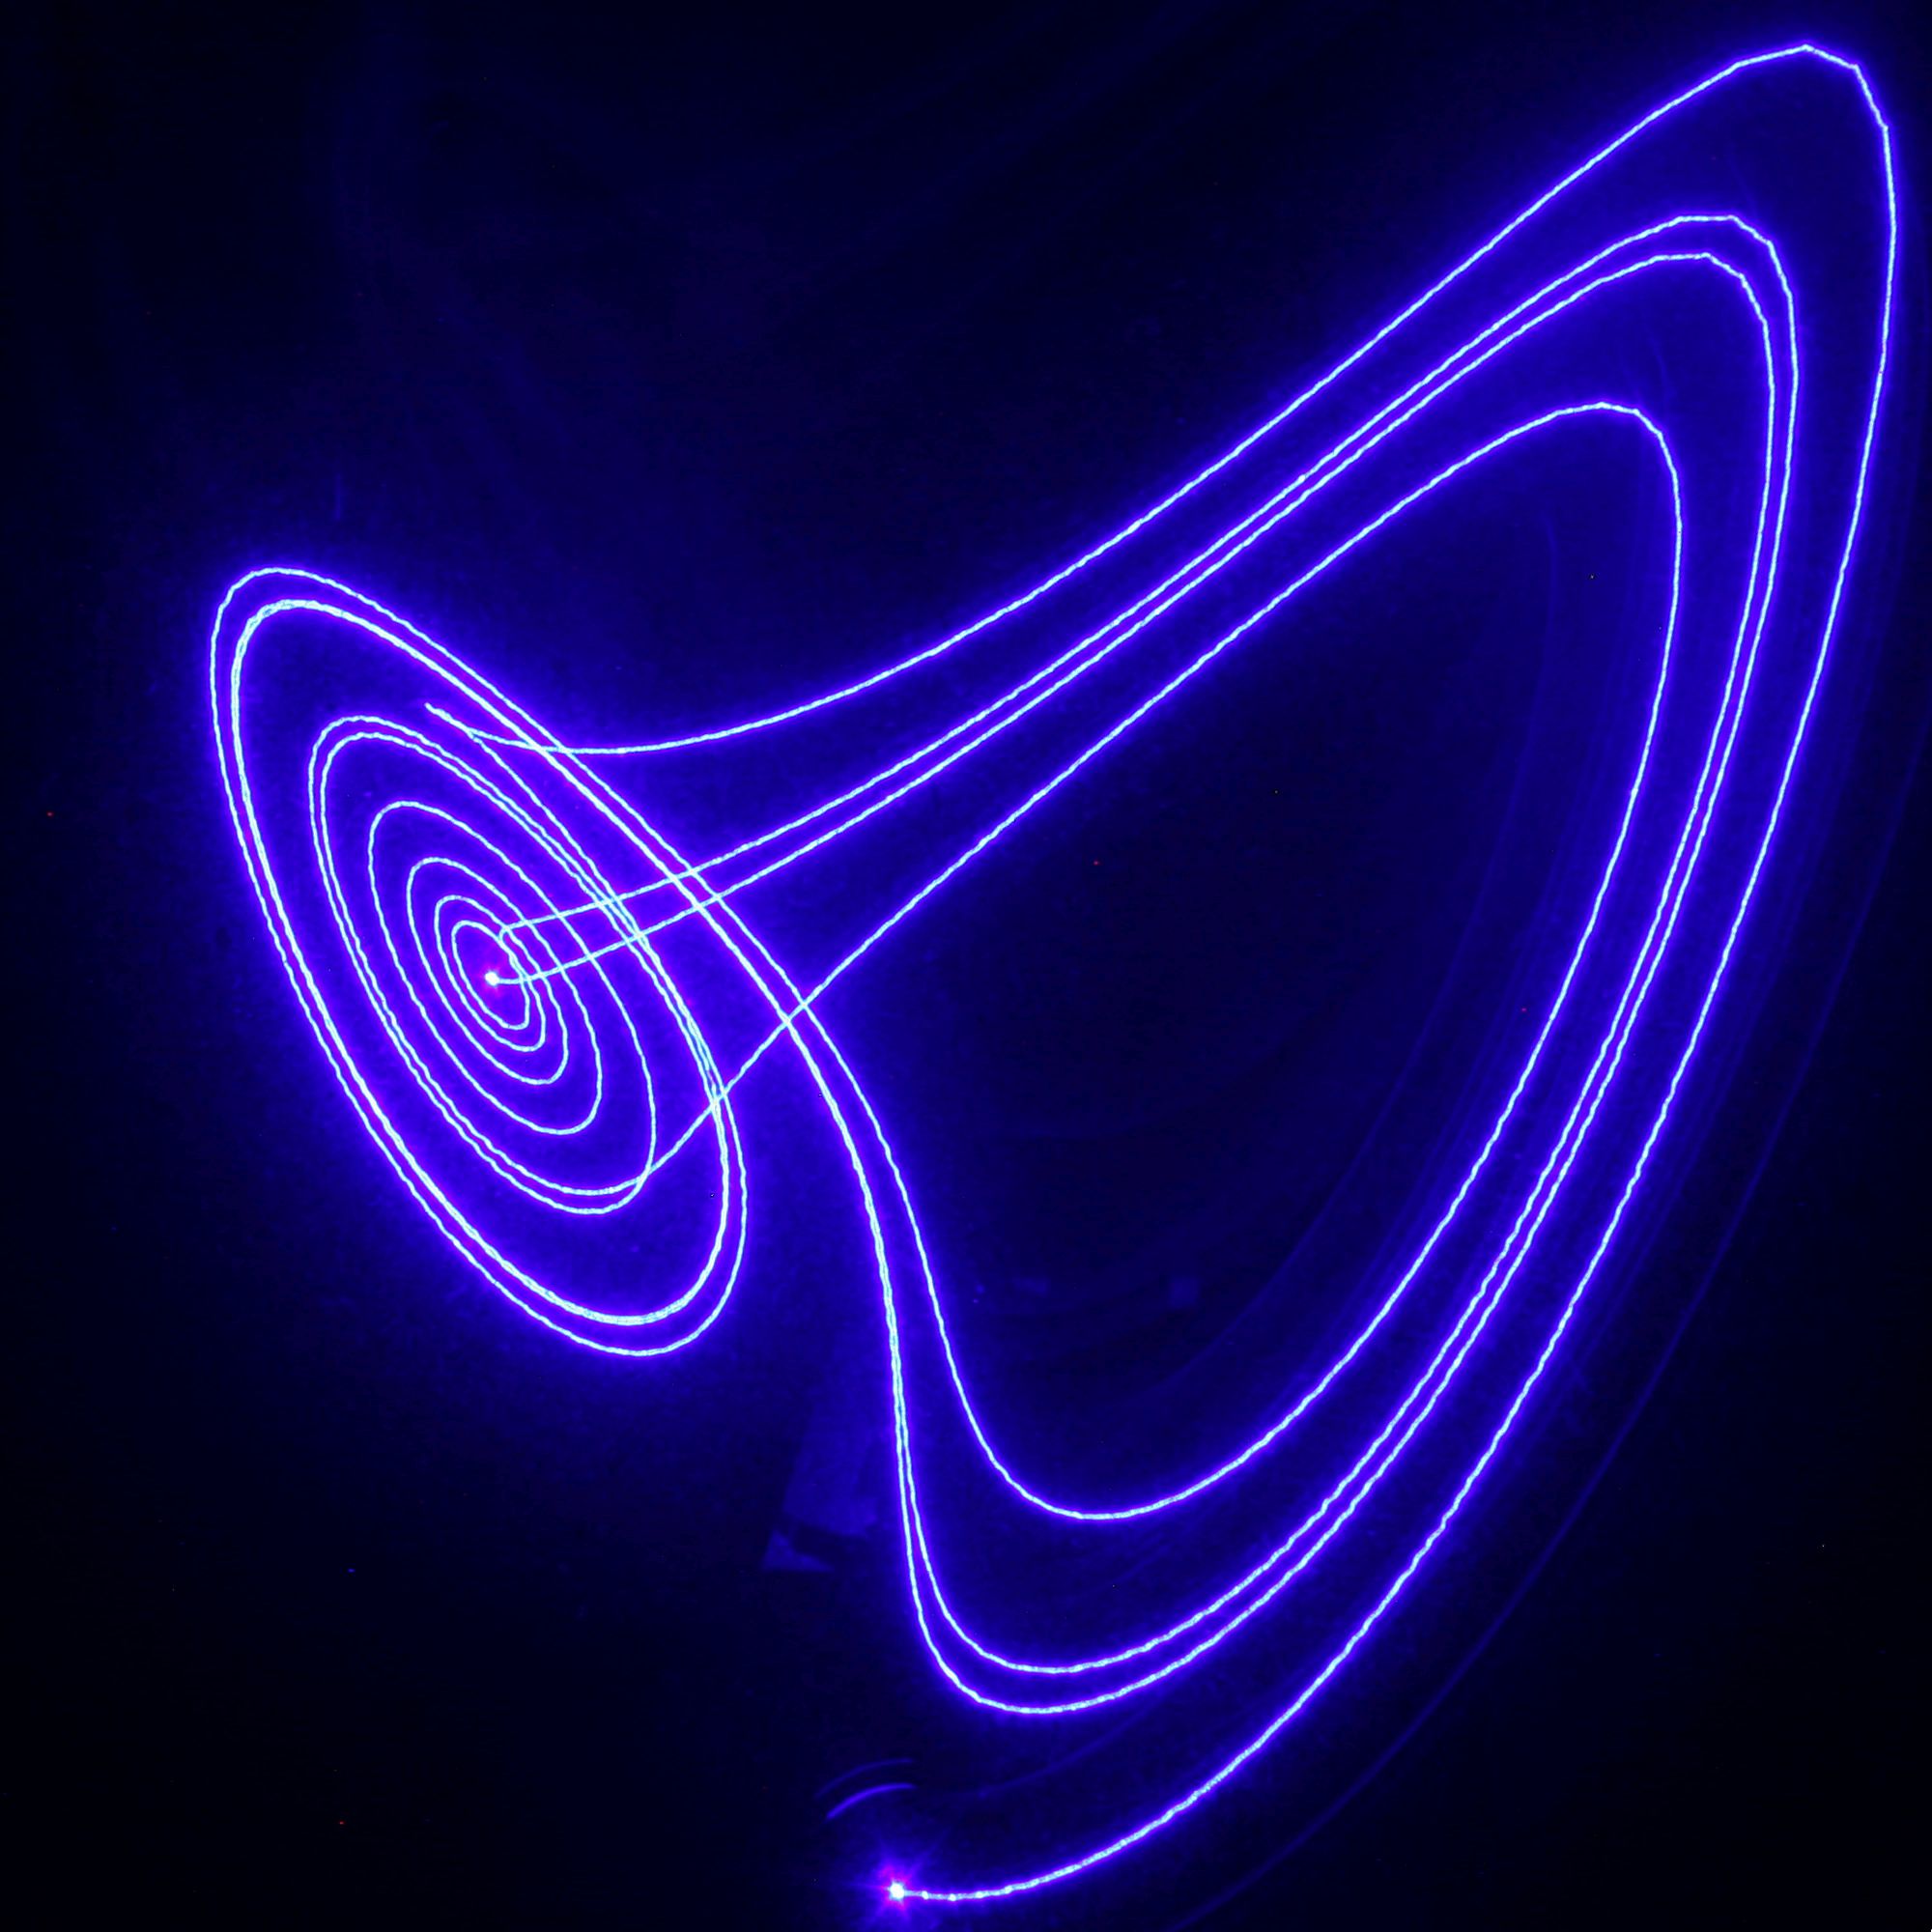
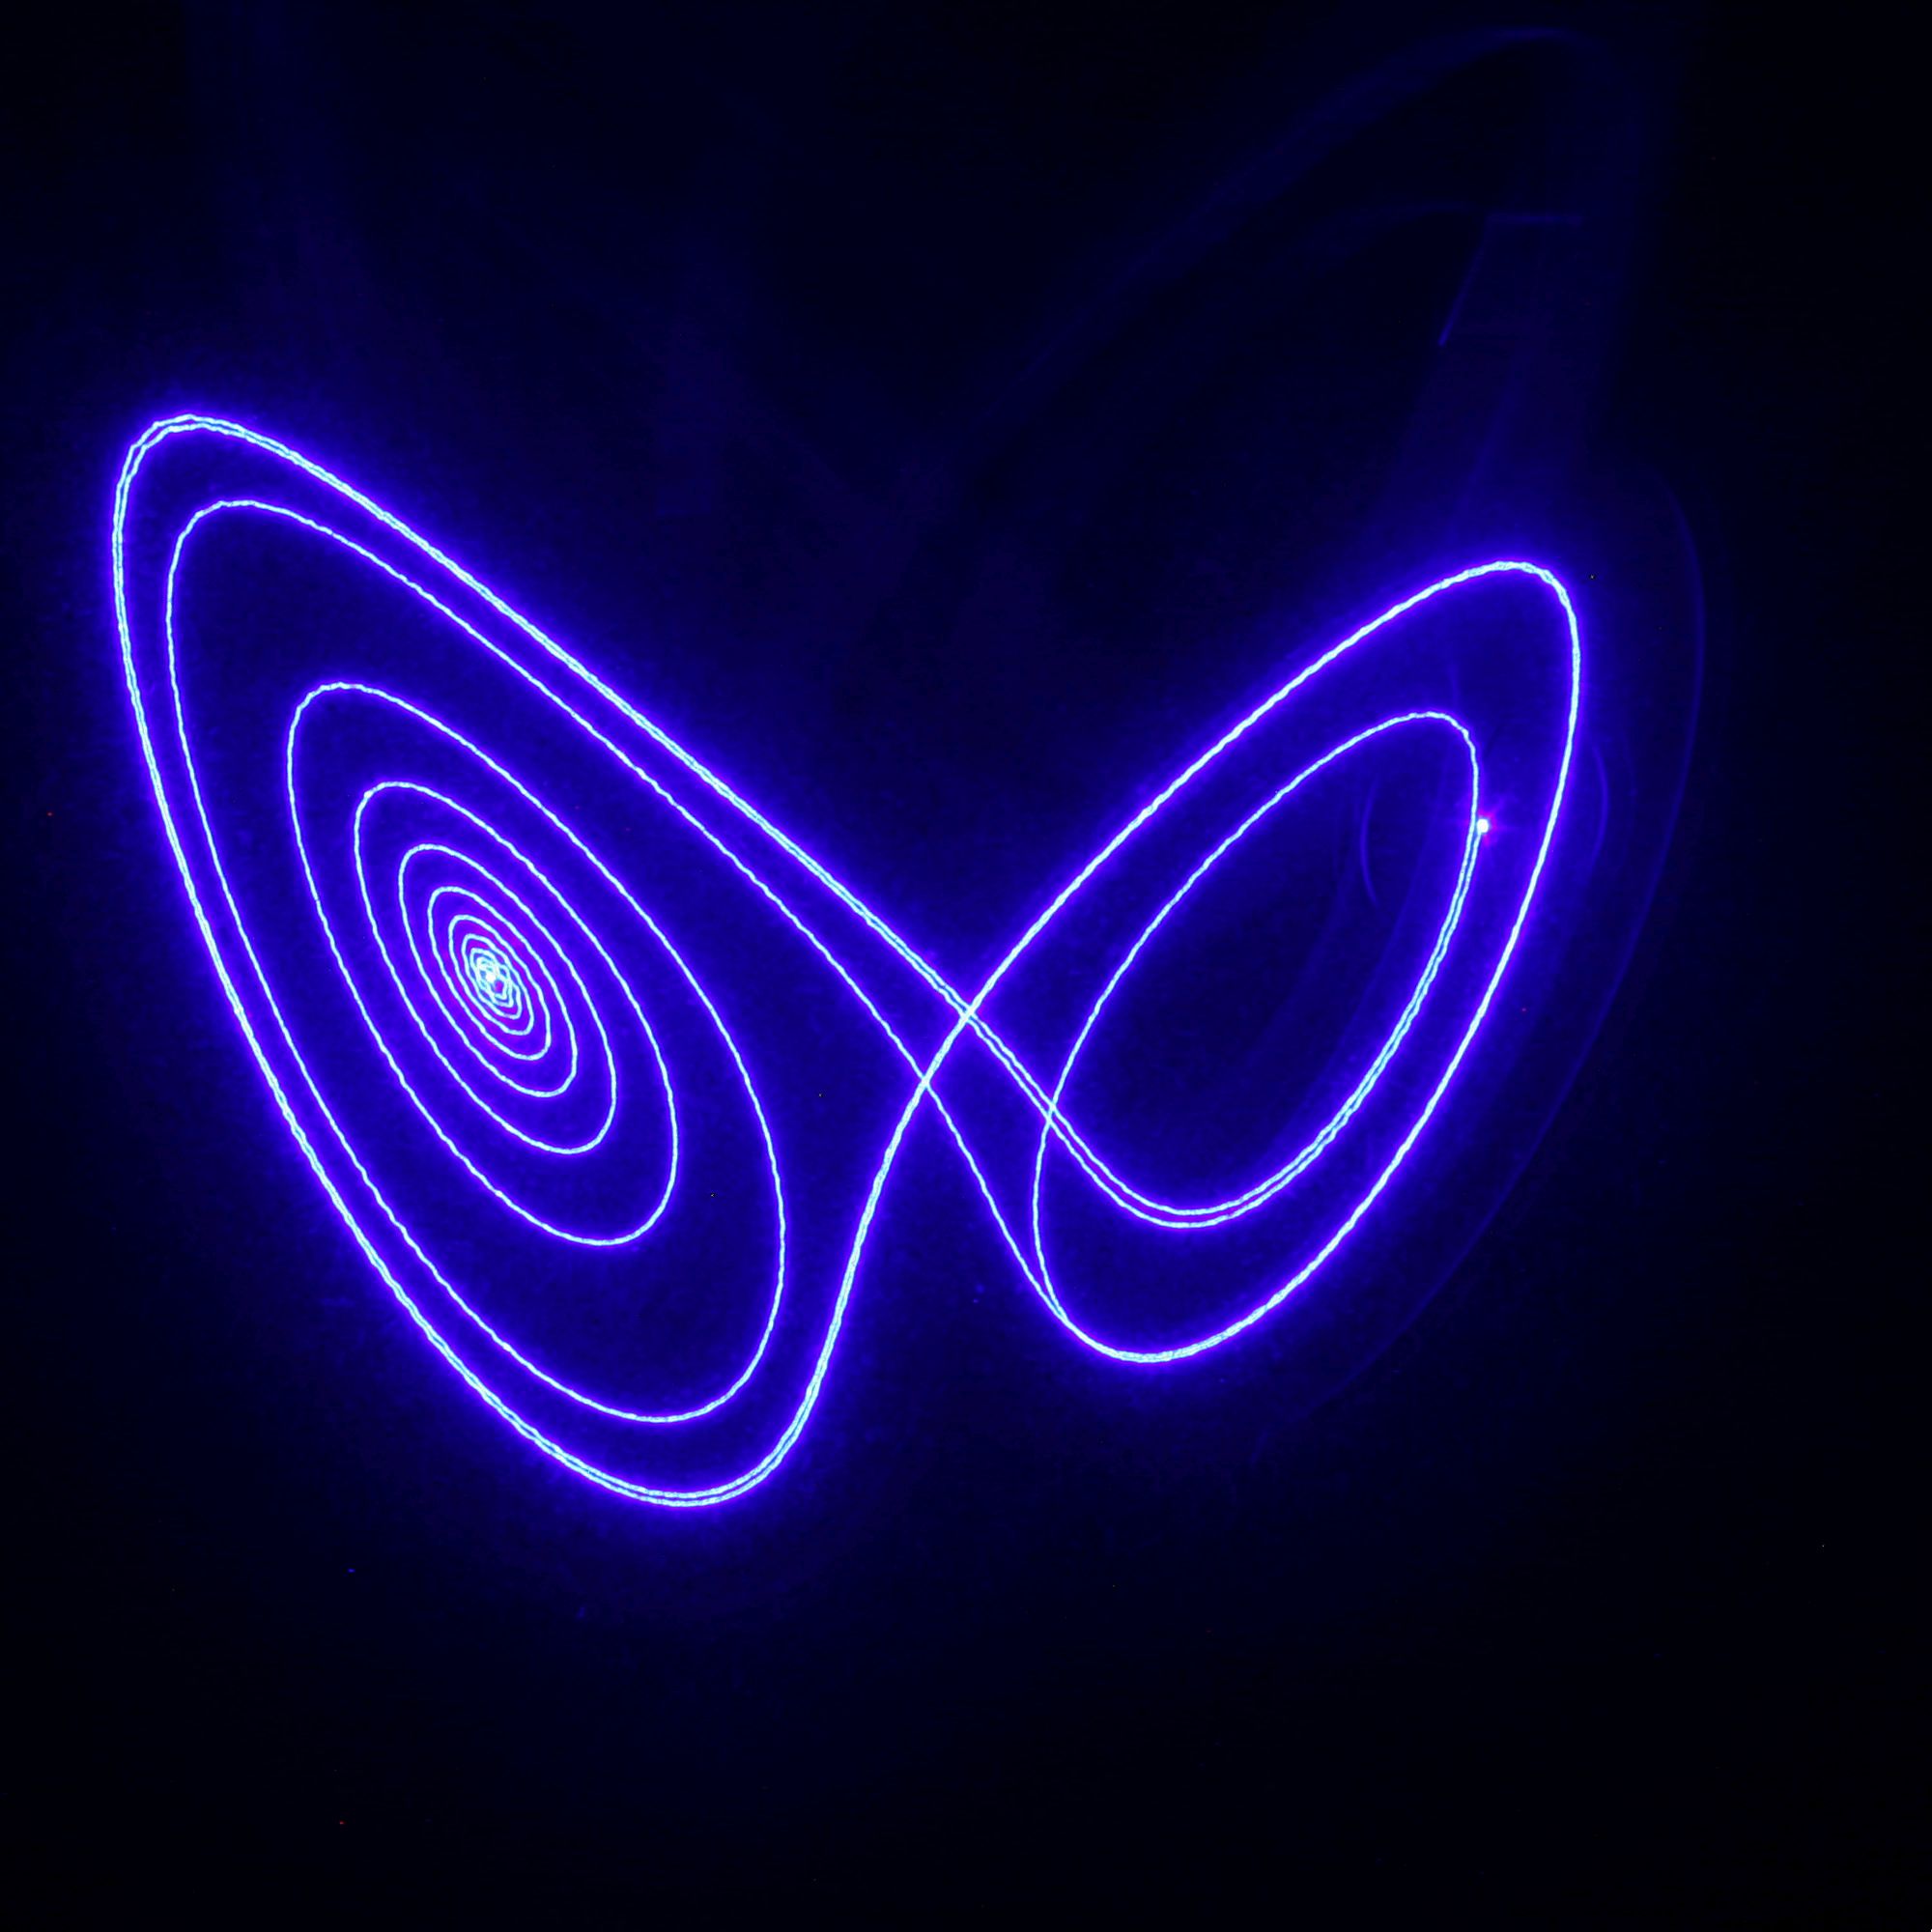
Based on that lucky mistake, I then did the XZ plane again, this time pausing every 1000 points, up to a maximum of 10000, to give 10 separate images which show how the path evolves over time:
 |
 |
 |
 |
 |
 |
 |
 |
 |
 |
And, just to make sure I've hammered this one flat, here's a GIF animation of the above ten images:

01/06/16: I adapted my Python script to Rhinoscript to draw the attractor inside the Rhino 3D CAD package - see here for details.
03/06/16: I used this script to draw the Lorenz attractor on Cyanotype paper using a UV laser mounted on the Axidraw - see here for details.
| ▲ Computer |