
| ▲ Optical |
I was recently setting up a new CO2 laser cutter and had been cleaning the three mirrors because they were a little dirty. I was going to order some extra mirrors to have as spares, but I then realised this would be a good excuse to try something I read about a while ago - making quick-and-dirty mirrors out of hard drive platters.
People seem to have used hard drive platters as mirrors for a long time, but the first suggestion I saw to use them for a CO2 laser cutter was by a user (Walter Hofmann) on buildlog.net. He says that a friend measured their reflectivity and they compare very favourably with gold-coated mirrors. I have also found they perform well, although the reflectance seems to be around 80% (see further down the page). Here are several links (the first is the original posting, the rest are other people trying it):
Hard drive platters are typically made from aluminium (about 0.8mm thick) which is sputter-coated with a thin layer of magnetic material (probably some iron oxide composition). Some people have commented that glass and ceramic platters are also used, but I haven't come across any yet. Although the platter may appear dull brown to the eye, remember this is only at visible wavelengths - since CO2 laser radiation is at much longer wavelengths (10.6μm), it's reflected reasonably well and is also more forgiving of any visible marks. The surface is also pretty resistant to abrasion, so the mirror can be cleaned more easily. One downside is the thickness - if they are used in a poorly-made mount, they can bend slightly, so you have to be careful not to clamp them too tightly.
A hole saw seems to be the favoured method for cutting out discs, but this leaves a ragged edge and risks distoring the metal. I opted instead to hand-cut a rough blank using a jeweller's saw and then turn them to a perfect circle on the lathe. Here's some photos of the process.
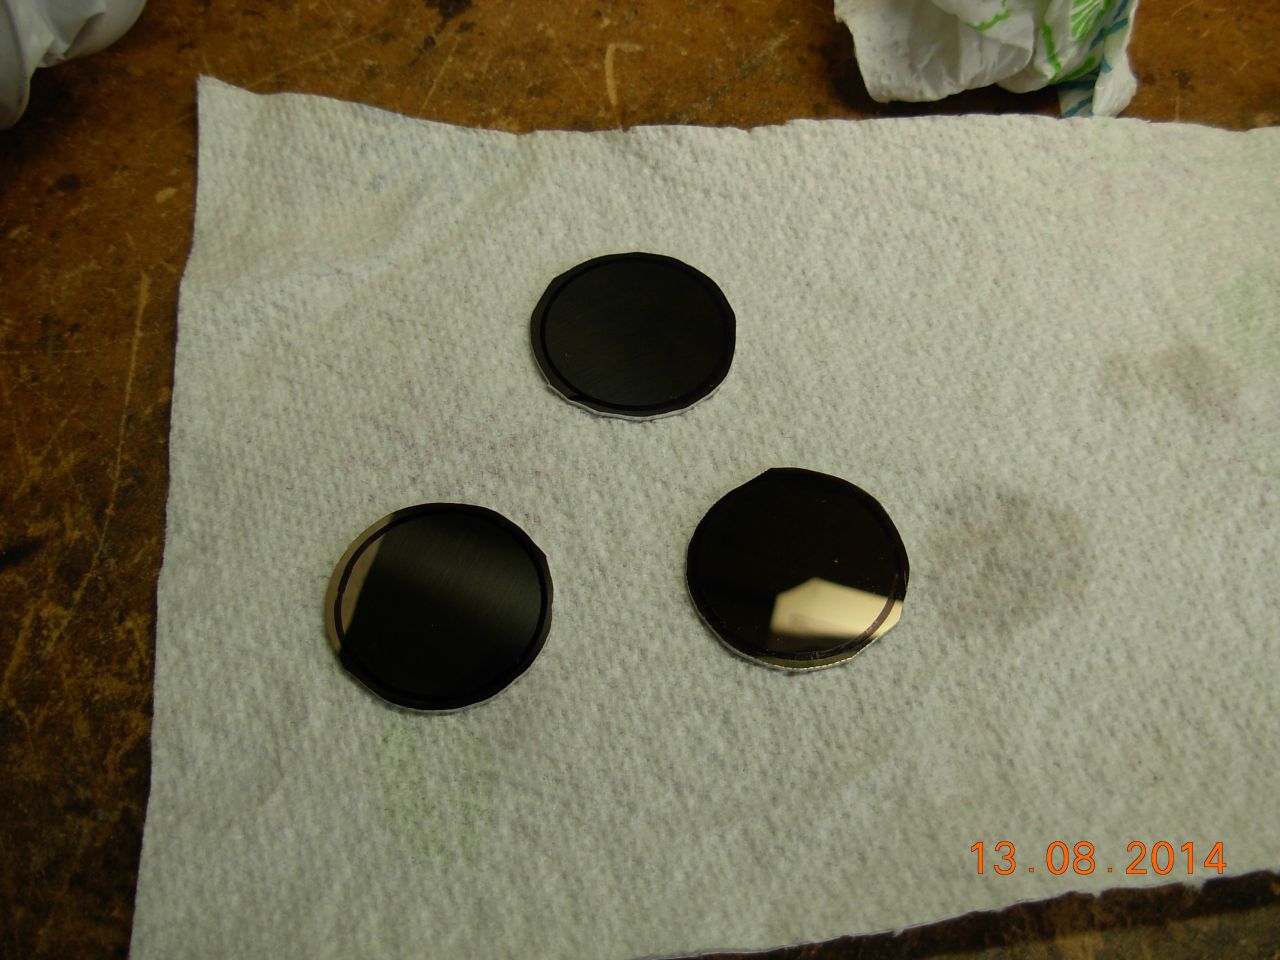 Blanks cut by hand from platter |
 Blank clamped on the lathe, ready for turning |
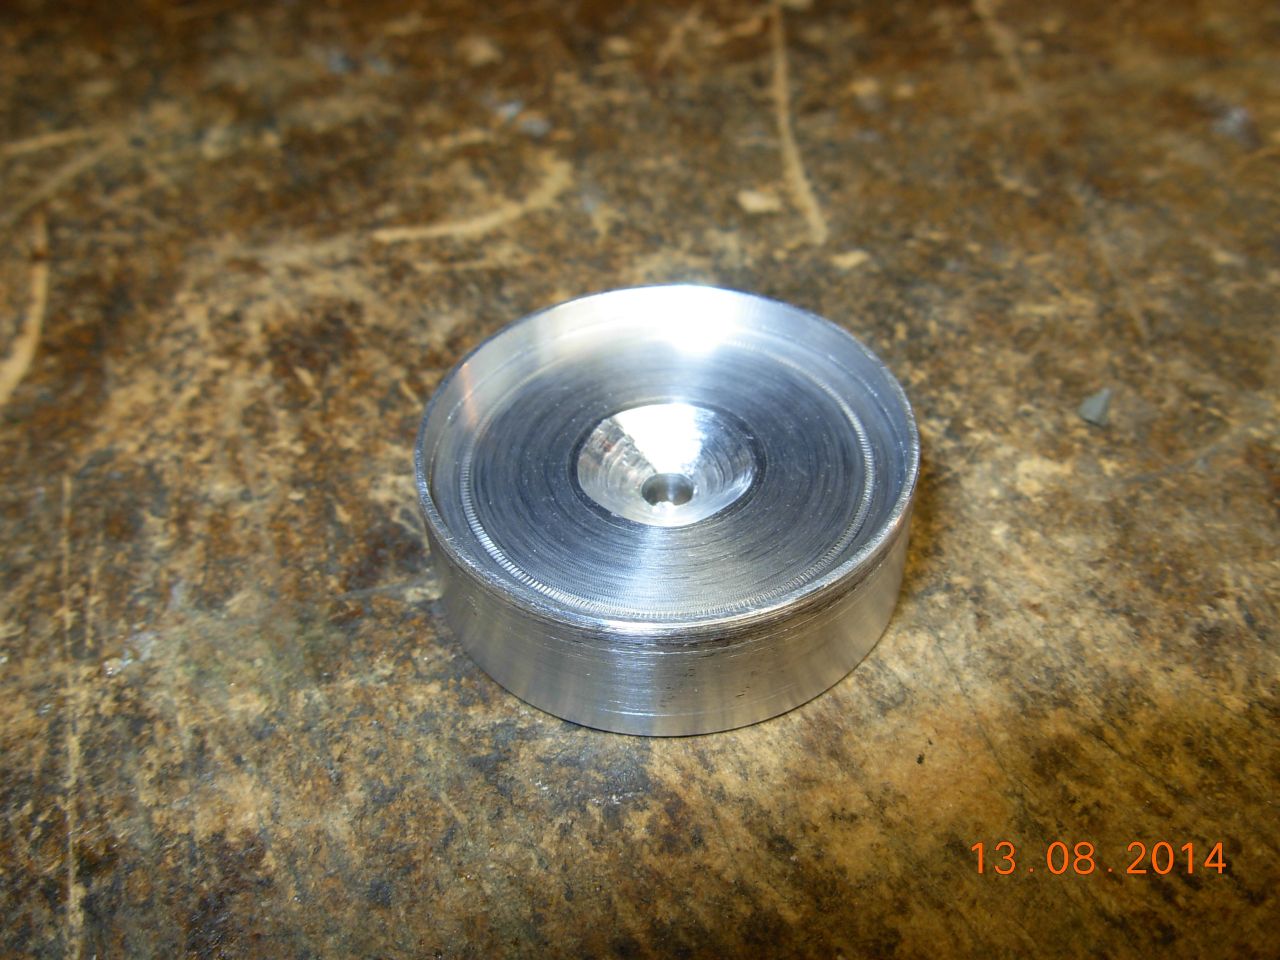 Closeup of pressure plate used to clamp the blank |
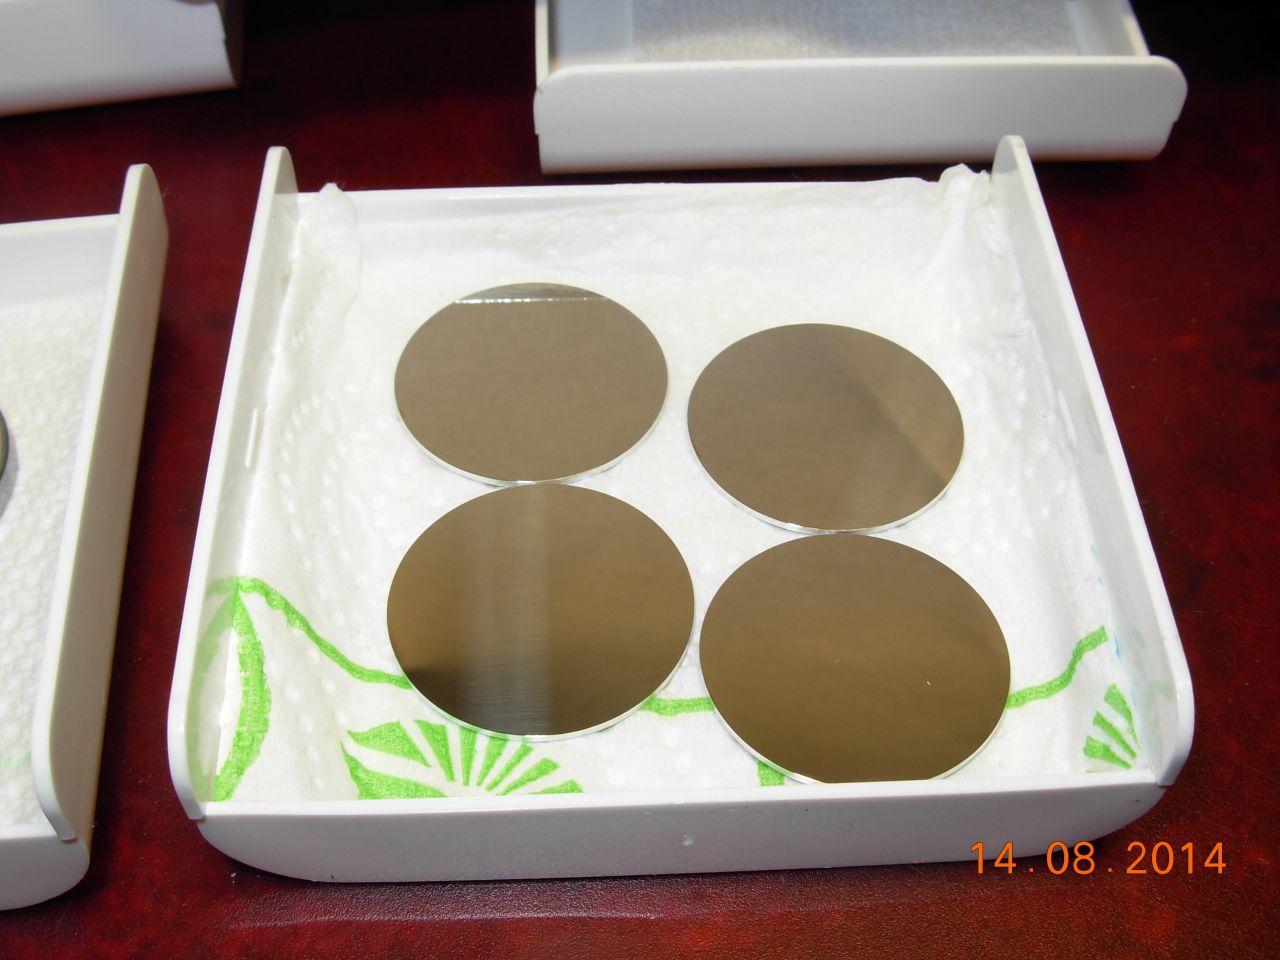
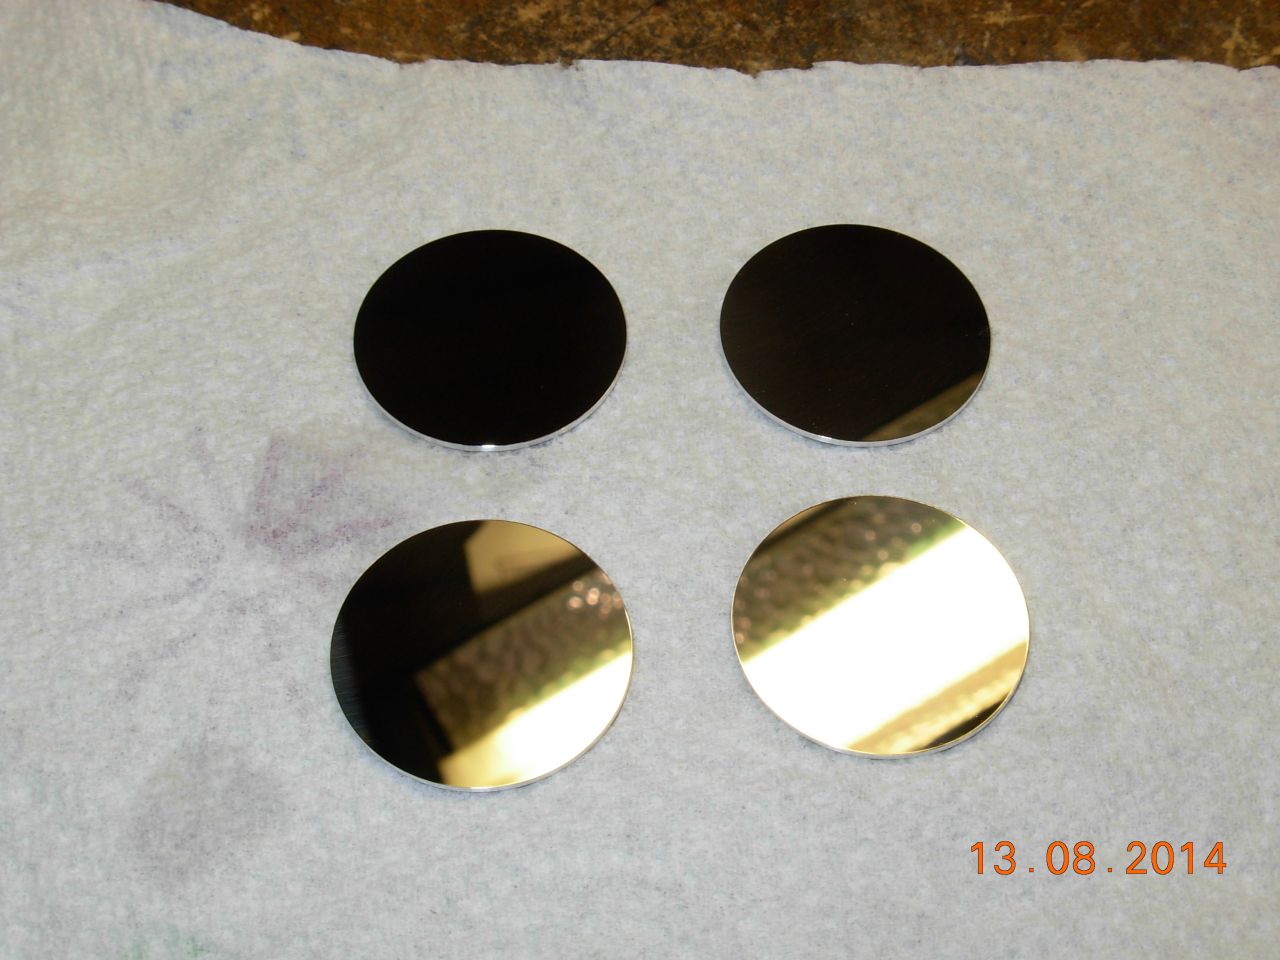 Finished mirrors |
 Another view of the mirrors (top-left mirror does not have a mark, it's a reflection) |
Click on the image below for a diagram of how the blank is clamped in the lathe.
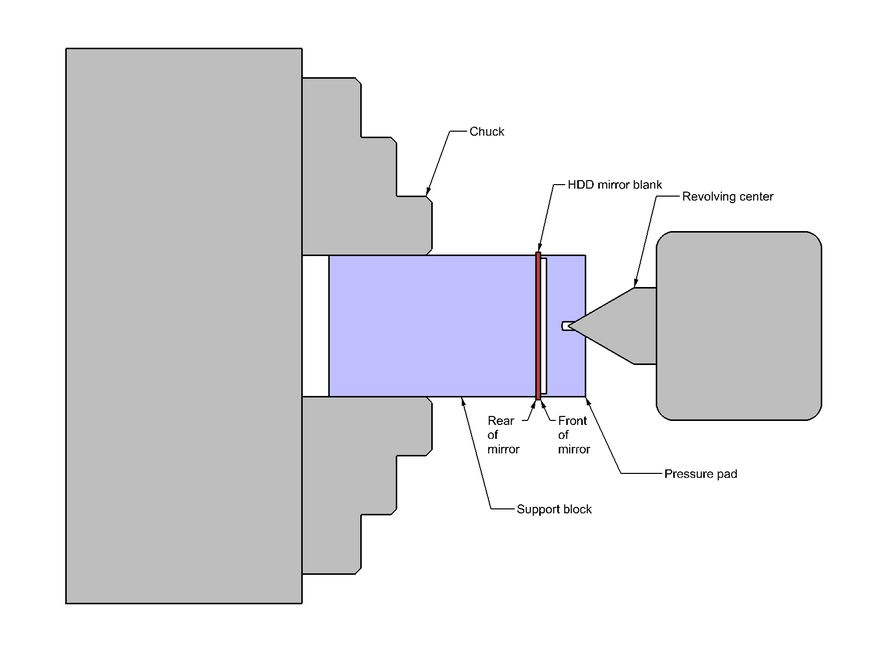
I first made a 24mm diameter (just under the finished mirror diameter of 25mm) "pressure pad" which goes between the revolving center in the tailstock and the front surface of the mirror. The central area of the pressure pad is recessed so only the rim presses on the mirror, avoiding any risk of marking it. I then turned and faced a piece of scrap aluminium to 24mm diameter. The mirror blanks are clamped between this and the pressure pad using the tailstock. Very light cuts are taken to avoid distorting the metal near the edge. Once turned to size, the corners are smoothed with a file with the blank revolving. After removing the blank, it is then washed with isopropanol and dried with compressed air.
I've been using three of them in my 80W laser cutter and have been cutting 6mm acrylic happily with them. However, I've noticed the mirror mounts heating up considerably after a long run, so I thought I'd better check the power at various points and see what I'm getting. I used a thermal method for measuring the power, where the temperature rise of a blackened metal block is measured after exposure to a 10-second burst of the laser beam. Click on the image below for a diagram of the power breakdown throughout the laser cutter:
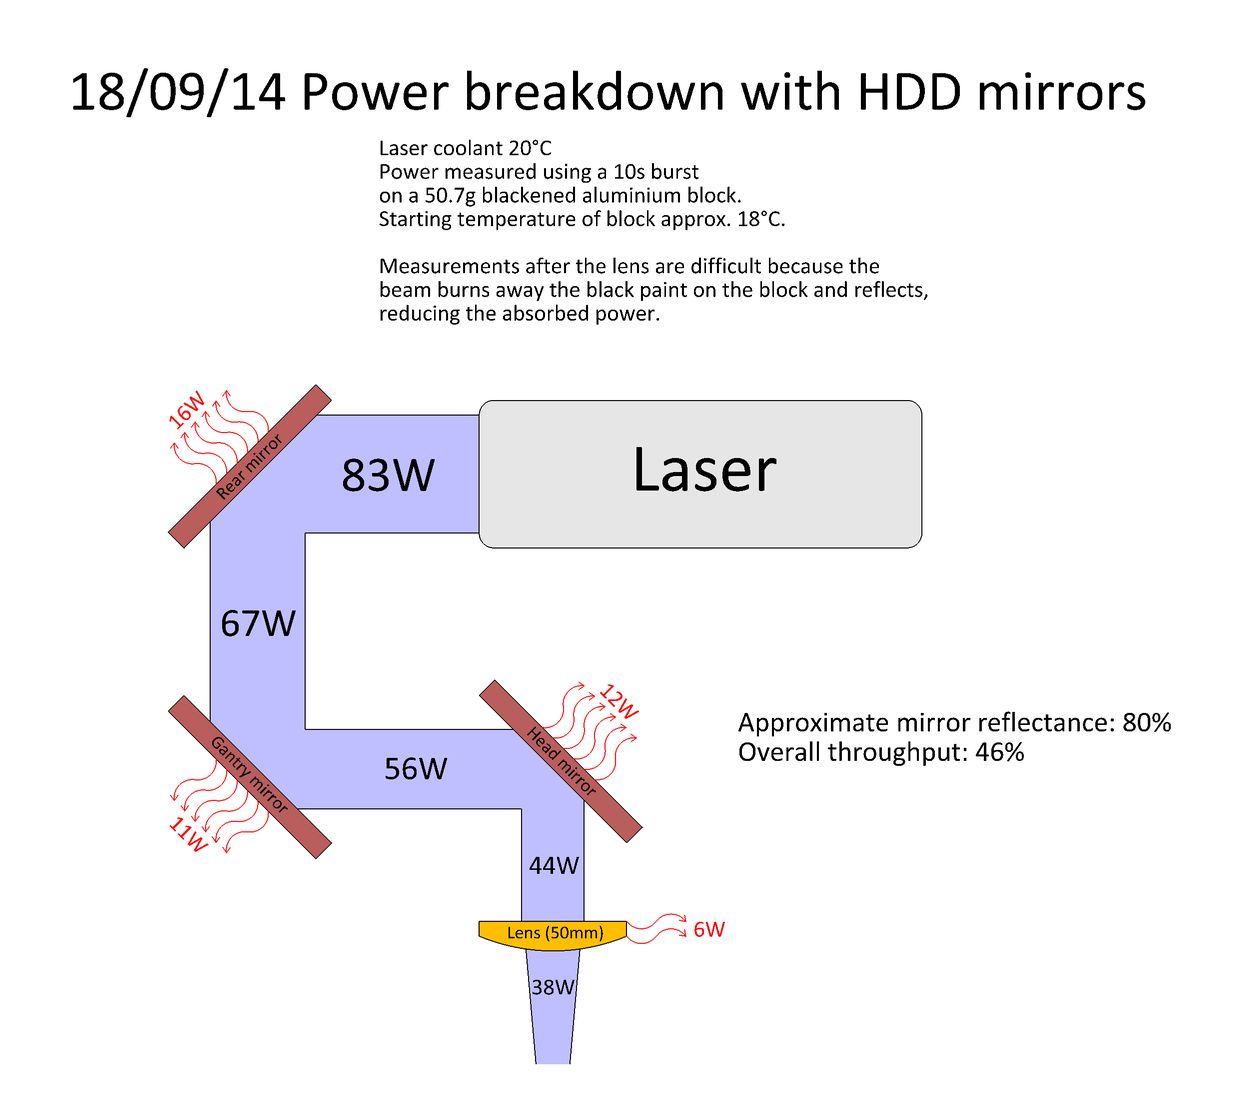
The reflectance is only around 80%, which results in only about 38W reaching the cut, for a laser output power of 83W! (Remember - there are three mirrors.) The rest is dissipated as heat in the mirrors and mounts. 38W is still perfectly reasonable for cutting plastic, but it's obviously not as good as it could be. At some stage I'll put the original gold-silicon mirrors back in and check the powers again to see how they compare.
| ▲ Optical |