
| ▲ Optical |
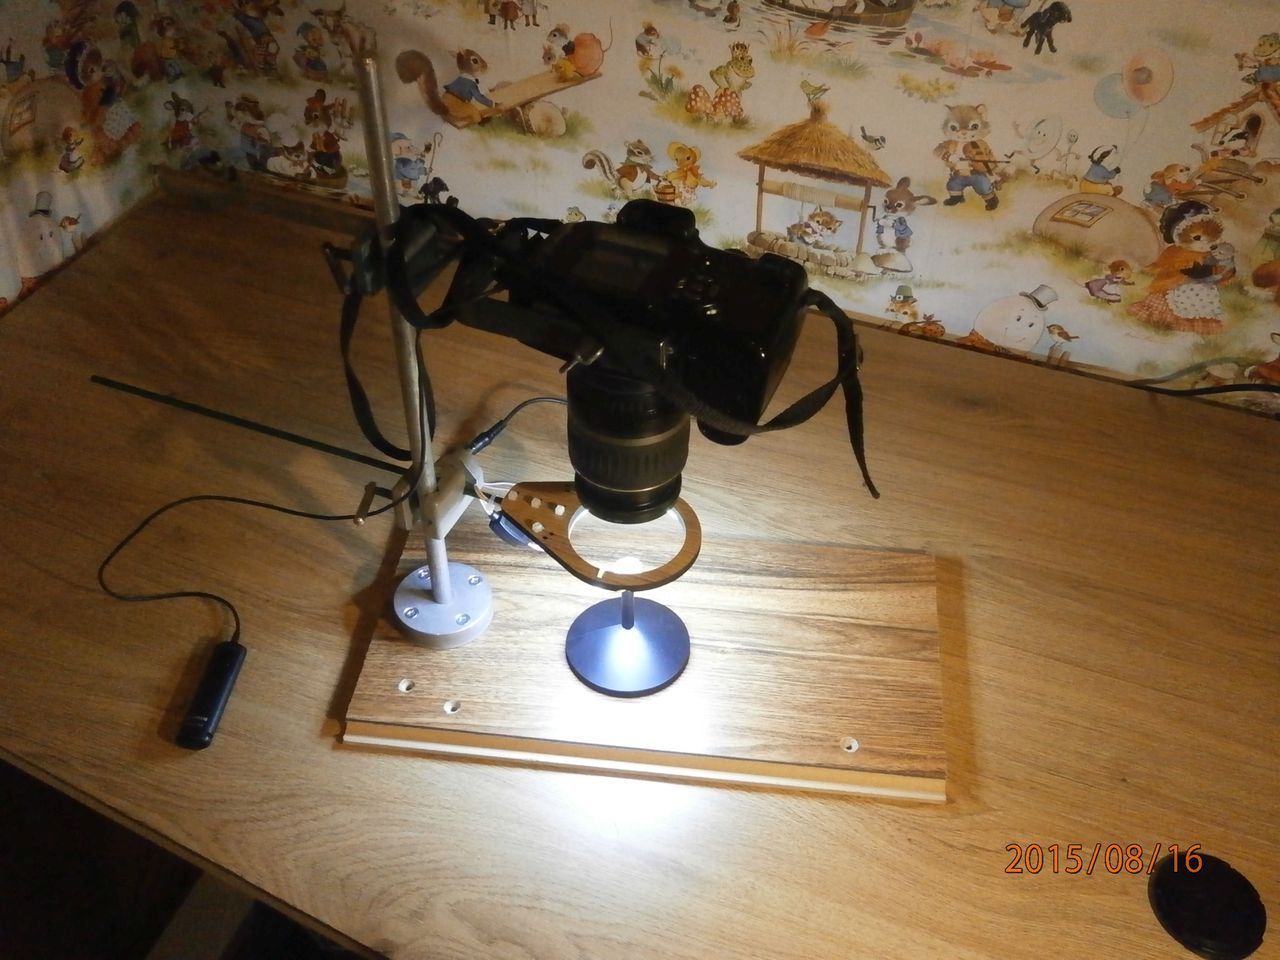
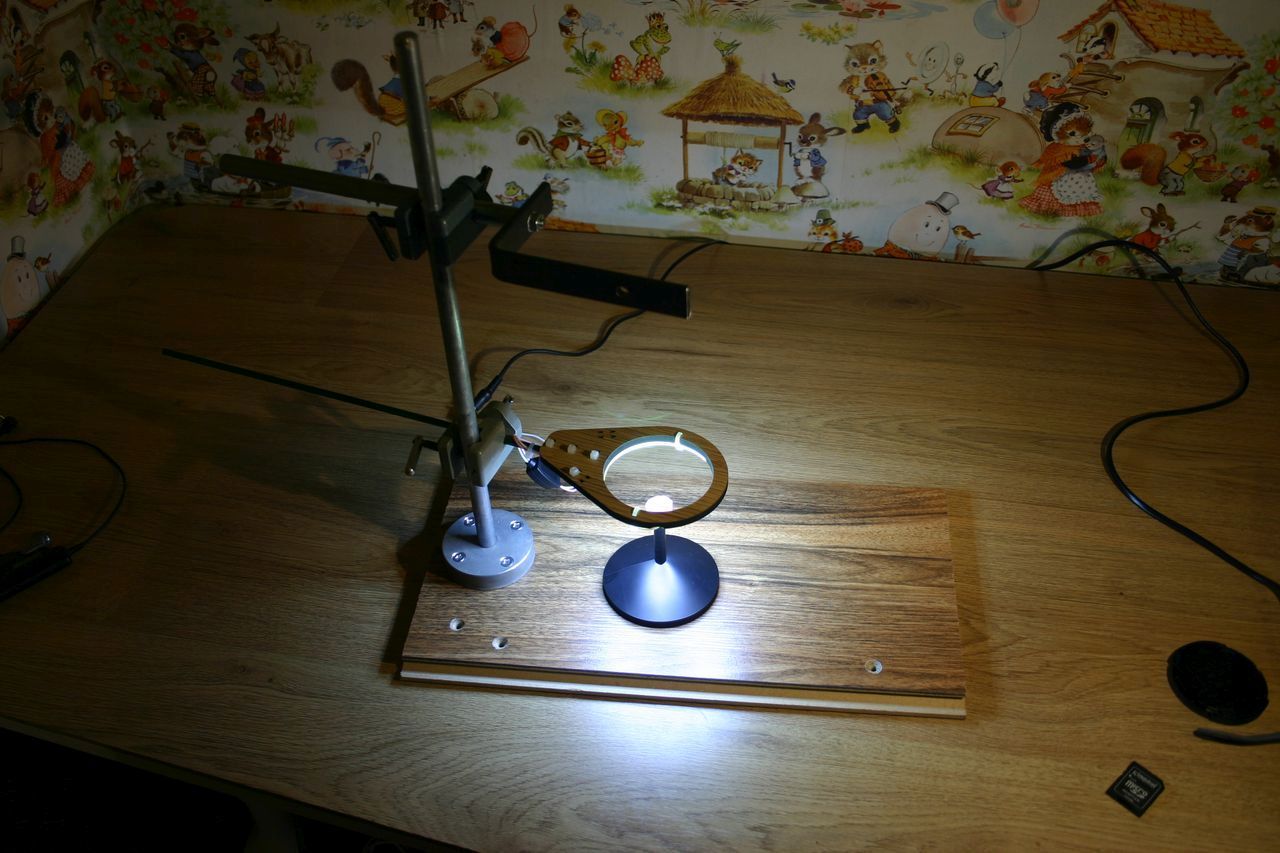
I've recently become interested in agate collecting and wanted a good solid setup for photographing polished samples. So I made up a simple stand to hold the camera, light source, and sample - here's the specs.
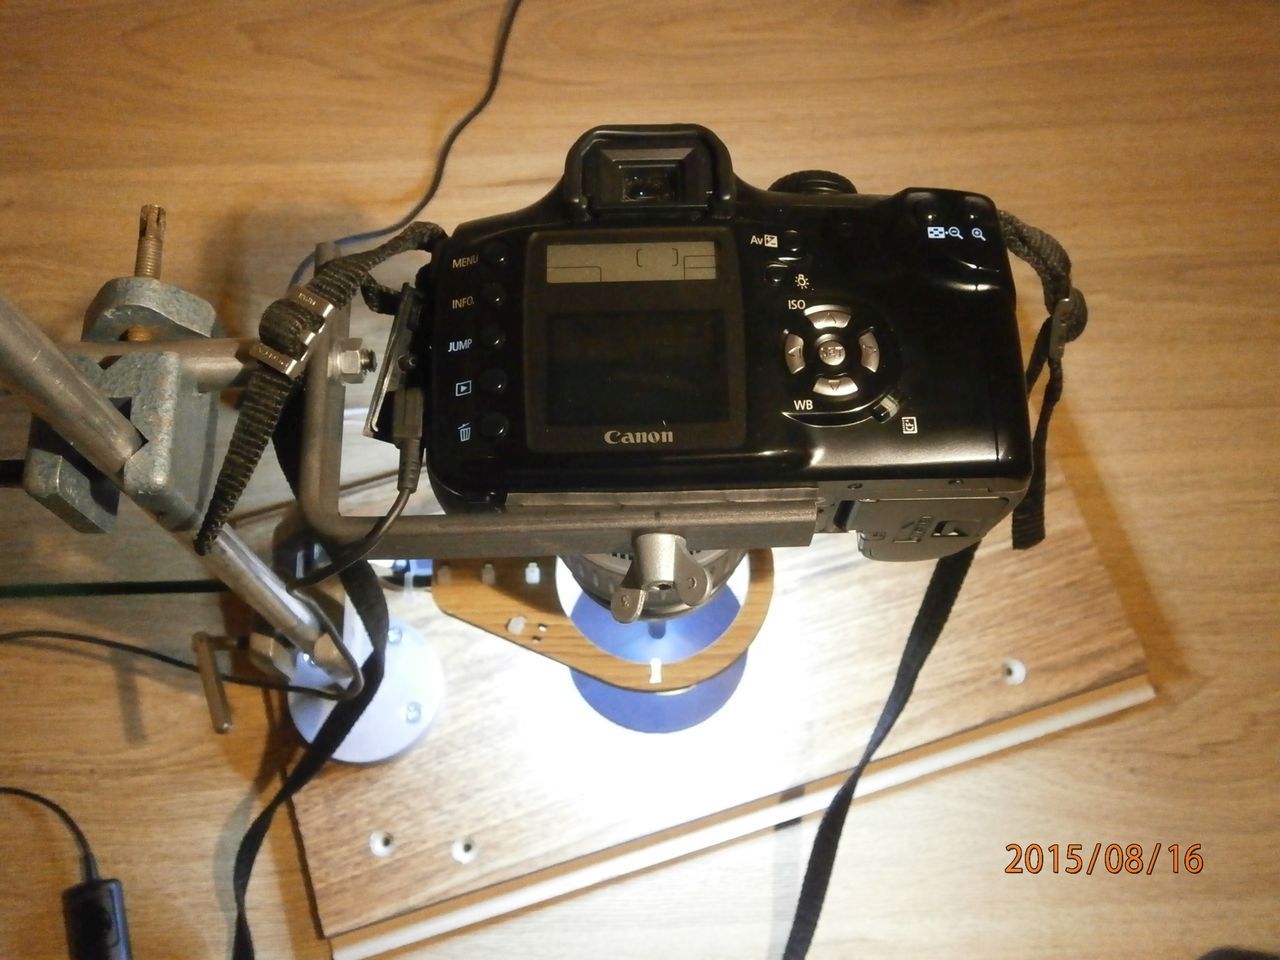
Camera + lens: Canon EOS 300D with the stock 18-55mm lens. Not a particularly great lens for macro work, but I'm not exactly ready to splurge on a better one! I'm using a 13mm extension tube to get a bit of magnification - I find that I can use up to 25mm extension tubes and still have the autofocus work properly; any more than that, and I have to focus manually. The extension tubes are fully wired and were a cheap set off EBay, not the official Canon tubes. They work fine.
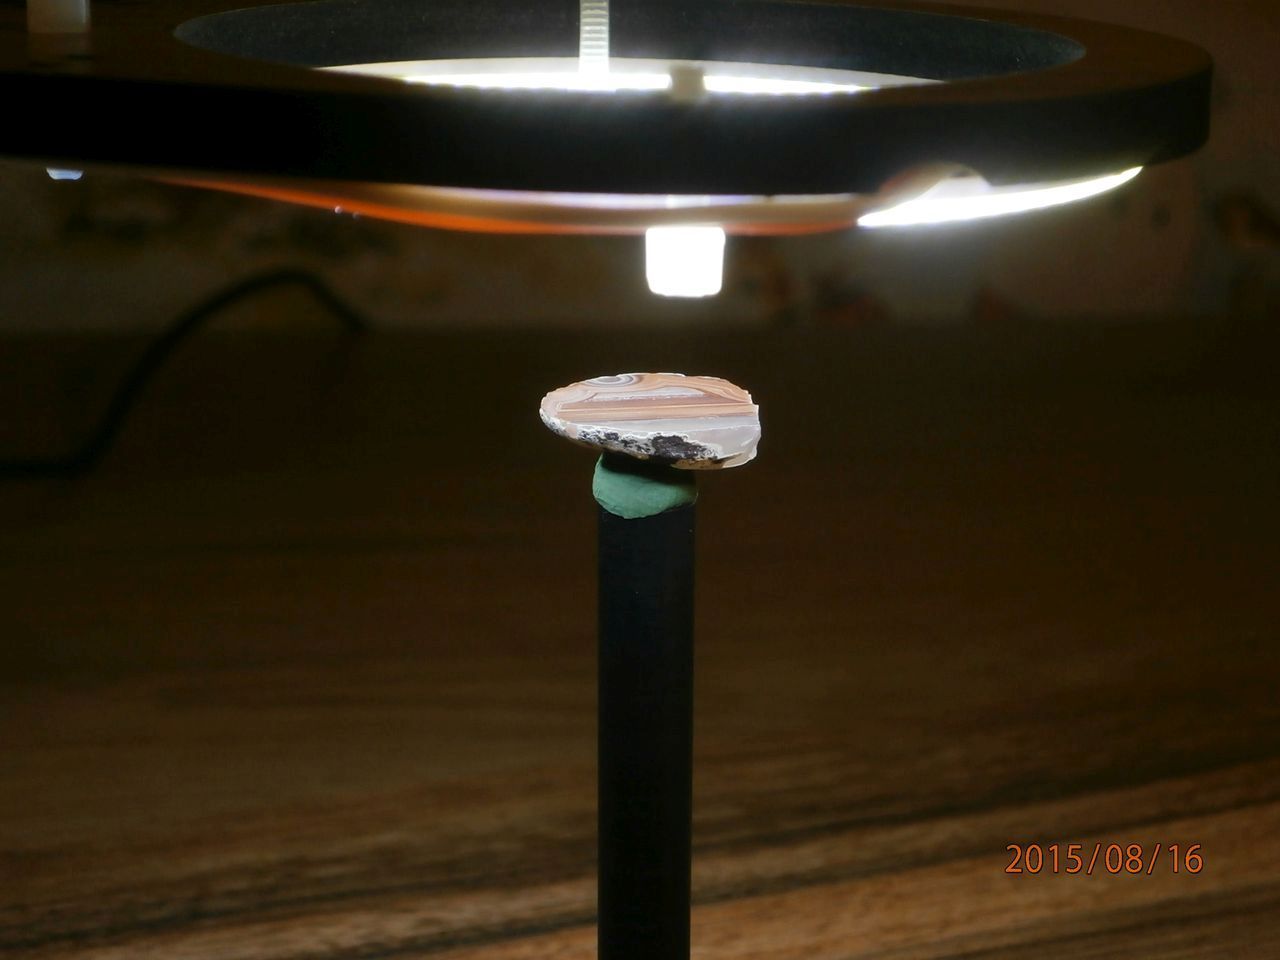
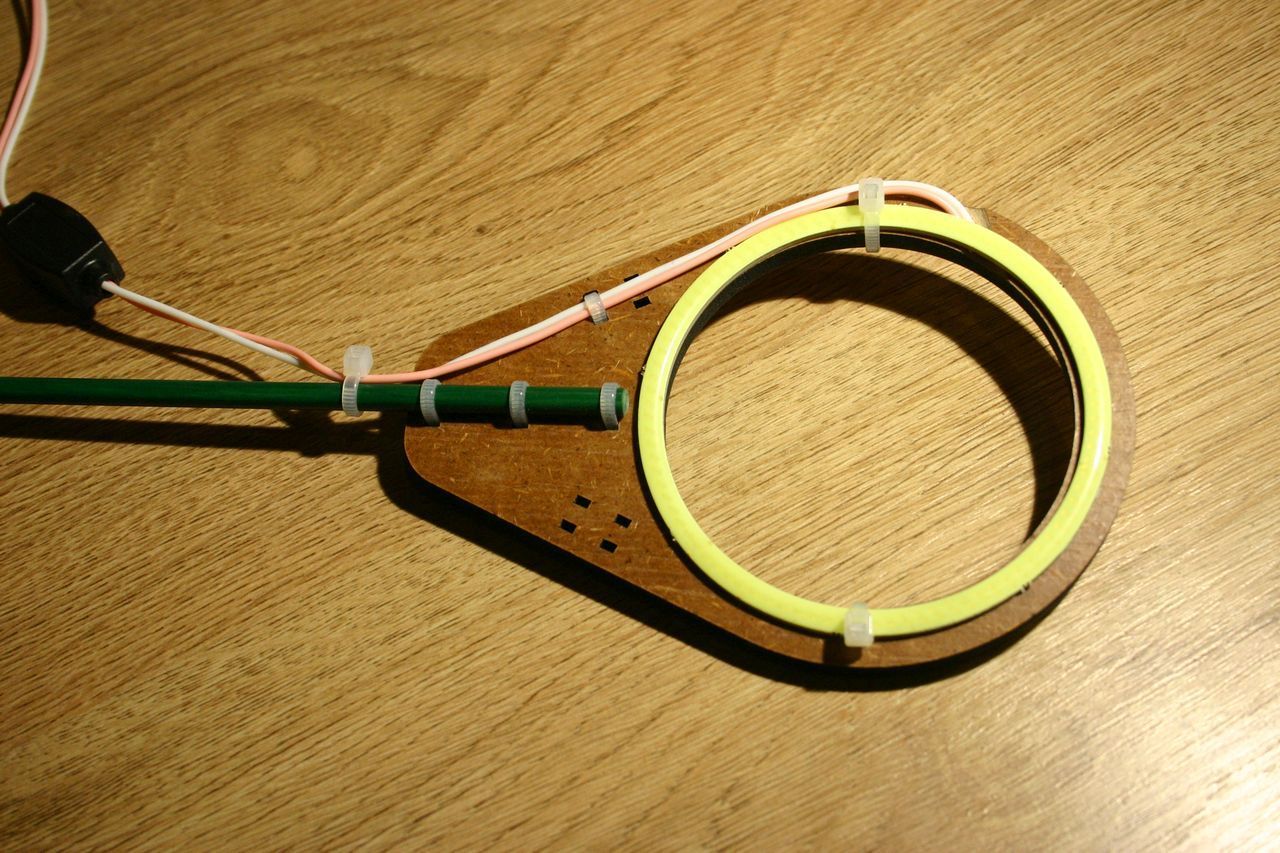
Illumination: 80mm diameter LED ring light. From EBay - these are sold for use in car tail lights and are sometimes called "angle eyes". They are dirt-cheap (mine were something like £10 for a pair) and very bright. They run from a 12-24V supply and have a little driver board on the cable. The light is a little bluish, but the custom white balance setting on the camera fixed that - I used a sheet of white paper as a reference.
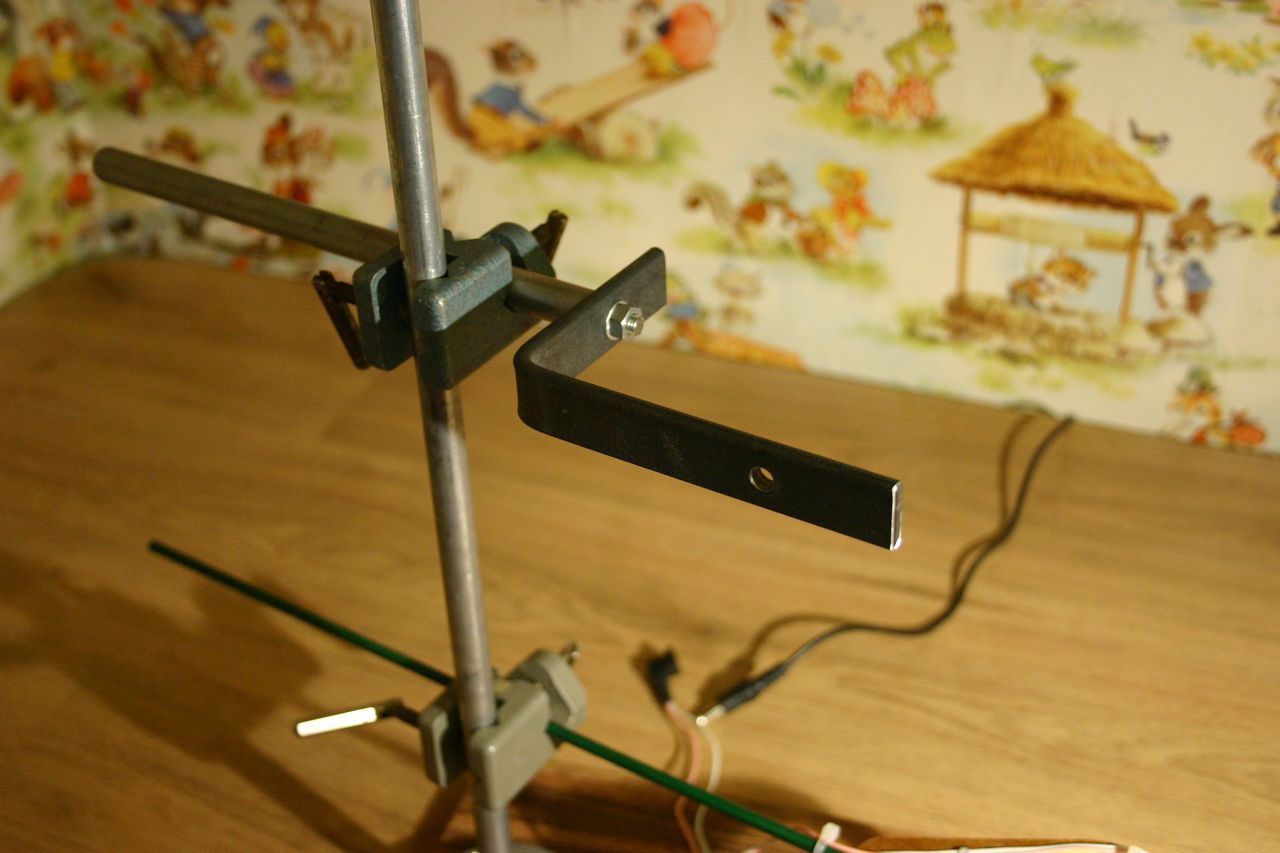
Mechanics: The camera is held on an L-shaped steel bracket. The ring light is zip-tied to a laser-cut wooden support. Both of these are held with retort stand clamps to a pillar screwed into the base.
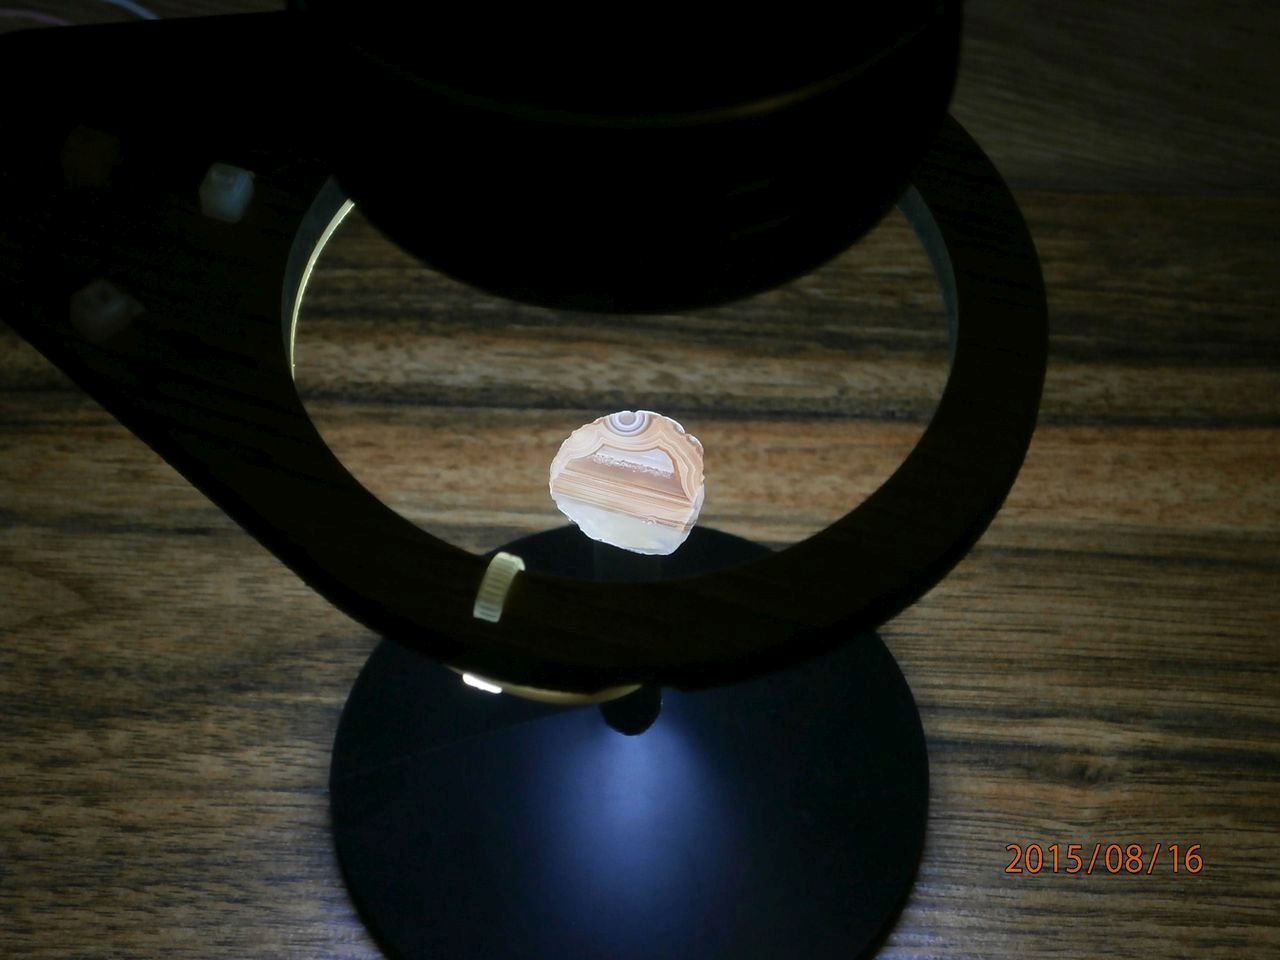
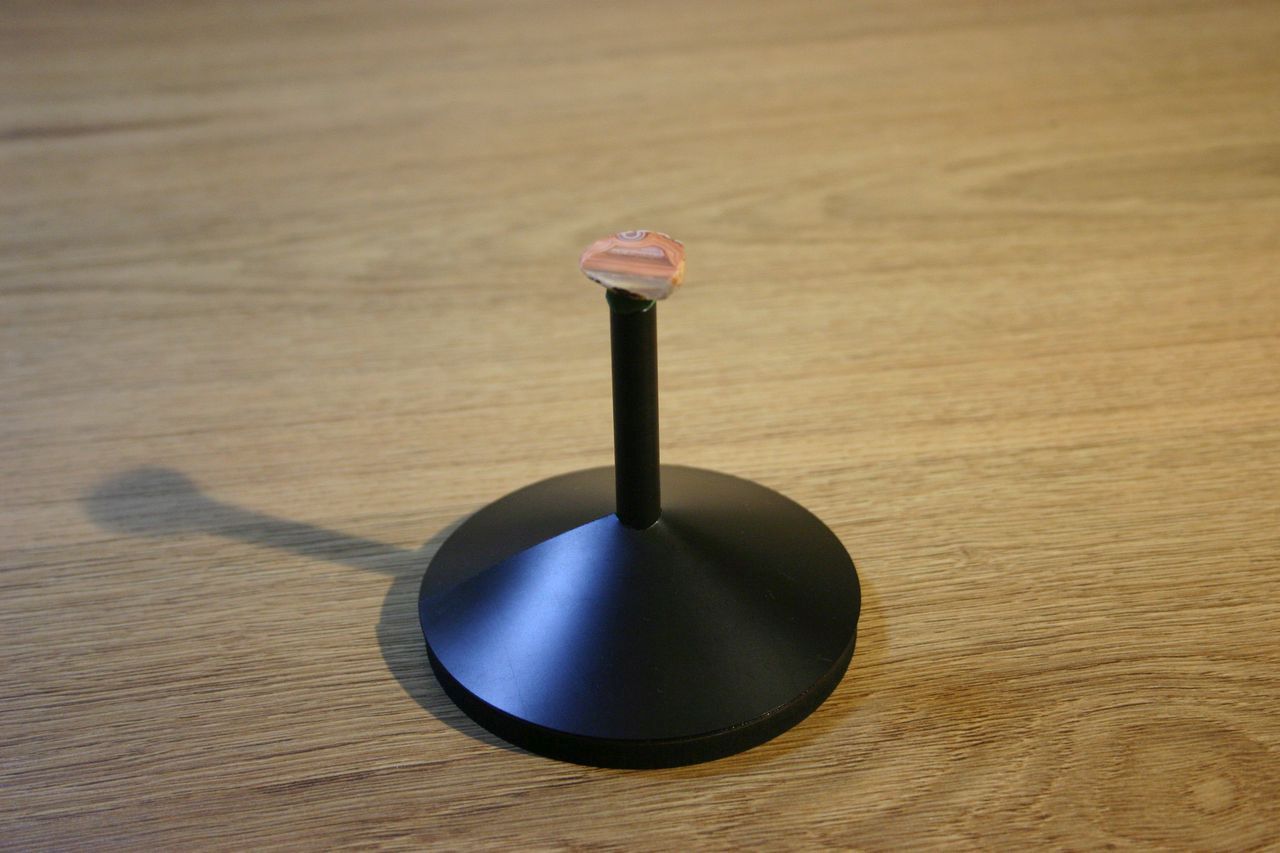
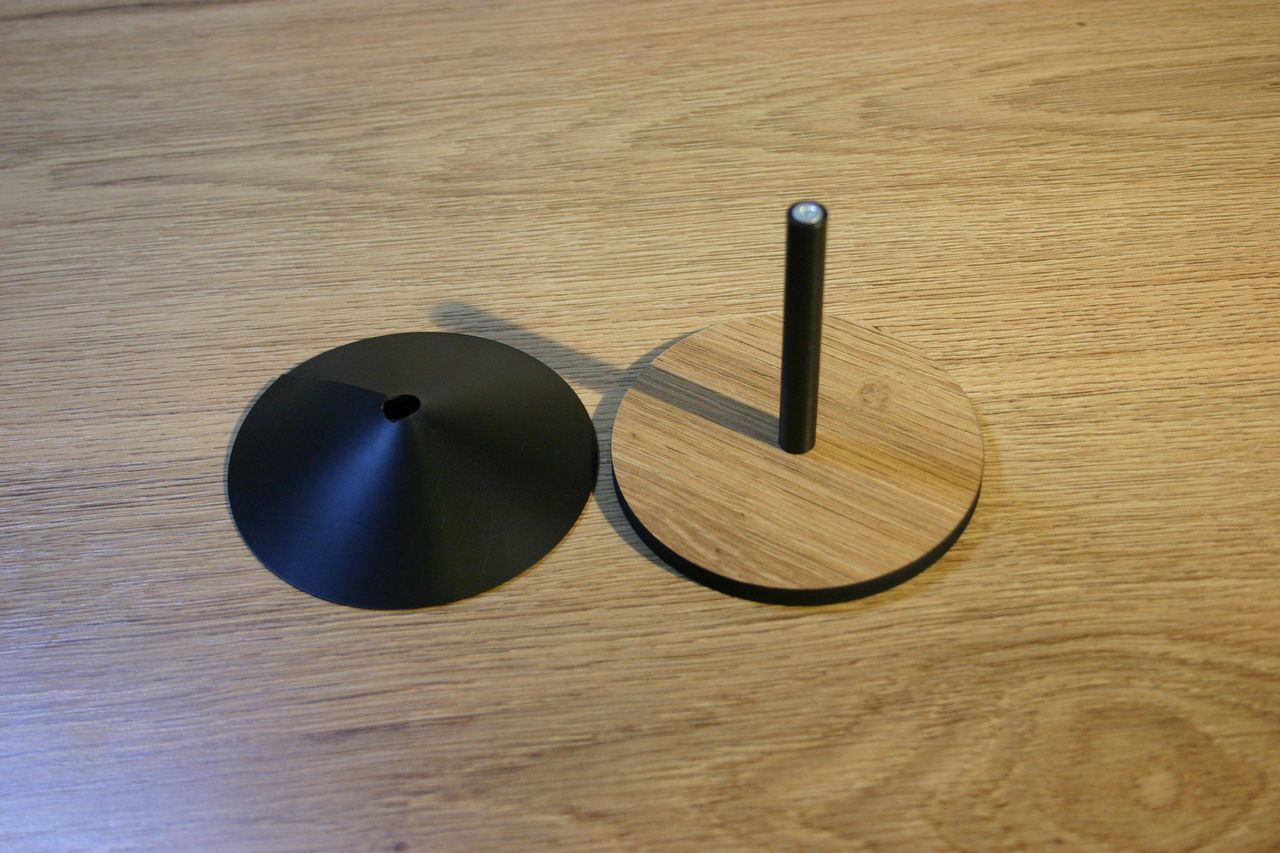
Sample mounting: This is the critical part. Ideally, the background should be totally black and show no detail. The sample to be photographed is mounted to the top of a short (60mm) black plastic post using a blob of blu-tac or plasticene. The base of this post is surrounded by a matt black plastic cone (a disc cut then bent & glued into a cone). This does several things. First, it's far enough away from the sample that it is completely out of focus, and any marks on it don't show up. Second, it's black (duh). Third, the angle deflects any reflected light from the ring light away from the camera lens, giving a very dark background. I initially just had a flat disc, but this reflected a significant amount of light back up to the lens.
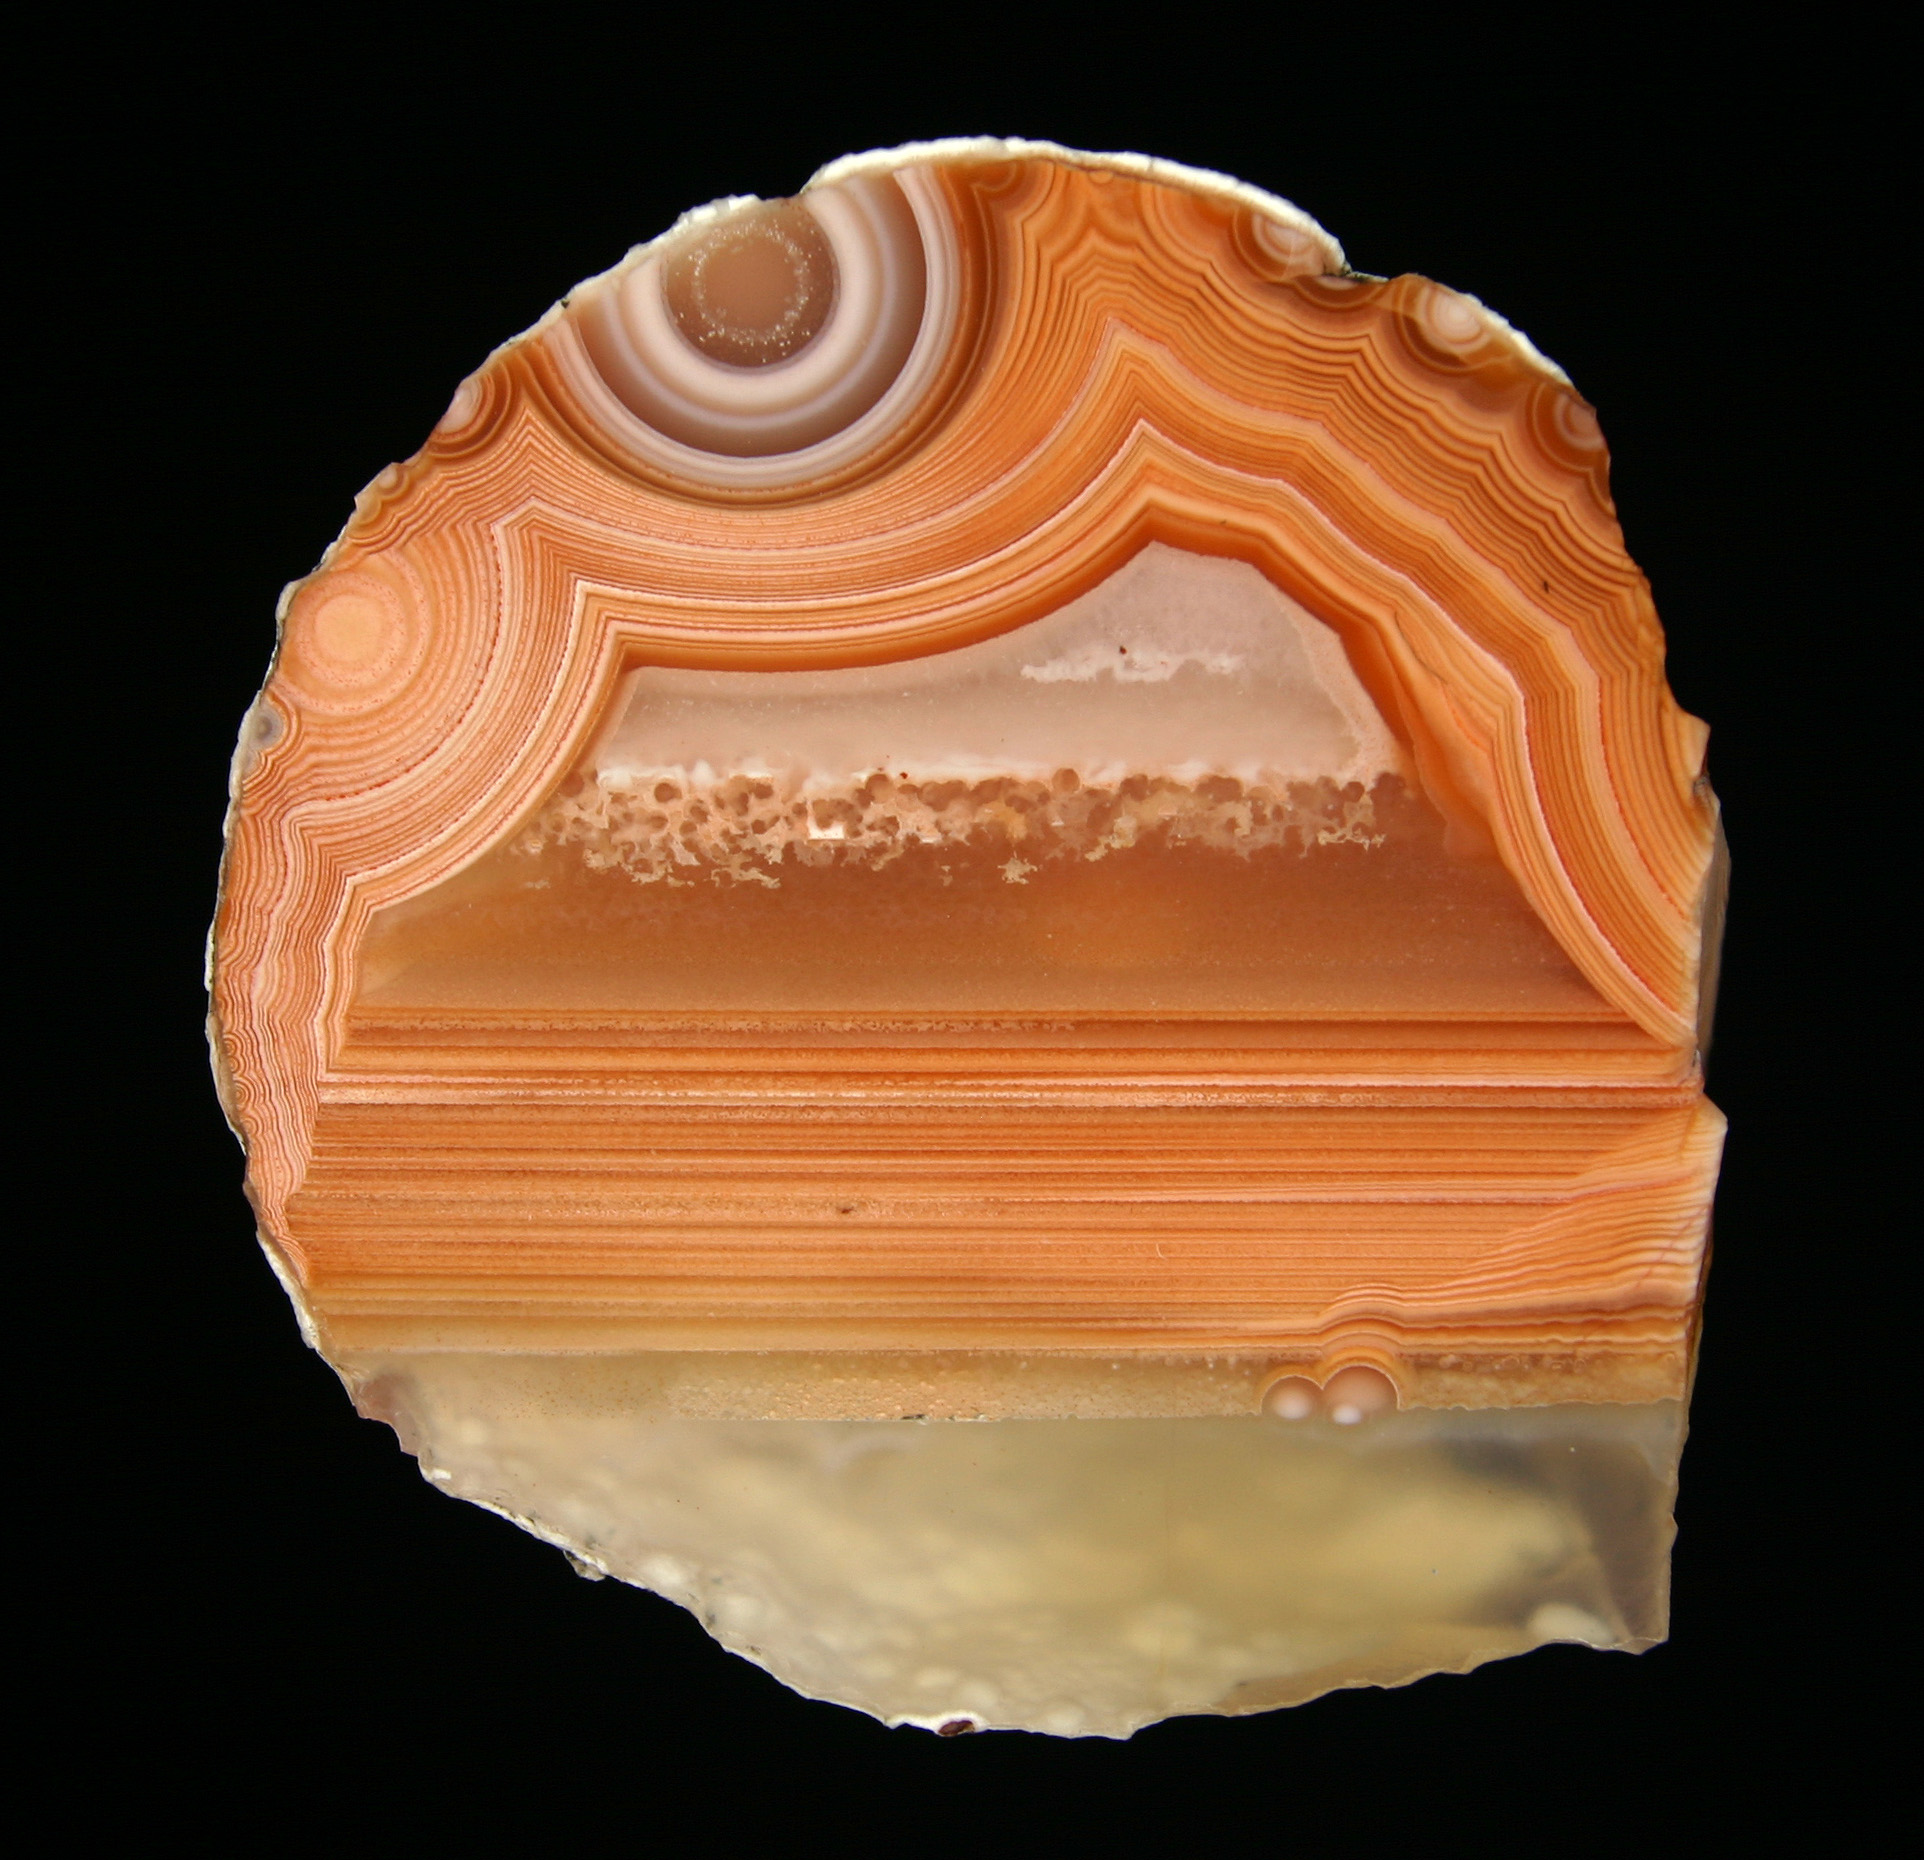
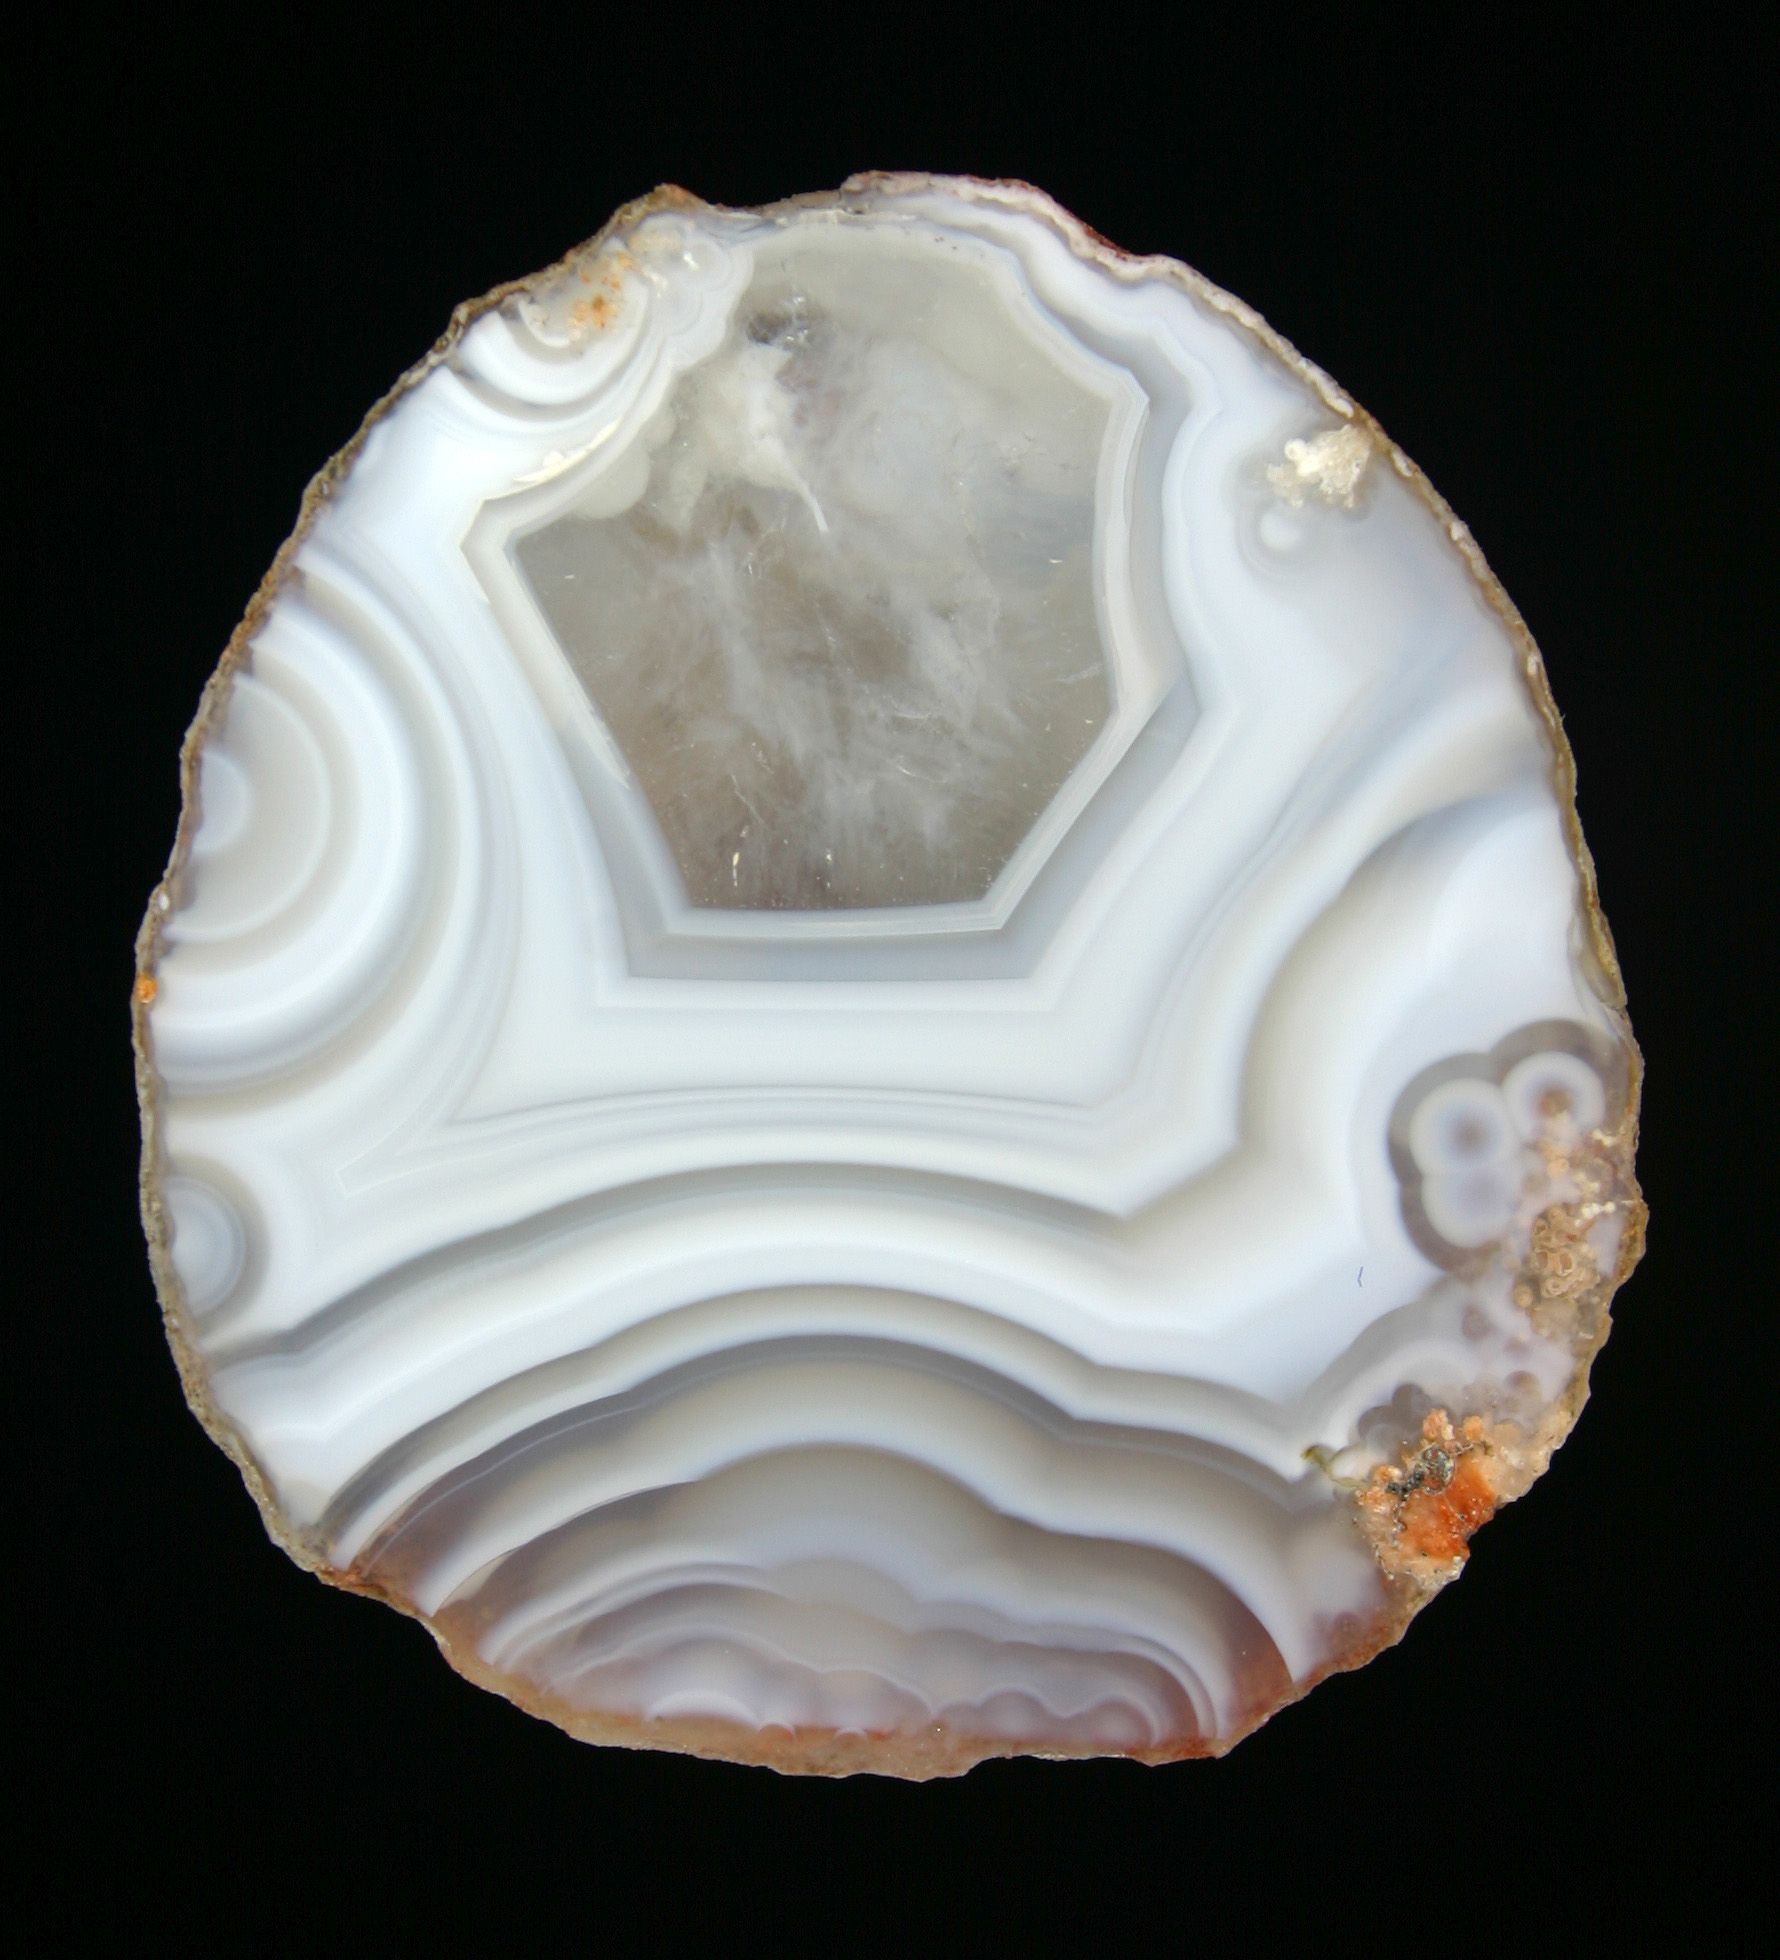
Post-processing: Very little is required. In Photoshop, crop, then sharpen to show the lines more clearly. Lastly, I find that auto contrast does a good job at making the background totally black and bringing up the color detail. Thanks to the custom white balance on the camera, hardly any color correction is required. The last two photos show examples of agates photographed with this method. They are from a beach near Montrose, on the east coast (more specific than that, I ain't telling!), and are about 18mm across with some fantastic details.
 |
 |
 |
 |
 |
 |
 |
 |
 |
 |
 |
| ▲ Optical |