
| ▲ Workshop |
The element in my little electric melting furnace finally burned out after half a dozen melts or so (the element obviously isn't happy operating at these sort of temperatures in an enclosed space). I used the same cement blocks & crucible and added a propane burner instead.
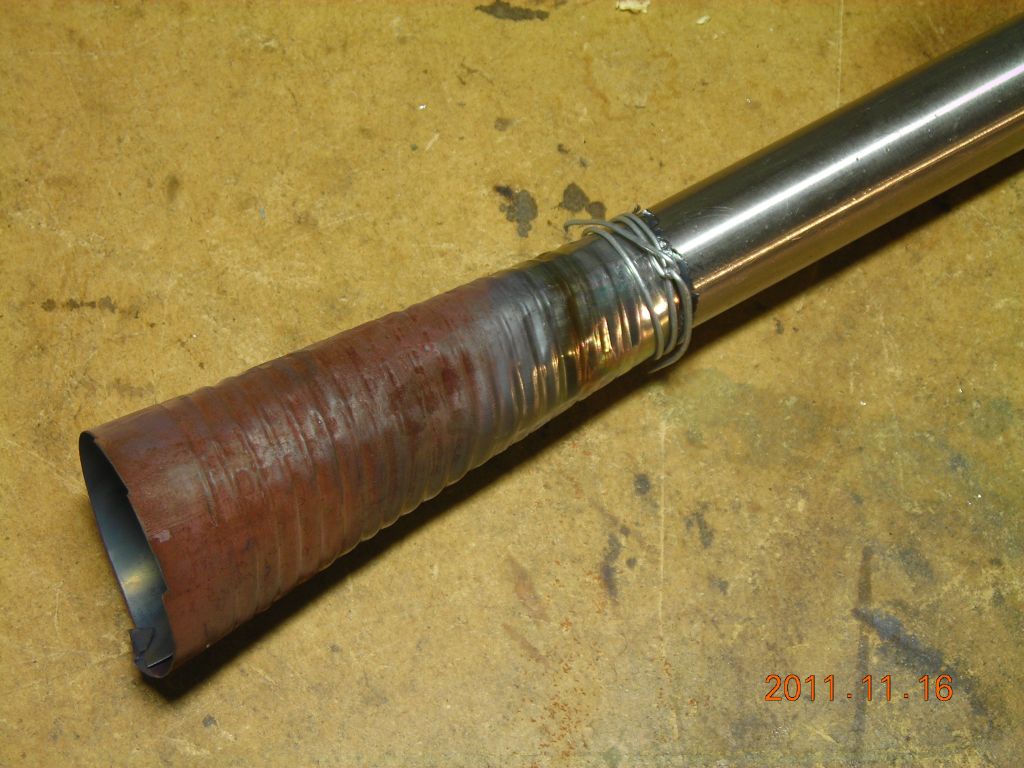
The design is one I saw at http://www.backyardmetalcasting.com/oliverburner1.html. The only difference is that I made it to fit on the end of a standard ¼" OD torch nozzle. This means I can just stick it on the end of my oxy-gas torch and use different nozzles. The pipe is ¾" stainless and is about 7" long. The air holes are 3/8" dia. and are 5/8" apart. There are two rows on opposite sides of the pipe. The first air holes are centered 7/8" from the end of the pipe. The nozzle is held in a bushing at the end with a no-mar screw (drop bit of tin solder into the hole and then screw it up - the solder squashes and prevents marking of the copper nozzle). It seems to work best with a 0.9mm nozzle and about 10psi propane pressure.
The flare shown was made from a bit of tin can and is only required when operating the burner in the open air (the flare slows down the gas so the flame can stay "attached" to the end of the tube). When used in a furnace, the gases are slowed by the furnace itself and the flare isn't needed.
The propane burner is just as effective as the electric heater and will melt a full load of aluminium in under half an hour.
 Flare, burner tube, nozzle |
 Nozzle is positioned just downwind of the first hole |
 Flare attached |
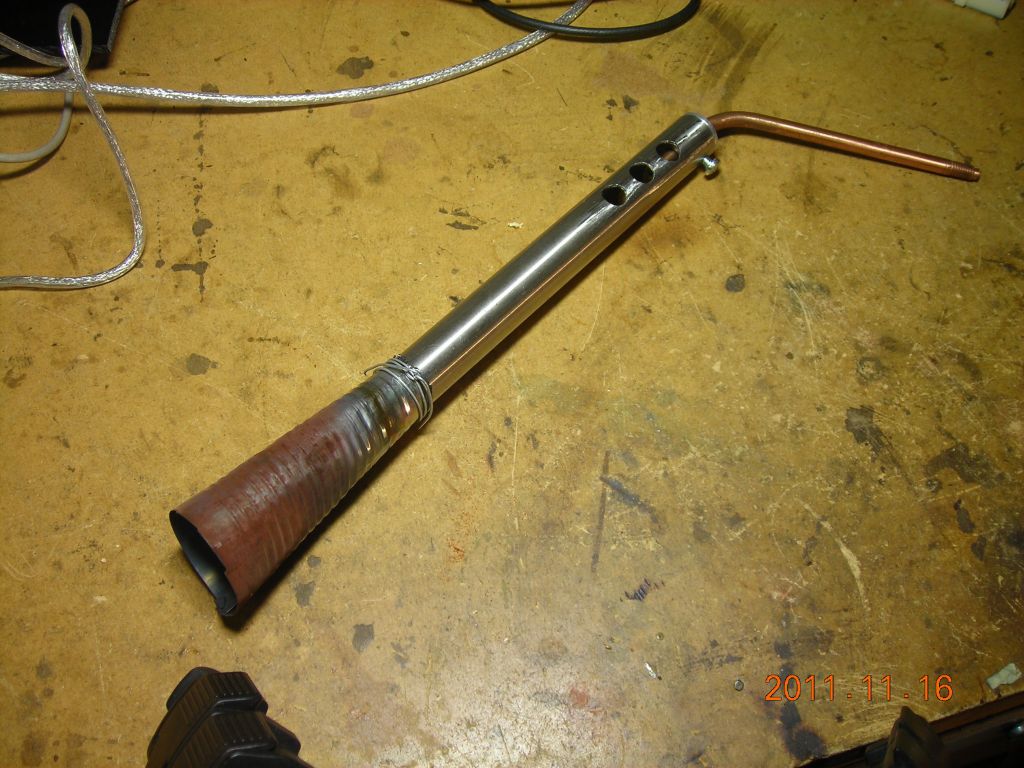 Overall view |
 Burner operating in air with flare (glowing red) |
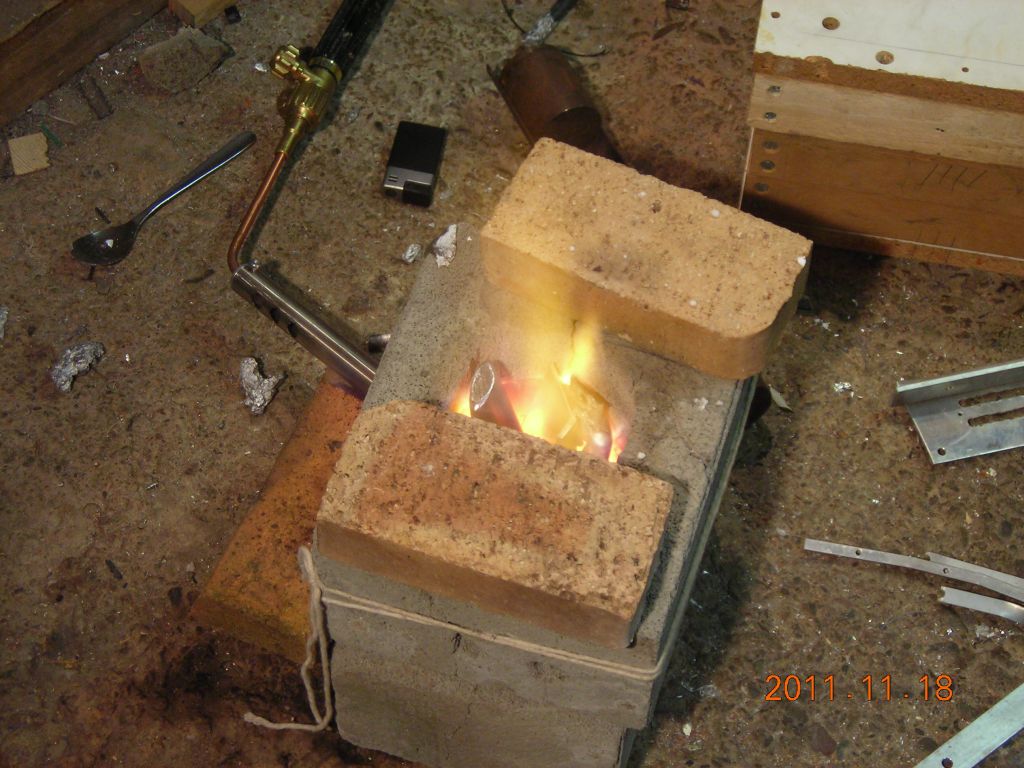 Burner in furnace |
Video of the burner in action, with the flare:
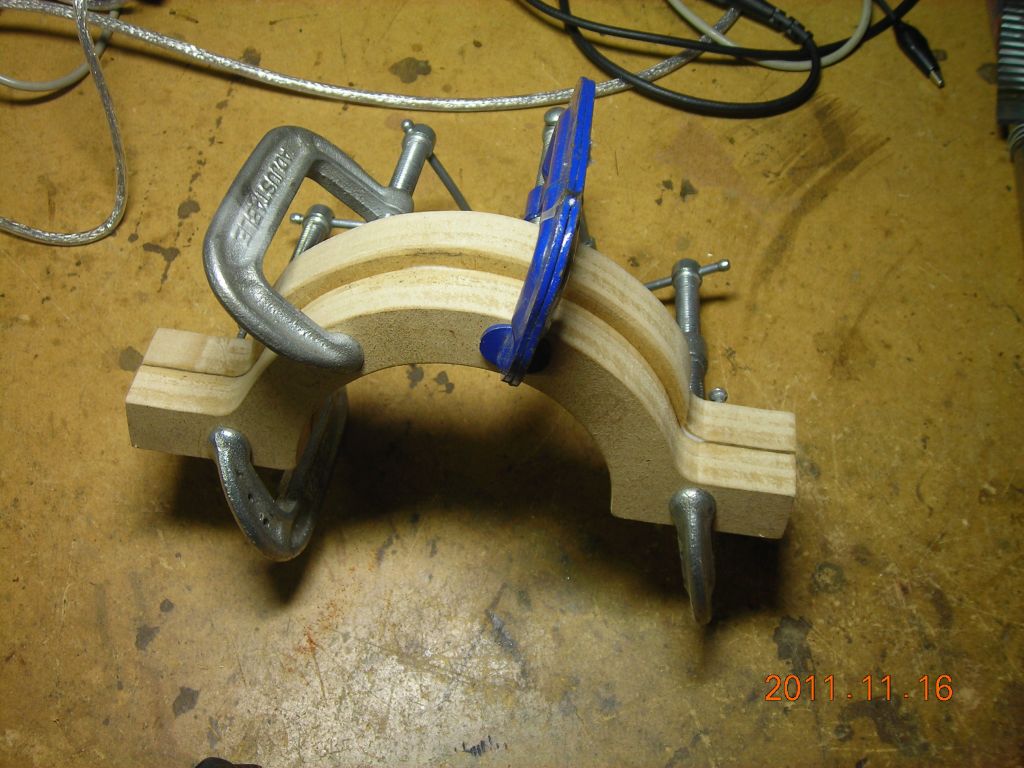
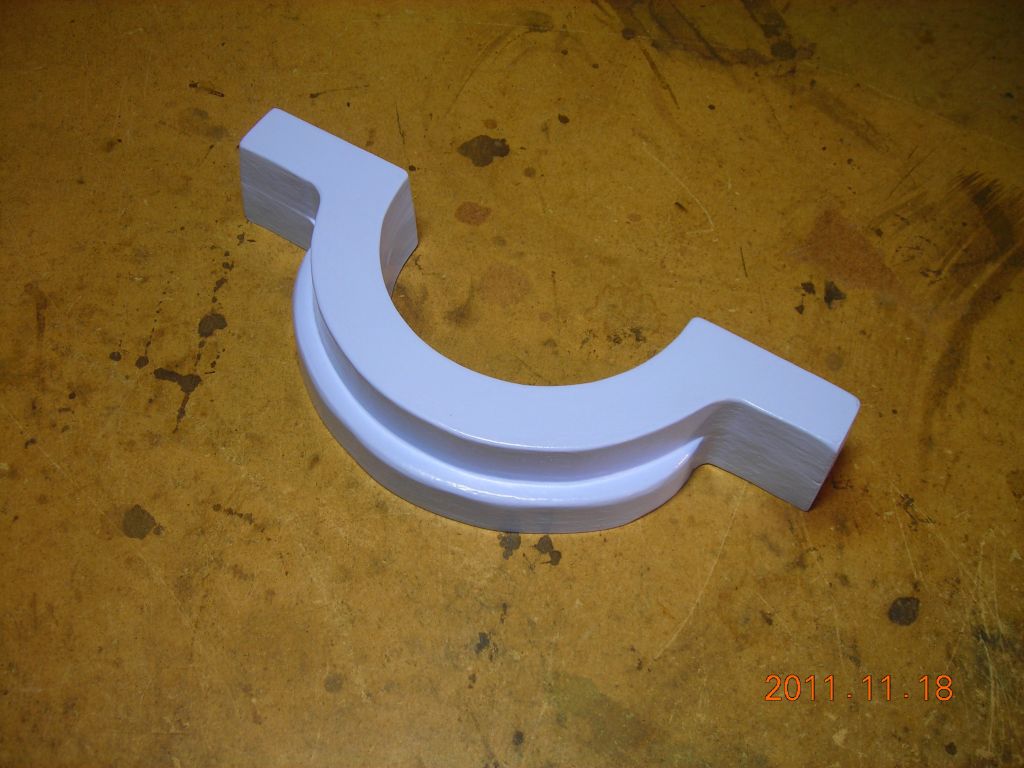
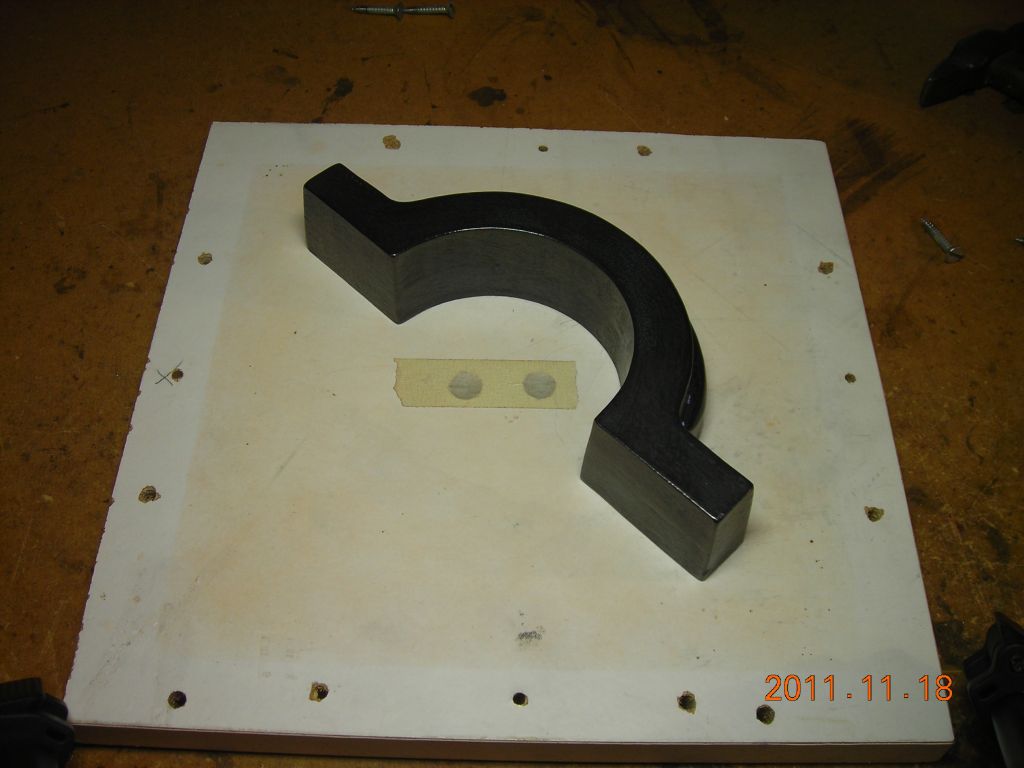
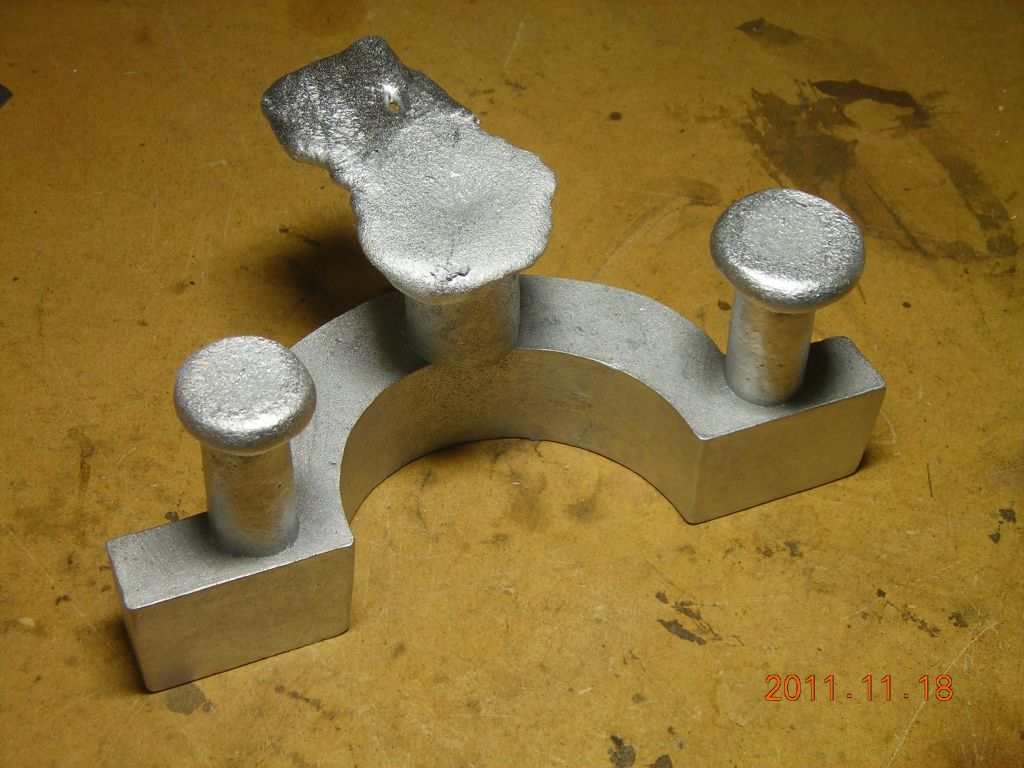
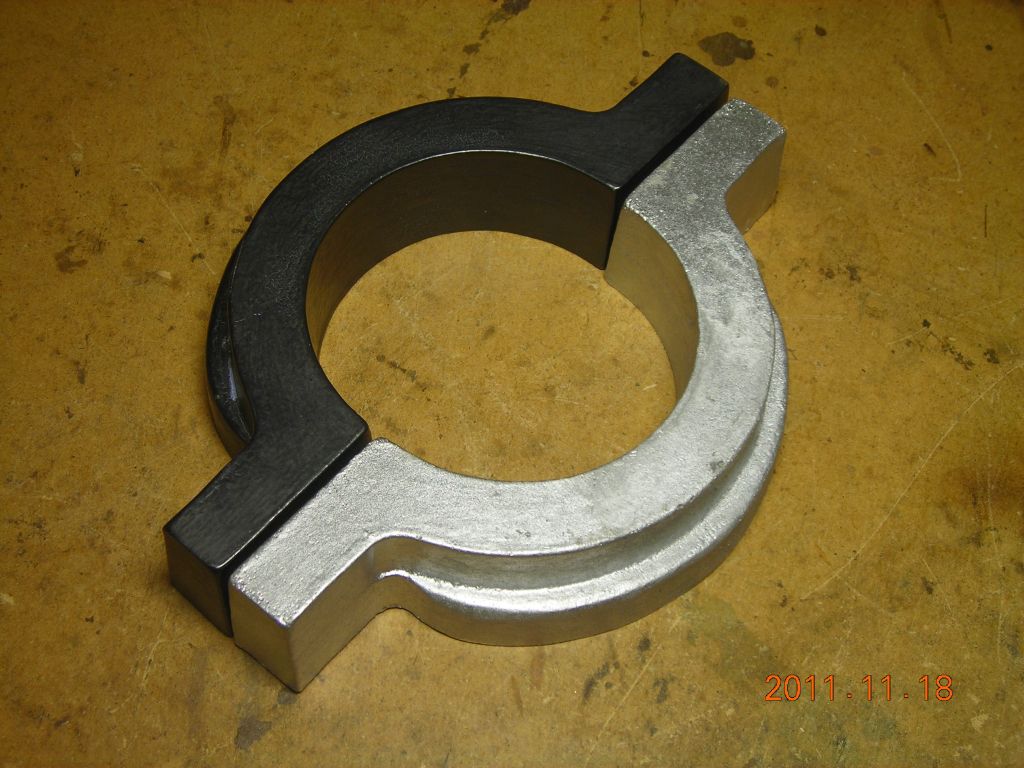
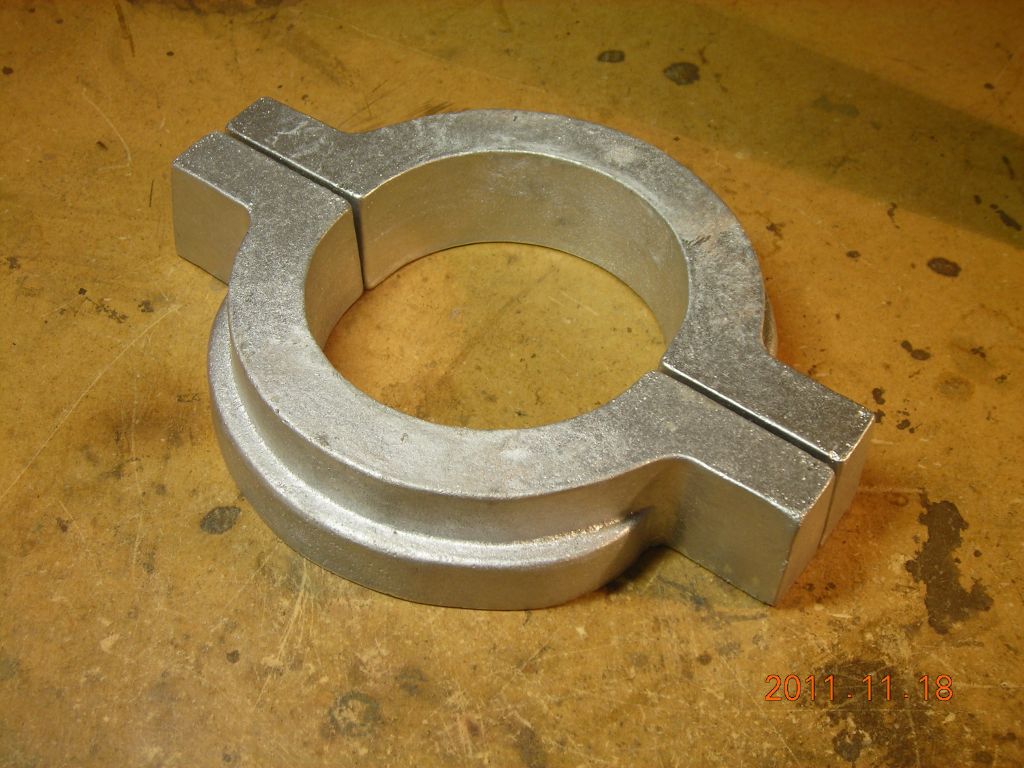
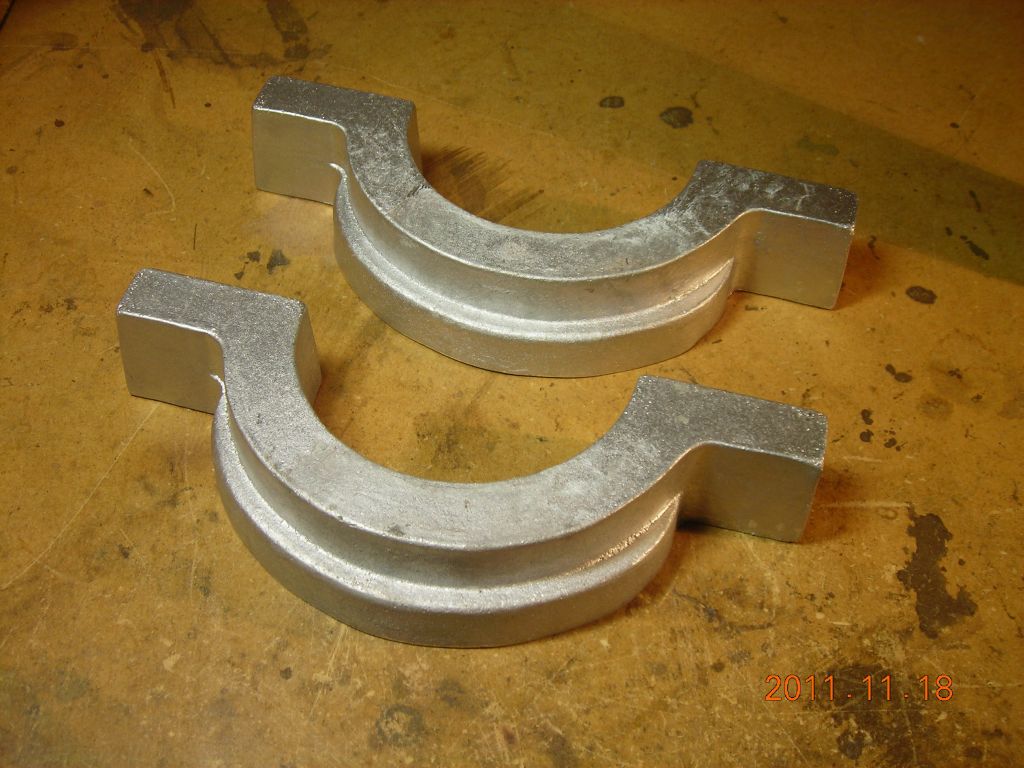
The thing I'm making here is a tile press mould ring to make small circular cement tiles on a hydraulic press.
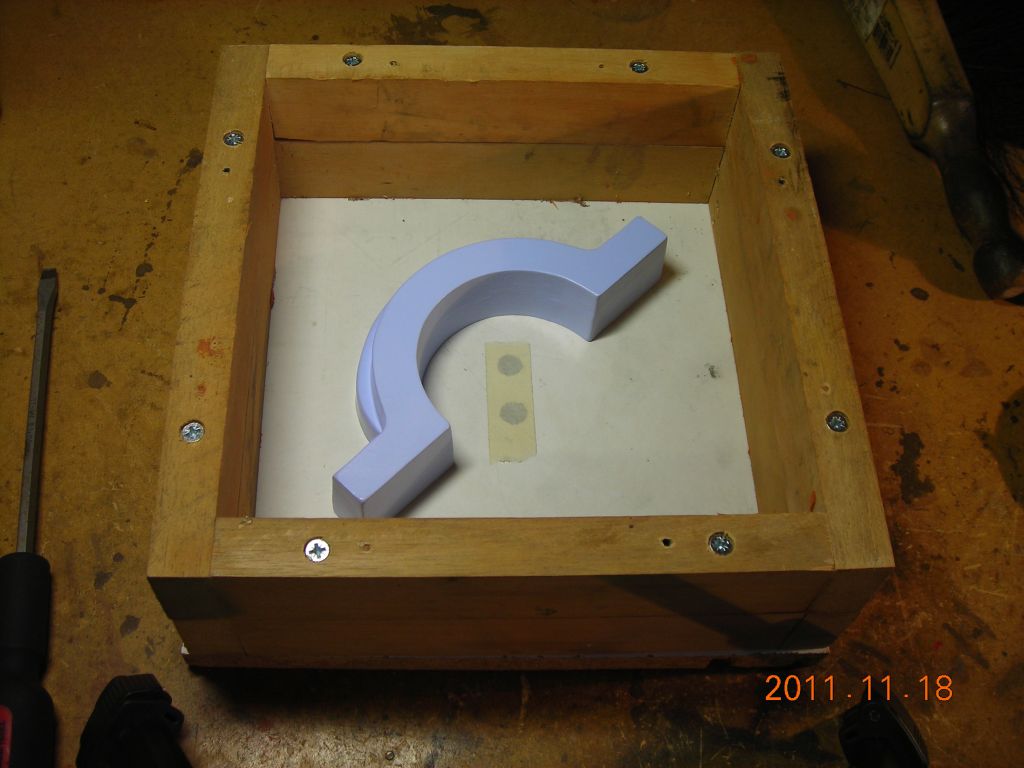
 Pattern made up from two pieces of 16mm MDF |
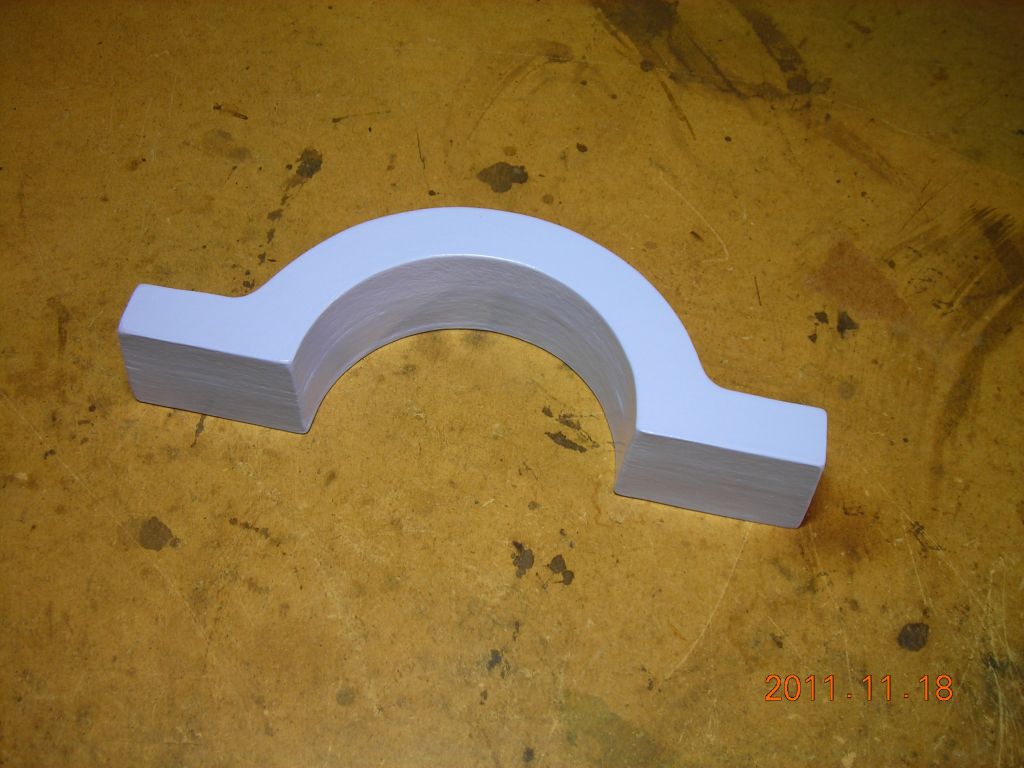
 Coated with 5 layers of silk emulsion paint |
 |
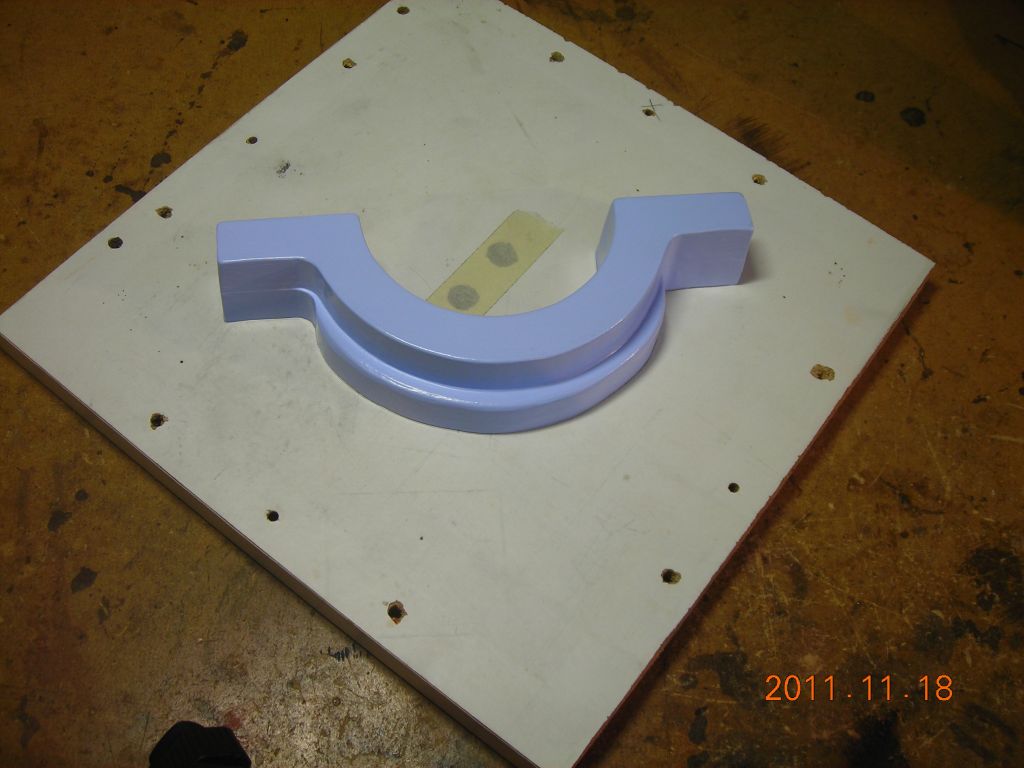
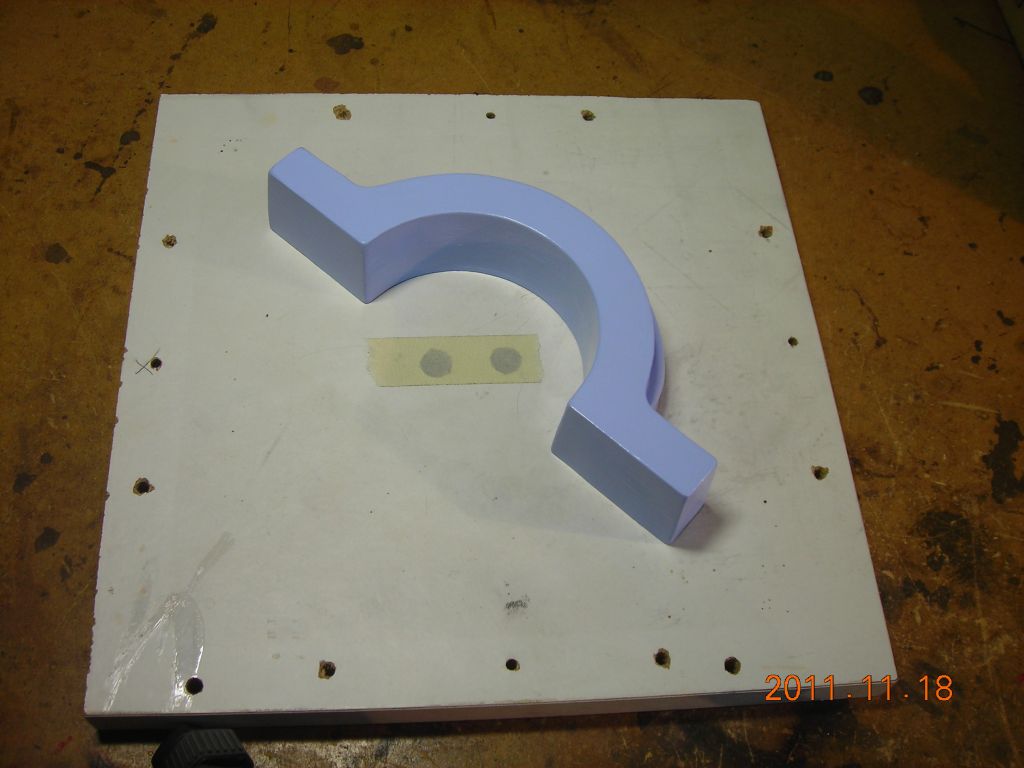 Mounted to board |
 |
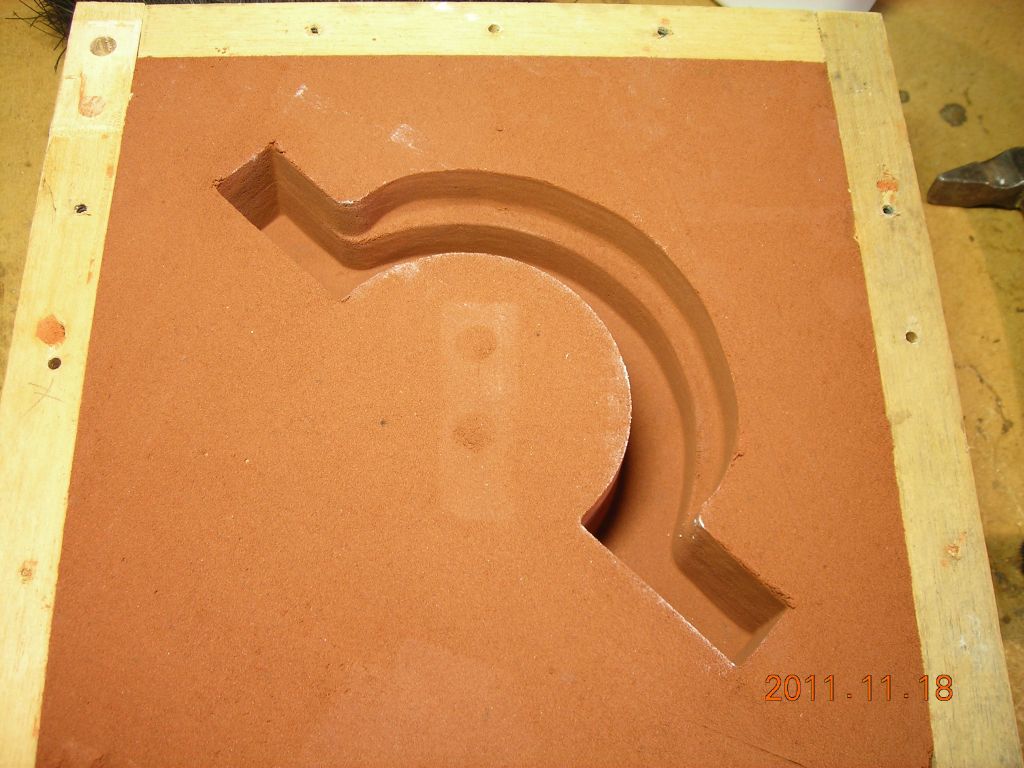
 Frame attached |
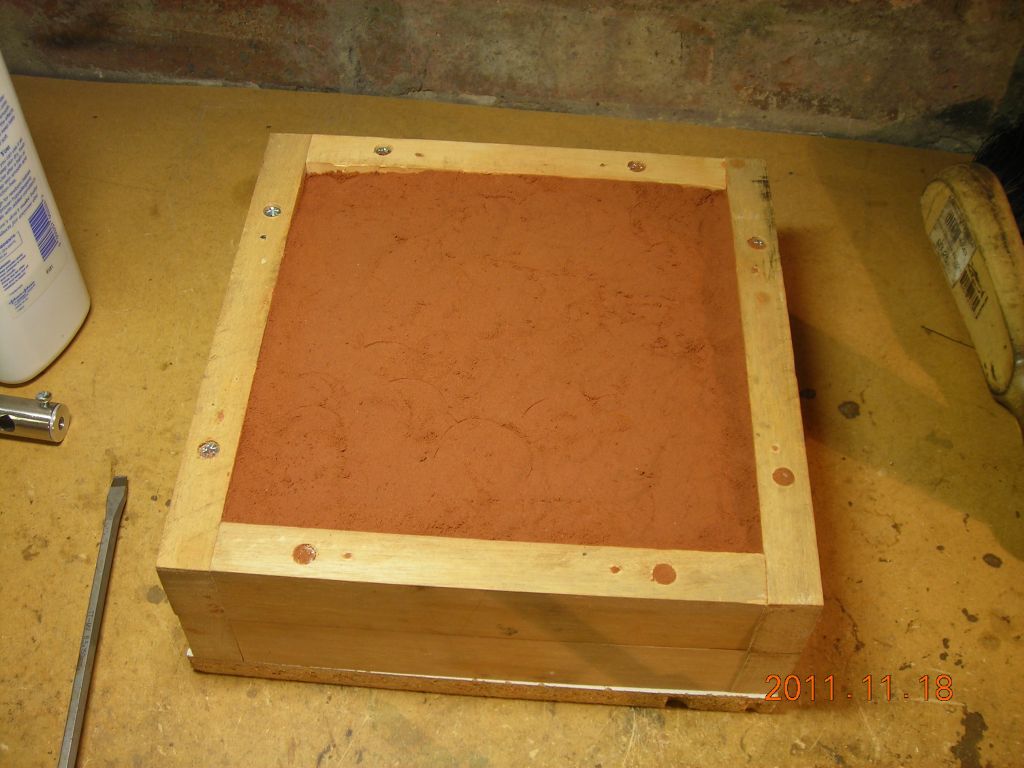 Rammed with sand |
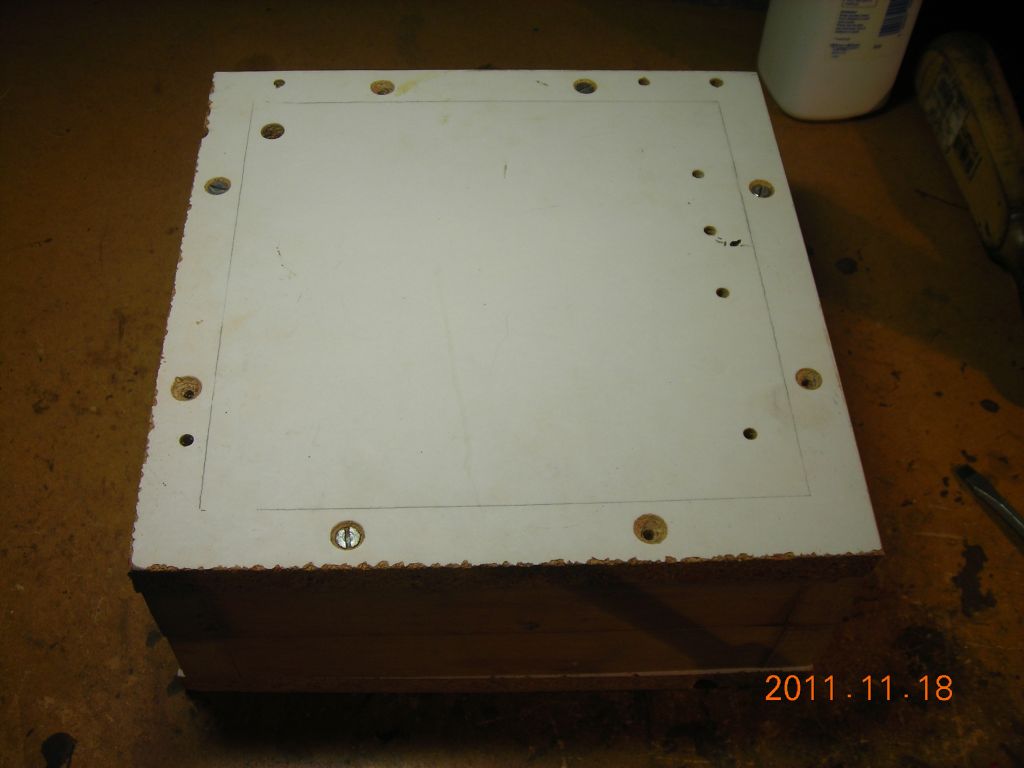 Lid attached to stop any sand falling out (shouldn't fall out anyway) |
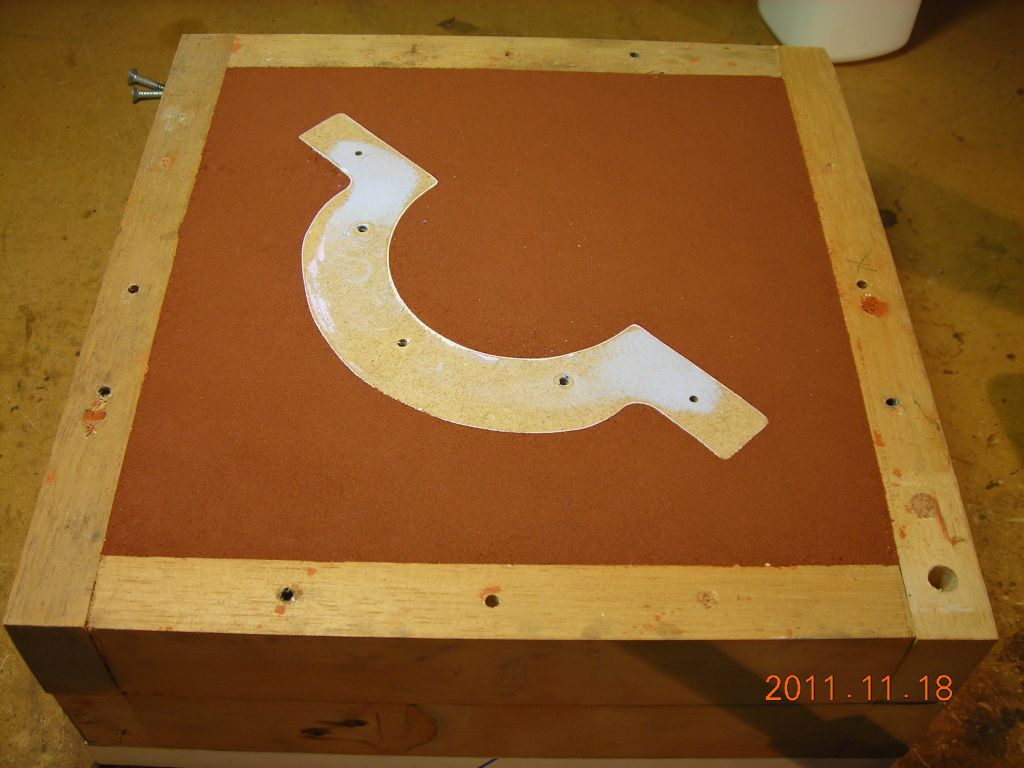 The pattern embedded in the sand |
 For the second mould I gave the pattern a coat of graphite spray |
 The mould |
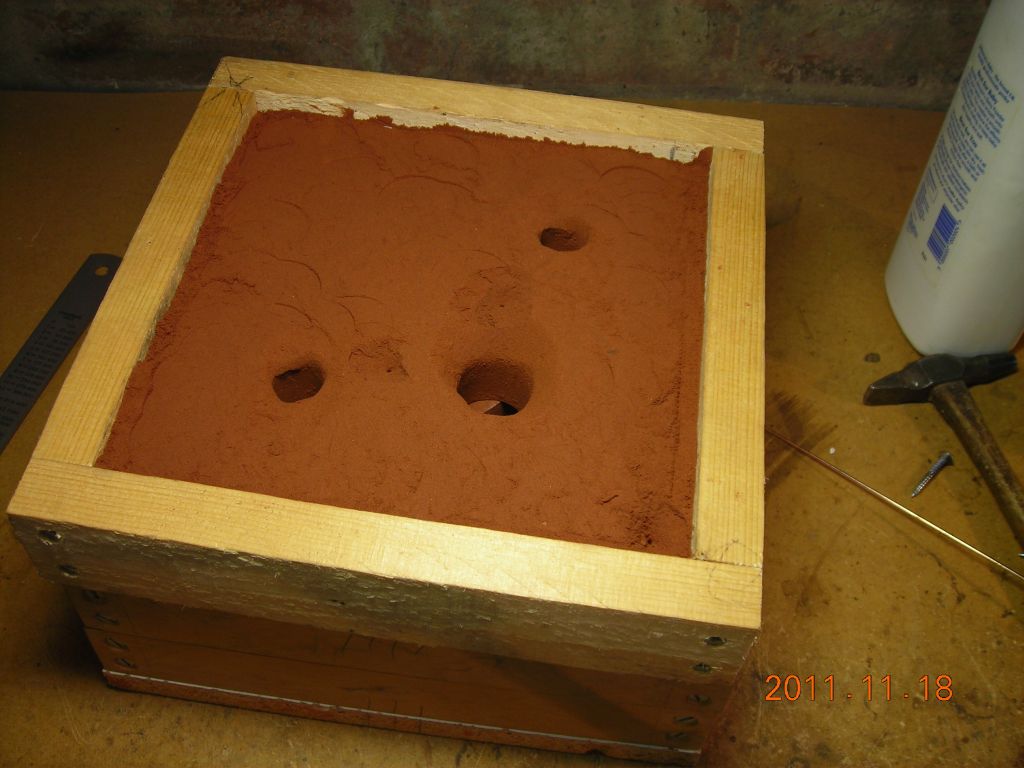
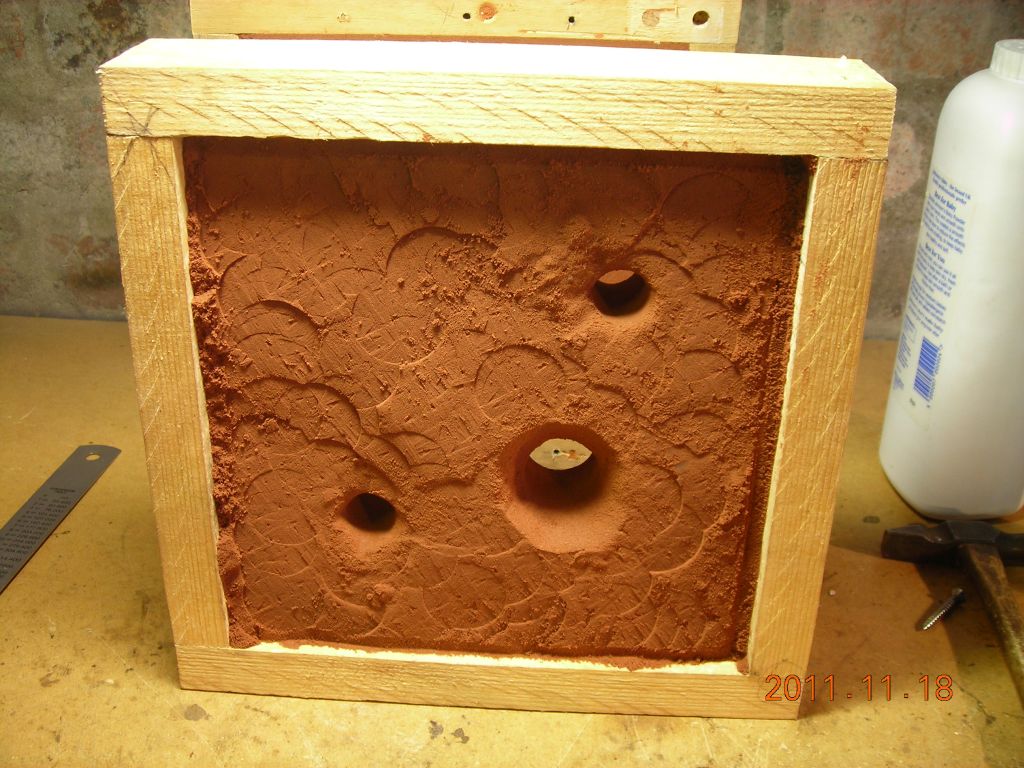 Another frame packed with sand and holes cut for the sprue (big) and risers (small) |
 Two halves of mould in place |
Here's a quick video of the pour. Went very smoothly! I'm using a teaspoon of borax to degas and flux the mixture. It bubbles up quite a bit when the borax is added, but settles down when stirred. The actual pour is at about 1:50.
Note that the video shows the casting being done inside. While this can be perfectly safe, I don't reccommend it when using a gas burner. Apart from the hazards of having large flames about the place, it consumes a lot of air and makes it a bit stifling to breathe. There's also the risk of partial combustion producing carbon monoxide. Much better to do it outside. I would have done, except it was freezing cold at the time!
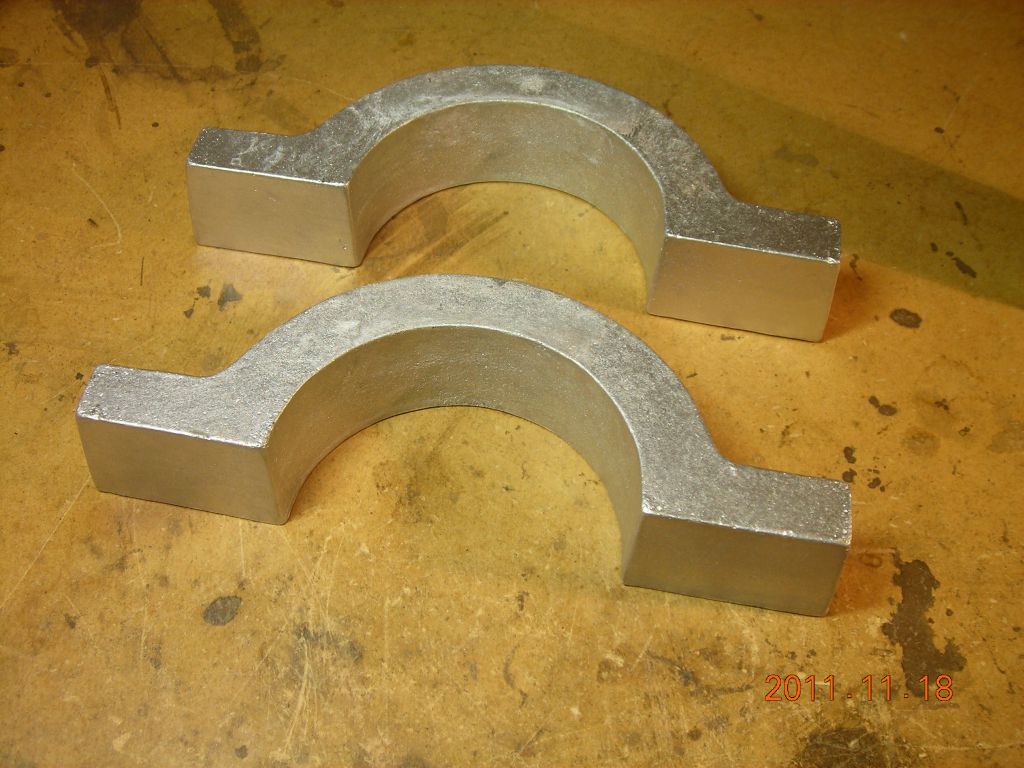
The finished castings are very nice, considering the dubious quality of the aluminium I chucked into the crucible (assorted castings, extrusions, plate, stuff that might not have even been aluminium).
 |
 |
 |
 |
 |
 |
 |
 |
| ▲ Workshop |