
| ▲ Workshop |
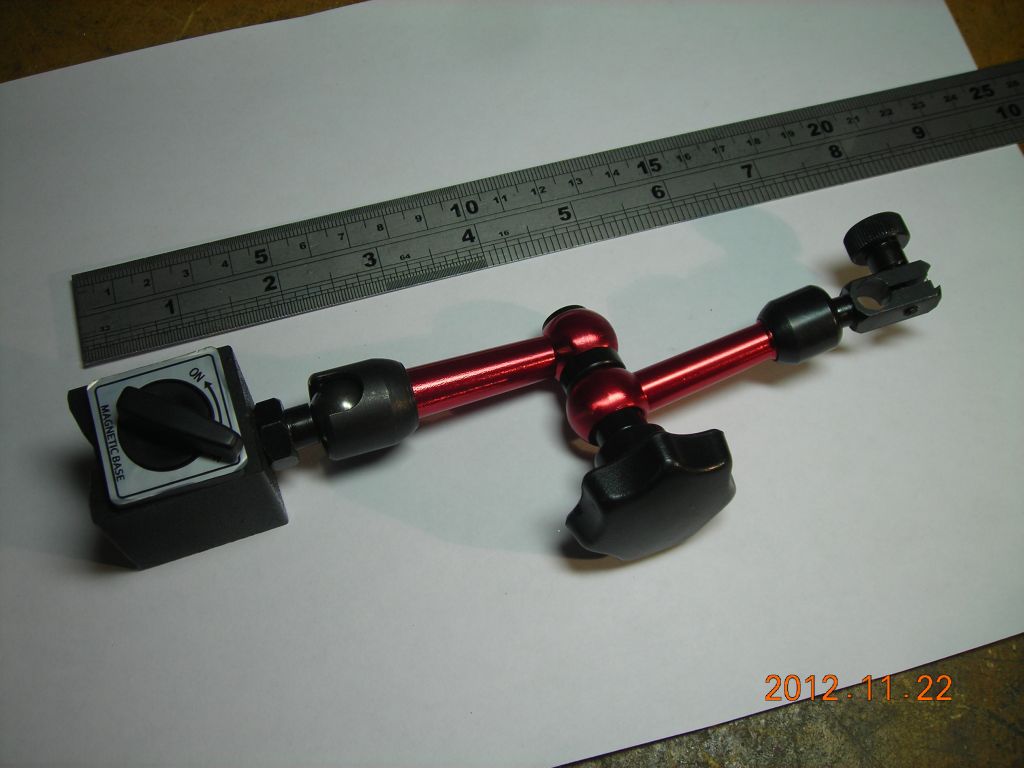
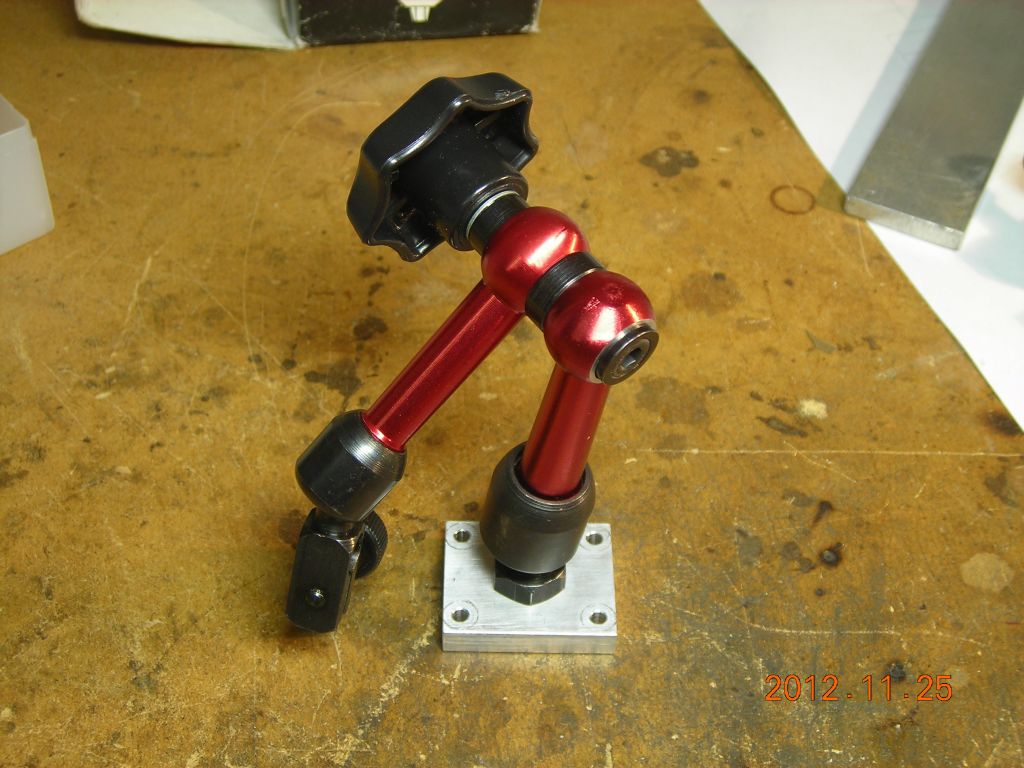
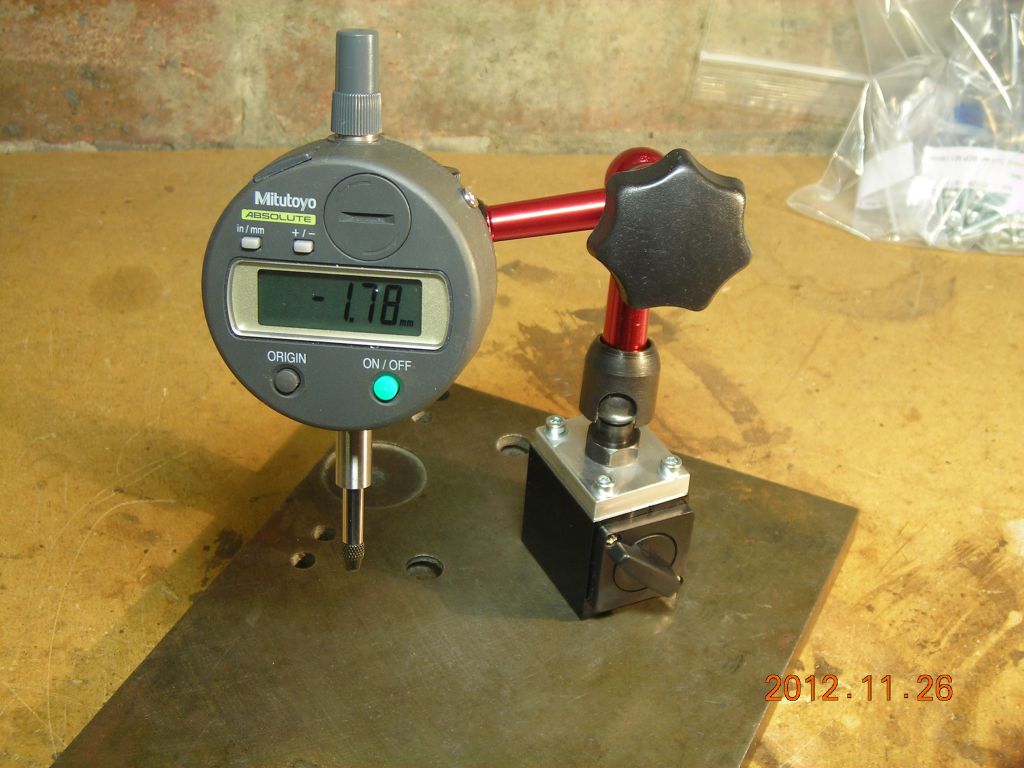
This is a cheap magnetic base + quick adjust arm I got from one of the various Chinese megasites. Similar models are all over EBay. Search for "mini magnetic base", test indicator holder, or similar.
It was only around £18, so unsurprisingly was pretty poor quality. The base wasn't machined properly and rocked terribly. However, after a bit of messing around, I managed to get it to a usable state.
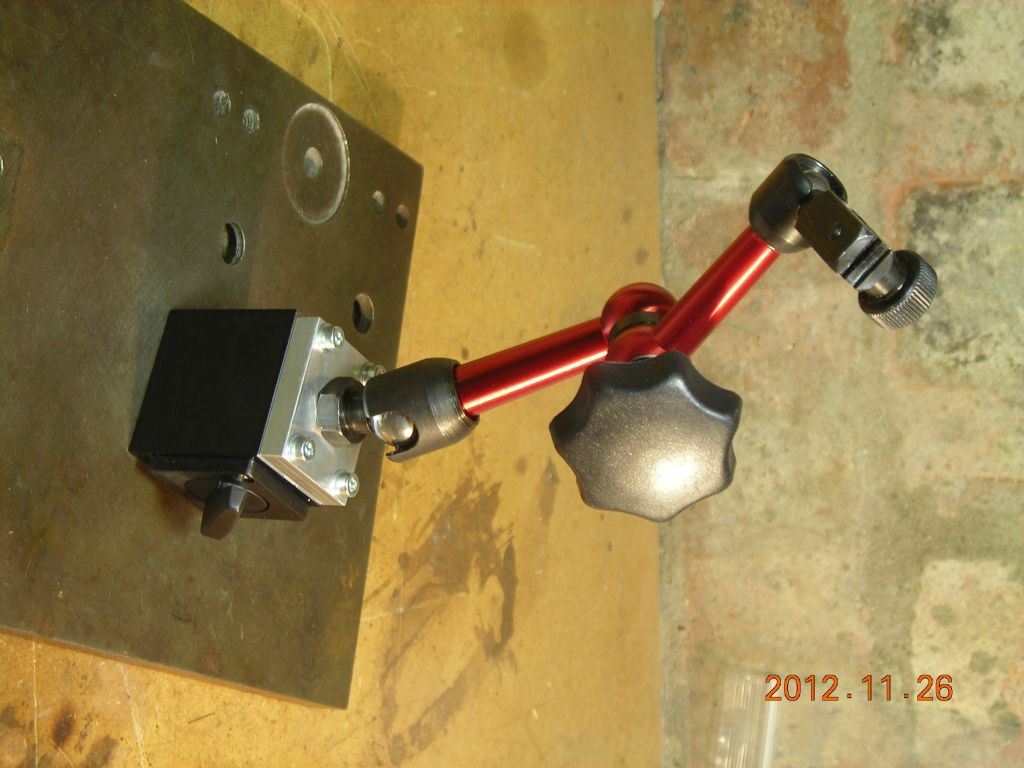
This is a mechanical quick-adjust arm. Some higher-quality arms are hydraulic and contain miniature pistons inside the arms which are forced outward under hydraulic pressure when the locking knob is tightened.
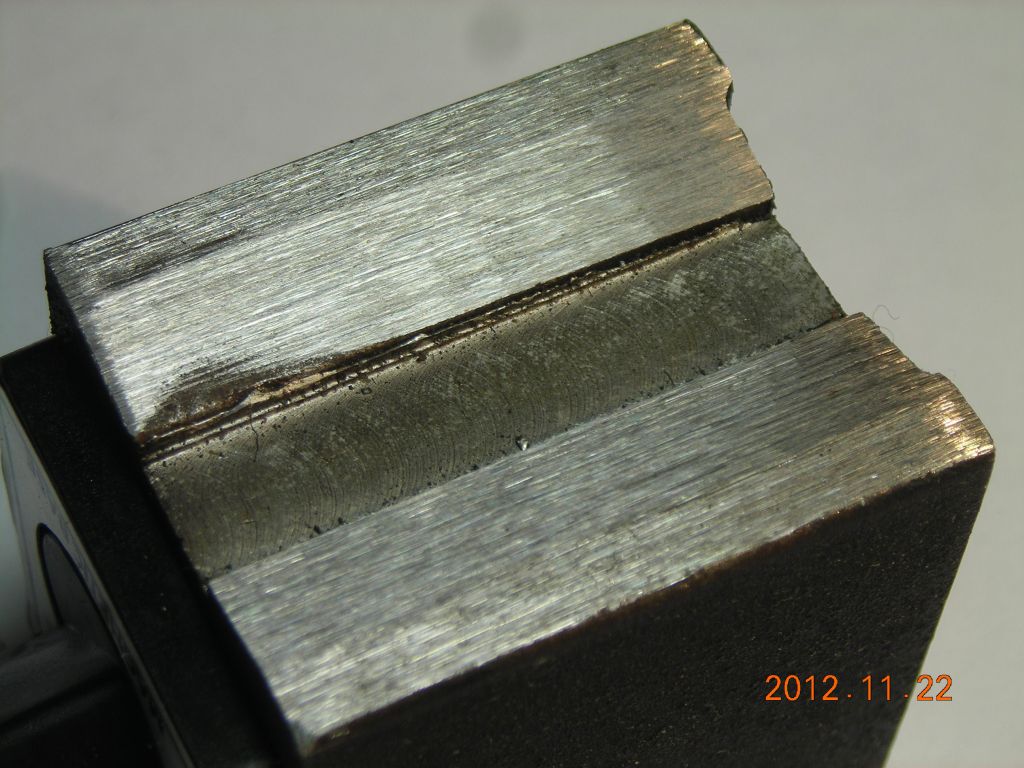
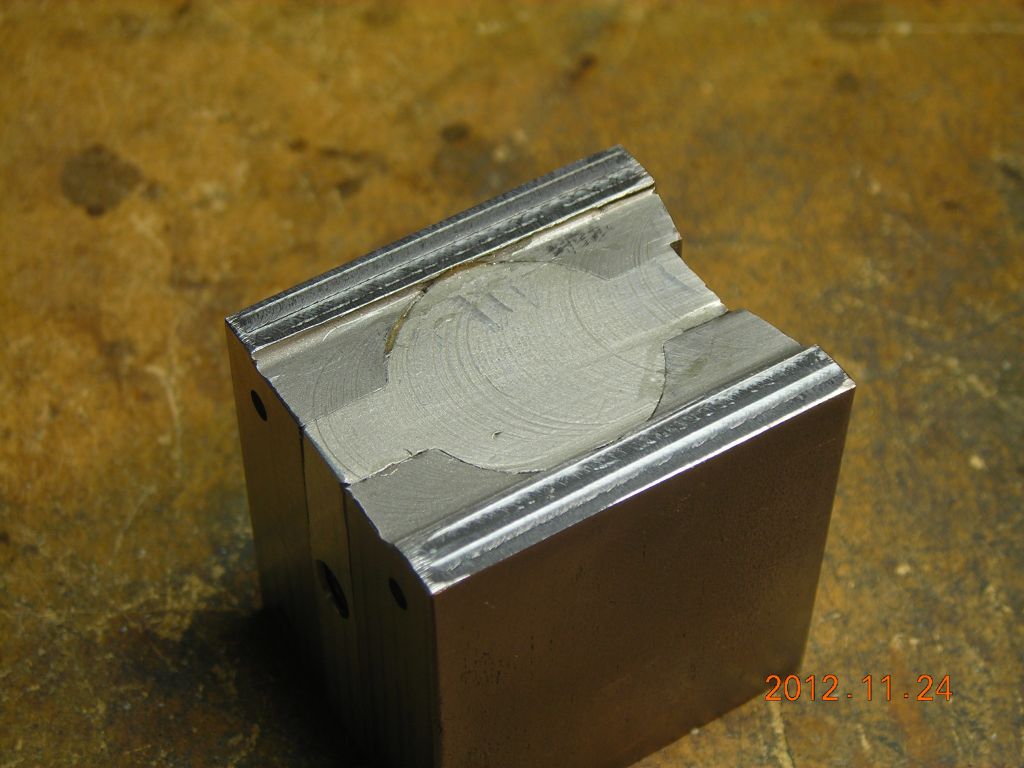
Here's some photos of the disassembly. The arm was mounted to the base by a crappy M5 screw. Once I had removed the on/off knob cover, the base actually fell apart! The base consists of two steel halves separated by an aluminium (or possibly zinc alloy) filler, which was poured in molten (you can see this clearly in some of the later photos where I've sandblasted the base to clean it).
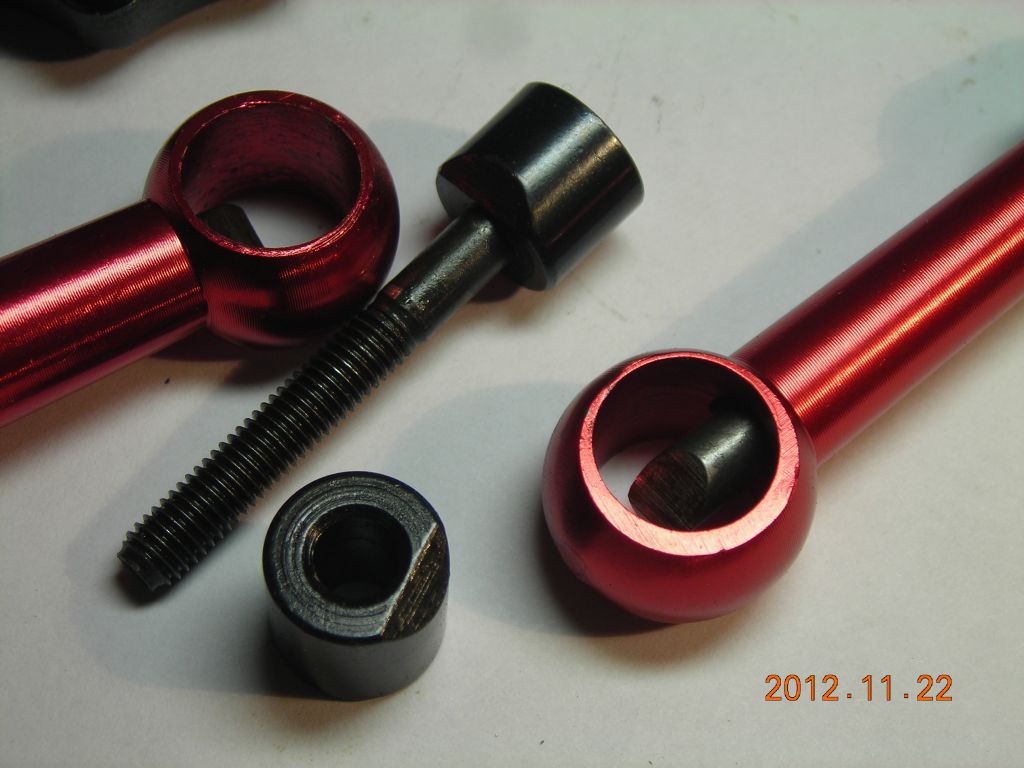
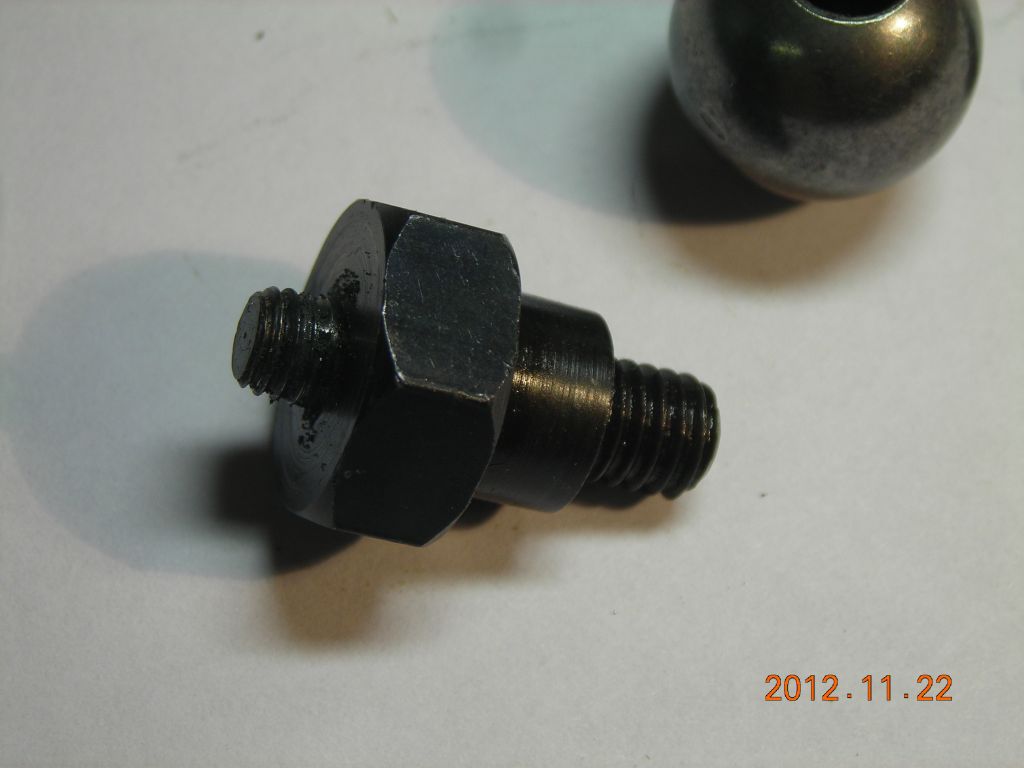
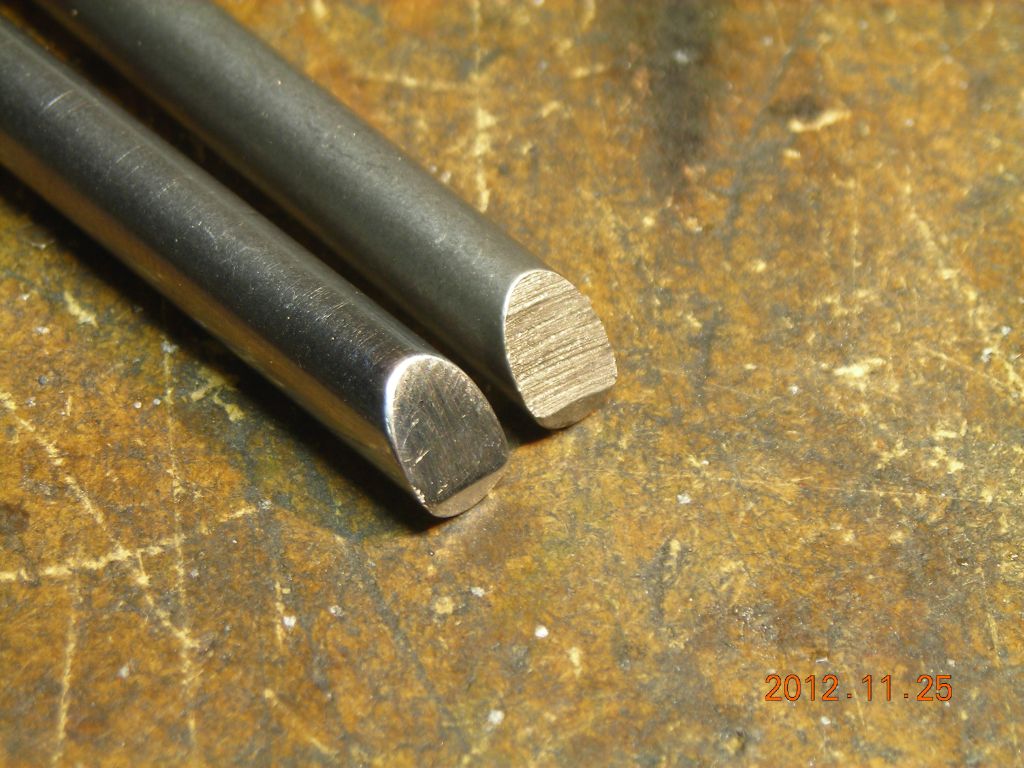
I stripped the arm down fully - several small C-clips are used to retain the balls, which were a bit tricky to remove. When the central knob is tightened, two wedged plugs are pulled together, which press on the end of two pushrods, which in turn push outwards on the balls, locking them in place against the C-clips.
 Overall |
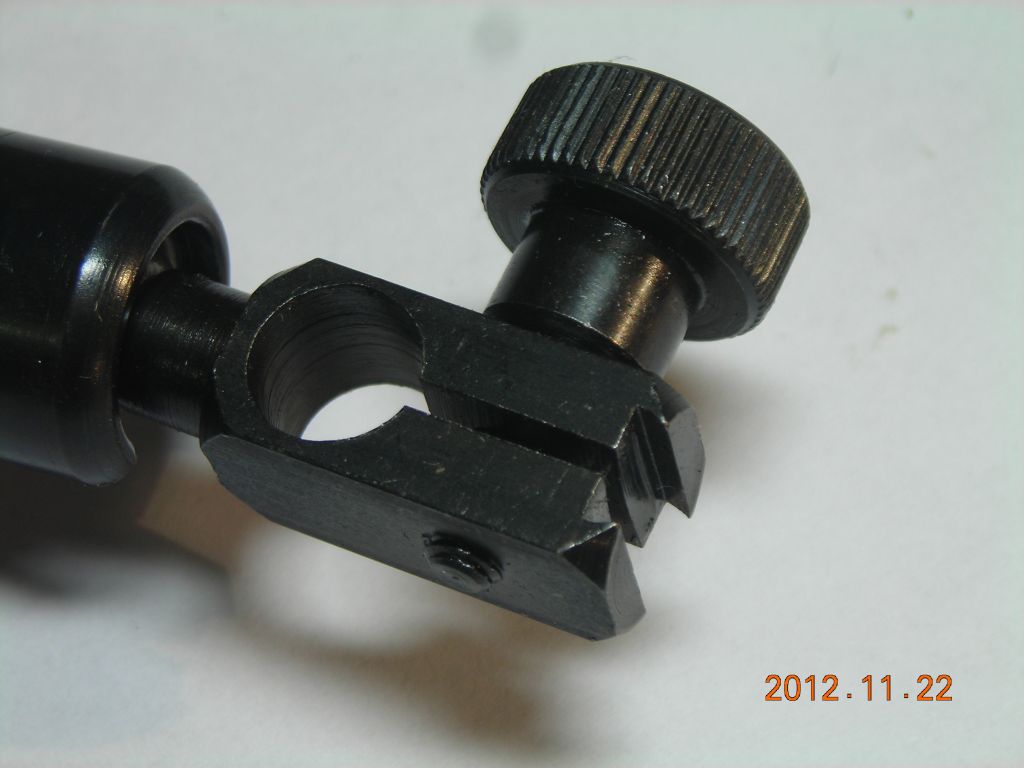 Dovetail mount for indicator |
 Crap mounting thread |
 Note the precision-ground base (not) |
 |
 In pieces |
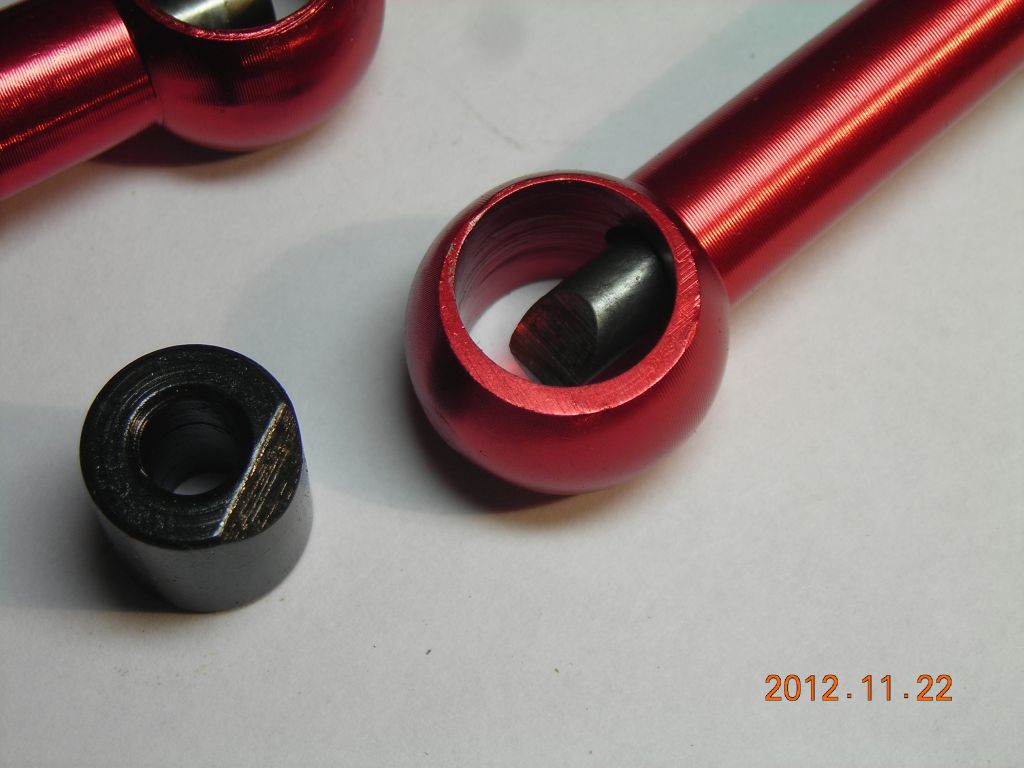 One of the wedge plugs and the pushrod |
 |
 |
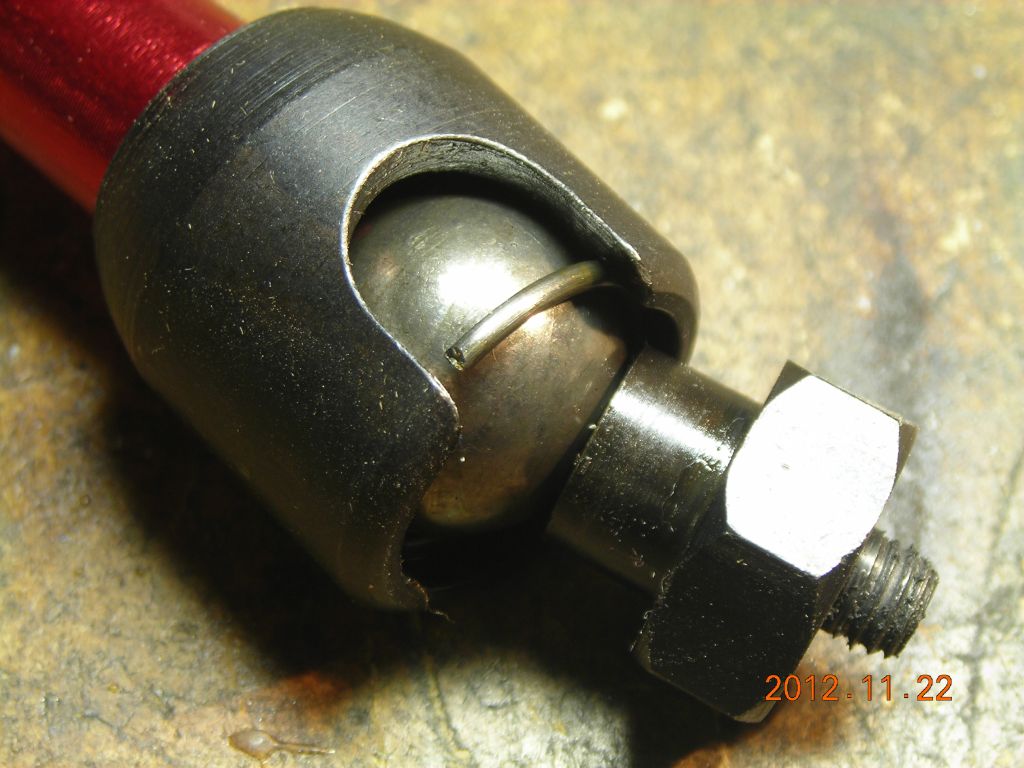 Removing a C-clip; push it around inside the housing |
 |
 |
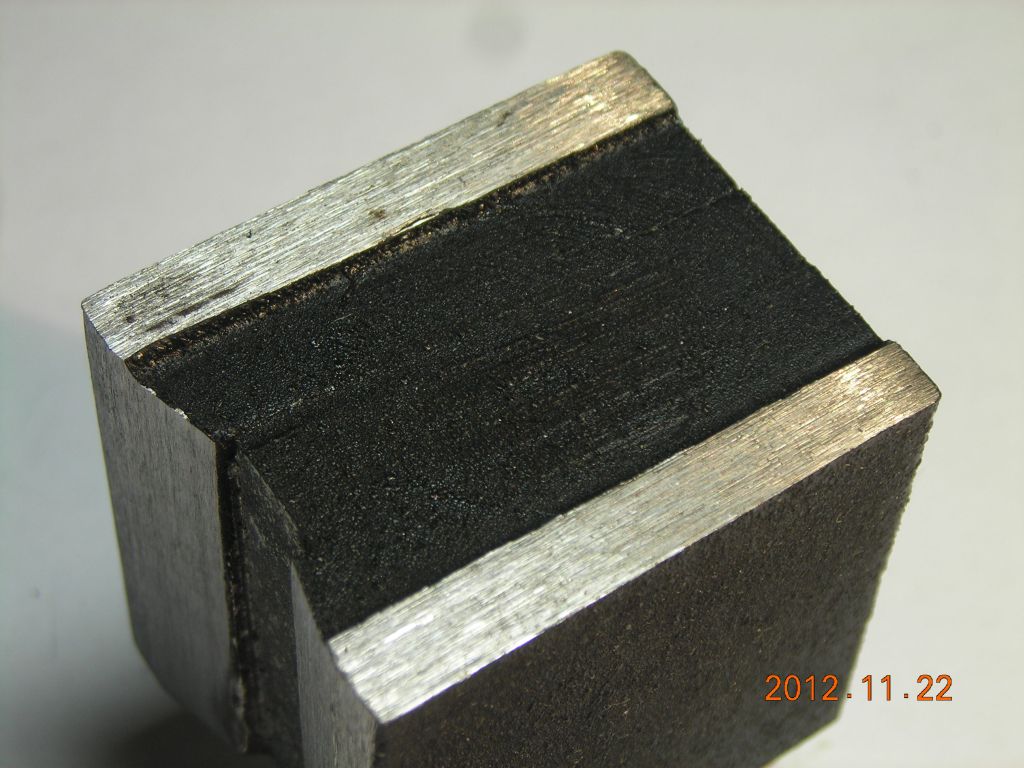
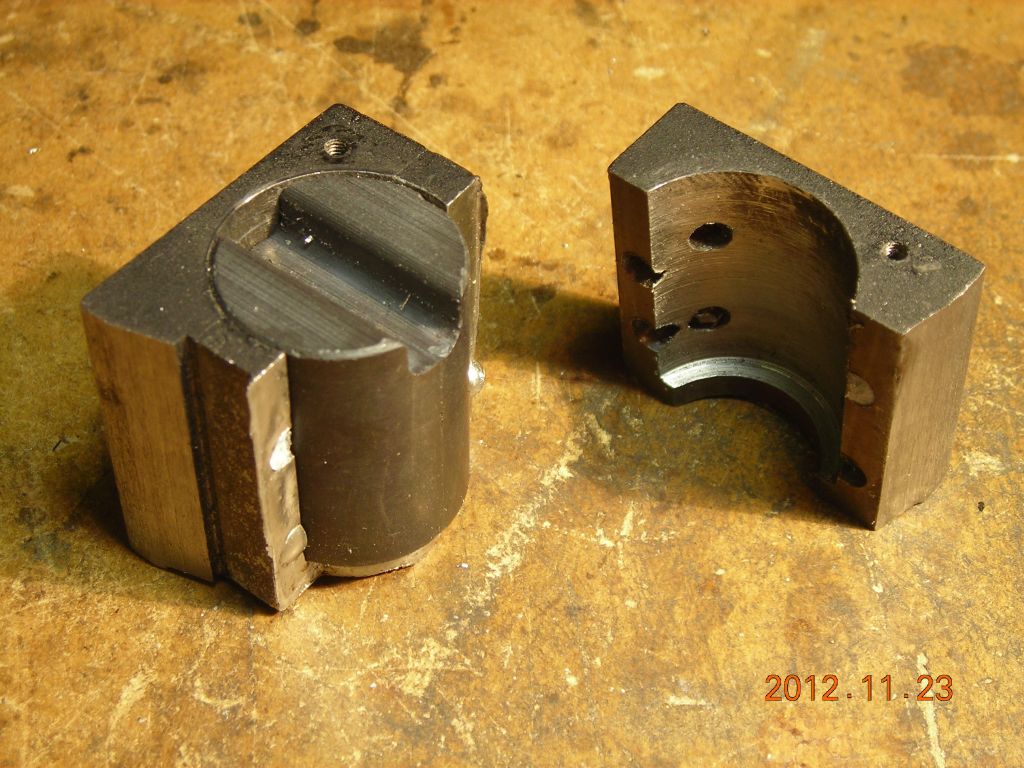
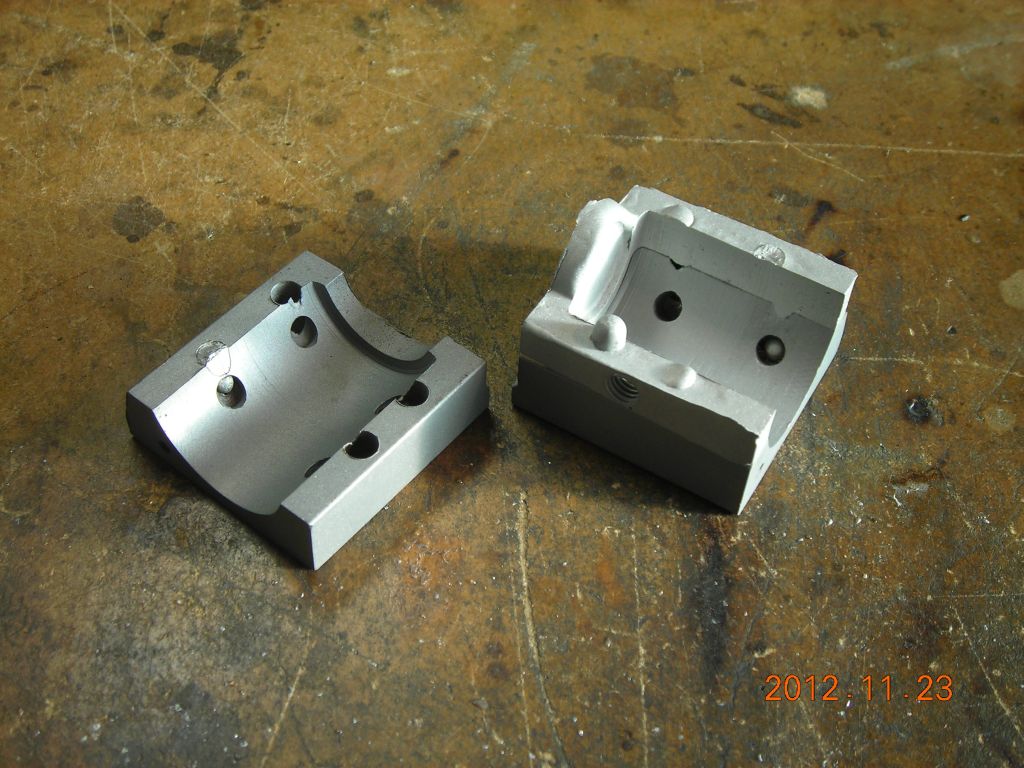
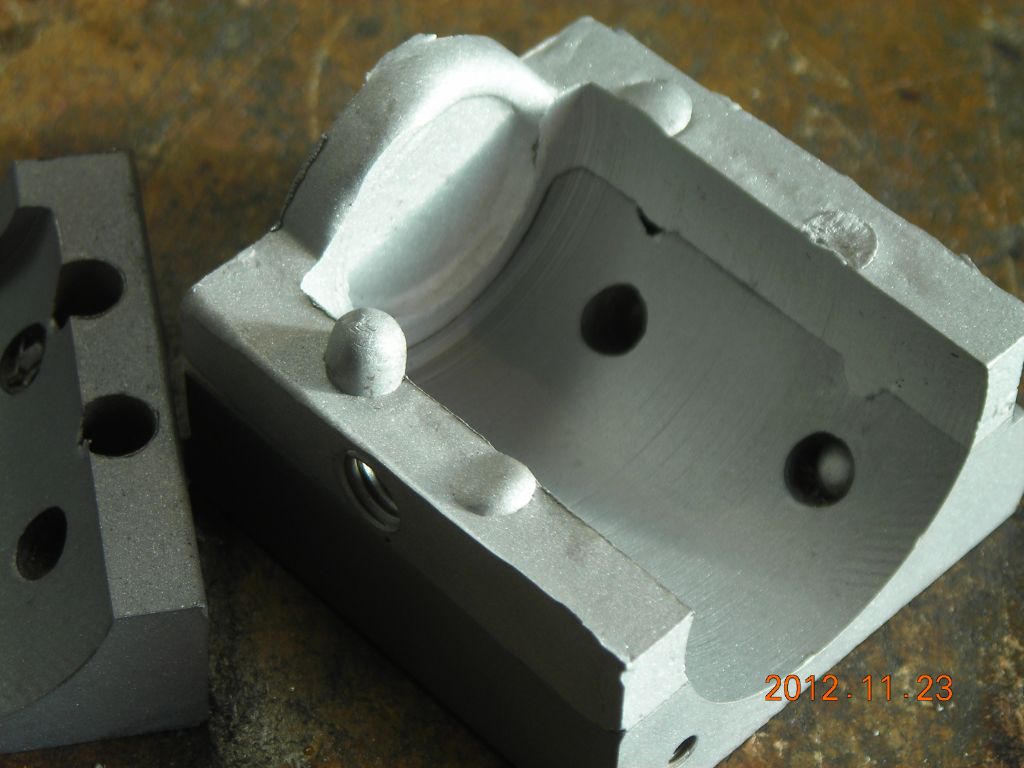
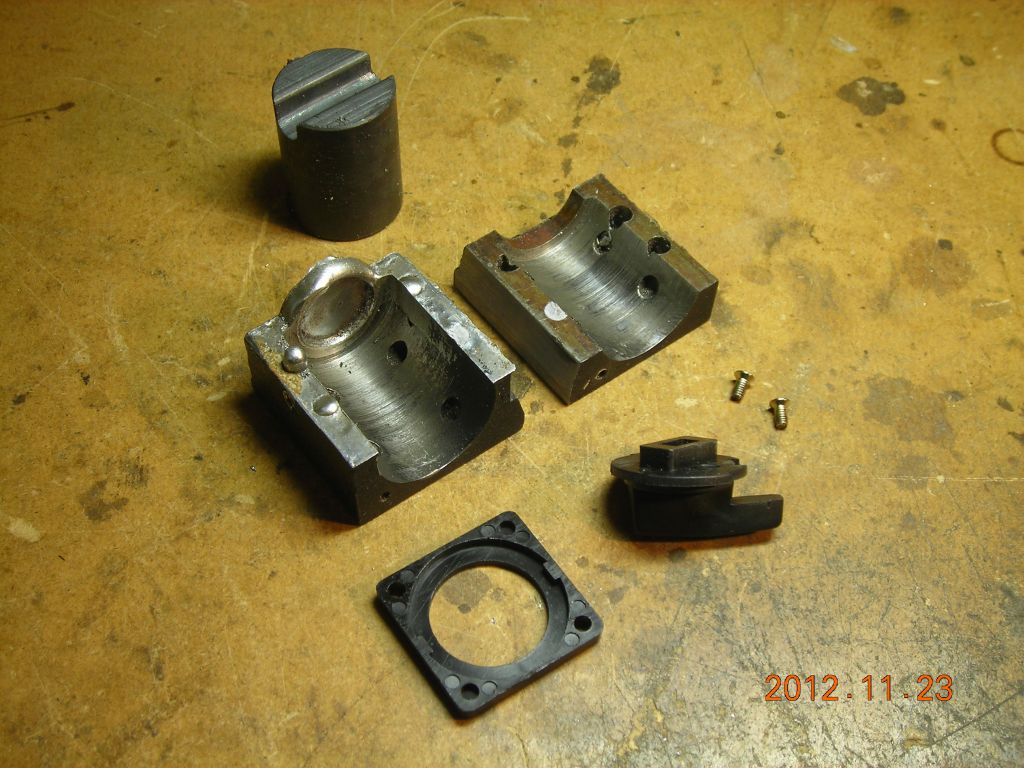 Parts of the base - the cylindrical thing is the magnet |
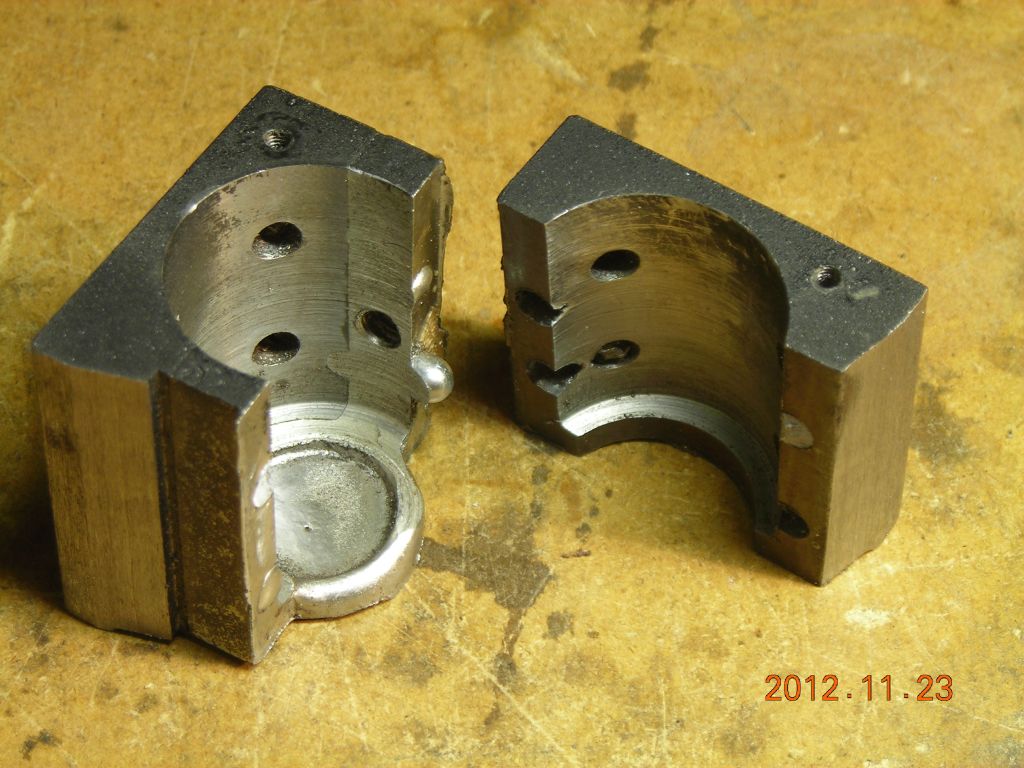 Note the poured aluminium or zinc separation |
 |
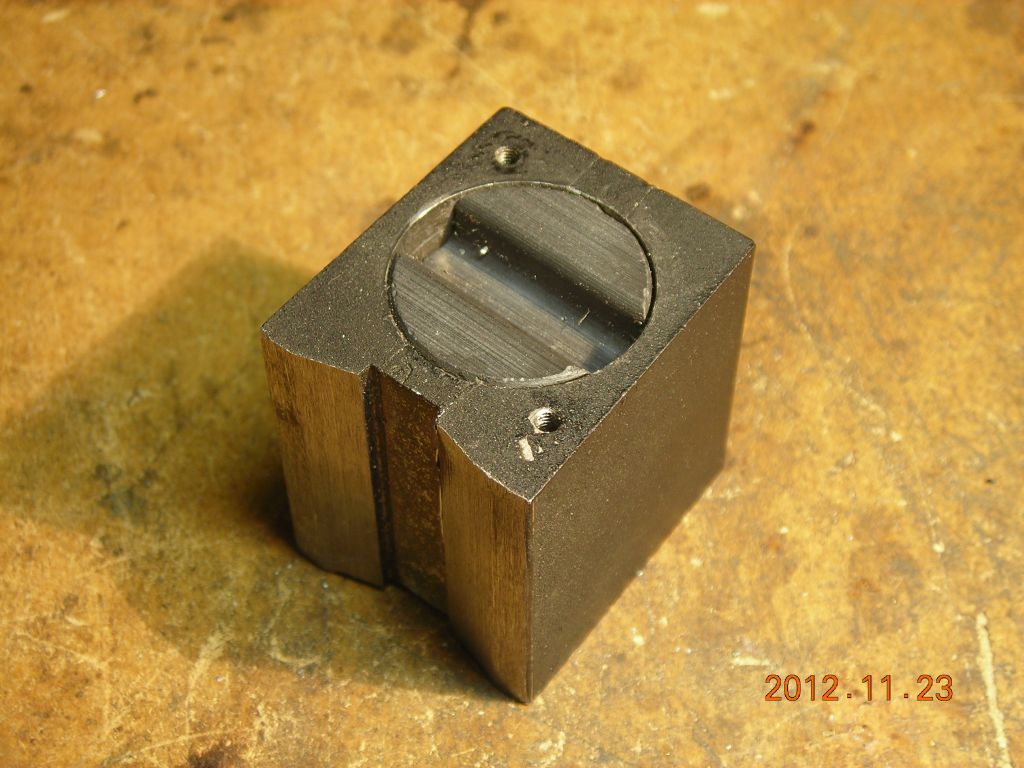 |
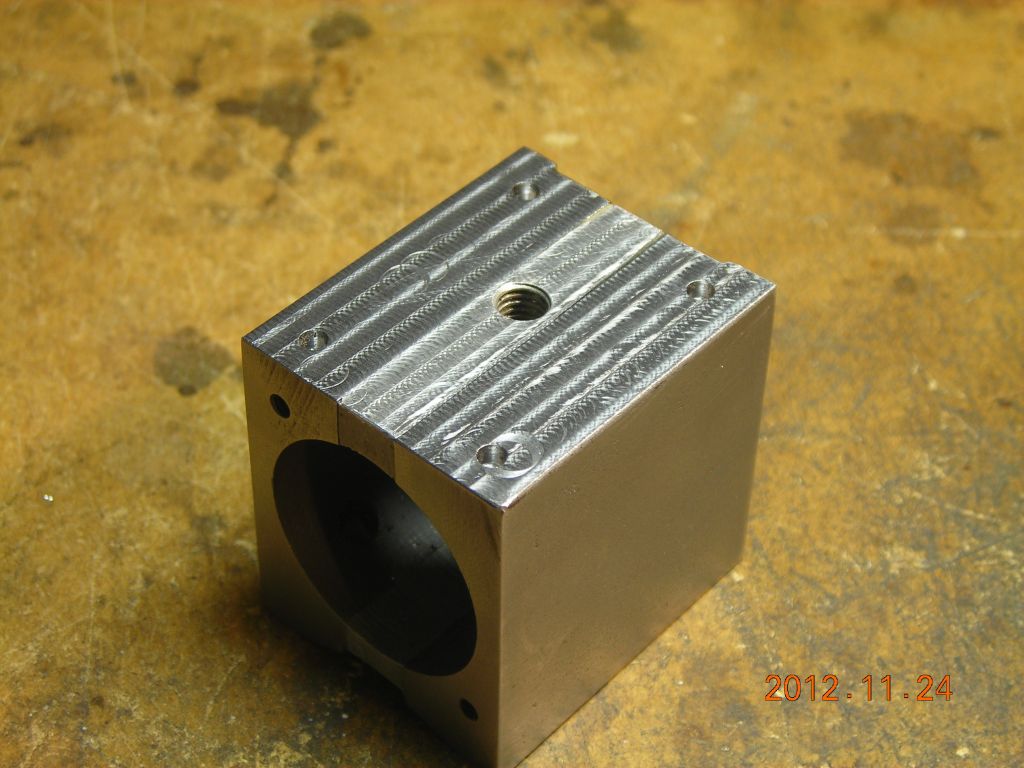
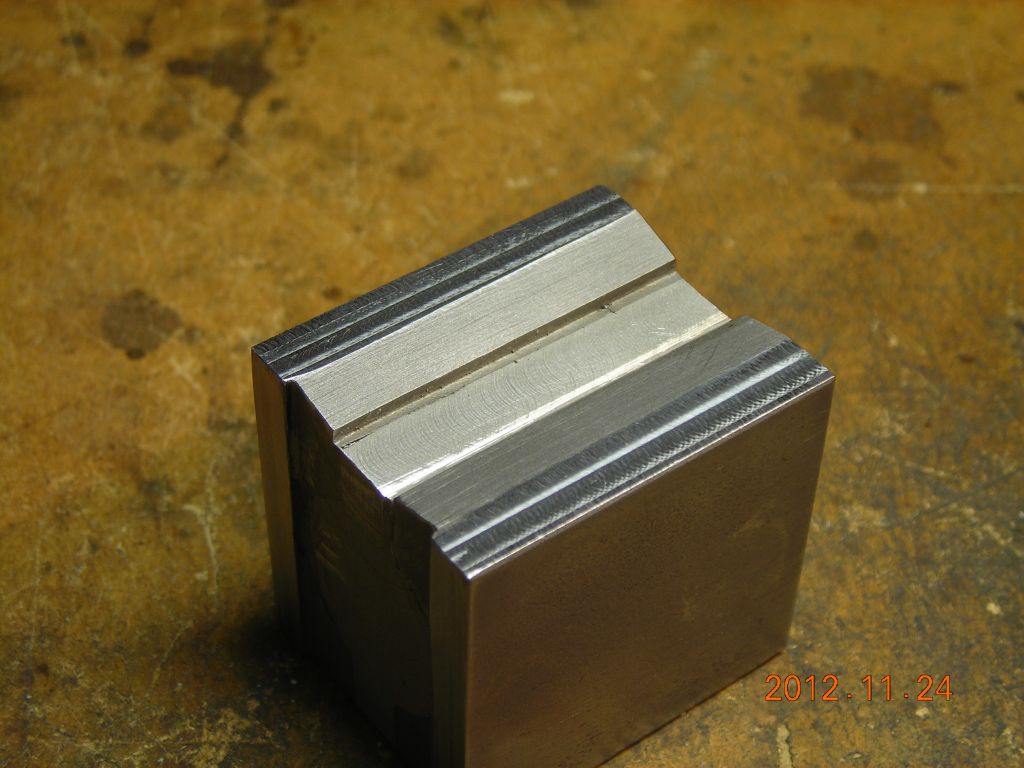
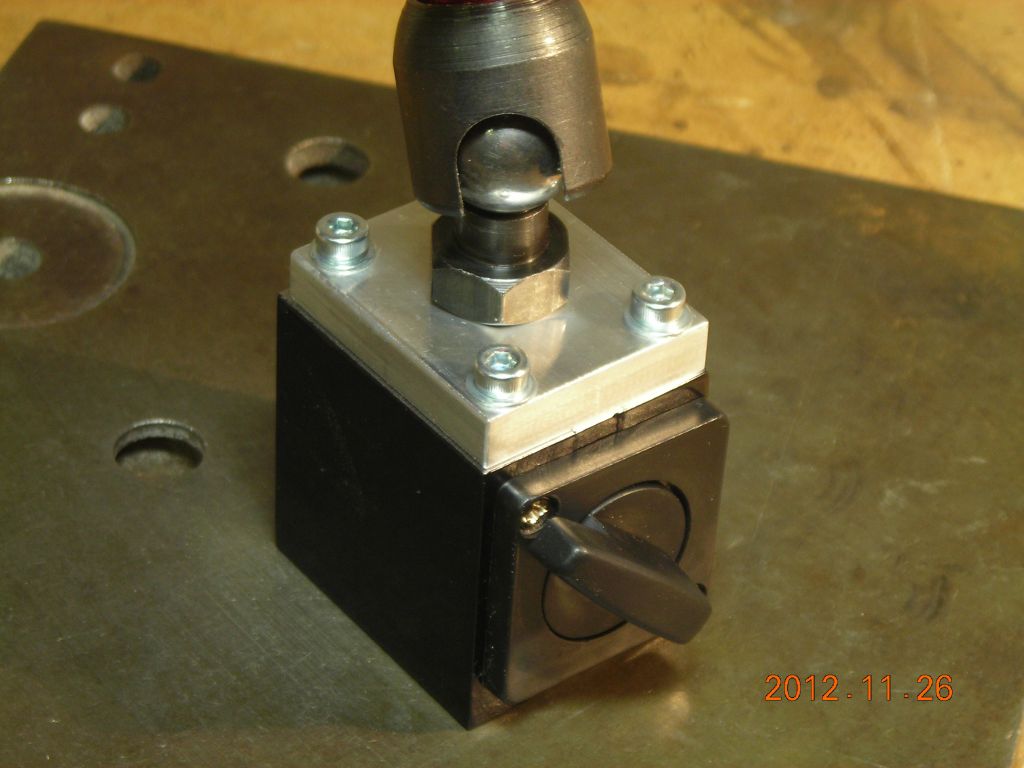
I sandblasted the pieces of the base. Fortunately, they were a very good fit, so I decided to superglue them back together, which worked really well. Once the glue had cured, I dribbled some Loctite threadlock around the cracks for good measure (it penetrates very well). I then trued up the base in the milling machine, and made a small mounting plate for the top which will provide an attachment point for the arm (and help hold the halves of the base together).
I polished the ends of the pushrods and wedge plugs, to reduce friction, and sanded the faces of the ends of the arms where the meet at the locking knob, again to provide a better mating surface. The ends of the C-clips had small burs which dug into the balls when locked, so I ground these off. Lastly, I improved the arm attachment to the base and made a dovetail adapter so I could mount my dial indicator.
After fixing it up, the arm works perfectly and I've found it indispensable. In retrospect, I would've been better buying a proper arm (e.g. "Noga"), but the Chinese arm works pretty well if you spend a bit of work on it.
 Sandblasted |
 |
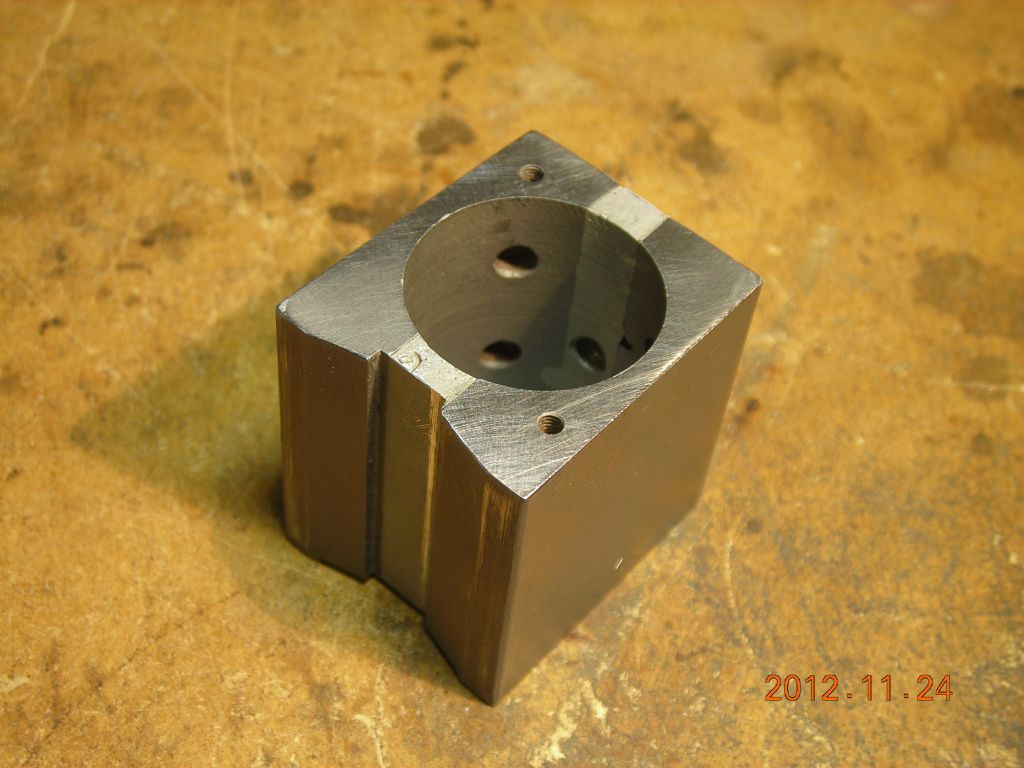 Glued back together |
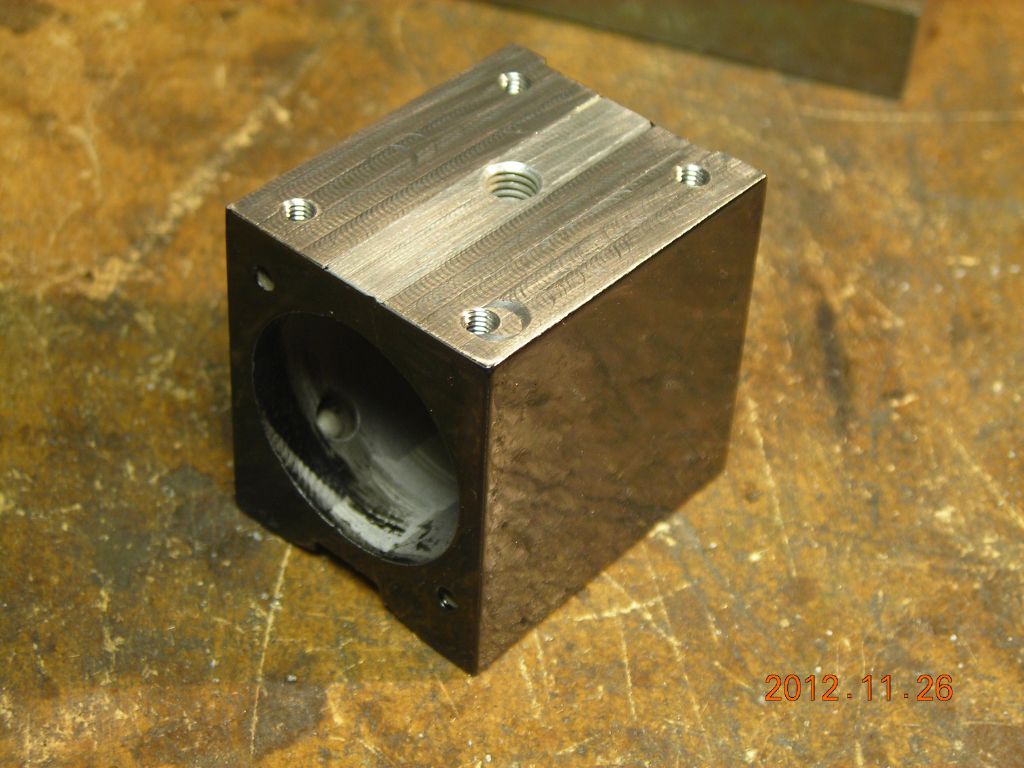
 Top milled flat - note original mounting hole into the very soft aluminium |
 Underside machined |
 |
 |
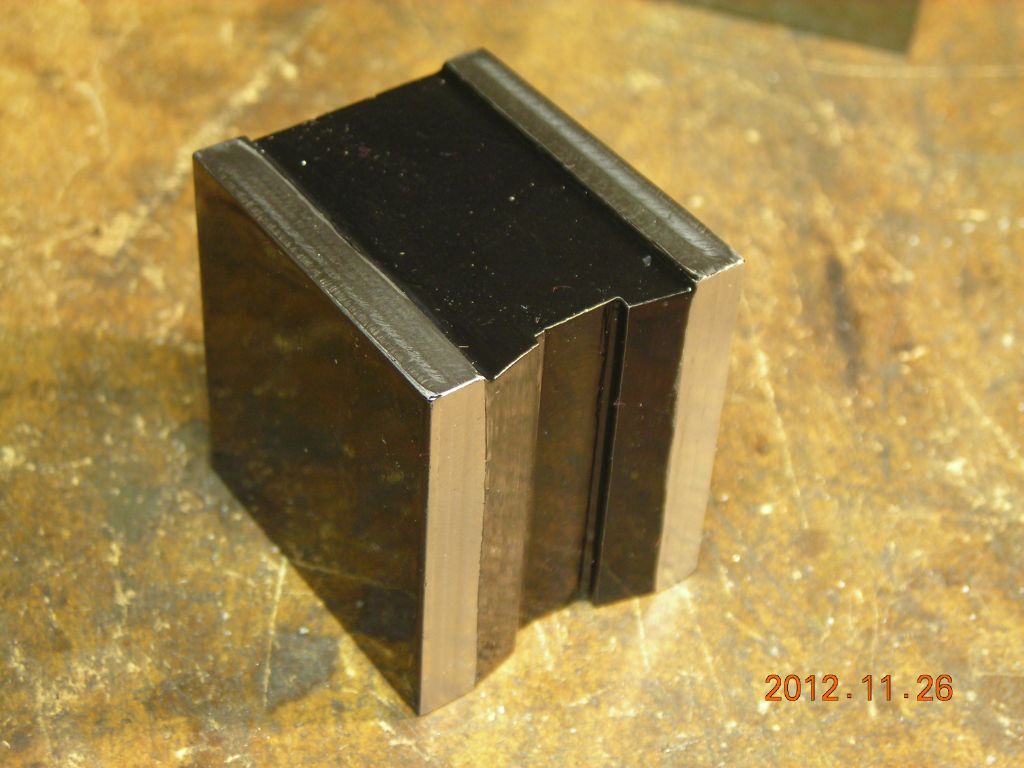
 Another sandblast to prep for painting |
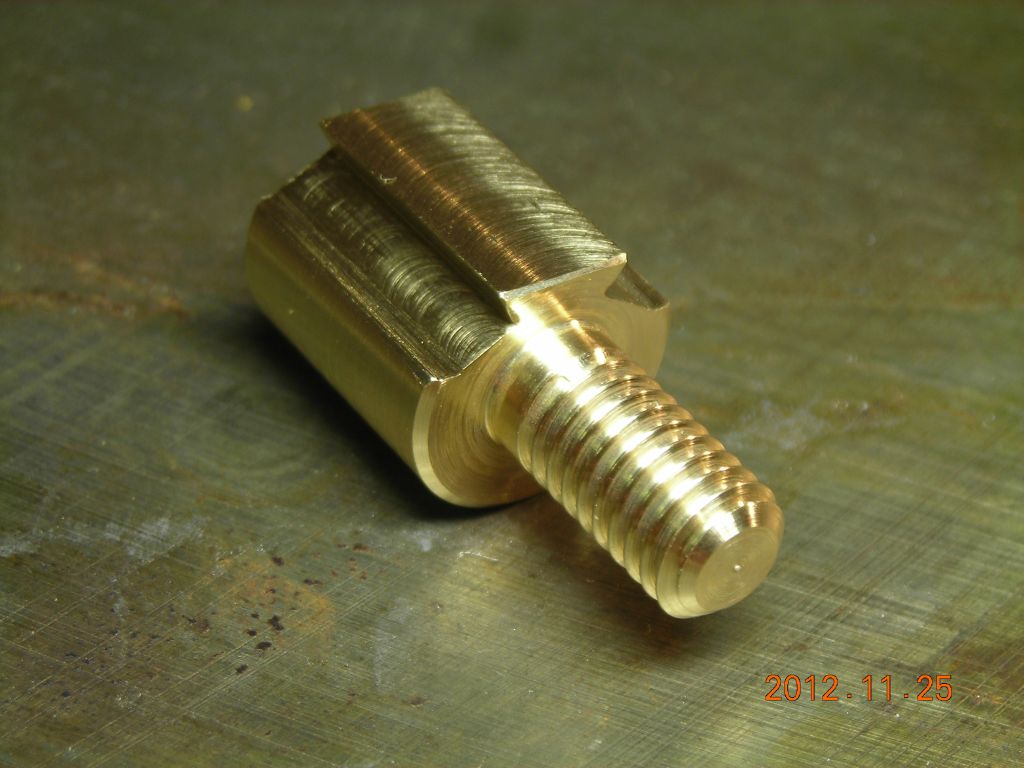
 Top mounting plate |
 Polish the ends of the pushrods |
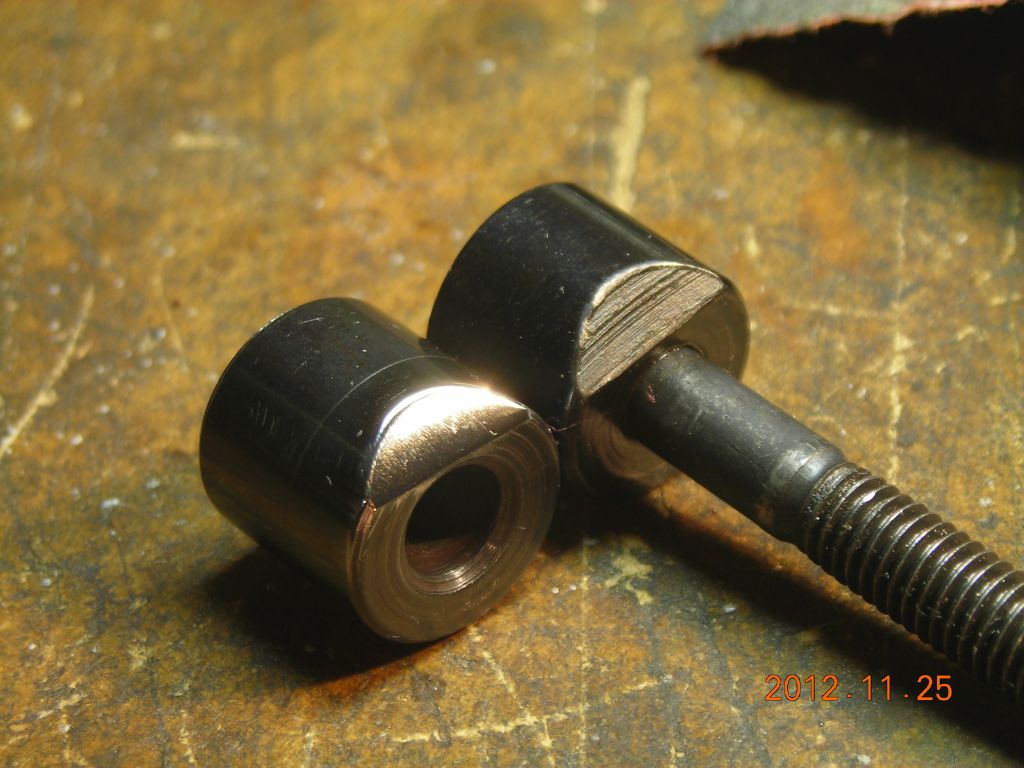 And polish the wedge plugs |
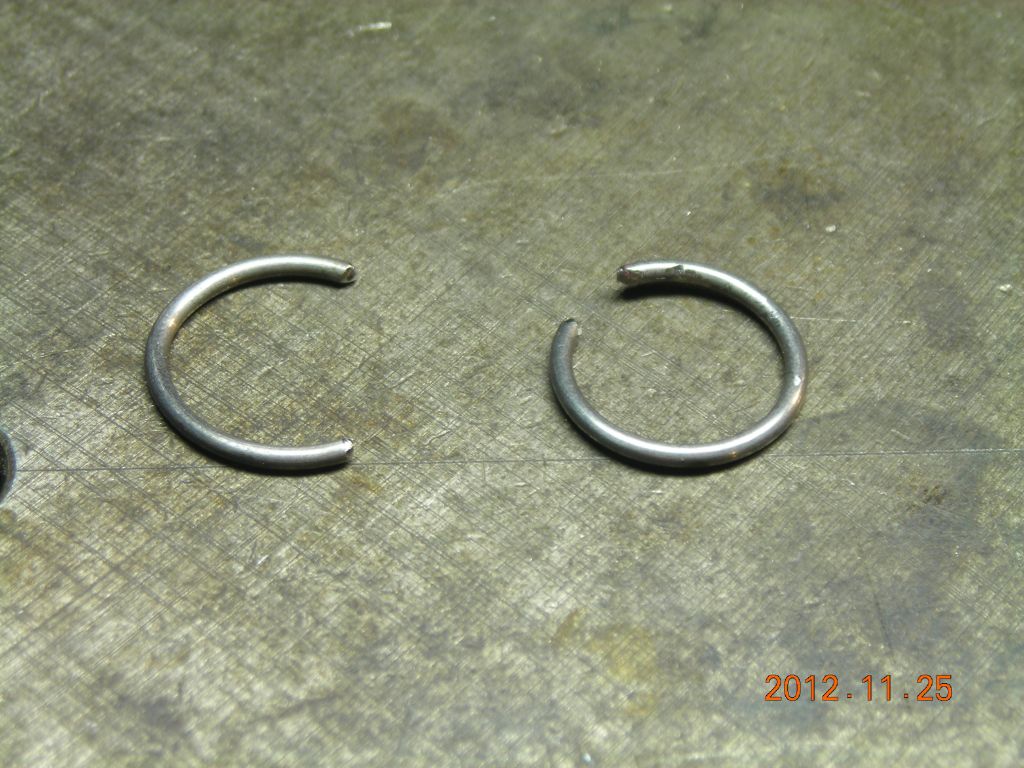 Remove burrs from the C-clips |
 Sand faces of the arms flat where they meet (see where the red anodising has been removed) |
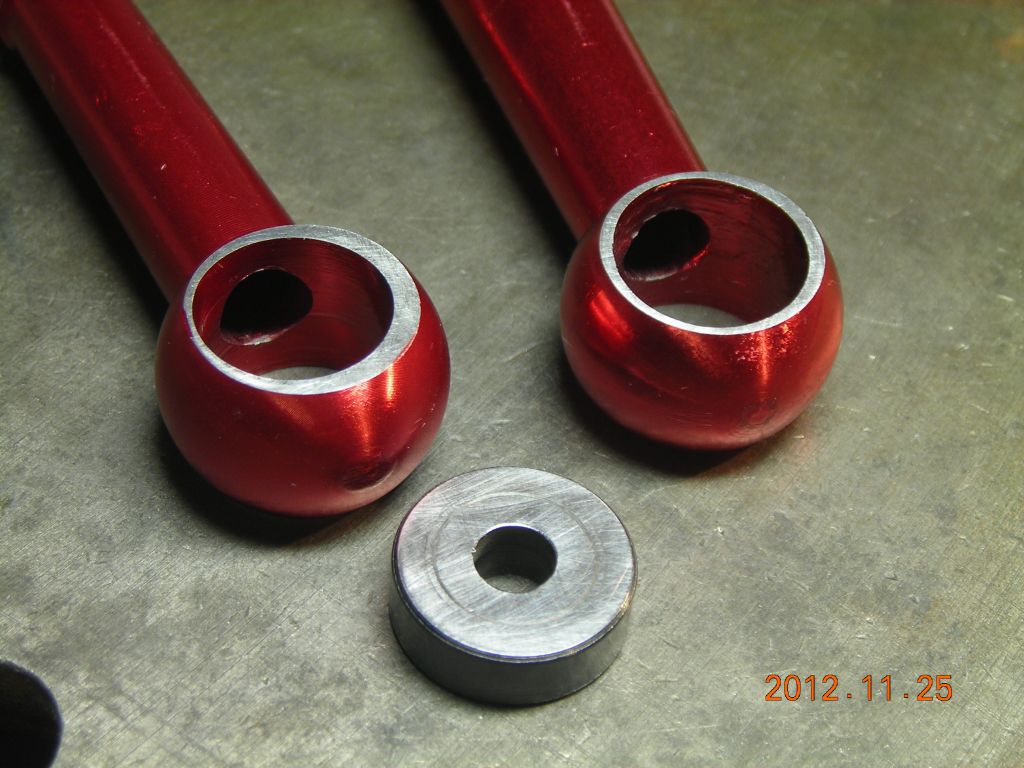 Sand the intermediate washer as well |
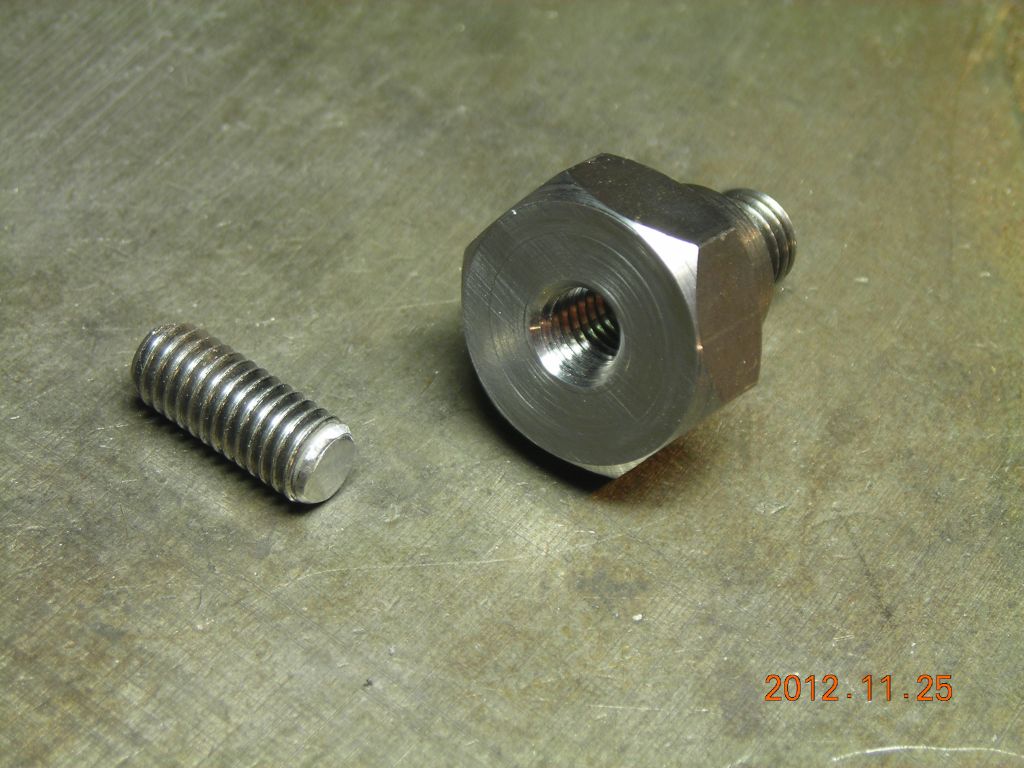 Drilled out the original mount |
 Arm reassembled and attached to mounting plate |
 Dovetail adapter |
 |
 |
 Base painted |
 |
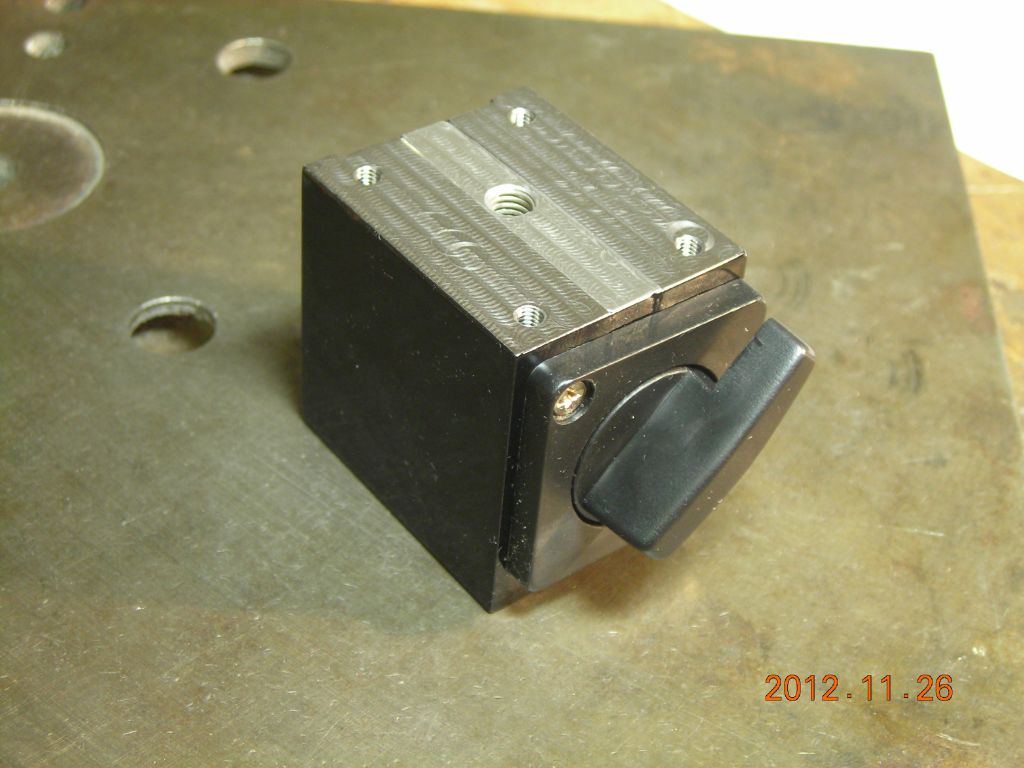 Magnet and knob back in |
 All finished! |
 |
 |
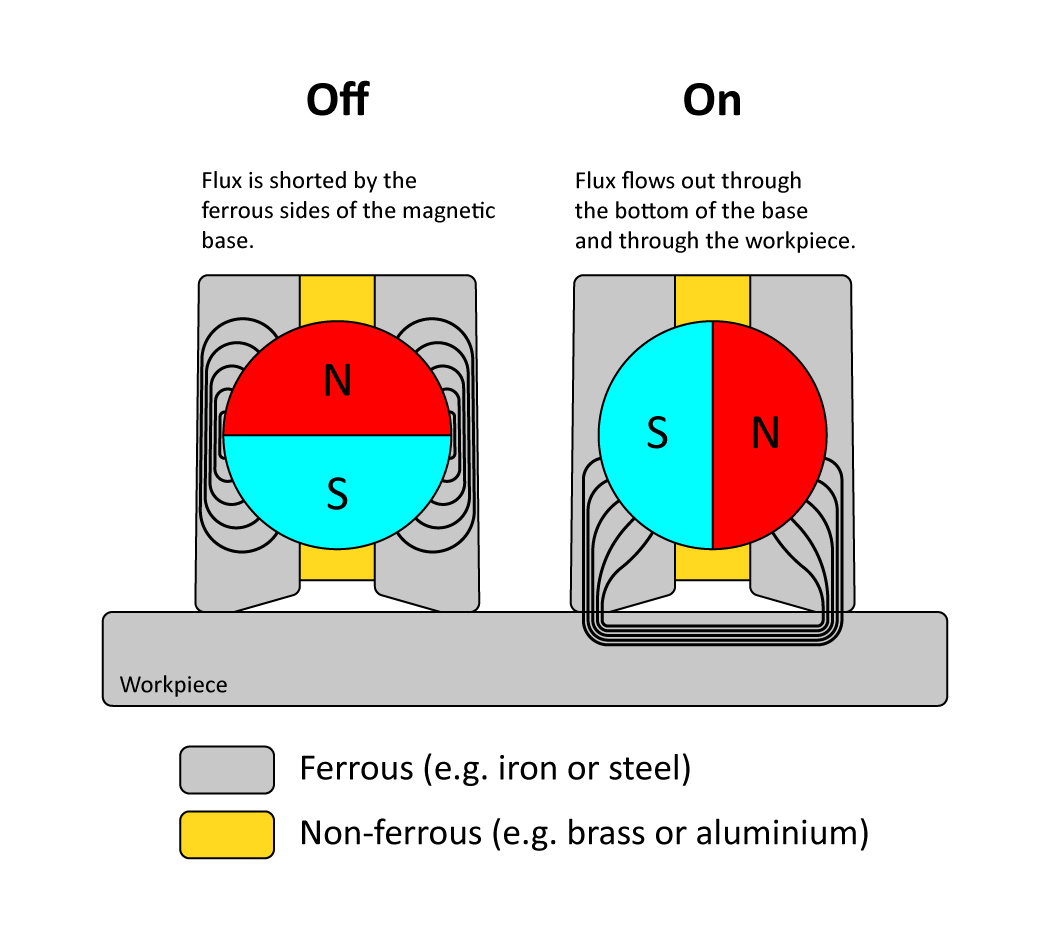
Here's a drawing I did which shows how these bases work.
The cylindrical magnet is magnetised along its diameter, so one half of the cylinder face is north, the other south. In the off position, the magnetic flux flows from one pole to the other through the ferrous pieces of the base - no flux passes through the workpiece, so the base doesn't stick. When the magnet is rotated to the on position, flux now flows from the magnet out through the ferrous half of the base, through the workpiece, and back into the base through the other ferrous half. The two ferrous halves of the base are separated by a non-ferrous material (aluminium) to prevent flux flowing between them.
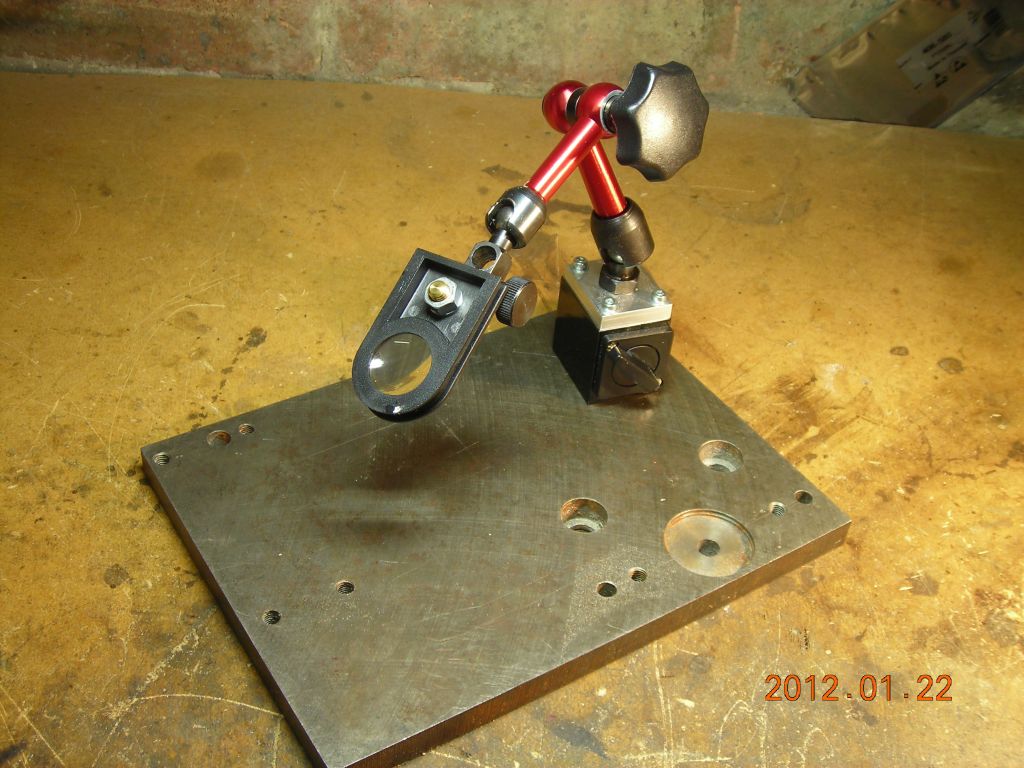
If you stick a lens on the arm it makes a very useful adjustable magnifier!
| ▲ Workshop |