

| ▲ Workshop |
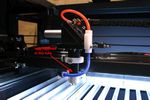
While setting up my bigger laser cutter, I discovered that the lens tube was too short to enable thin material to be cut directly on the bed (the lens tube needs to be lowered and it was too short to remain in the holder). I suspect it had been cut for some reason - the end of the tube was bare metal (not anodised).
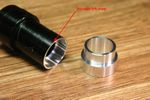
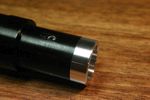
Let's break out the Loctite 638 again. I first bored out the end of the lens tube so about half the original wall thickness was left. I left a sharp edge on the outer diameter (no chamfering, as I would usually do with turned parts) - this will ensure there's no gap left when the plug is glued in. I next turned and bored an aluminium plug to a neat fit inside the end of the lens tube. The outer and inner diameters are left slightly over/under-sized and will be finish-machined later.
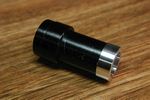
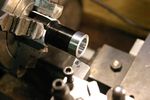
The plug was glued in to the end of the tube with the loctite, and cured on a hotplate (40° for 1hr seems good). The tube was then held in the 4-jaw chuck and dialed in so the original tube ran perfectly true, to within 0.005mm. It was then a relatively simple matter of turning and boring the extension plug to exactly match the same dimensions as the original lens tube. I used a micrometer for the external diameter and a telescoping bore gauge for the internal diameter. (The internal diameter isn't critical, since the lens tube is held on the outside, but it doesn't hurt to make it the same.) Since I didn't chamfer the edge of the tube, there is no detectable join between the two parts ("detectable" as in "any change in diameter" - obviously the extension is bare metal, not anodised!)
The new lens tube now slides right down to the required lower position for cutting thin material. The retaining screws can slide over the join without sticking.
 |
 |
 |
 |
 |
 |
| ▲ Workshop |