
| ▲ CO2 laser cutter |
Ideally should be placed near a window, for the shortest possible run of extraction duct, but I didn't have that luxury so it's sitting on a bench in the middle of the garage. Coolant pump is underneath and the extraction duct goes vertically up to the roof.
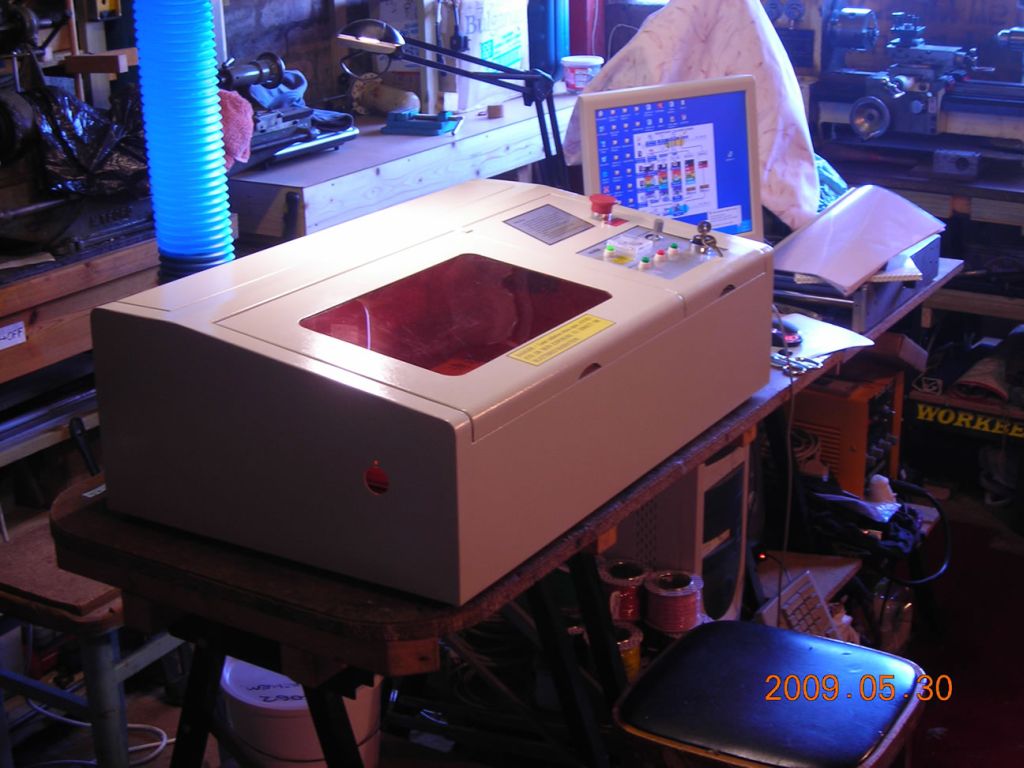 |
The computer doesn't have to be anything special. A little LCD screen is very nice!
Because there are optics inside, it should ideally be sited away from any sources of dust, dirt (for example, grinding or polishing).
The extraction fan supplied with the machine is a centrifugal type which is proving to be a bit underpowered (part of the problem might be the length of extraction ducting I have).
Anyway, the fan is mounted on the back of the machine and is supposed to suck fumes out from the rear of the cutting area.
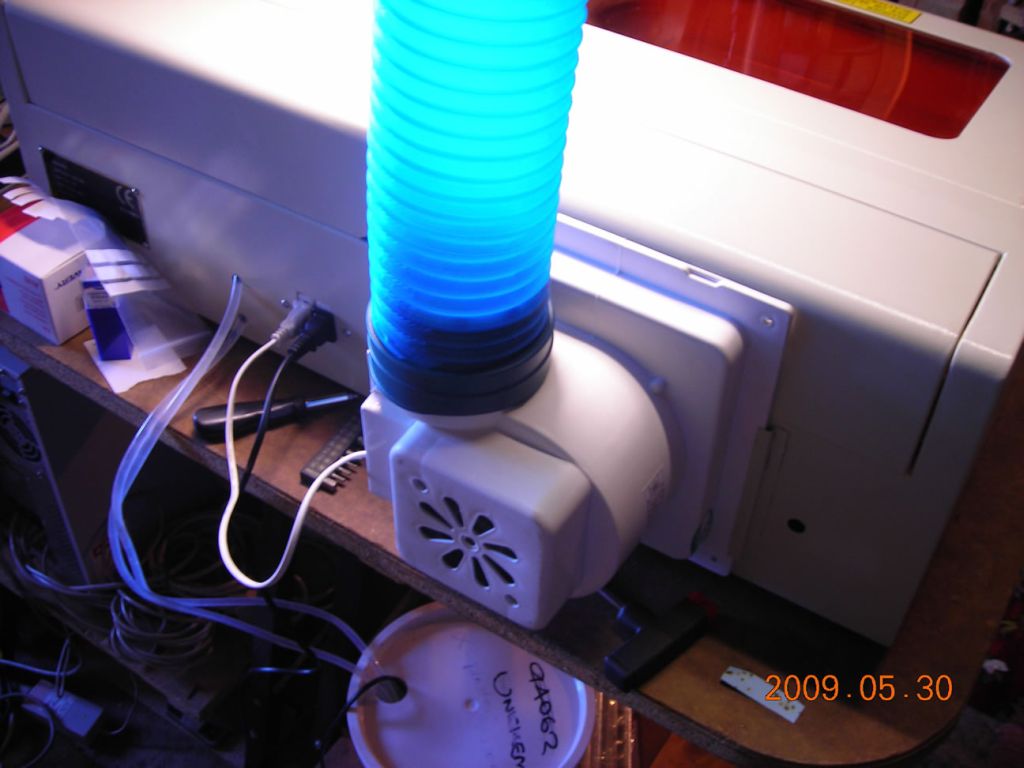 |
A thin layer of foam taped around the fan outlet makes a nice fit with the hose that's supplied. From there, the hose goes up to the ceiling, along, and then out the end of the garage.
 |
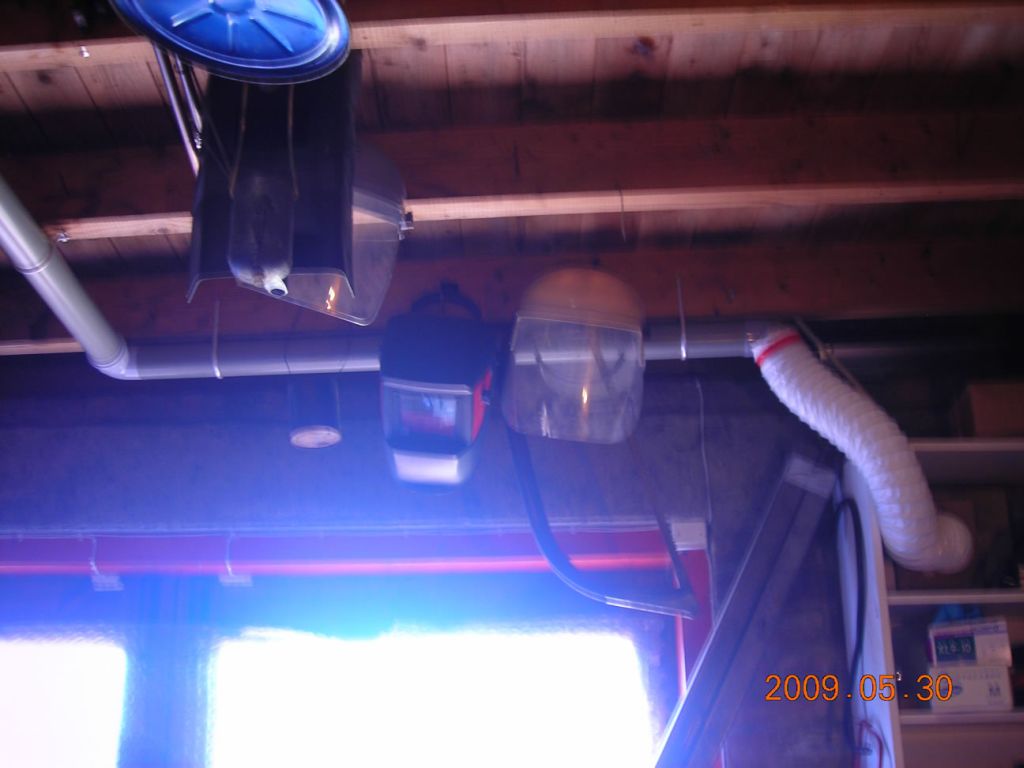 |
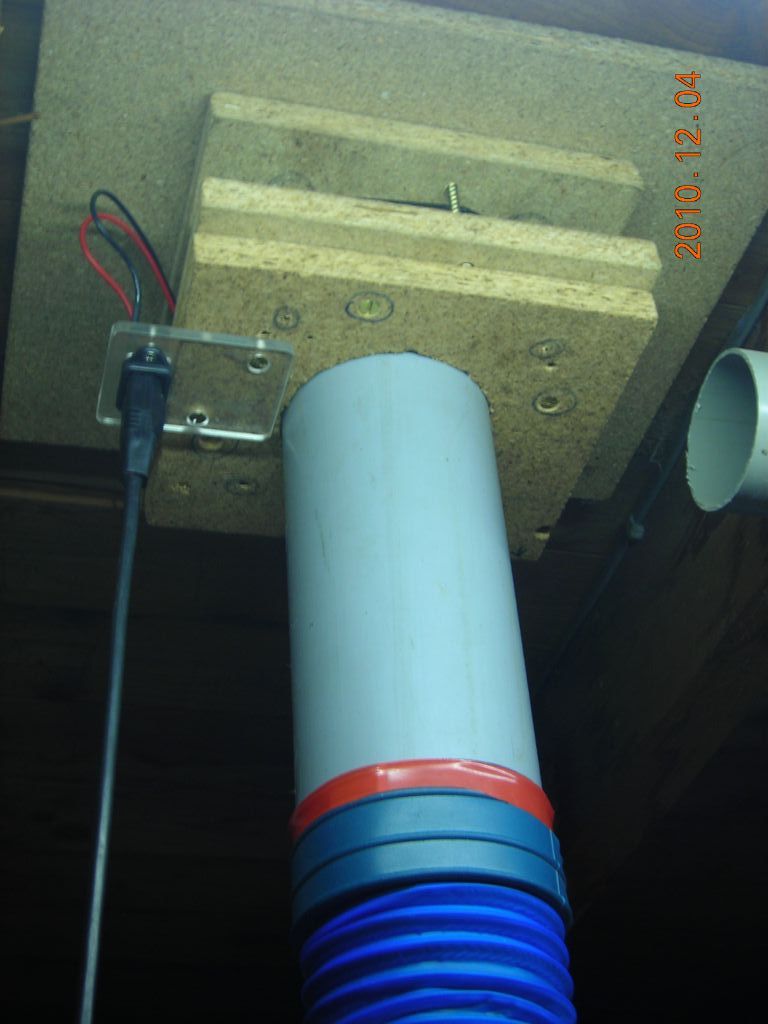
Part of the piping is 68mm downpipe, which may be restricting the flow (in fact, it definitely is!). But short of cutting a hole in the roof directly above the machine, it's the only option.
Now, like I said, the supplied fan on its own is rather underpowered - when the cutting head is operating away from the extraction duct (i.e. at the front of the table), the smoke hangs around the head for quite some time. In addition, there is no obvious air inlet into the cutting space - air must just leak into the gaps in the case.
Commercial machines have an important difference. They too have an extraction duct from the rear of the table, but the machine enclosure is tightly sealed and there is a horizontal inlet at the front of the machine for air to go in to the cutting space. The net effect of this is a nice sheet of flowing air from the front to the back of the cutting table, which carries smoke away effectively. This "sheet" of air flows underneath the lens, so smoke can never rise to dirty it.
So a possible modification might be to use a plasma cutter to cut a rectangular slot in the front of the machine (sounds horrible, but probably doable!) so we can mimic this airflow. The downside of a front-to-back airflow is that the smoke, vapours, fumes etc. are carried over the workpiece. If you were doing something like MDF which contains a binder, the fumes might condense on the other part of the board and mess it up.
Commercial machines use a pressurised air assist to the cutting lens. When engraving, this simply helps to ensure fumes can never reach the lens and cleans the cutting area. When cutting, this air jet blows through the cut and can help cut thicker materials. One maker of engravers (Trotec) actually has a fume extraction from around the nozzle as well, avoiding the problem of fumes flowing over the material described above.
How easy this would be to implement on this machine, I'm not sure. A problem is that the cutting head initially (on machine power-up) parks over the plastic surround at the back-right of the cutting area. There is not enough height clearance here to fit a nozzle. And if one was fitted when the head was over the cutting area, it would crash when the machine was restarted. It might be possible to make a loosely attached nozzle that could fall off if you ever forgot this.....
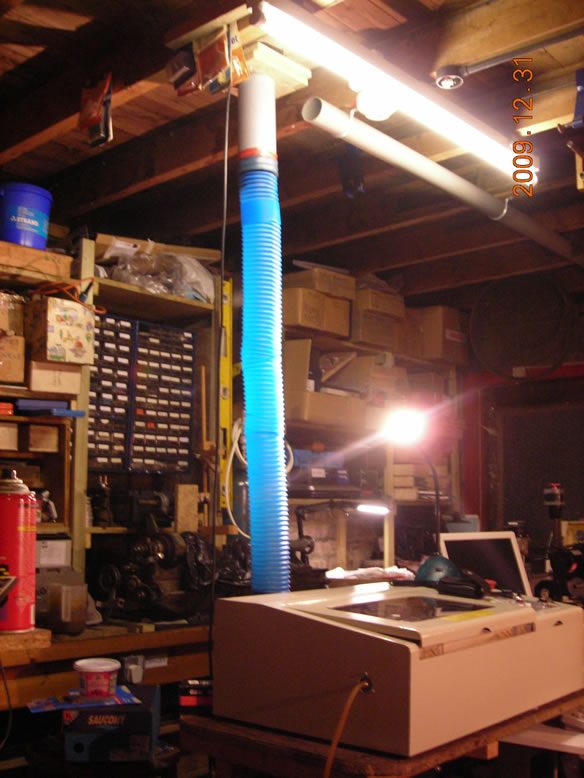
Added later: I eventually managed to build both an air assist nozzle and a front airflow guide to allow air to enter the front of the machine. It also turned out that the long exhaust pipe was impeding the flow too much, so I decided to lead the exhaust straight up through the roof instead, as shown below. Much shorter path, hence better airflow. There is also an additional axial flow fan just underneath the roof, which helps to nearly double the airflow.
 |
 |
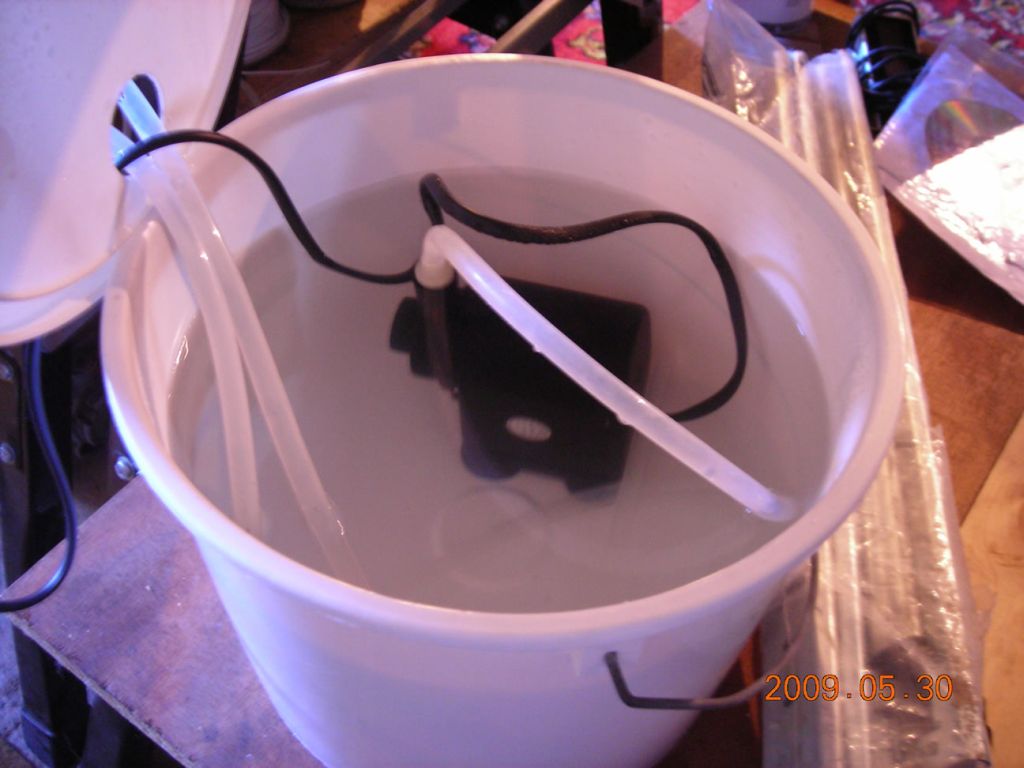
Cooling water is pumped round a closed loop using a little submersible aquarium pump. A 10L container will provide ample volume (remember the actual proportion of time the laser is on is probably quite small). I'd suggest putting a little digital thermometer in the tank (the type with the remote temperature sensor) just to keep an eye on it. I wouldn't let it go above 30 degrees.
I measured the flowrate and it's around 0.8 L/min.
 |
It would be good practice to install a flow switch which ensures the laser can't be switched on when there is no coolant flowing. Simplest would be to connect it in series with the case lid interlock switch.
When you start the system, ensure there aren't any large trapped air bubbles in the laser tube, as these could cause hotspots in the tube when it's running. If you have a decent flowrate it should carry any bubbles out the tube.
Distilled water? Although they recommend distilled water, I don't really see the point, especially as you're going to have to change it if it ever gets too hot. Distilled water isn't the cheapest......If you were really keen then you could run a fan and heat exchanger in the loop. The tube dissipates around 500W of heat running at full power, so be sure it can cope with this.
From time to time, the mirrors and lens need to be cleaned. The best way of doing this is to use isopropyl alcohol and some lint-free lens cleaning tissues. Lens tissues are available from many suppliers, but the easiest is probably Thorlabs (www.thorlabs.com).
| ▲ CO2 laser cutter |