
| ▲ Workshop |
03/05/13: See here for a measurement of the output power using a thermal technique
19/11/13: I discovered I can do laser wire stripping!
I had been considering buying a laser cutter/engraver for several months, mainly attracted by the possibility of engraving designs into wooden boxes, ceramic tiles, glass etc. Any of the "Western" models were far too expensive (e.g. £17,000 for a Trotec engraver) so I therefore settled on a Chinese model, which are readily available on EBay.
I initially contacted HPC Laser (www.hpclaser.co.uk) who are a UK distributor of Chinese machines. I was messed around for weeks by them - they didn't reply to emails, they said they had a machine but didn't, and so on. I'd gone off the idea of buying a Chinese machine directly when I came across Andy Slater's site (www.andyslater.com) who had gone through a similar struggle with HPC and had eventually bought one from EBay. I decided to take the plunge.
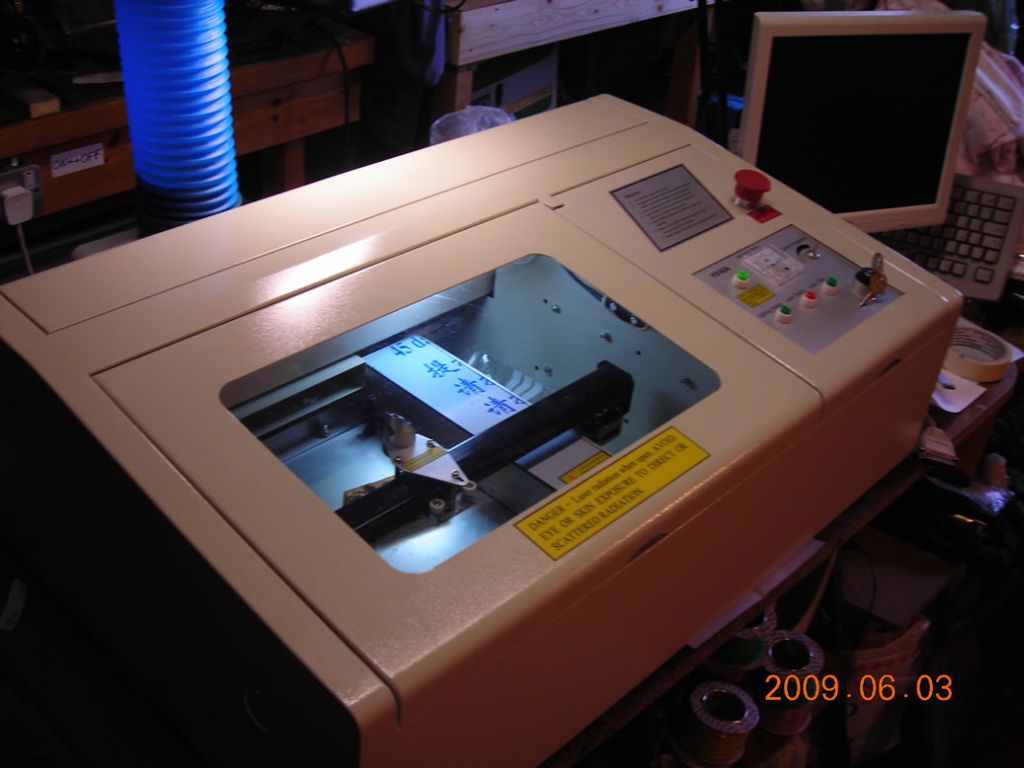
The machine is an SG40A Desktop Laser Engraver, made by Signstech International (aka "Strong Signs Digitech"). Here is the product on their own website - http://www.signstech.com/ProductShow.asp?ID=460. (If that doesn't work, go to their main site http://www.signstech.com and browse under the laser cutters section). I eventually bought it in May 2009 for a total cost of around £900. It arrived in 5 days, extremely well packed and with no customs charges!
I have put more specific details and specs of the machine, including hi-resolution photos of the insides of the machine, on this page.
I don't need to remind you that working with a 40W invisible laser beam can be extremely dangerous - a beam of this power will instantly ignite material many meters away and, because you can't see it, reflections are a real danger.
However, the only time you are exposed to any risk is during beam alignment, when you are messing around with mirrors in the beam, with the cover off and interlocks disabled. To make this safe, you simply work with a power that is low enough to barely char paper, which is all that's needed. Even if it does hit your skin (yes, it happened) you will only suffer a small burn. And you will certainly know about it!
In general, just be sensible, and watch where you're putting things. Do not stare into beam with remaining eye.....
I have put details of cooling, fume extraction, power, computer setup etc. on a separate page here.
The machine would not have run straight out of the box. Well, the laser tube might have fired, but one of the mirrors was damaged and the focussing lens had muck on it. There were also several other quirks (mirror mounts, lens holder) which would have made it very difficult to get it running easily (these are described below under modifications).
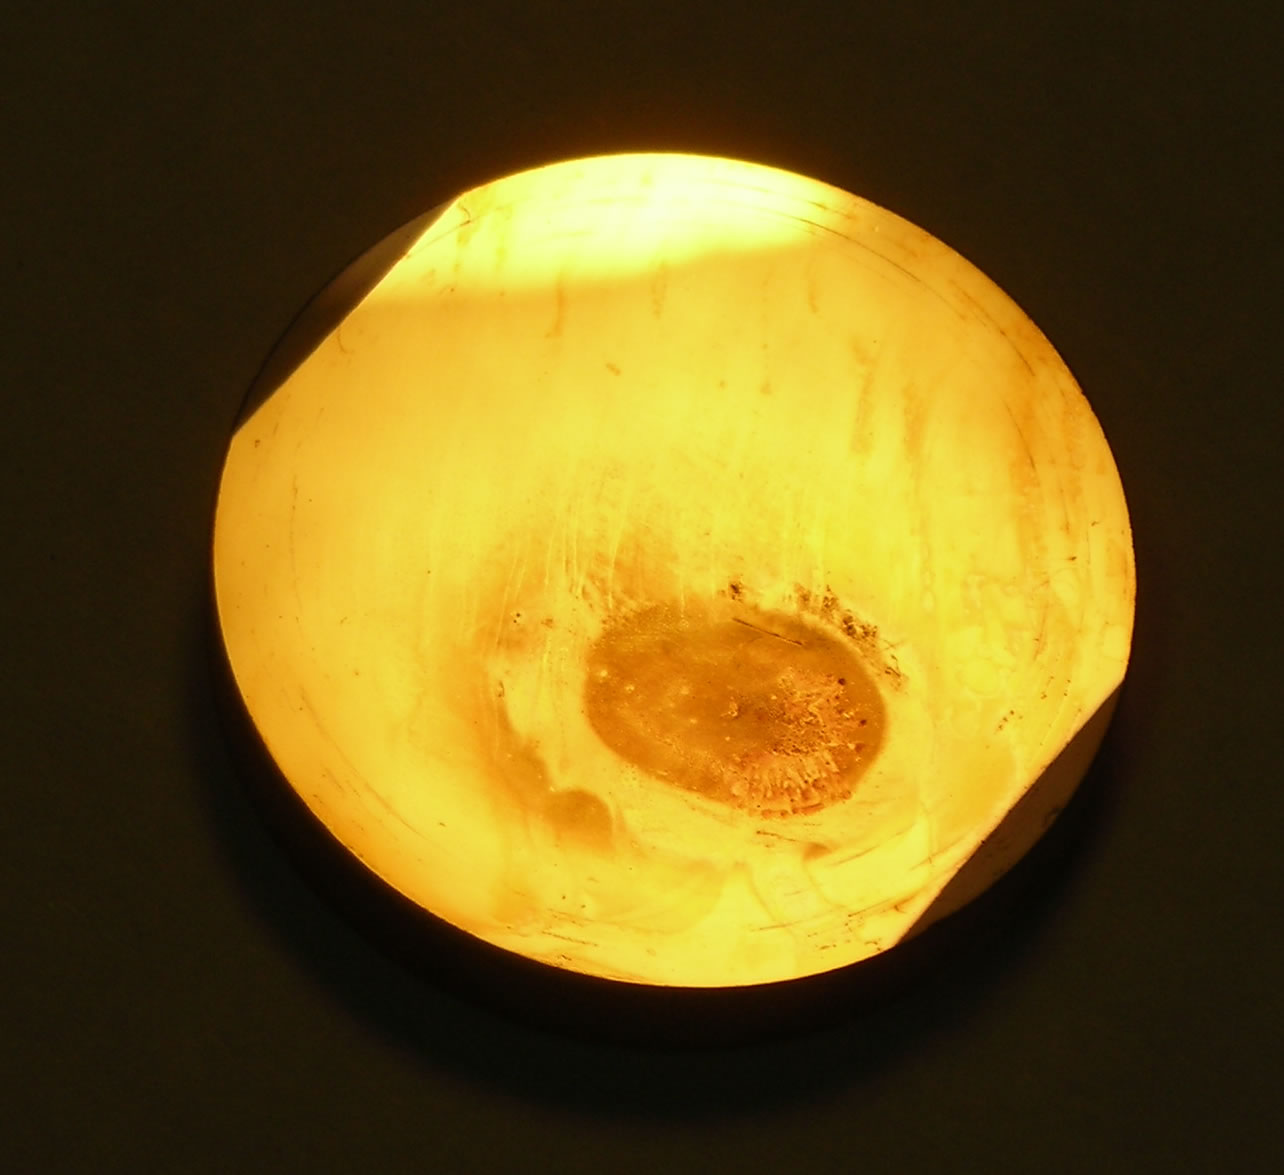
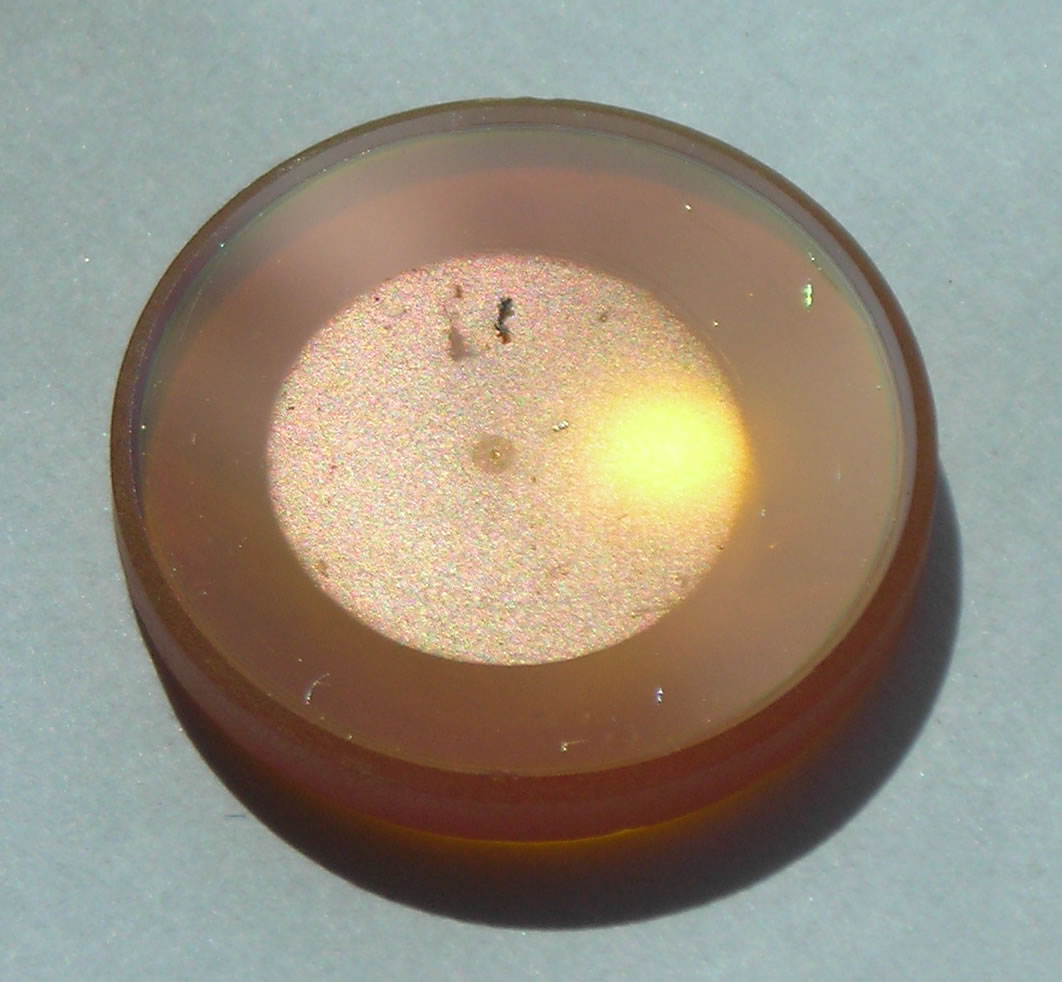
Dirty optics (25/05/09). When the Chinese factory aligned the mirrors, they obviously stuck a piece of masking tape over the holder when the mirror was in place. As a result, the mirror got coated with a spot of black sticky stuff when the laser was fired (see picture here). It wouldn't clean off. Also, the focussing lens had a clouded area on the back and what looked like a fingerprint on the front! (pic here) Luckily both these cleaned off with isopropanol. Fortunately, the company was happy about sending a new mirror. In the meantime I should be able to get a clean area to try things with.
New mirror (08/06/09). The new mirror arrived - it's not the same as the existing ones, but should perform just as well. The new mirror appears to be solid silicon, instead of gold-coated glass.
The most important aspect of machine setup is ensuring the laser beam is properly aligned, both with the axes and with the laser head. I have tried to describe this as well as possible - see this page for full details.
If I had turned on the machine as soon as it had come out of the box, nothing much would've happened, apart from probably damaging some of the optics even more than they were already.
Tube height (27/05/09). Like Andy Slater found as well, the laser tube was too high. Removing one layer of padding from under the tube brought it down to exactly the right level.
Later note - "exactly the right level" is in the centre of the rear mirror, but it is not in the centre of the hole in the cutting head. I had to insert another piece of thinner (1/8") rubber to raise the tube back up again. With some twiddling, this meant I could fire the beam directly into the cutting head.
Lens mount (27/05/09). The existing focussing lens holder is designed for a 20mm dia. lens, which is bigger than the 18mm lens supplied with the machine. I made a new holding ring which is designed to hold the 18mm lens neatly. Perhaps not a good idea to make it out of plastic, but we'll see. Pictures of construction.
Mirror mounts (28/05/09). I was rather amazed by the construction of the mirror mounts (read: not impressed!). There was no spring return on them, instead they used a pair of fixed nuts & bolts to hold the mirror plate on to the rear. This makes them just about impossible to adjust.
However, it's quite easy to adapt them so there is a spring return, and it then makes adjusting them a joy. Read more....
Clear lid (03/06/09). The machine comes with a piece of orange acrylic in the lid. However, it's a bit dark and makes things a wee bit hard to see, so I replaced it with a sheet of 1/4" thick clear acrylic. Photo here. Note that clear acrylic is just as effective at blocking CO2 laser wavelengths as the coloured stuff; at 10.6 microns, just about any plastic will absorb strongly! I think they used the orange stuff partly for effect - this plastic is used for blocking some visible laser wavelengths (argon ion, DPSS) - and it gives it a cooler look.....
Air assist (07/06/09). I finally designed a way of adding an air assist to the cutting head. This will help keep the lens clean and should improve cut quality. Check it out.
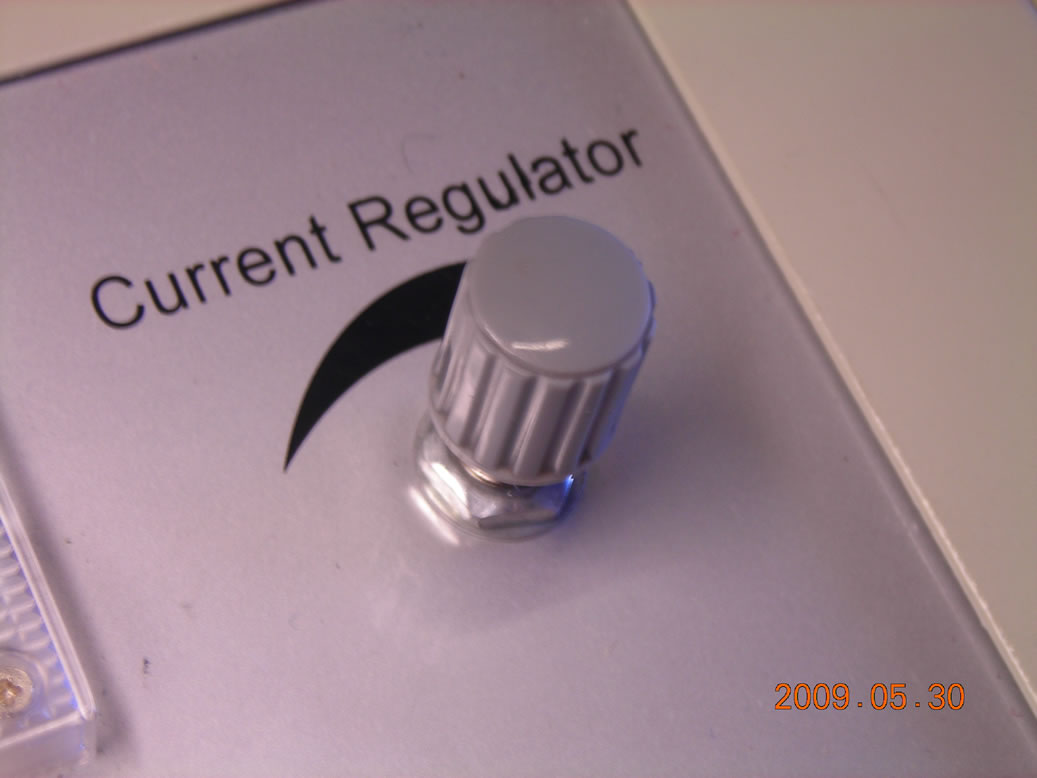
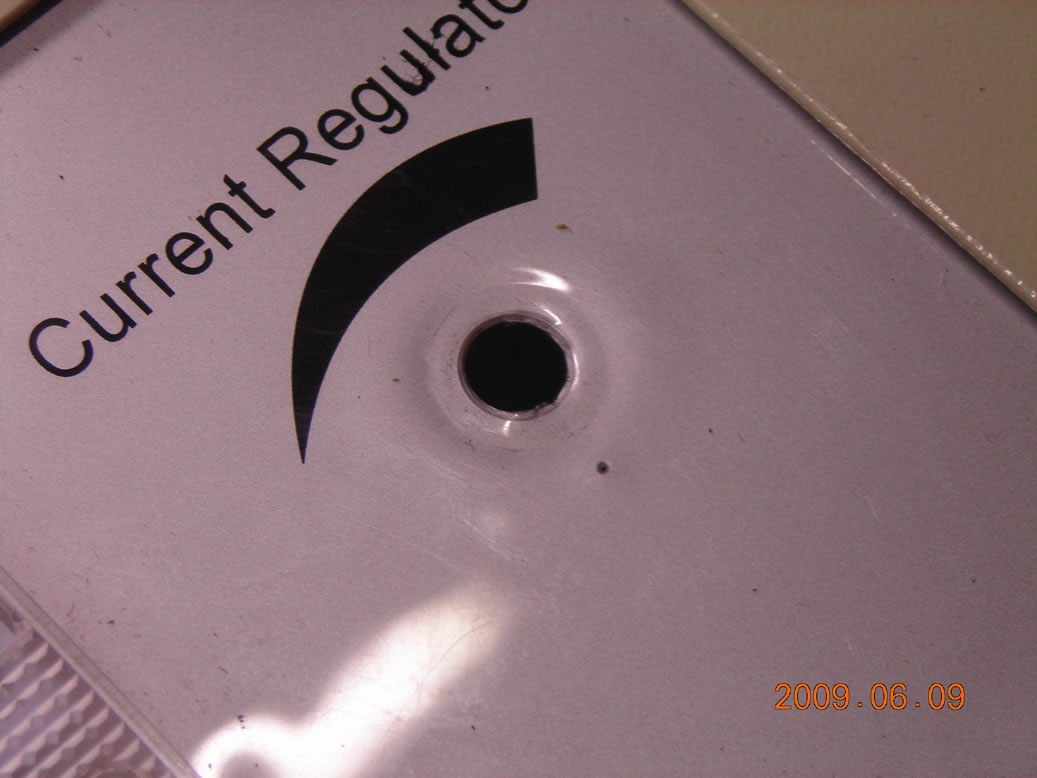
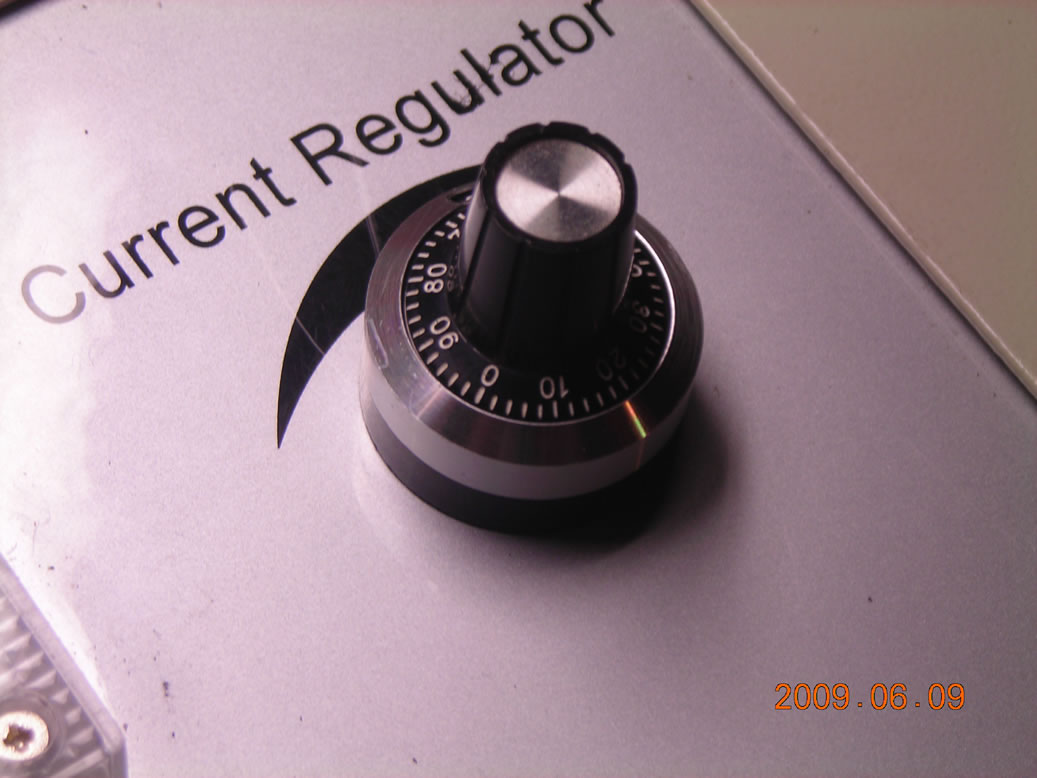
Multiturn knob (09/06/09). The knob used to adjust the laser current is multiturn, and there is normally no way of knowing which turn it's on, without actually firing the laser and measuring the current. It's easy to fix this - I put on a 10-turn counting knob instead. The pot shaft is 4mm diameter, so I made a little 4mm to 1/4" bush to fit the knob. Original knob. Knob removed. New knob.
Fume extraction inlet guide (Dec. 2009). Proper fume extraction requires that air is allowed to flow into the housing of the laser cutter so it can then be sucked out through the extraction fan. The best way of doing this is to have the air flowing in a "sheet" across the cutting bed from front to back, carrying smoke away from the cutting head. I managed to rig up quite an effective system with some sheet ply - check it out.
Aligning successive cuts (16/08/11). The NewlyDraw software seems to align cut paths based on the top-left (in my version) of the cut's bounding box. If you want to make several cuts and have them line up as they were originally drawn, you need to add a small additional cut to the top-left of the outermost bounding box. That way, this small additional cut is present in all the main cuts that NewlyDraw performs, so it will align the main cuts properly. I've described this in a PDF, available here.
Adding a TTL output (08/09/12). I managed to add a small modification to the internal circuitry which now provides a TTL output signal corresponding to the output of the controller (i.e. my TTL output is high whenever the internal controller switches the tube on). This can then be used for driving anything else attached to the cutting head (such as a laser diode). For full details and photos, see here.
Because there are many different things to try, different materials to cut, different techniques to use, I will list these on a separate page, here.
| ▲ Workshop |