
| ▲ CO2 laser cutter |
In commercial laser cutters, a high-pressure air or gas jet is used to blow into the cut and help both to clean out debris, but also to keep the focussing lens clean. In the cases of cutting acrylic, for example, it blows the molten material right through the sheet, preventing the cut closing up behind.
I decided to do this after I found it was difficult to clean the focussing lens after only 1/2 hour or so cutting.
A major problem is that the cutting head homes itself over the back-right corner of the raised plastic surrouding the cutting table when the machine is turned on. Since this is higher than the cutting table, and an air nozzle should normally be very close to the workpiece, the nozzle would crash on startup. However, this can be solved.
Although the head homes over the surround on machine startup, the home position when cutting with the software is the back-left of the cutting table. I therfore decided to make a nozzle which could easily be fitted and removed from the cutting head, once the machine had started up. Additionally, I decided to make the head detach easily if it ever did crash into the surround.
Air filter. I decided to lead air into the cutting space through the little round access cover at the front-left corner of the machine. I thought I might as well make an air filter to remove any dust in the air stream and protect the lens. The air filter basically sandwiches some pieces of lint-free cloth between two holders and passes air between them. The pictures later on explain it well.
Cad file for the air filter here (PDF)
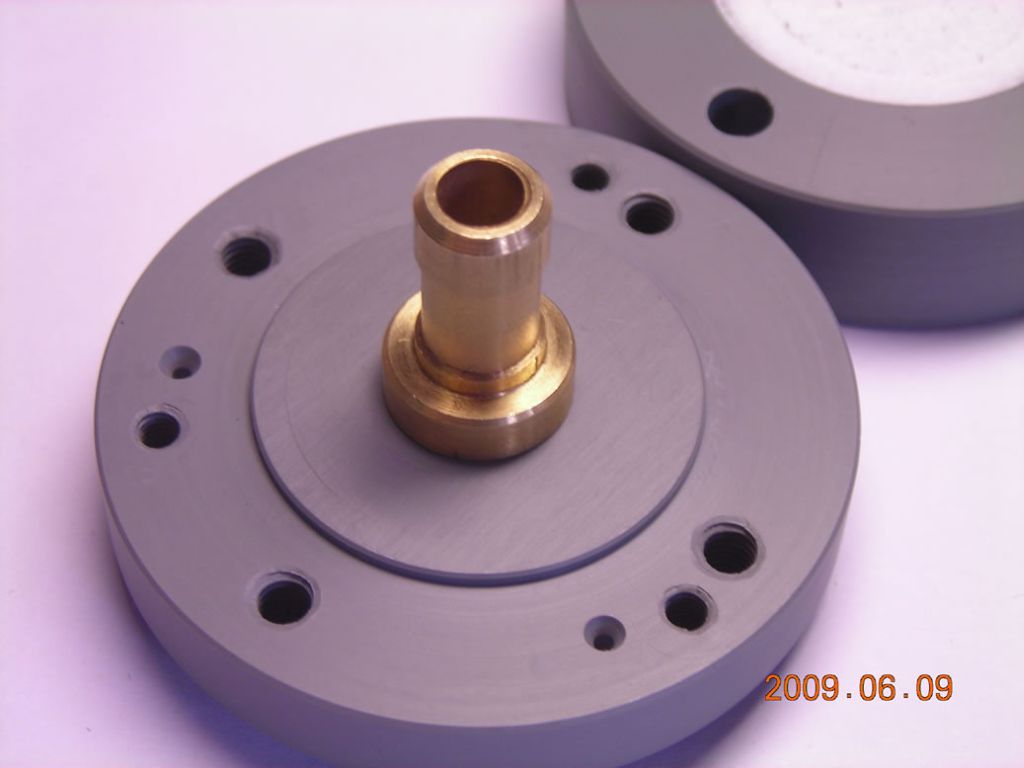
Lens holder & nozzle. A turned perspex piece screws on and holds the lens in place as before. Air is fed into this through a little pipe. There is a shallow recess on the bottom and two rare-earth magnets are embedded in it. A steel nozzle holder is held in this recess by the magnets, but can easily be knocked out if the nozzle crashes. A variety of nozzles can simply be inserted into the nozzle holder.
Cad file for nozzle (assembled) (PDF)
Cad file for nozzle (dimensions) (PDF)
The nozzles are inserted from the top of the nozzle holder so they are held in place by air pressure.
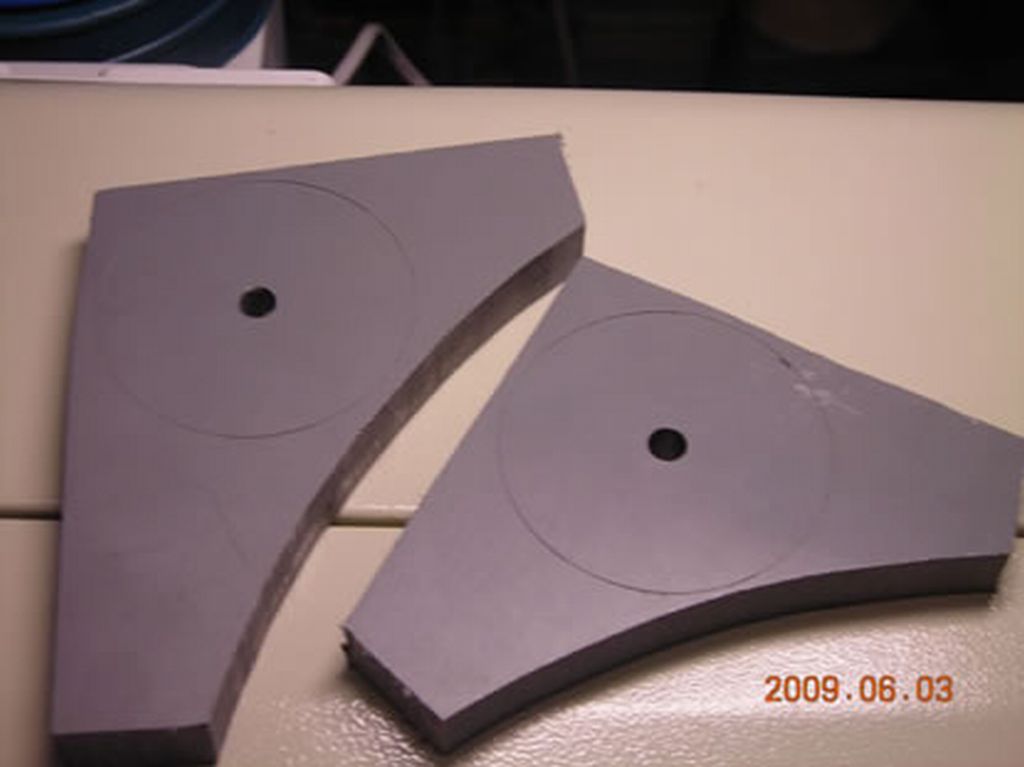
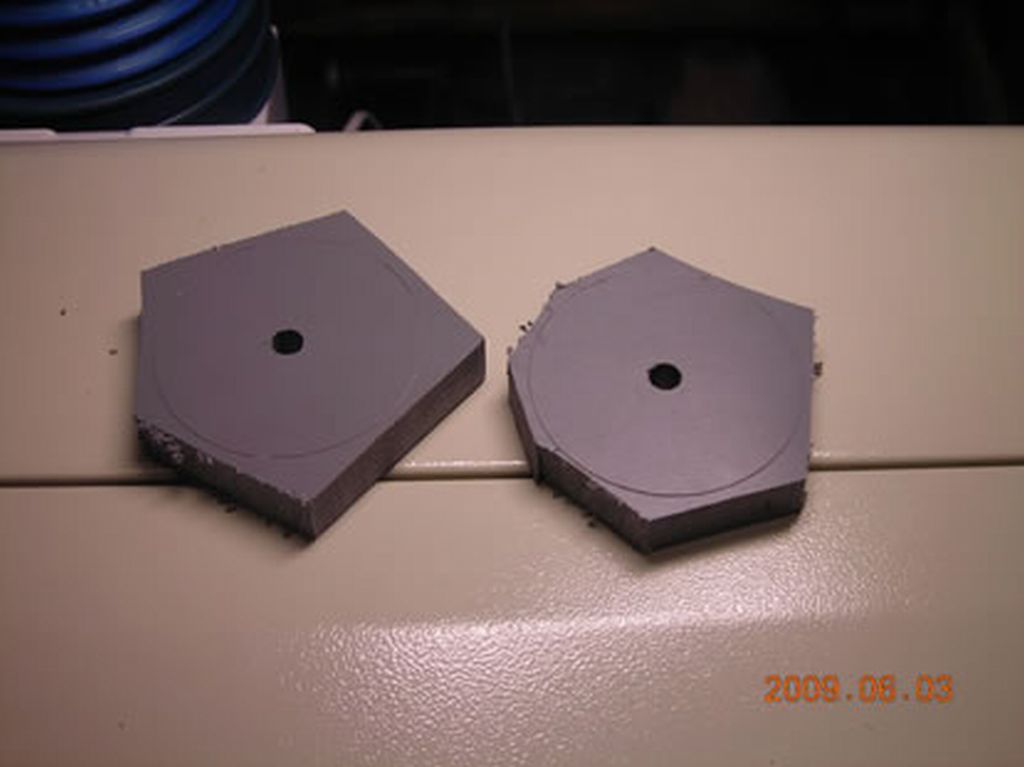
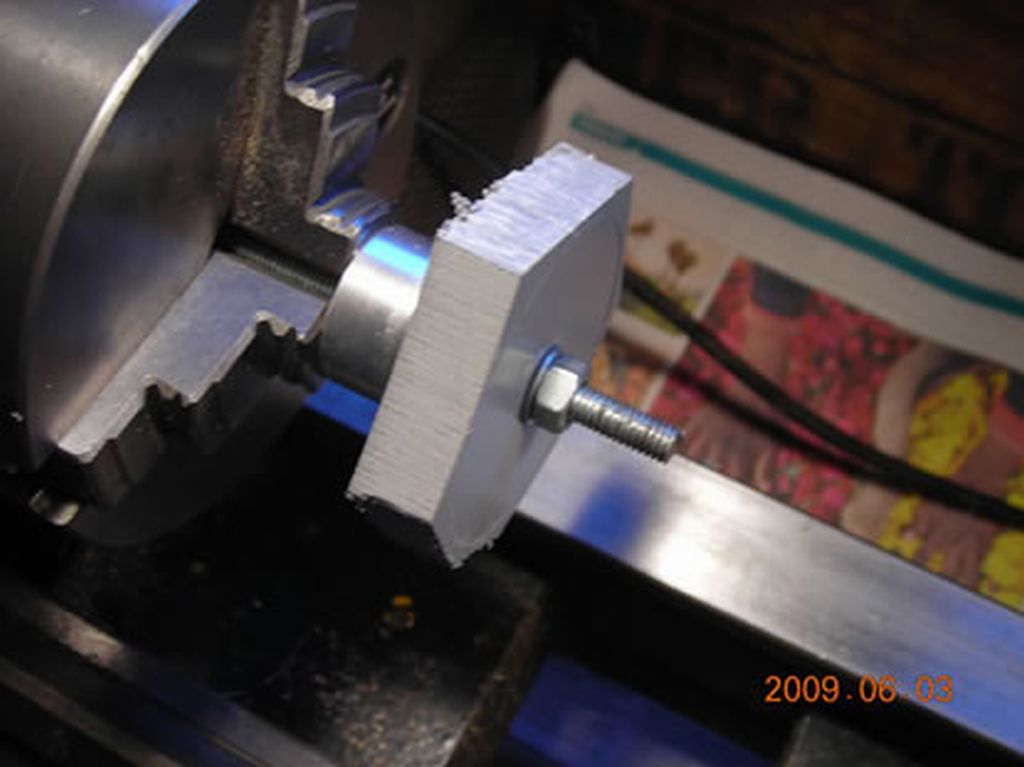
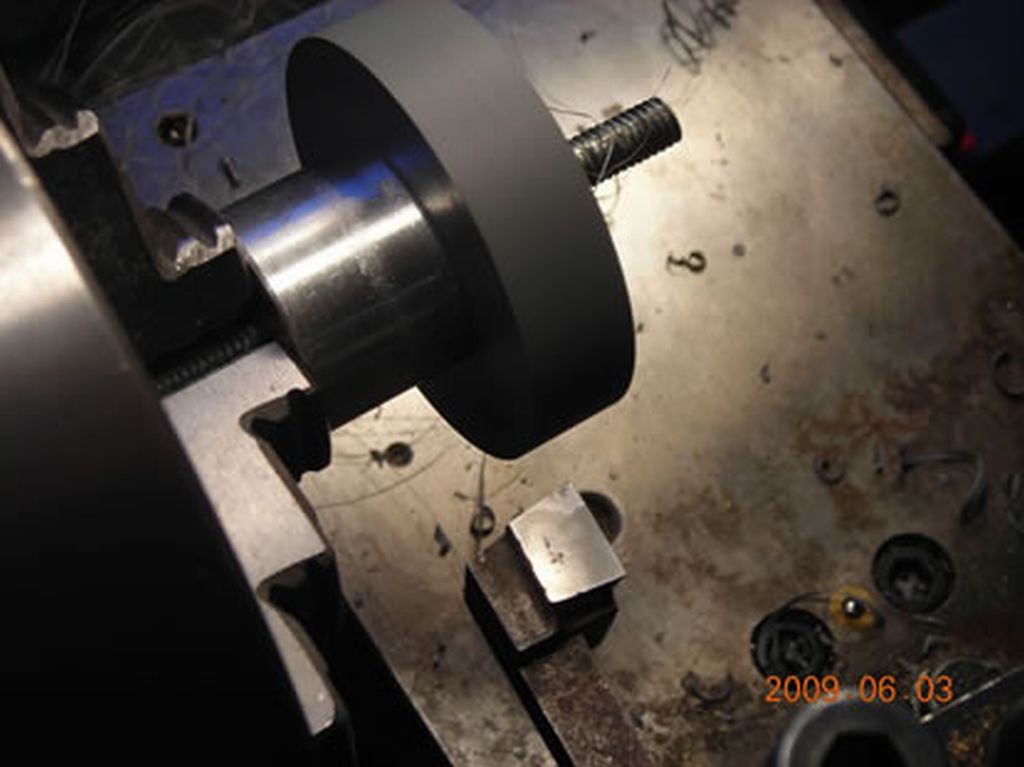
Air filter. This fits into the little circular access cover on the left of the machine. Two pieces are turned from some grey plastic (something like PVC). A spigot on one and a recess on the other clamp several discs of lens tissue between them to act as a very effective filter. Not all the stages of construction are shown here, I got hurried....
Note I made a mistake with the initial 2 blanks - I drilled a mounting hole in both of them, but I should only have done that in one!
 |
 |
 |
|
 |
 |
 |
 |
 |
 |
 |
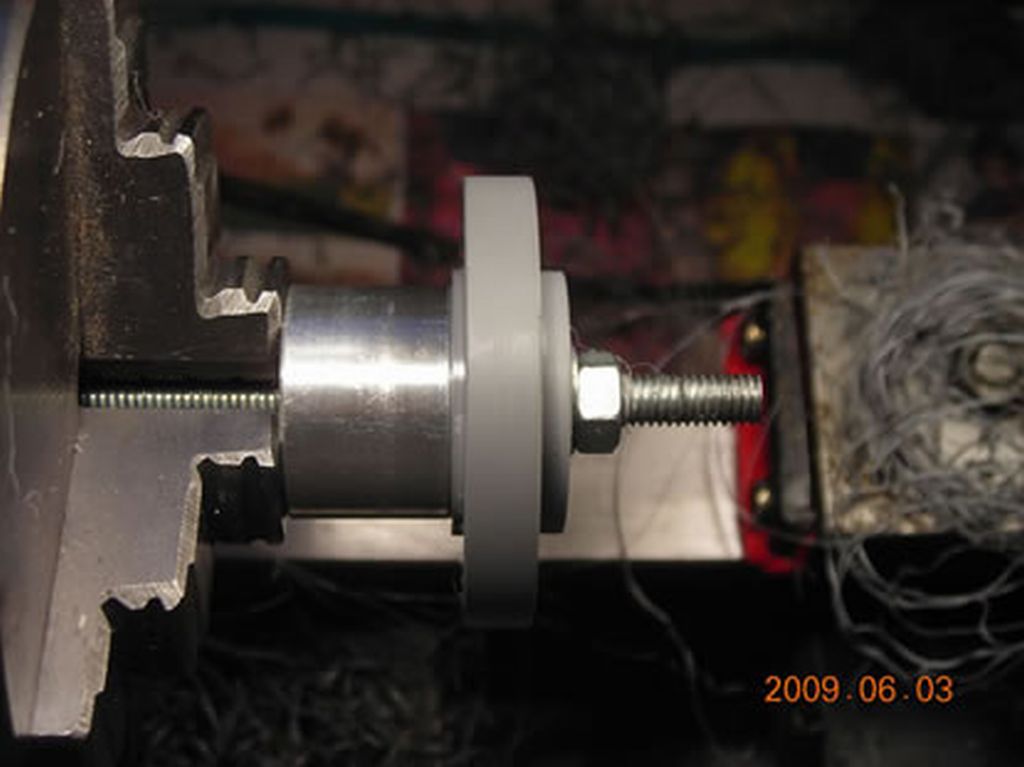
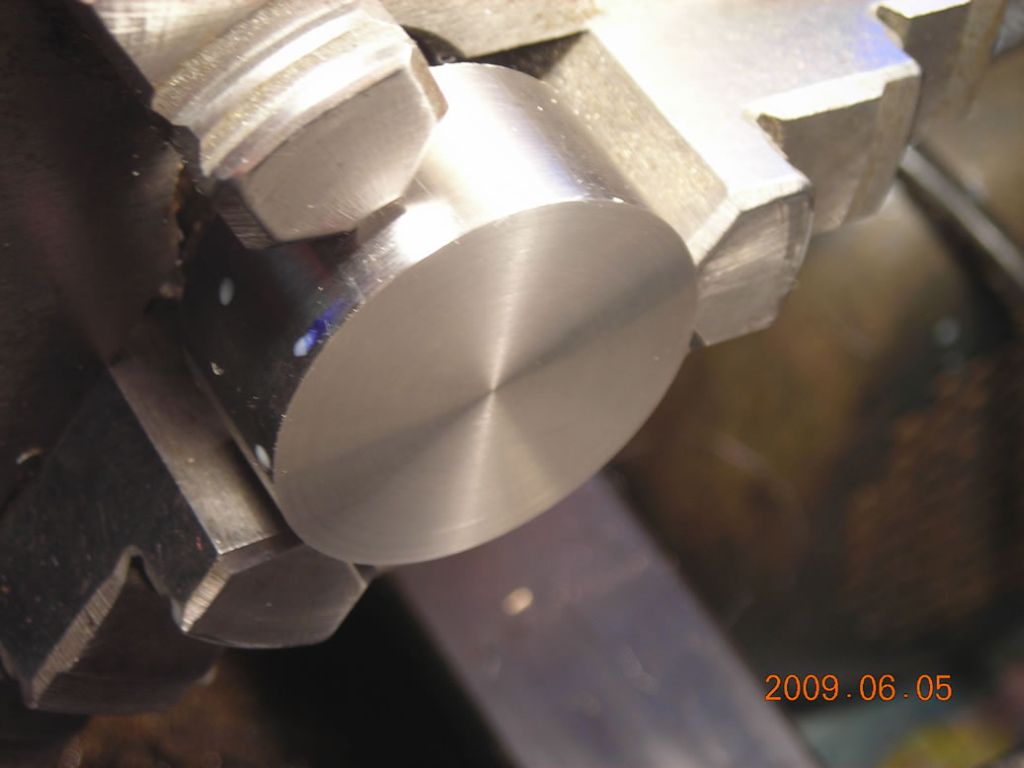
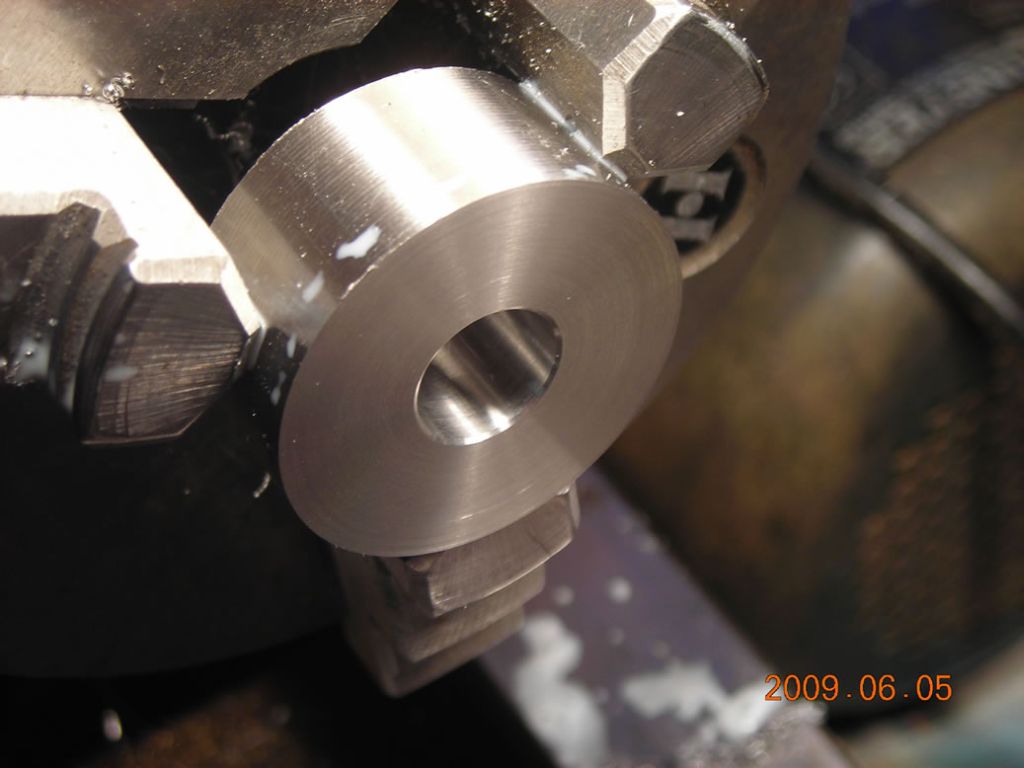
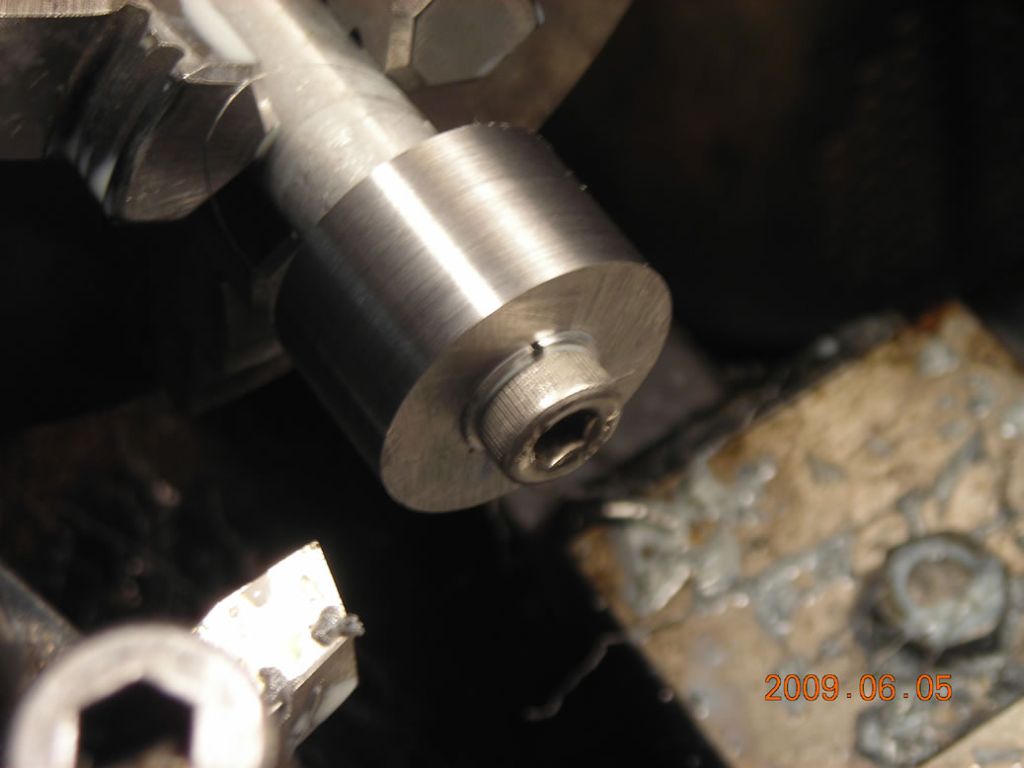
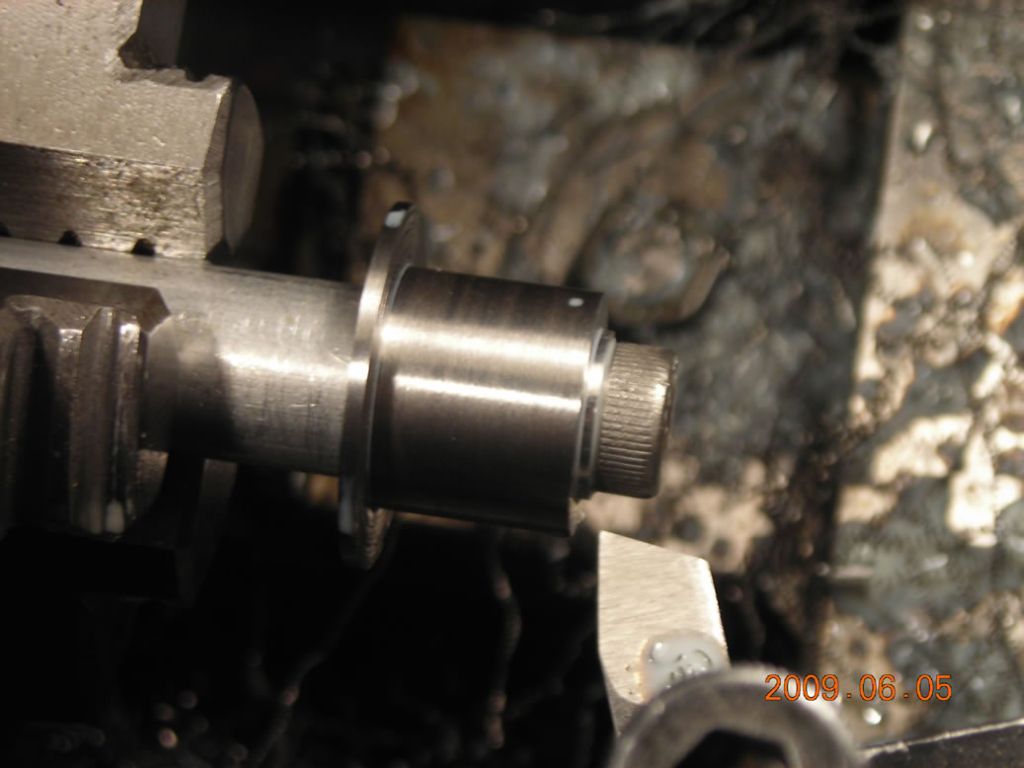
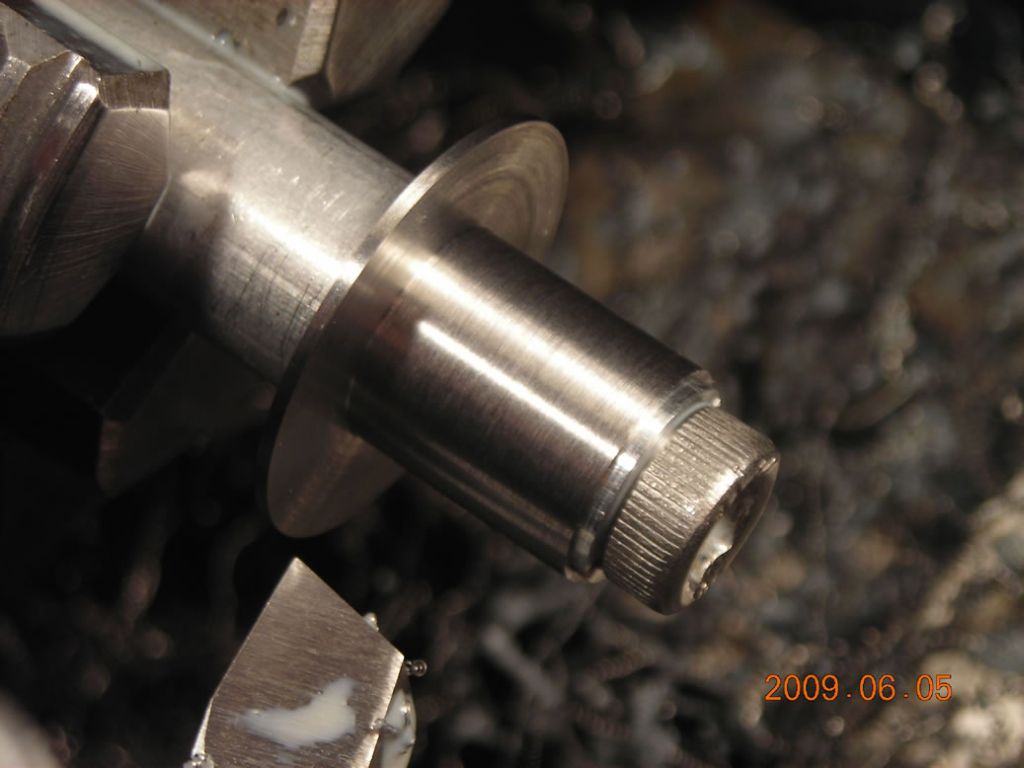
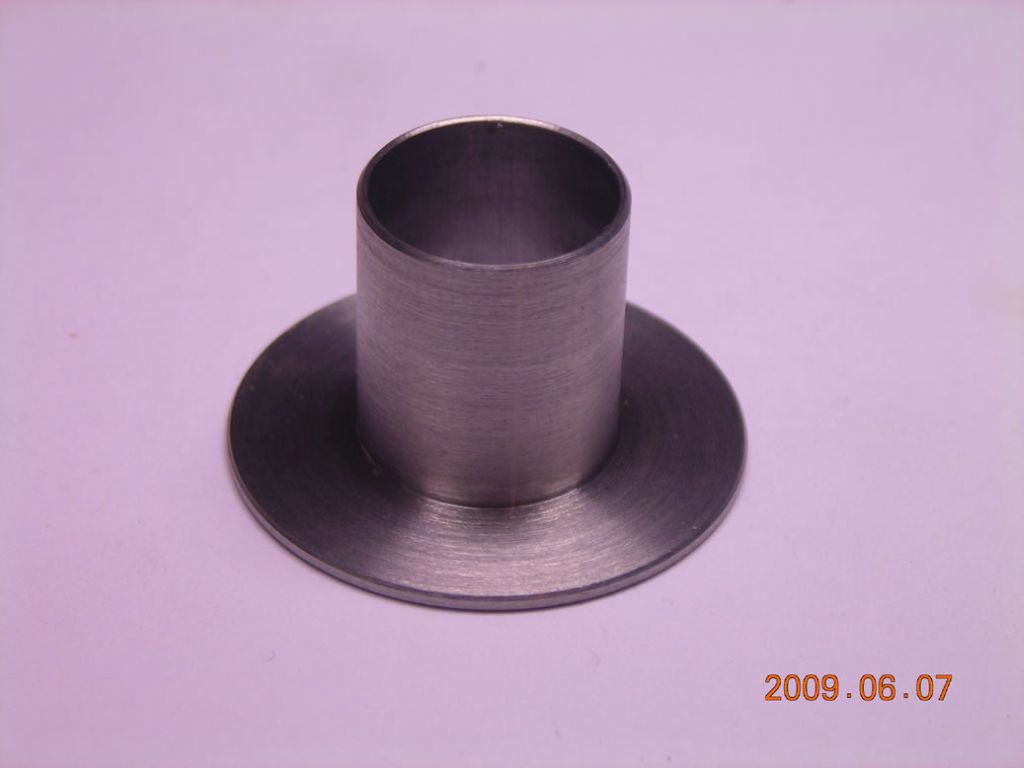
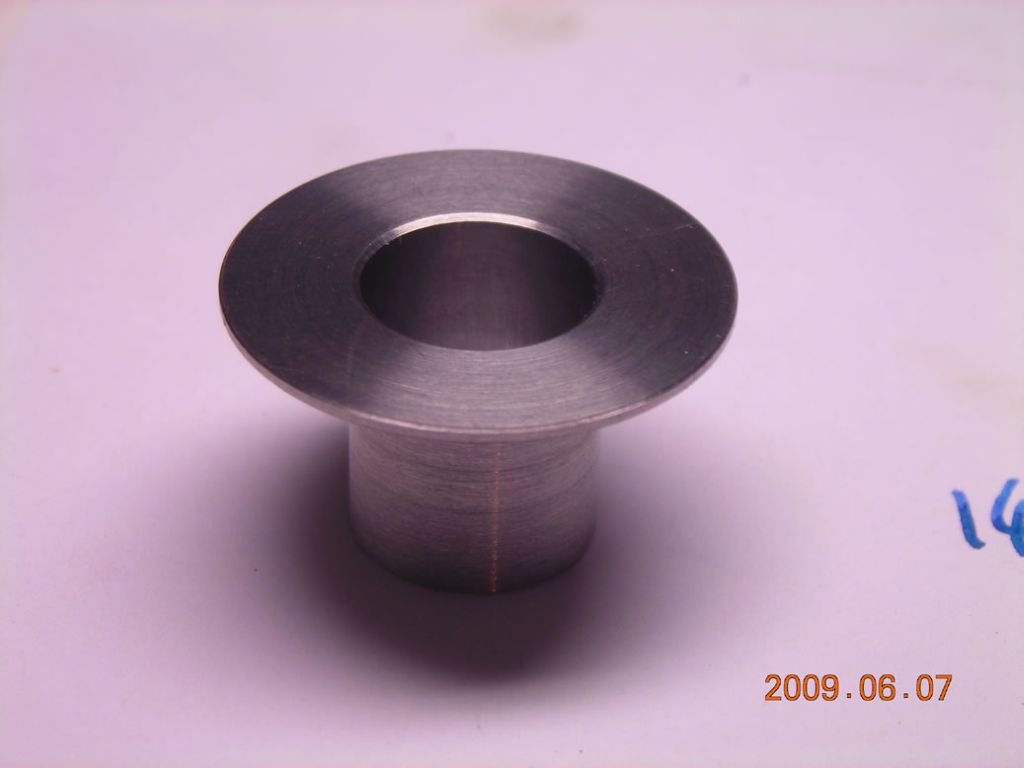
Nozzle holder. This was turned from a solid piece of silver steel bar. It is very thin and lightweight because I didn't want to add too much weight to the cutting head. An expanding mandrel was used to hold it for machining.
 |
 |
 |
|
 |
 |
 |
 |
 |
 |
 |
 |
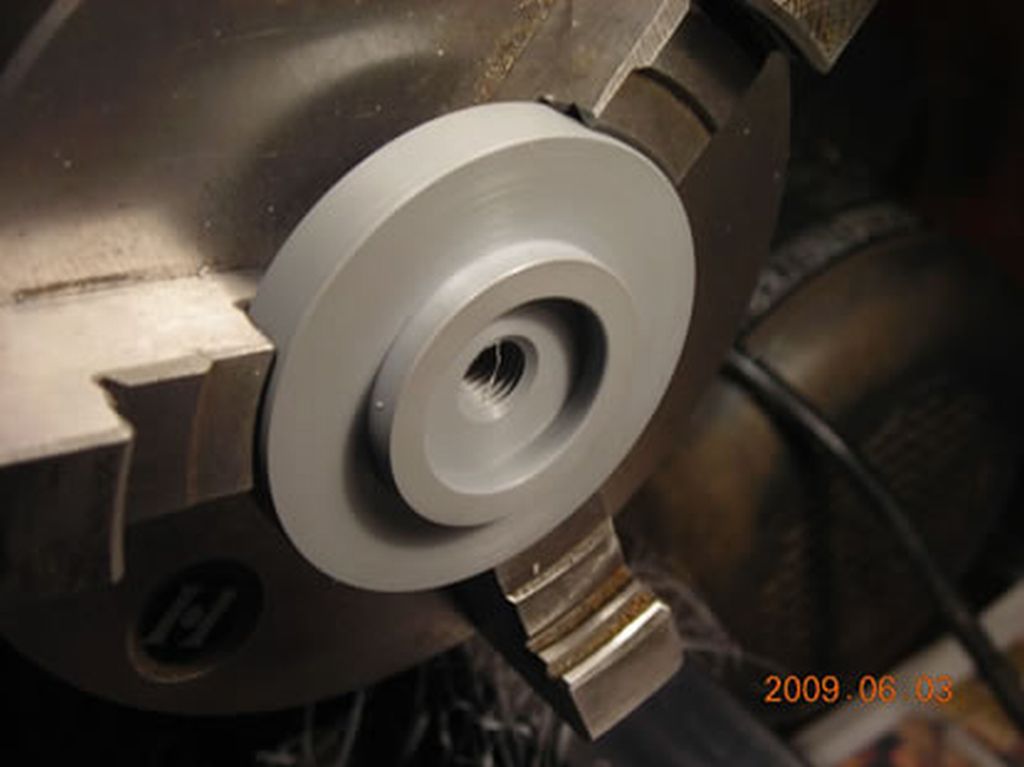
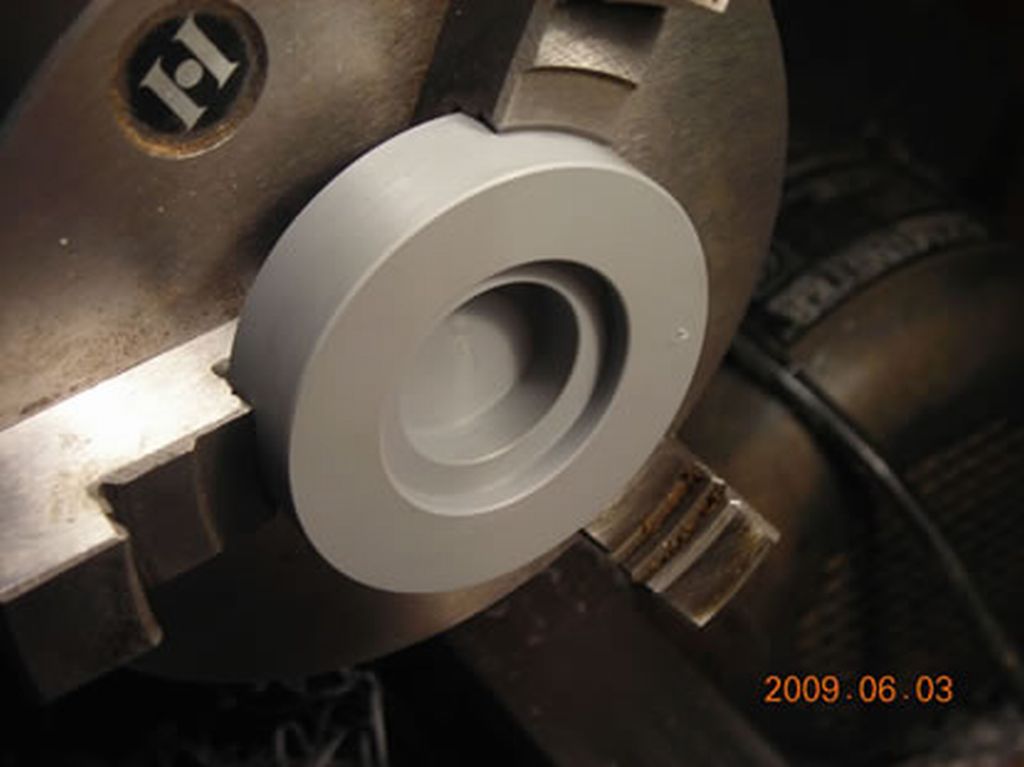
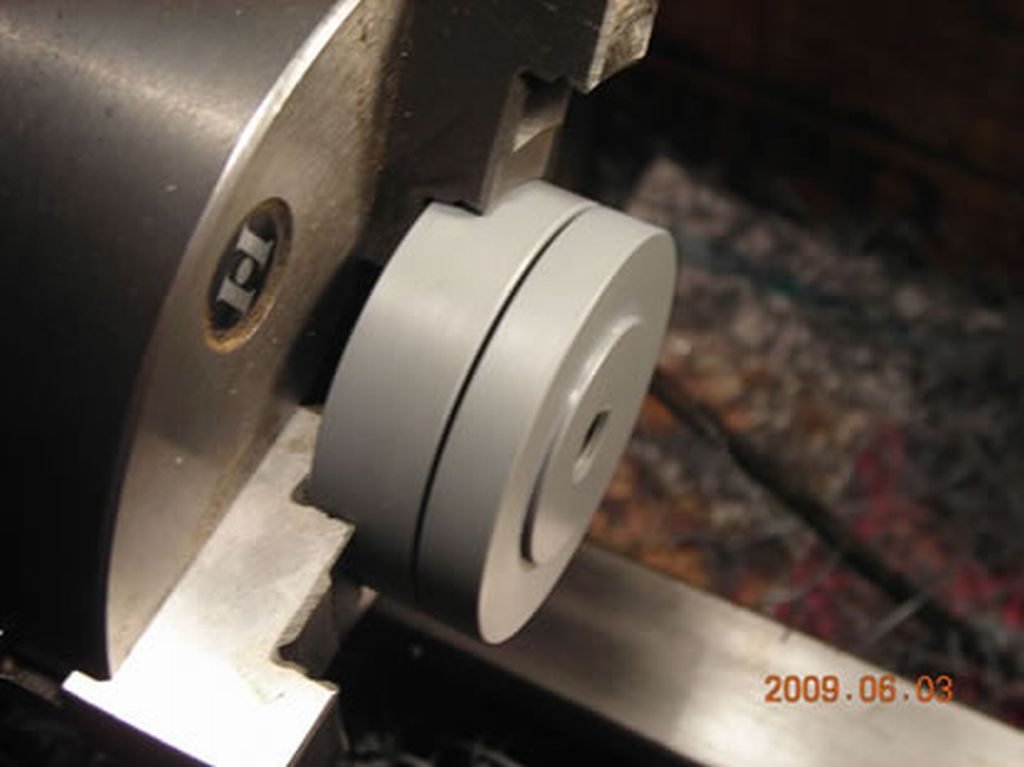
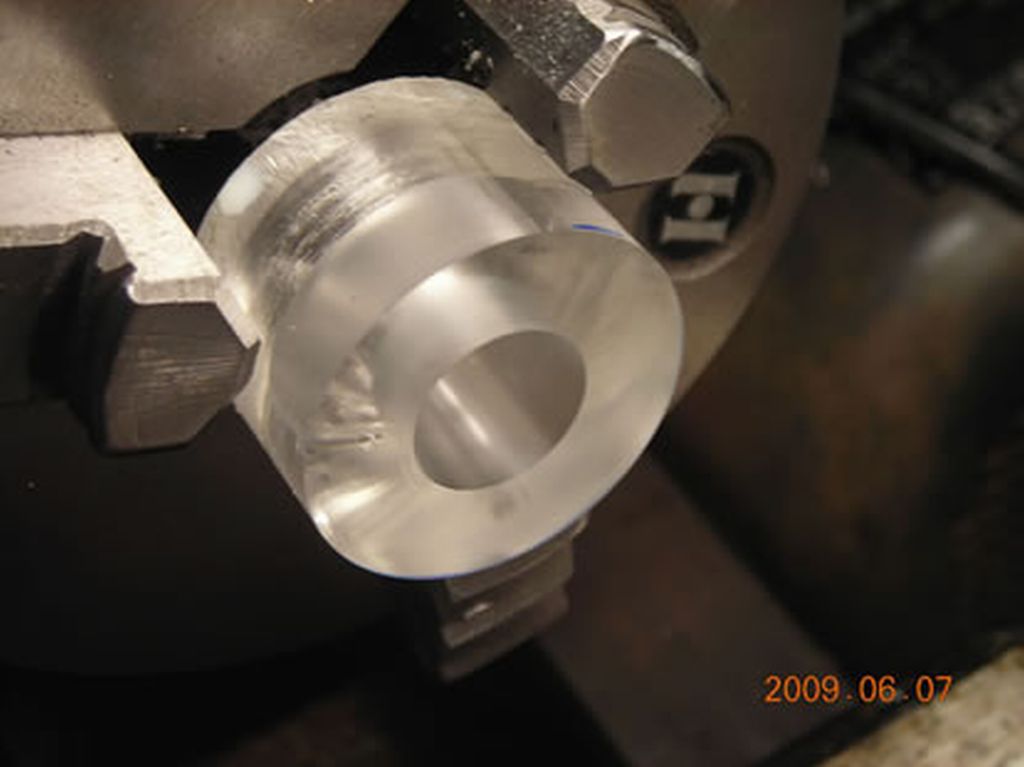
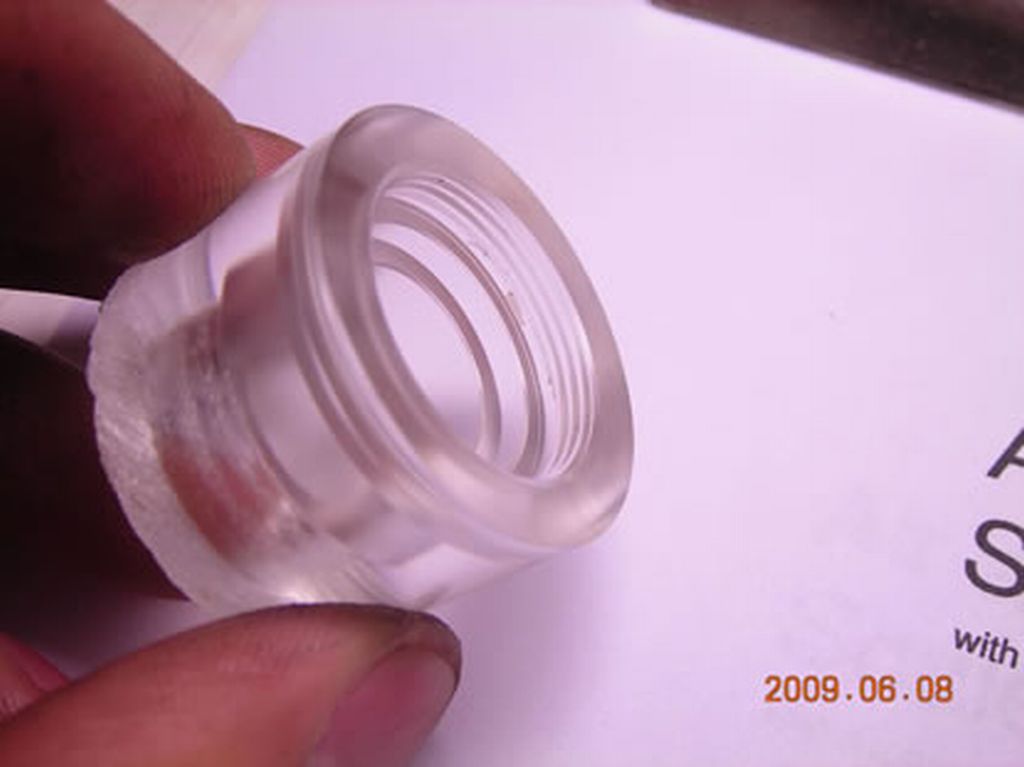
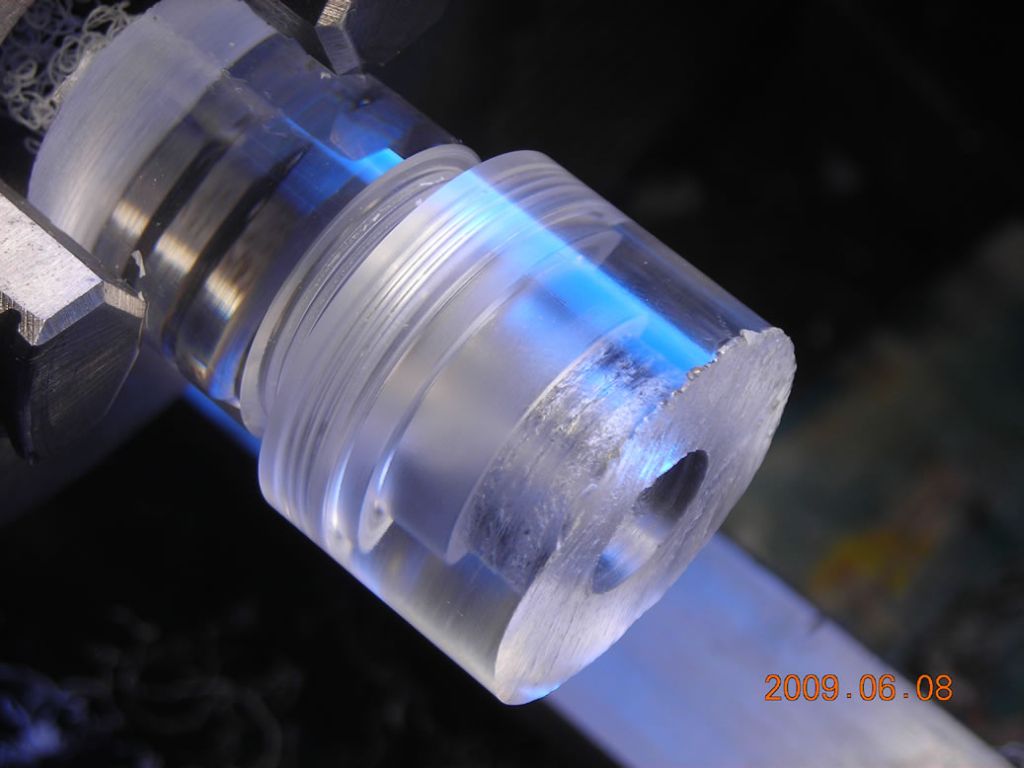
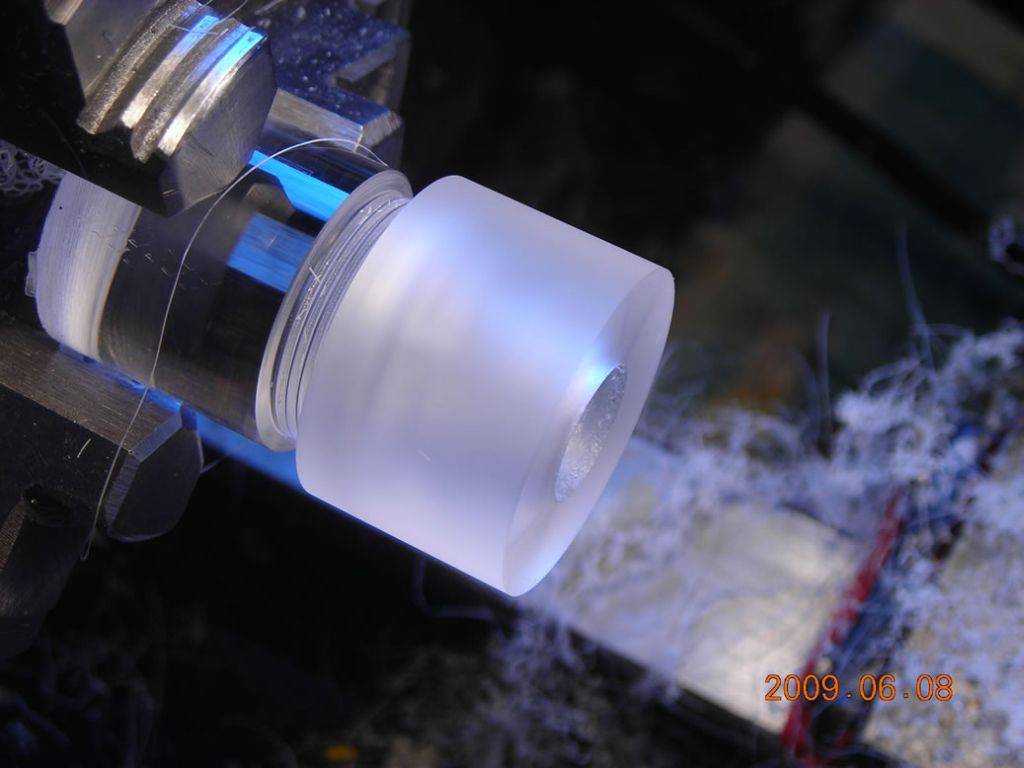
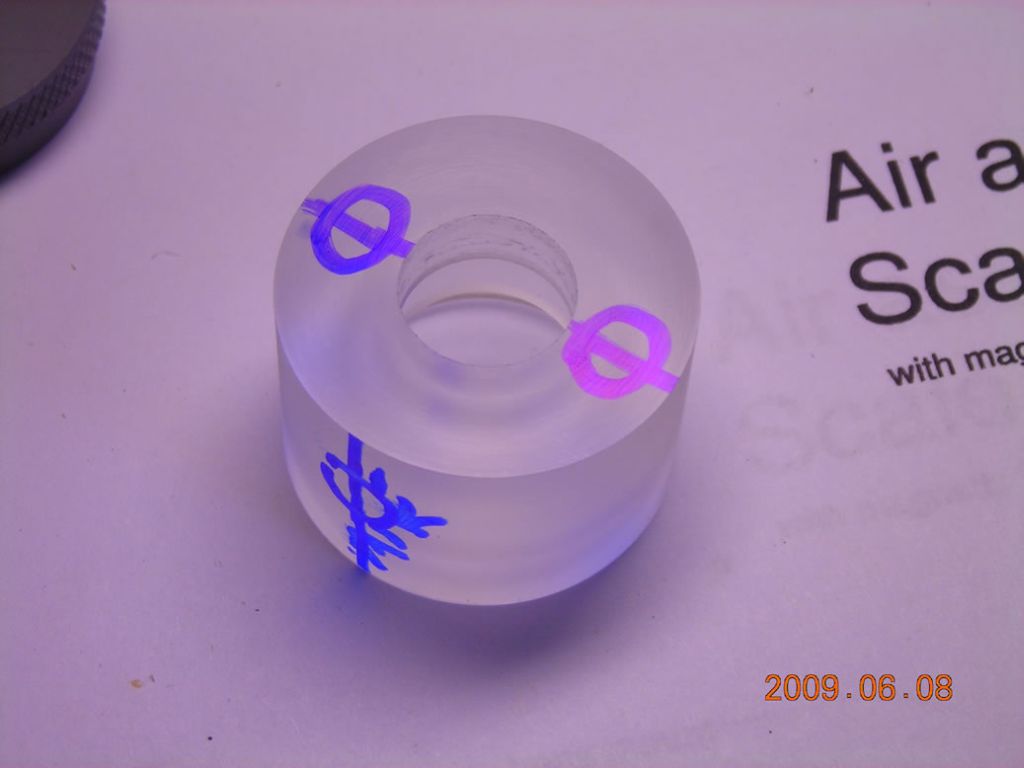
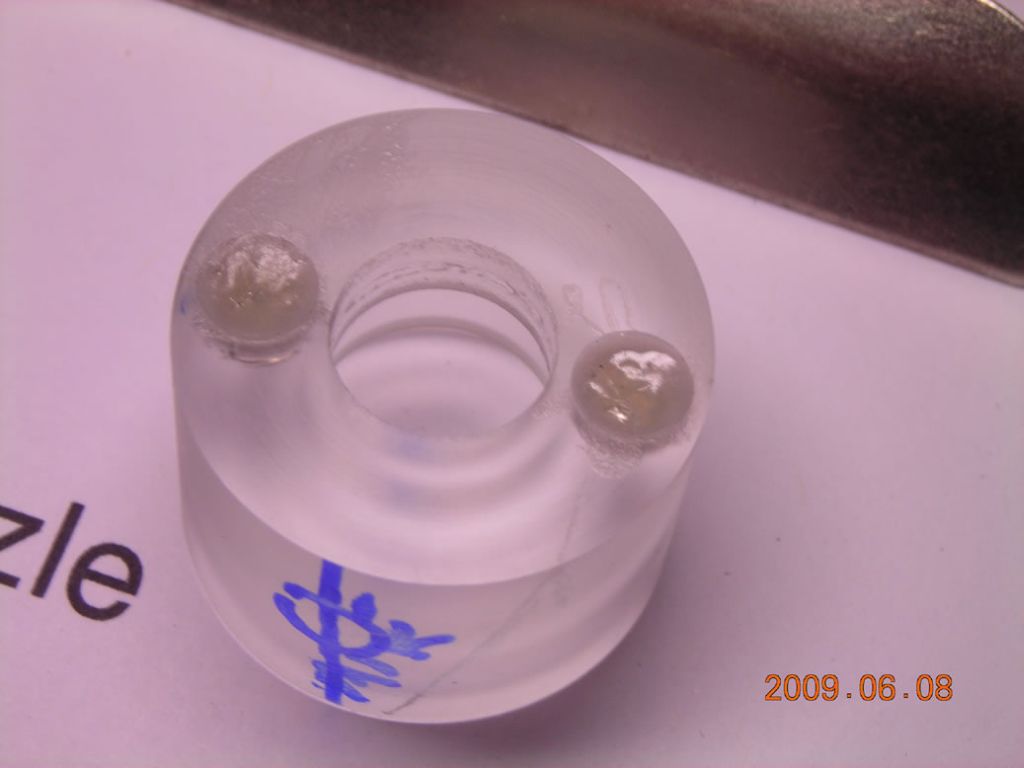
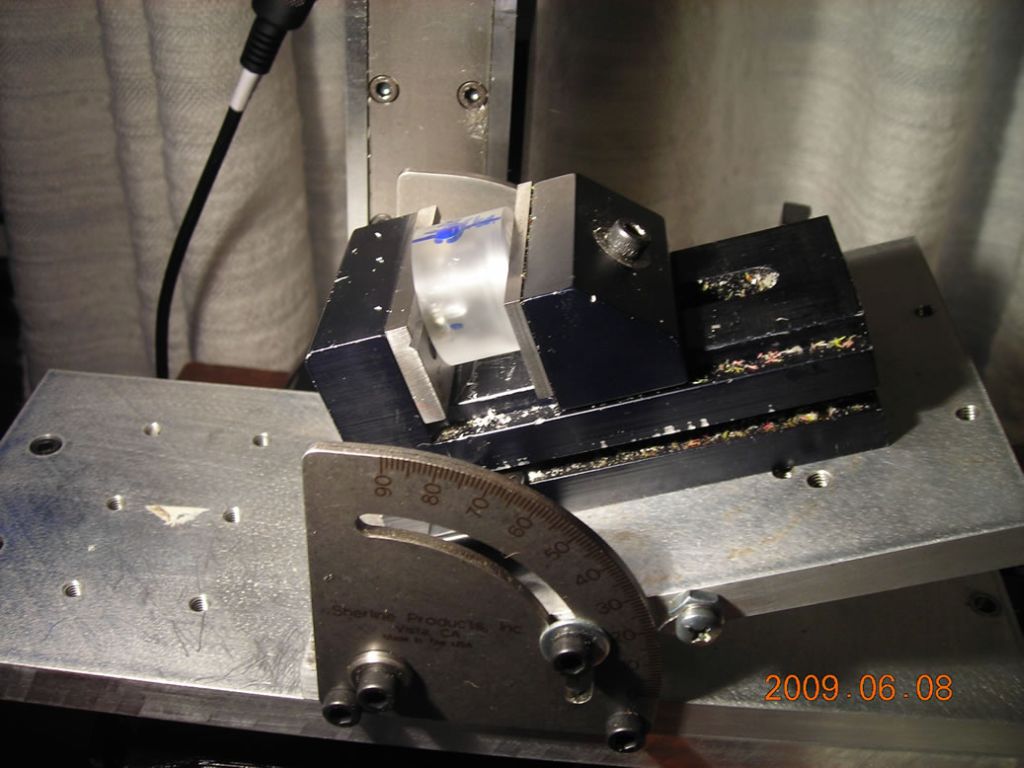
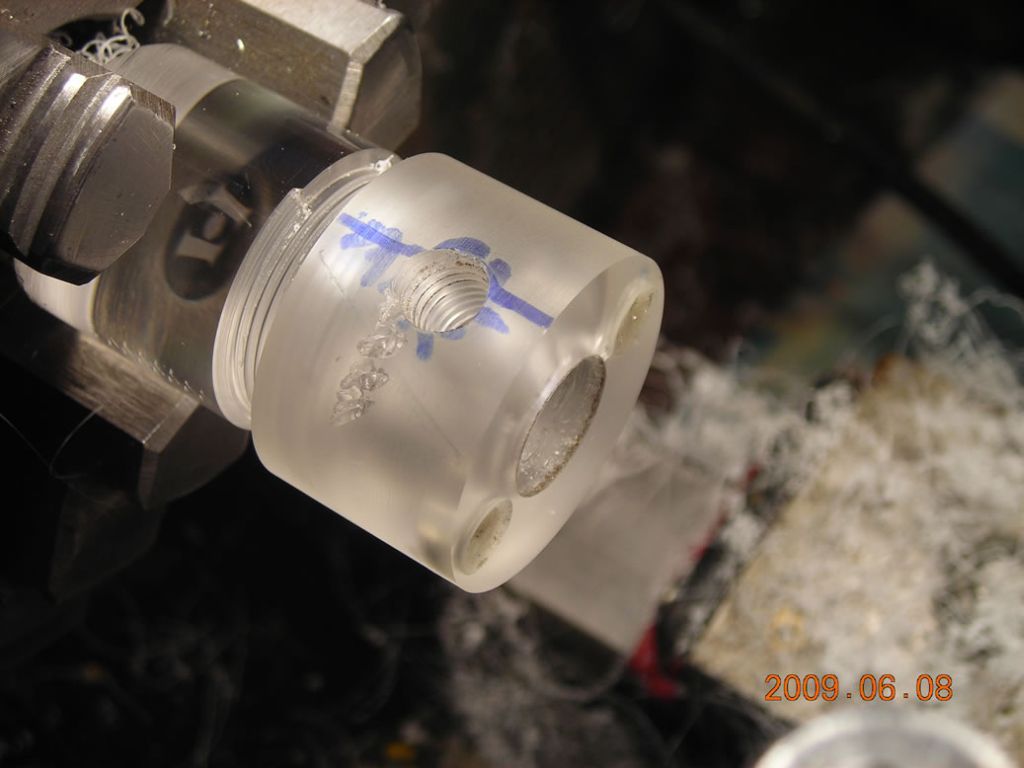
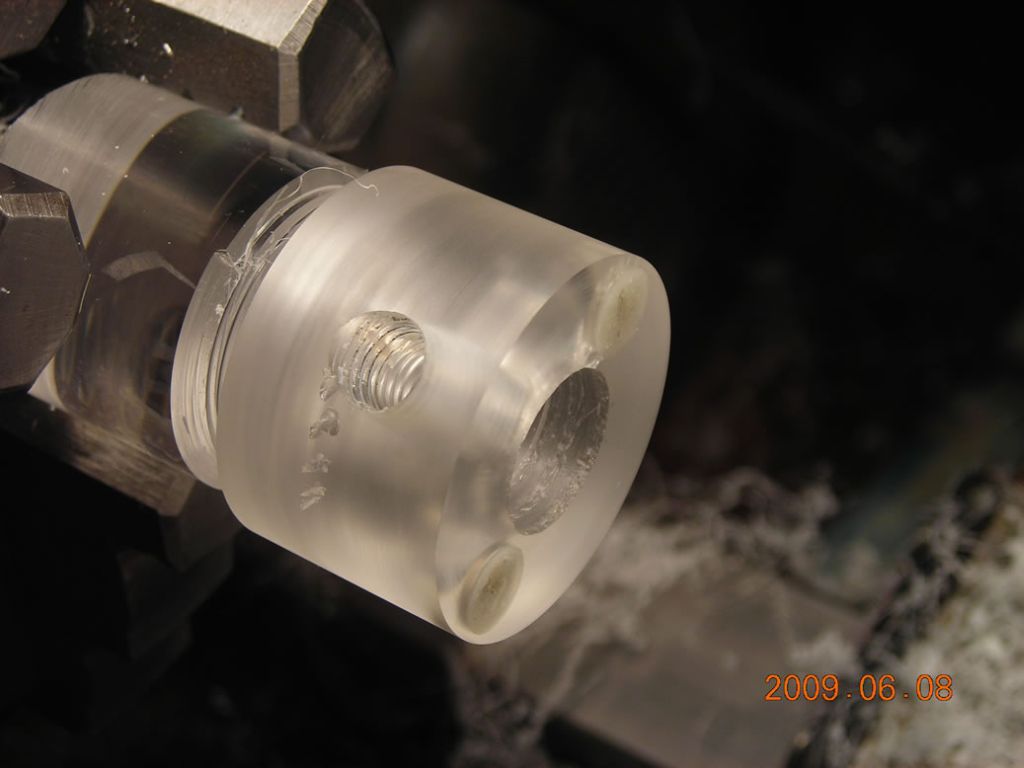
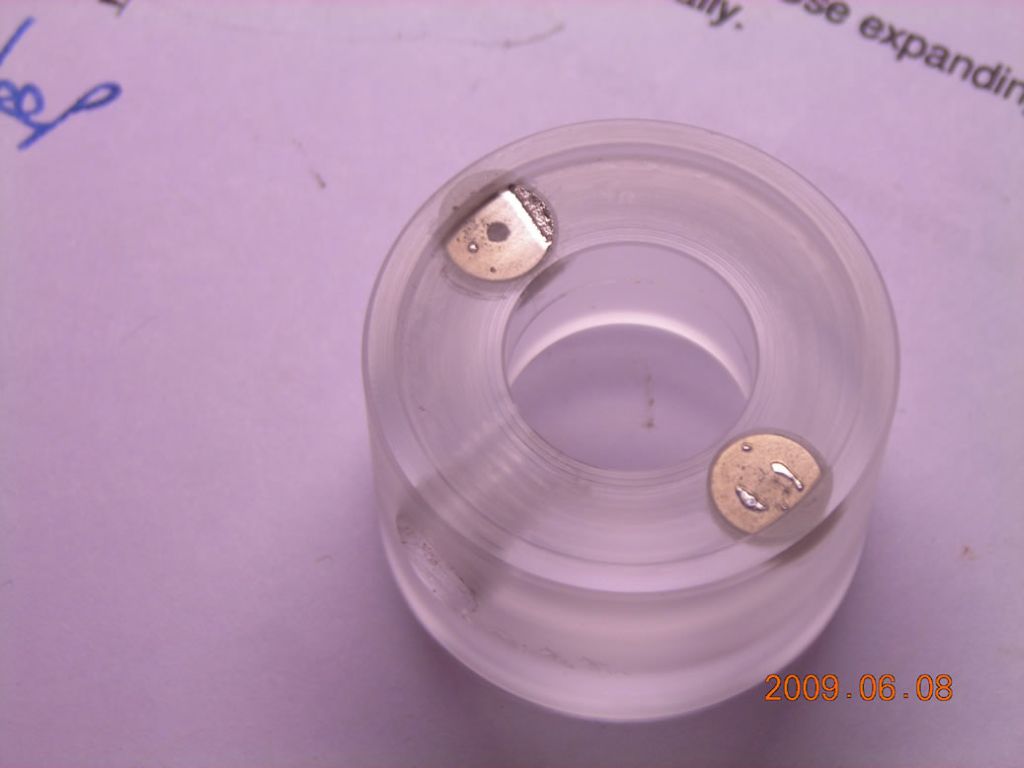
Lens holder. This was made from a piece of acrylic rod, which was a big mistake because it was extremely brittle, and I had problems with stress-cracking when I attempted to use superglue to attach the magnets. Would have much better to make it from PVC instead. Such is life.....
I turned it oversize initially, then glued the magnets in place and drilled the hole for the hose nipple. Then I turned it down to the finished size - this removed any burrs formed by glueing or threading.
To get the right angular positions for the magnets and the air inlet, I finished one end completely first (the end which holds the lens in place) and then mounted it on the laser engraver to see where it ended up once tightened. I then marked the locations with felt-tip pen.
 |
 |
 |
|
 |
 |
 |
 |
 |
 |
 |
 |
 |
 |
 |
 |
 |
 |
 |
 |
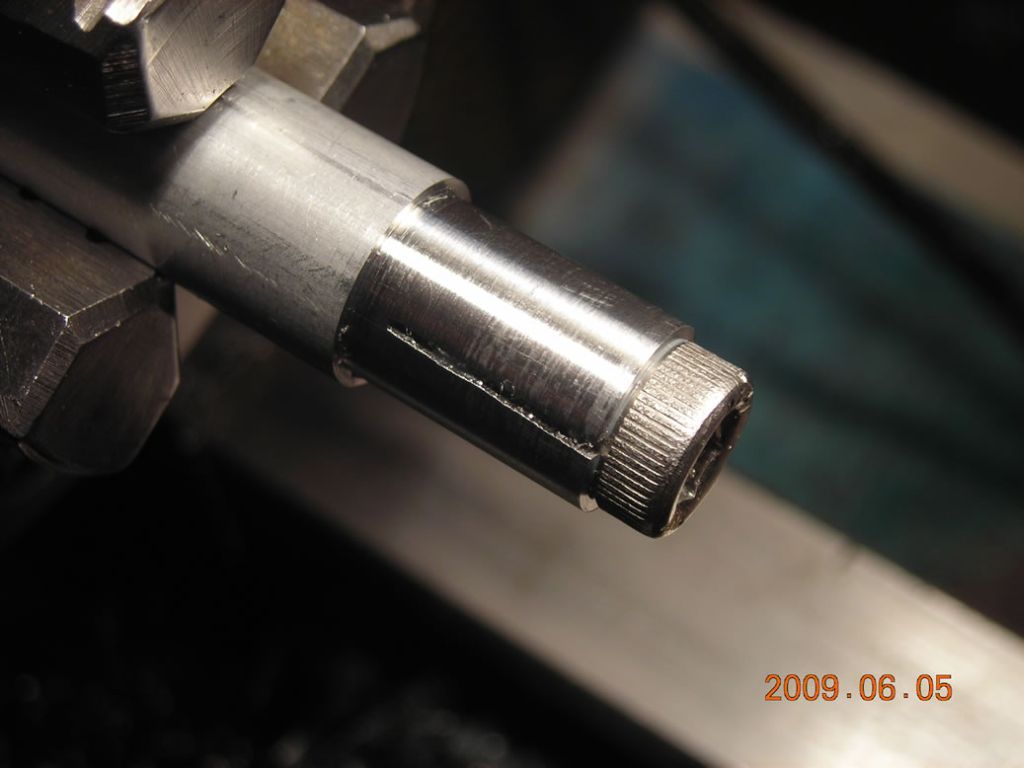
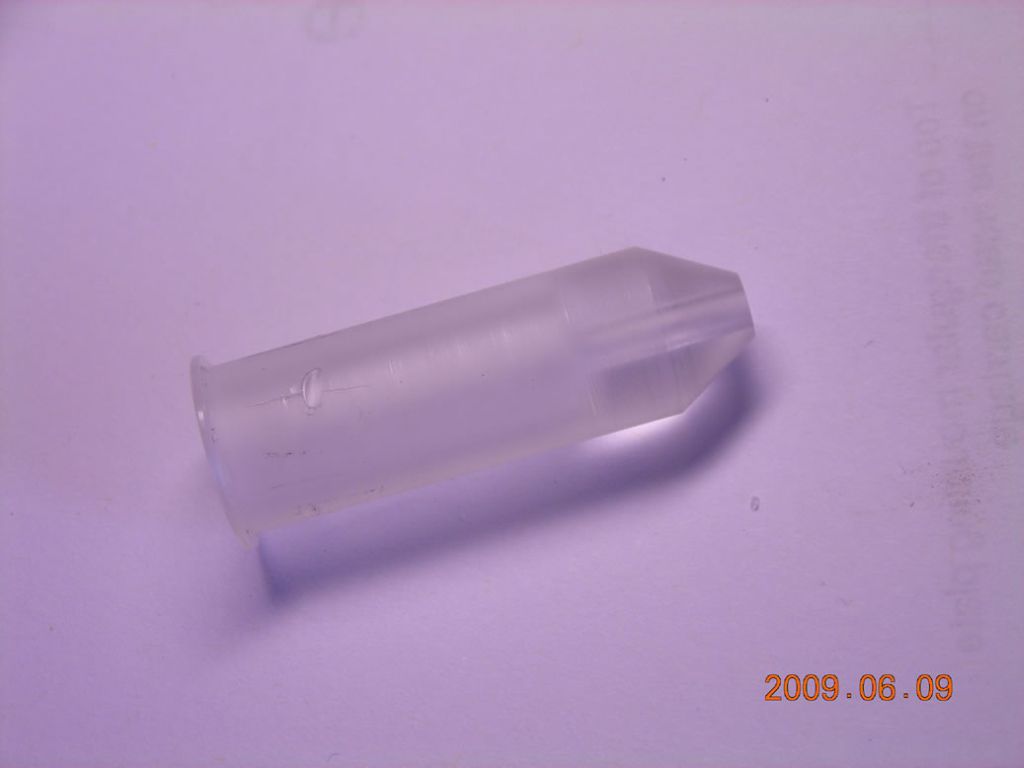
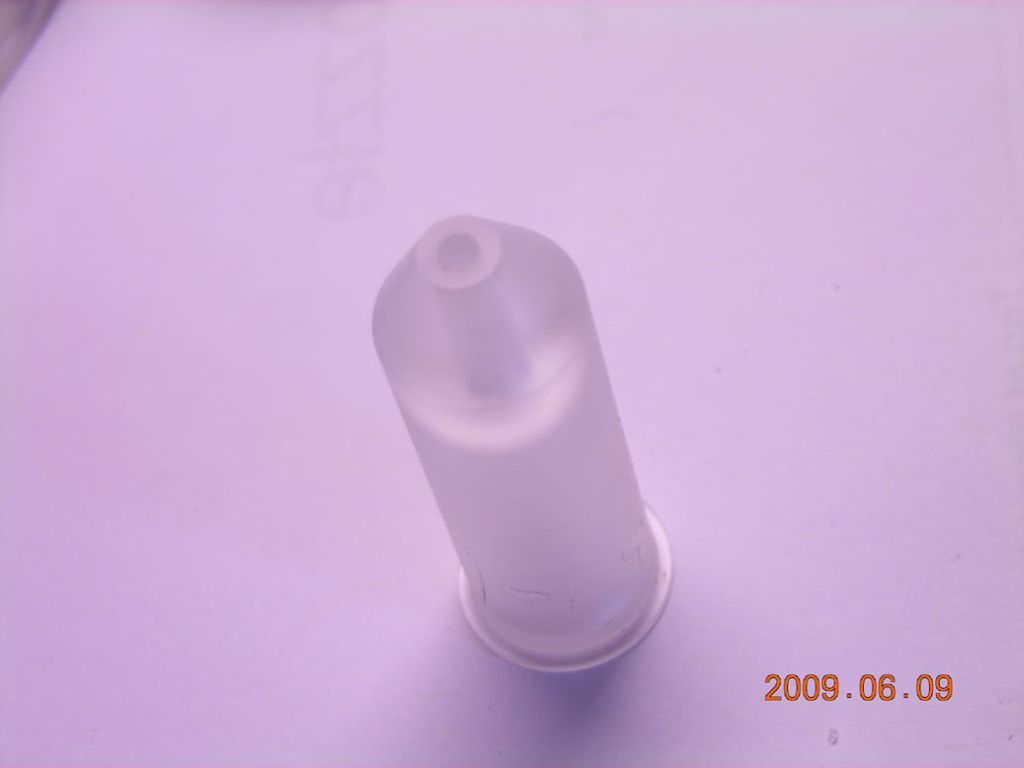
Nozzles. The inner diameter of the magnetic holder is 11mm, so it is convenient to make nozzles from 1/2" diameter rod. A small lip is left at one end of the nozzle so, when it is inserted into the holder from above, this lip prevents the nozzle being pushed out by air pressure.
 |
 |
Firstly, here is the air filter:
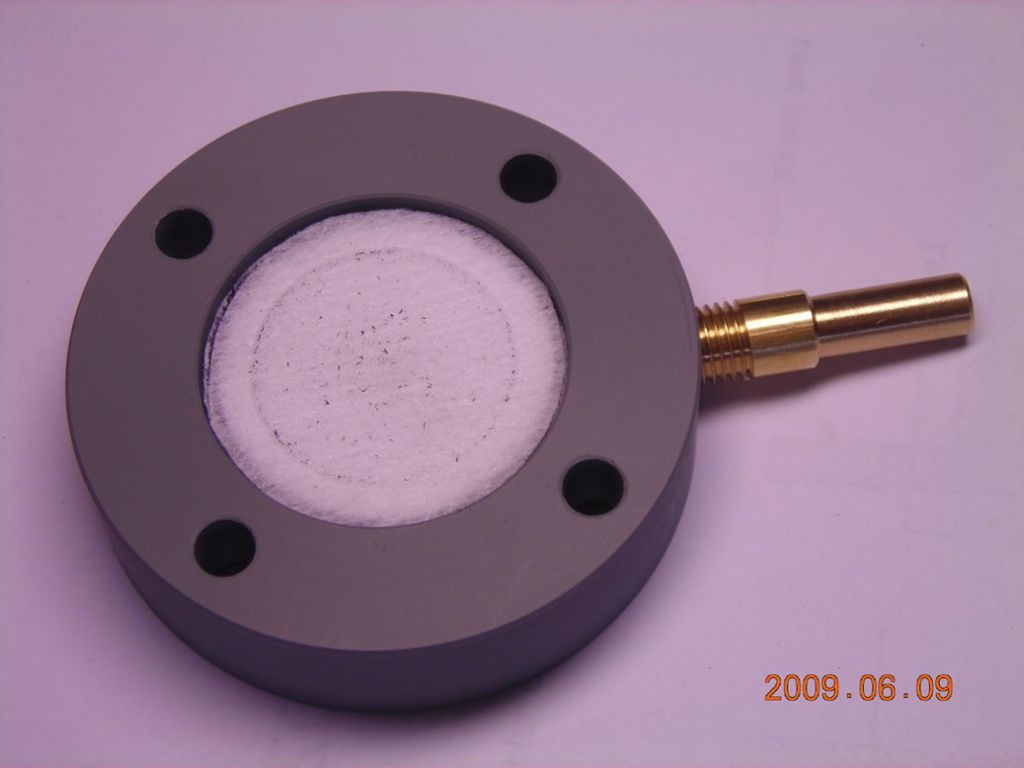 Shows the filter discs (four of them) in the recess. Brass nipple is the outlet. |
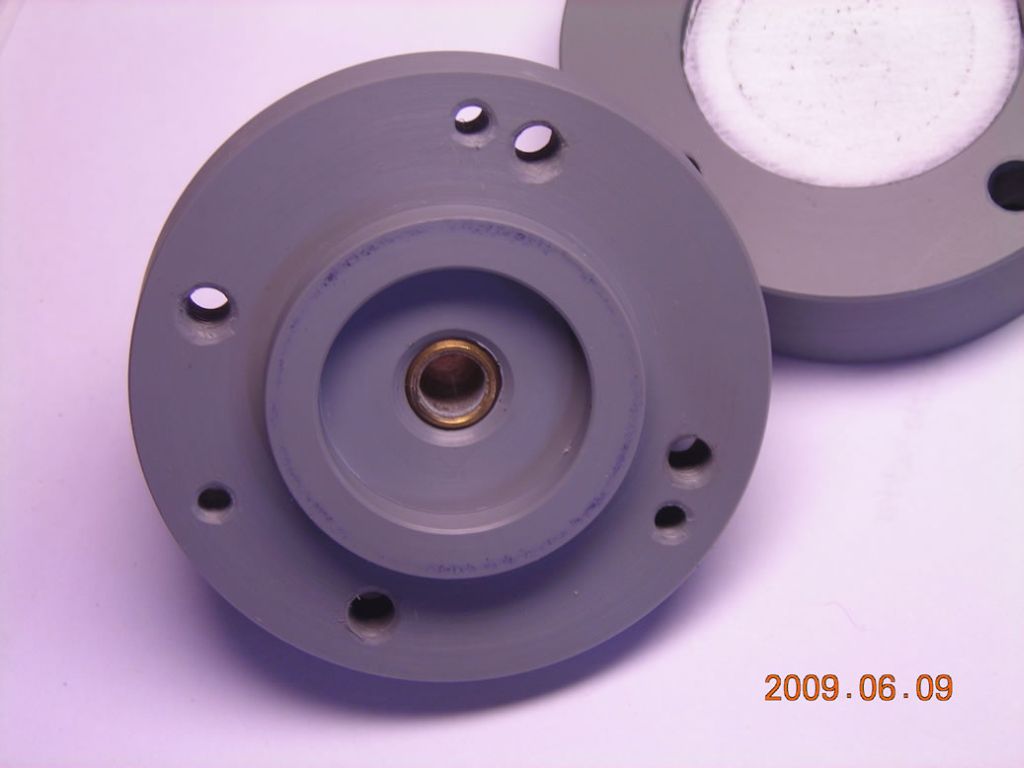 Looking out the inlet. |
 The inlet nipple. Brass - I had one I made previously. |
 Assembled. Four M4 cap screws are used to hold the two halves together. |
 Another view. |
Here is the air nozzle itself:
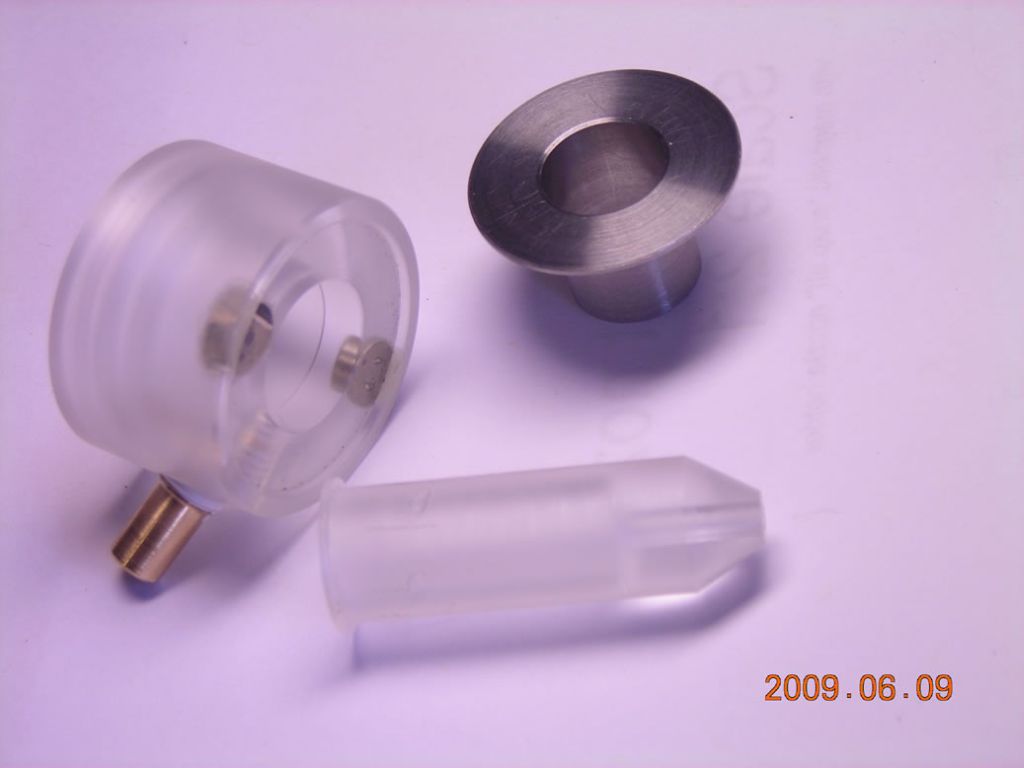 The component parts of the nozzle. Lens cap, nozzle holder and nozzle. |
 The nozzle is inserted into the rear of the nozzle holder. |
 The nozzle holder in place on the lens cap. |
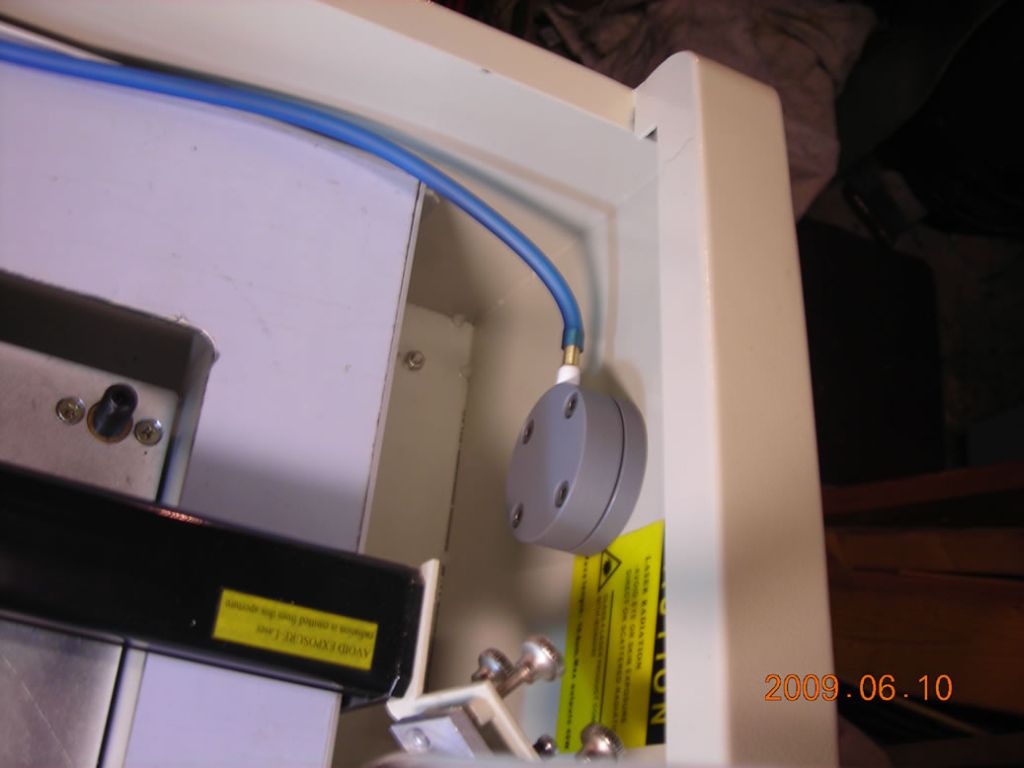
The air filter is mounted on the left of the laser cutter with three M3 screws. I used the existing hole and drilled two more:
 |
 |
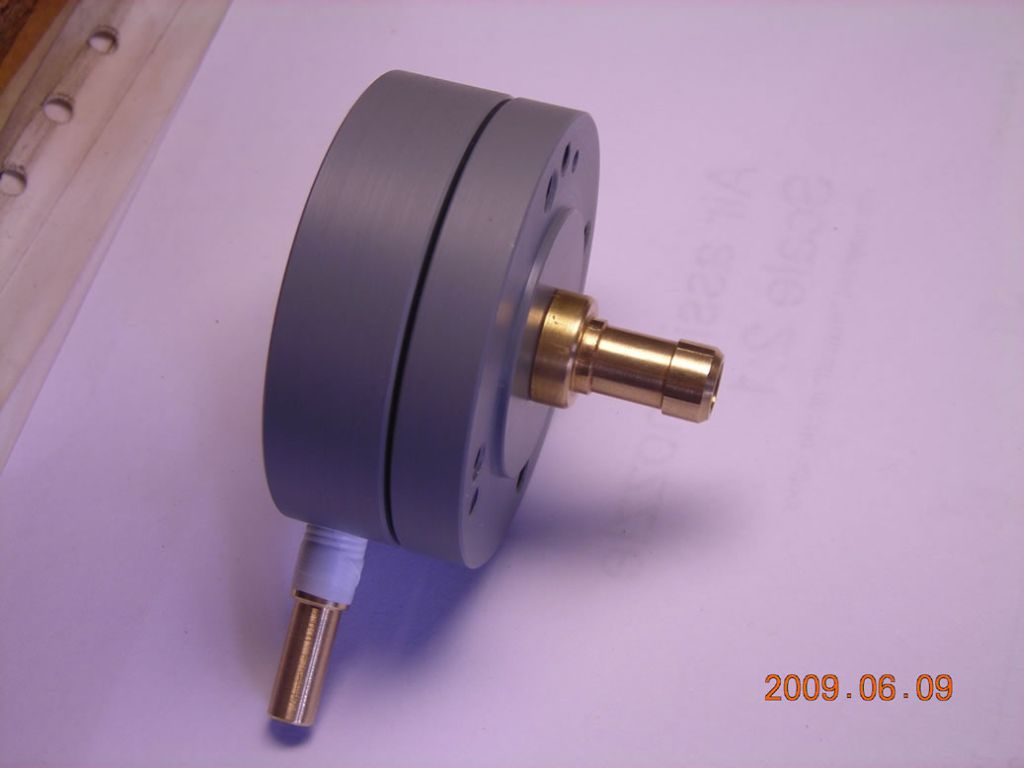
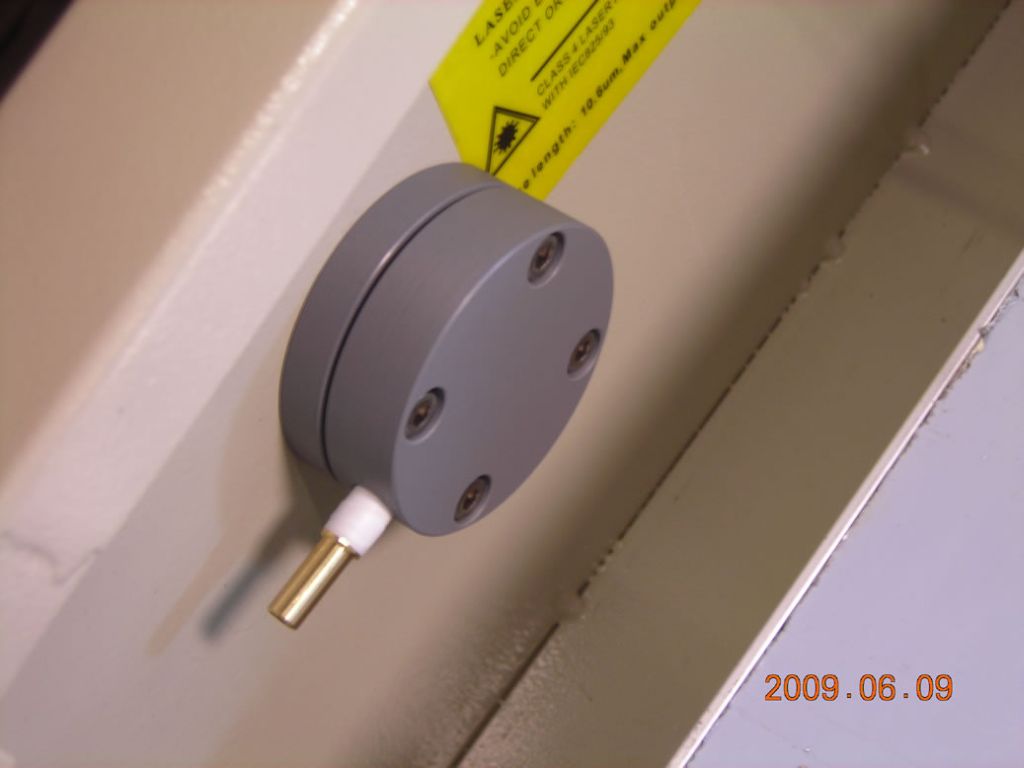
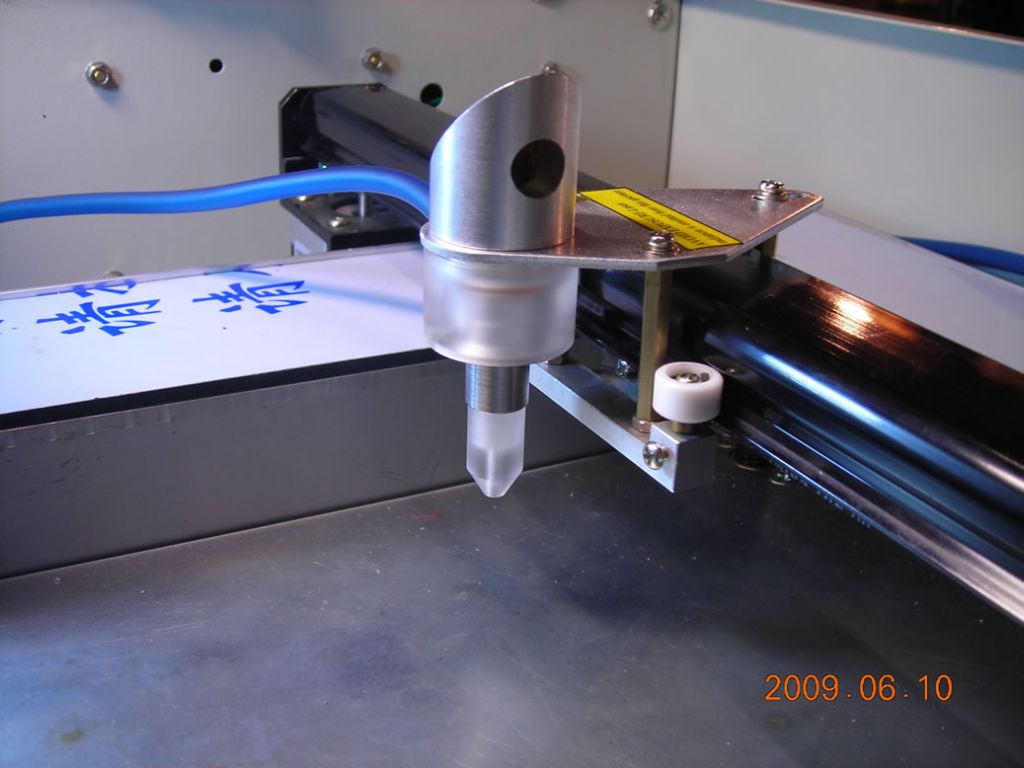
Here is the nozzle mounted on the head. The air hose snakes around the interior of the compartment and connects with the air filter on the left. The hose itself is silicone flexible aquarium tubing, around 6mm OD.
 |
 |
 |
So, how does it perform? Well, it can now easily cut through 3mm acrylic in two passes (it barely did it before). It's not so much aiding the cut as keeping the lens clean that I was interested int. Using a gas other than air, e.g. pure oxygen or pure nitrogen, might have interesting effects.
The nozzle detaches easily when the head homes itself over the surround - it just tips to one side.
It looks like I lucked out the first time in getting the laser beam to go right down the middle of the nozzle. After I had taken things apart to clean the lens and realign the optics, I couldn't get the beam exactly down the center again - it was around 0.5mm off. So, some drastic modifications!
First, I removed the lip on the end of the lens cap that the nozzle holder sits into, making that end of the lens cap perfectly flat. This way, the nozzle holder can now slide about in the XY plane, but it is still retained well enough with the magnets and the friction with the plastic of the lens cap.
I then made a little nozzle adjuster thing, which locates on the outer diameter of the lens cap and uses two adjustment screws to locate the nozzle holder. So, the nozzle holder can be easily removed and replaced in exactly the same position.
This did the trick beautifully! I have been able to cut through 1/4" acrylic using the air assist - it's great! There are some photos in the cutting examples section.
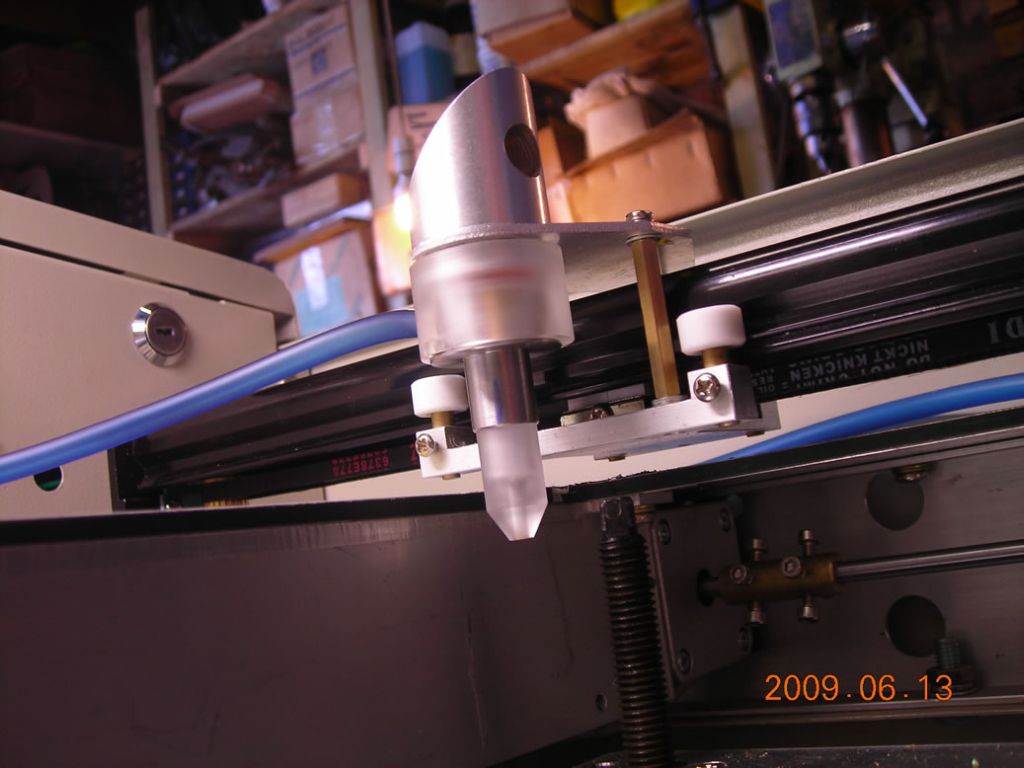 Nozzle mounted - note new end of the lens cap. |
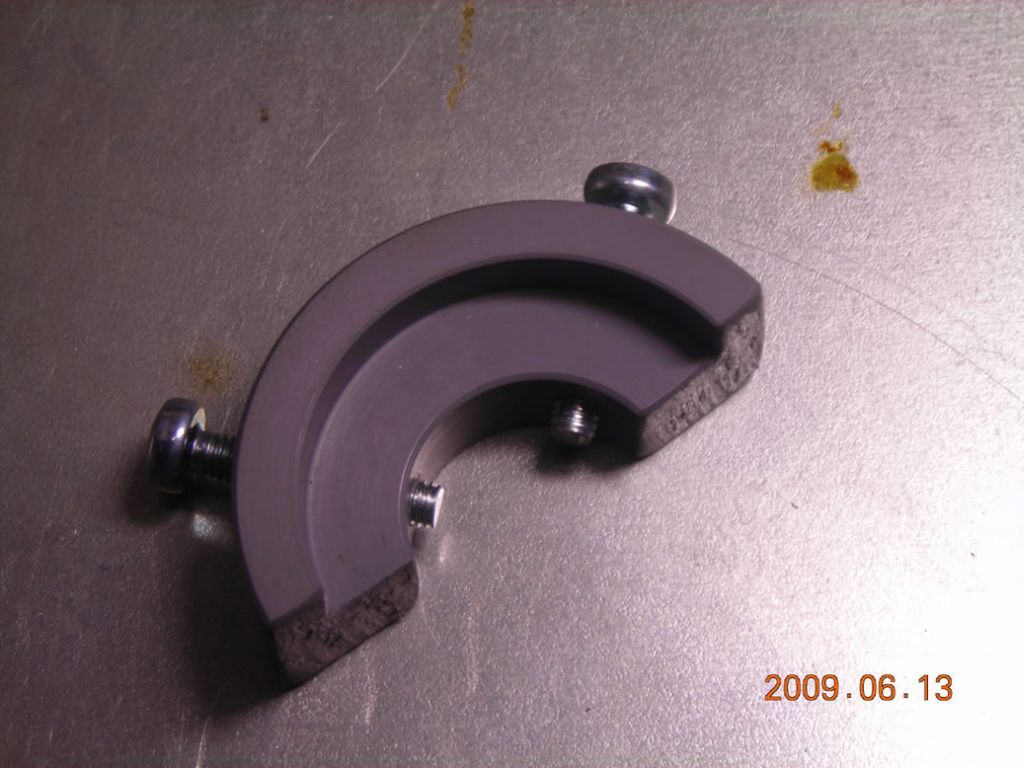 Nozzle adjuster. |
 Adjuster in use. |
| ▲ CO2 laser cutter |