
| ▲ CO2 laser cutter |
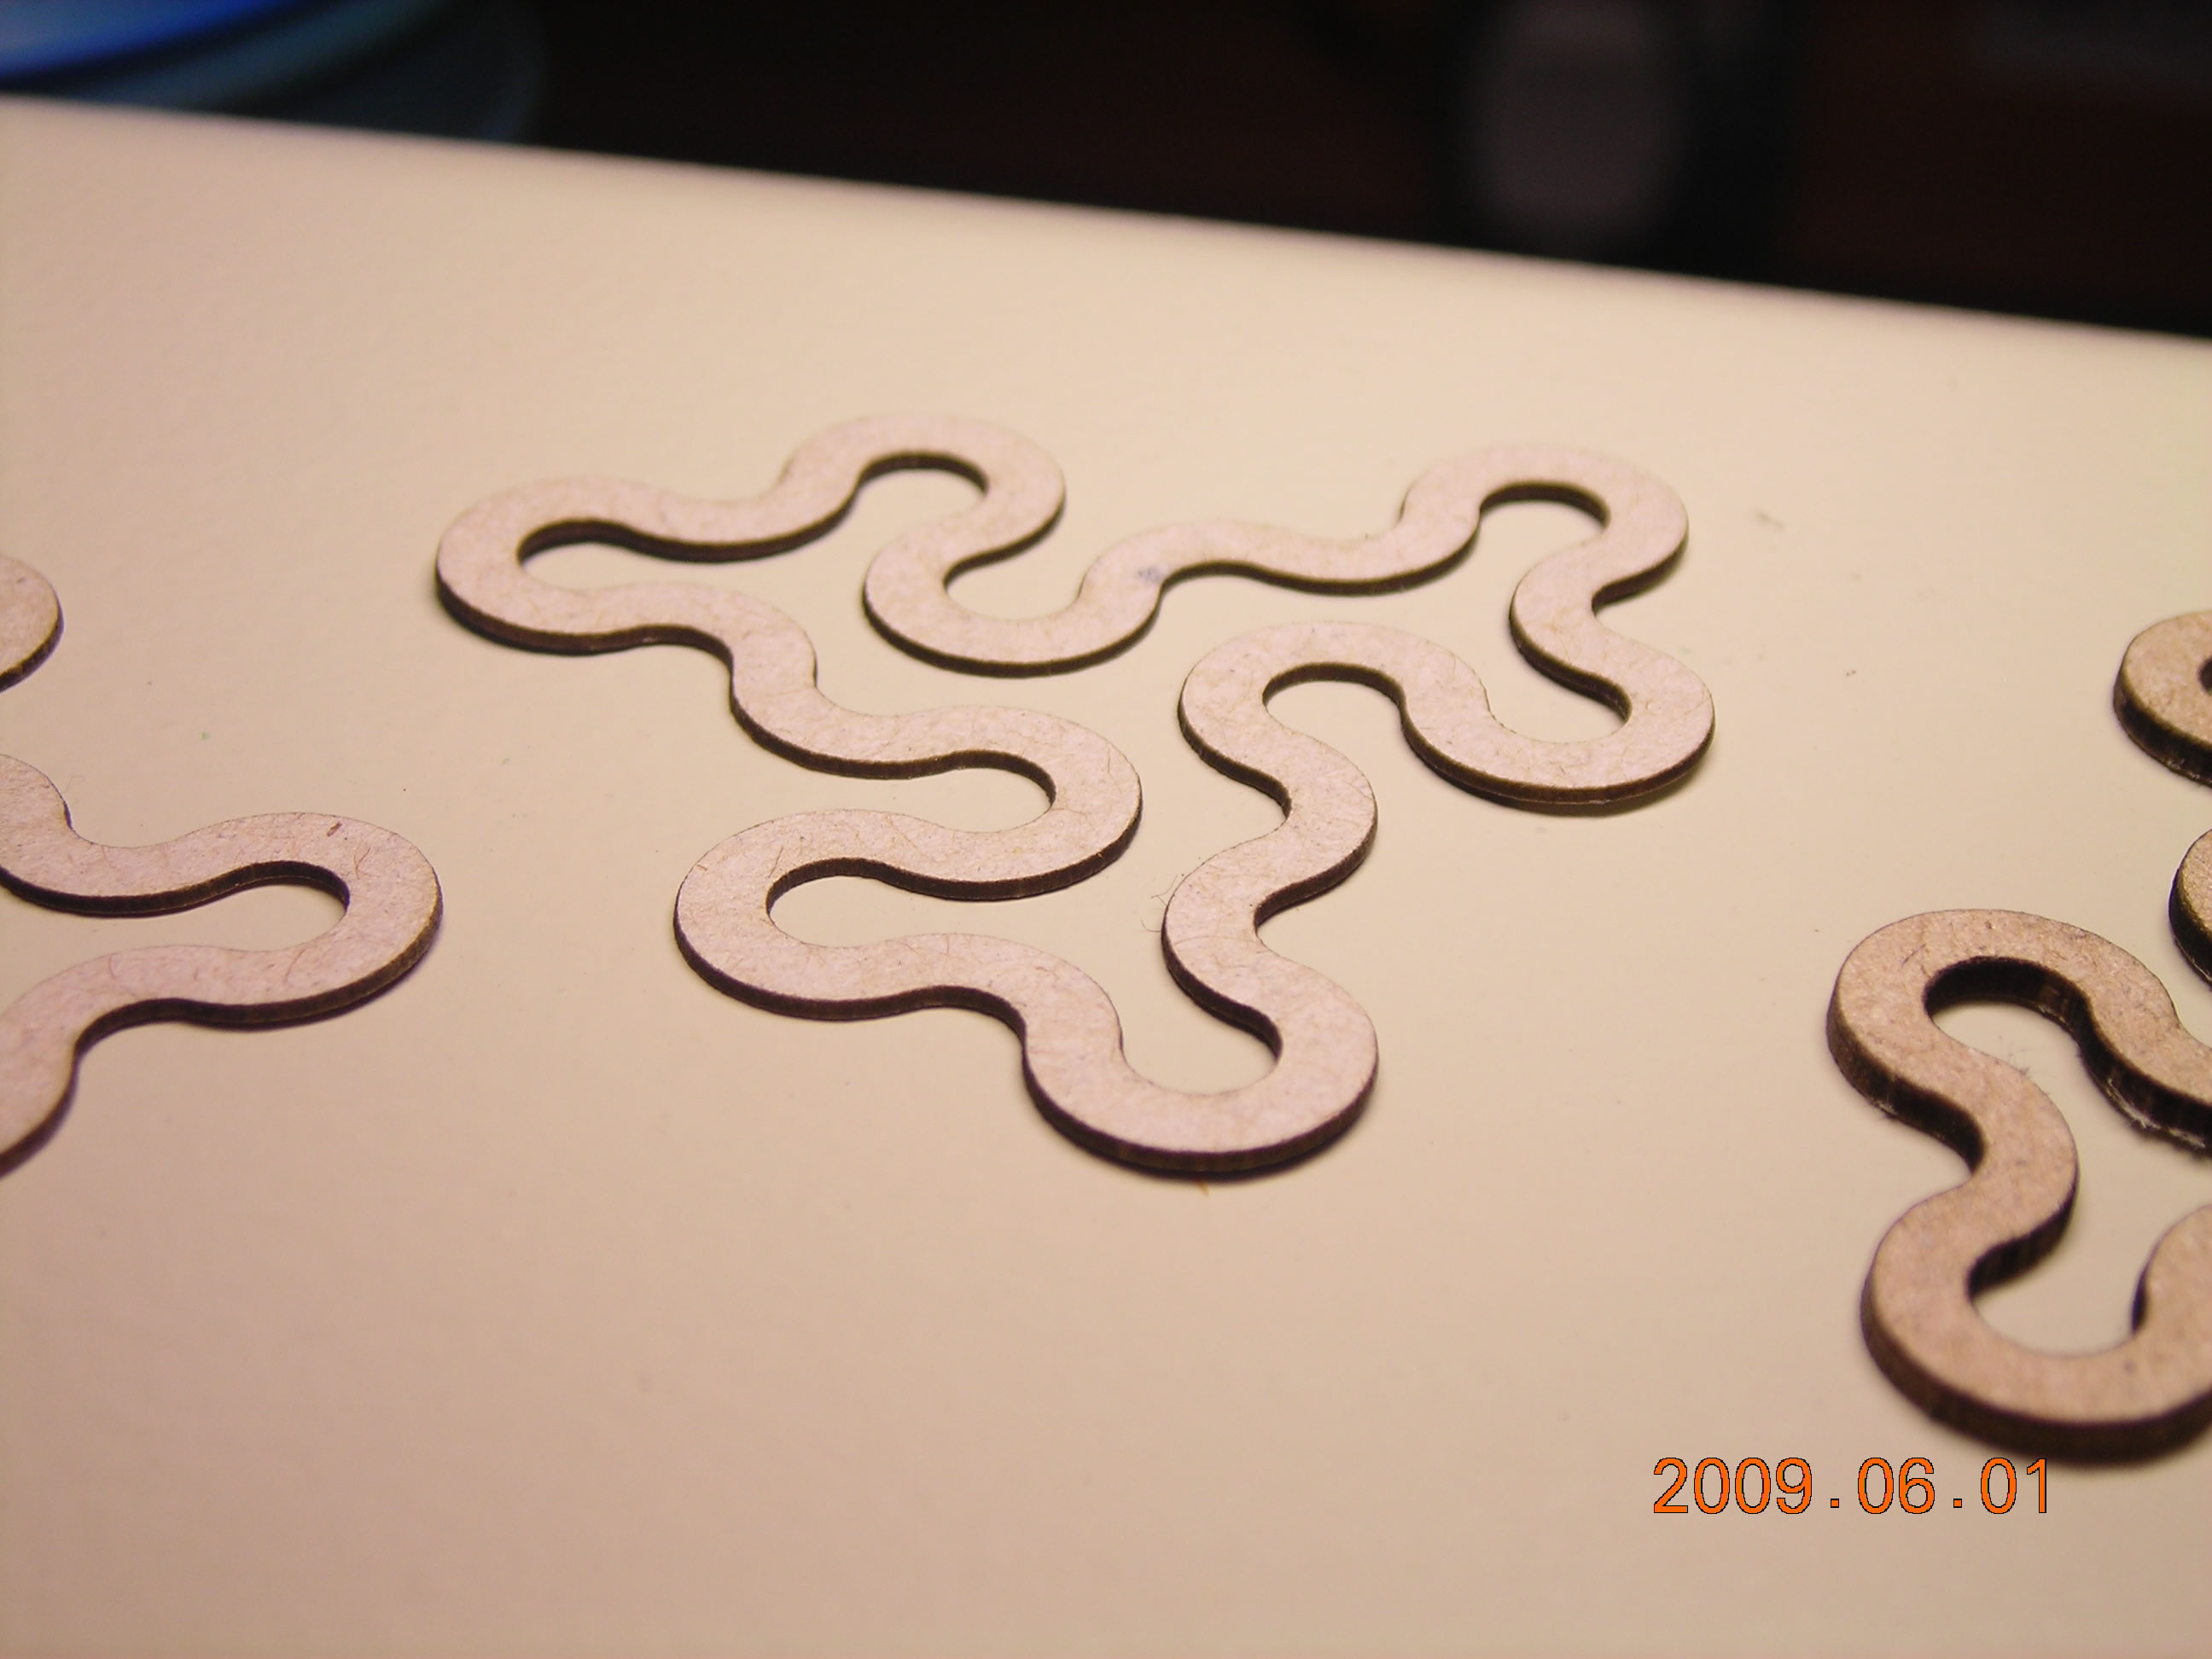
First paper & card cuts (29/05/09). Paper and card are easily cut right through with the laser - I don't have a note of the settings, but something like 20% power, 3cm/s speed is about right.
The edge has a nice blackened finish.
The design is from a gold-covered storage jar from Mycenae in the archeological museum in Athens.
 |
 |
Video of card engraving and cutting (29/03/12). I realised that I'd never taken a video of the laser running, so here's one at last. It shows both raster & vector engraving, and vector cutting. The card (cereal packet) is a mockup of an instrument panel.
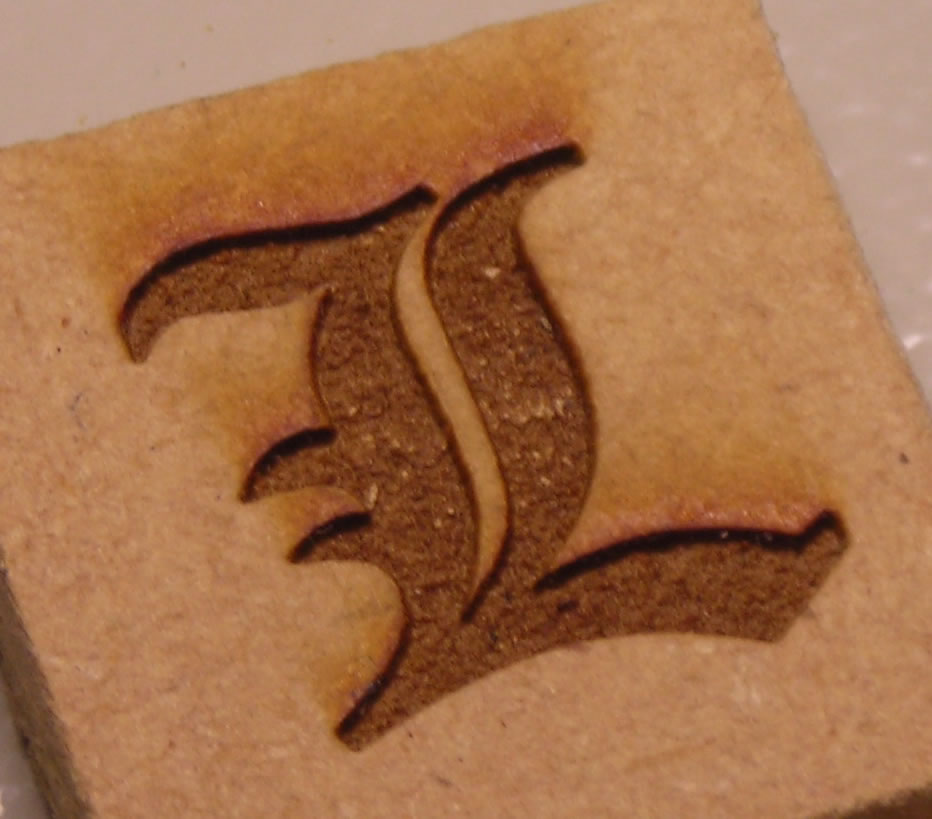
First wood raster engrave (29/05/09). This was raster engraved on a piece of MDF, about 50% power. It's really deep (almost 1mm!) and is very sharp - the photo doesn't do it justice. Note the streaking from the fumes produced - the extraction was pulling fumes to the top of the L, hence the streaks.
 |
Protecting wooden surfaces. I discovered an excellent way to protect wooden surfaces when raster engraving and prevent staining caused by fumes. It's stuff called "Frisk Film", made by Artcoe (link http://www.artcoe.com/frisk-film.html). It's a low-tack film which can be applied to the surface of the wood. The laser cuts through it cleanly, and it can then be removed using some strong sticky tape to leave a clean surface. On porous surfaces, it helps to heat the film with a hot-air gun and press it down hard to make it stick better.
Engraved wooden boxes (30/03/10). These are some screw-top wooden boxes I did for the shop. I think the wood is sycamore.
 |
14/06/11: Burn marks in wood. This was a test done to see the rate of burning at different power levels. Wood is soft pine, beam is unfocussed (around 3-4mm diamter).
15/09/13: Check out the laser-cut transformer bobbin using a finger-jointed construction.
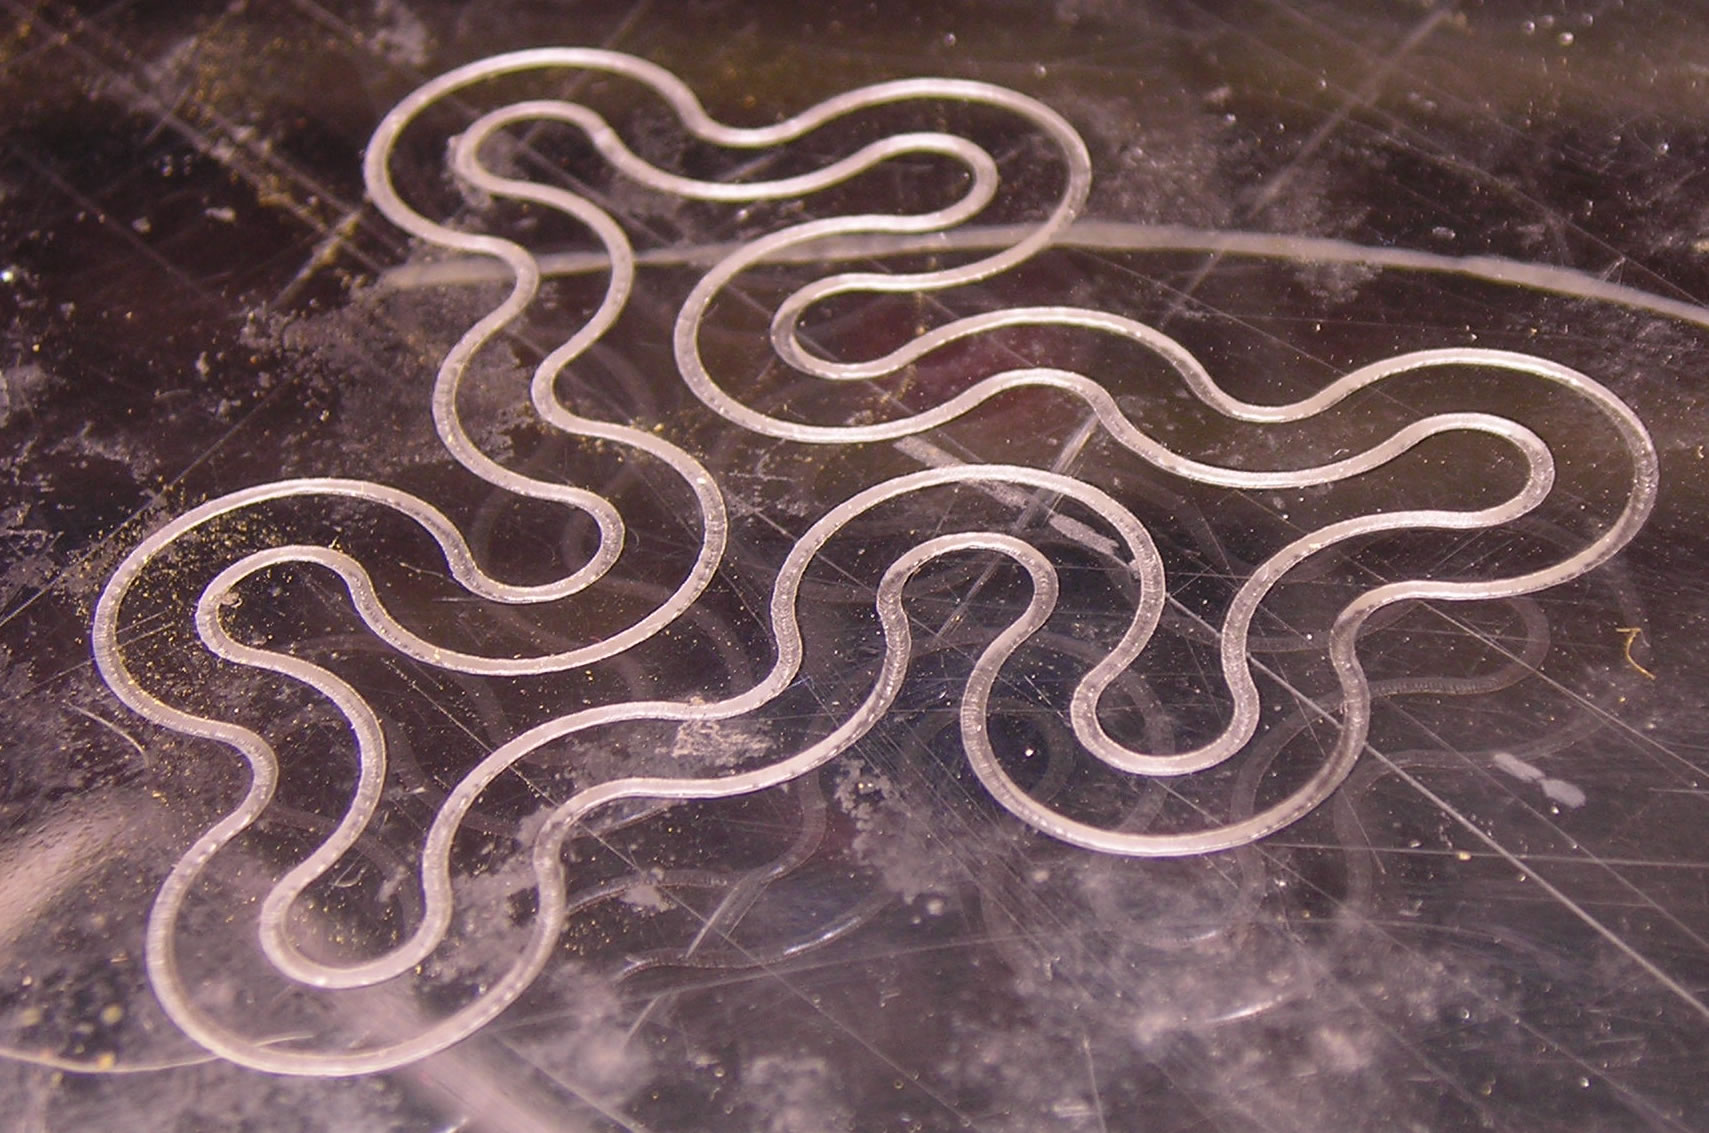
First acrylic cut and engrave (29/05/09). Couldn't wait to try acrylic! I initially ran a design at low power in vector mode to see the effect. This resulted in a lovely round-bottomed groove about 0.5mm deep. I'm amazed by what the laser beam does to the acrylic - it seems to instantly vapourise the material, leaving hardly any burr.
 |
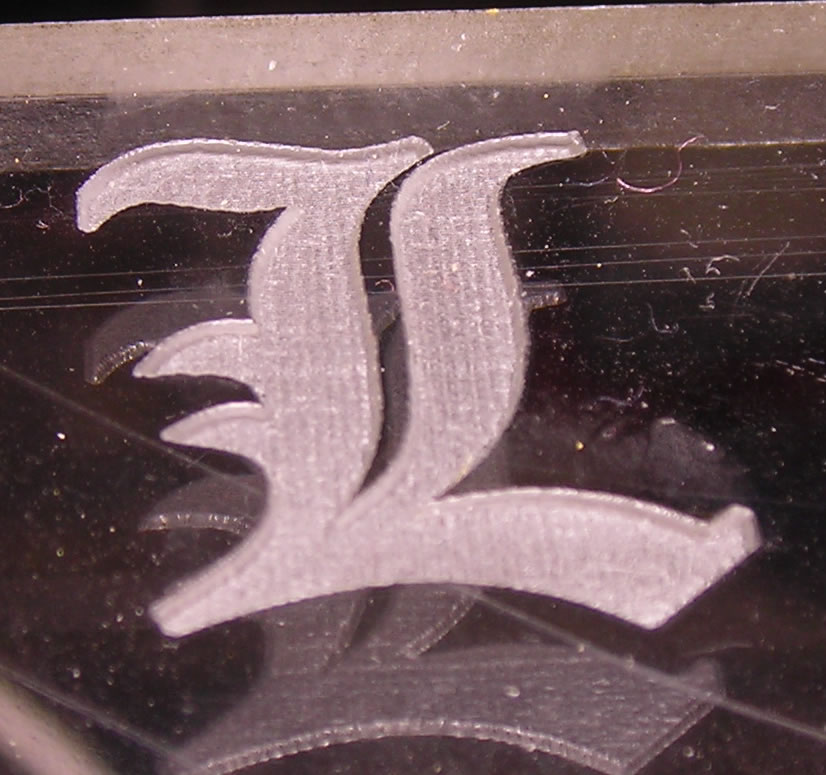
Next, I tried some raster engraving, using the same settings as for the wood above. Beautiful results! Again, there was a problem with fumes being drawn across the surface. The background has a nice rough texture - not smooth, but not excessively rough either. Just enough texture to be interesting!
 |
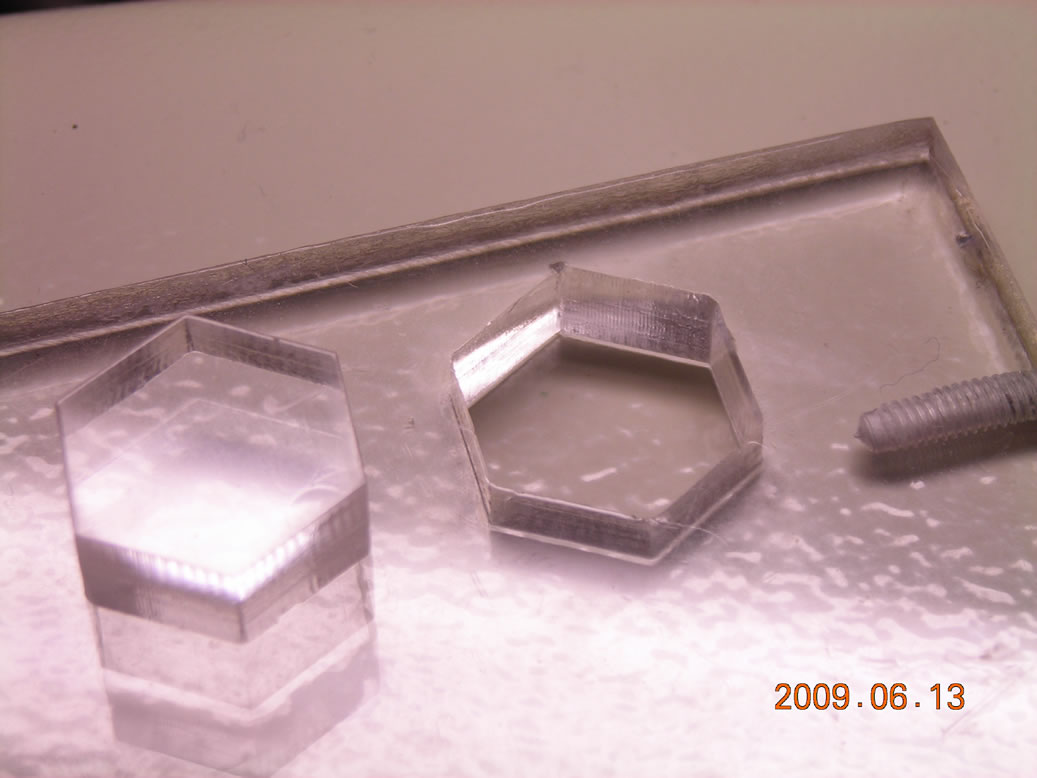
And finally, cutting right through 2mm acrylic! Again around 50% power. It probably cut it in one pass, but I gave it two just to be on the safe side.
 |
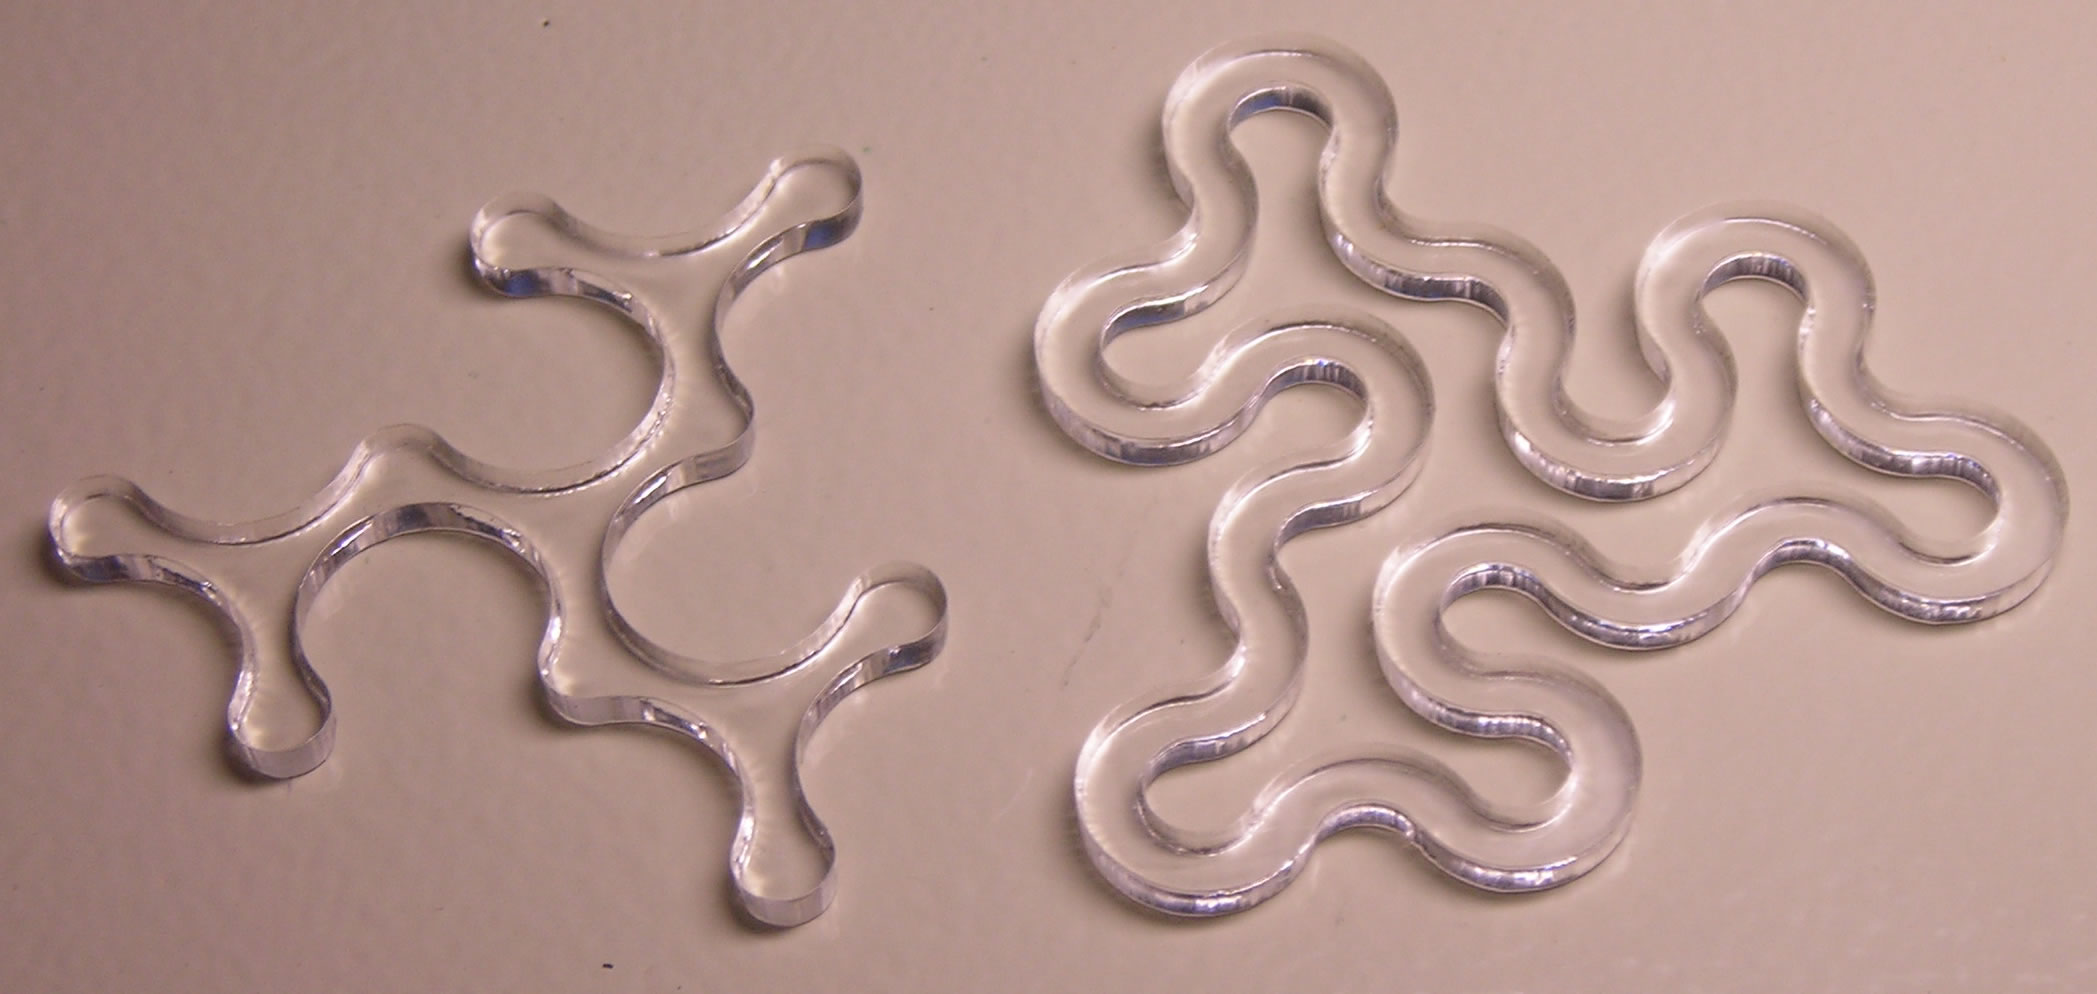 |
Check out the edge quality - almost perfectly straight!
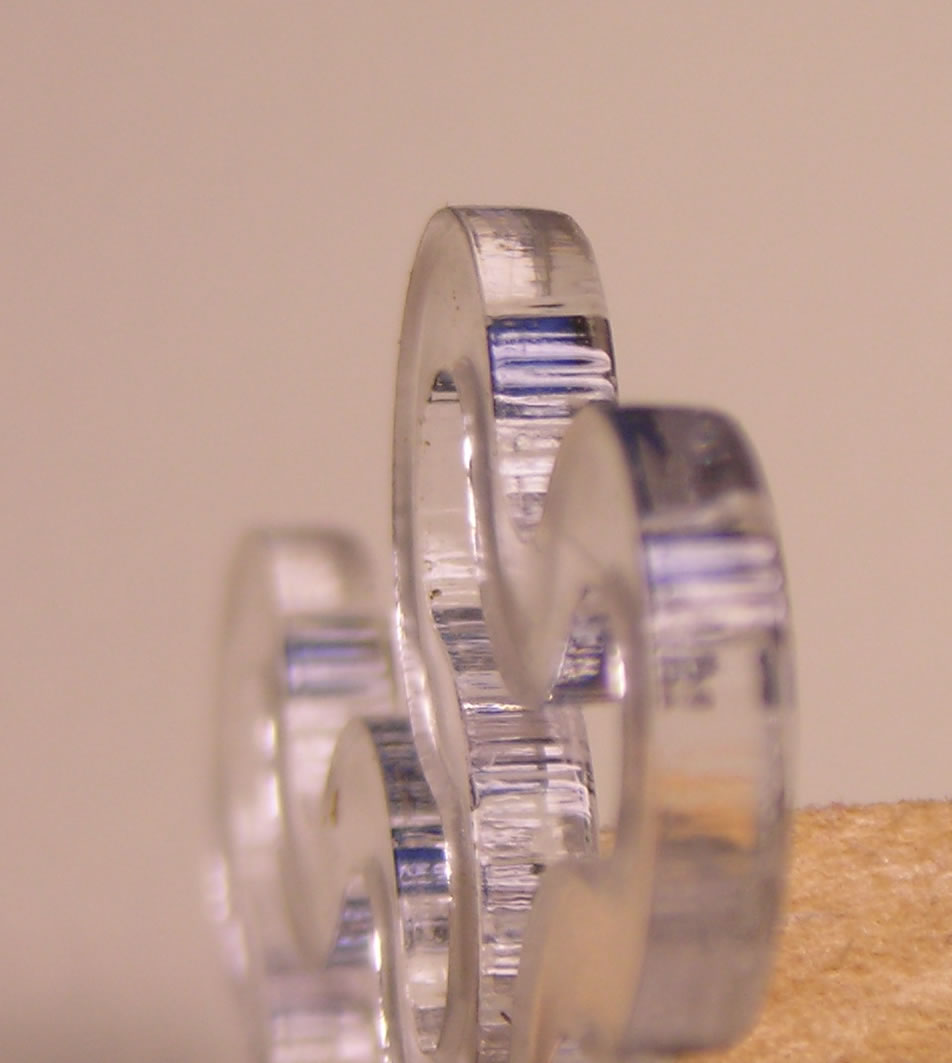 |
Acrylic is perfect for laser cutting. I have the feeling that with a gas assist, it should be possible to cut even thicker material - I tried 3mm but I needed several passes, and the plastic eventually melted back together again. An air jet would help blow this out and keep the cut clean.
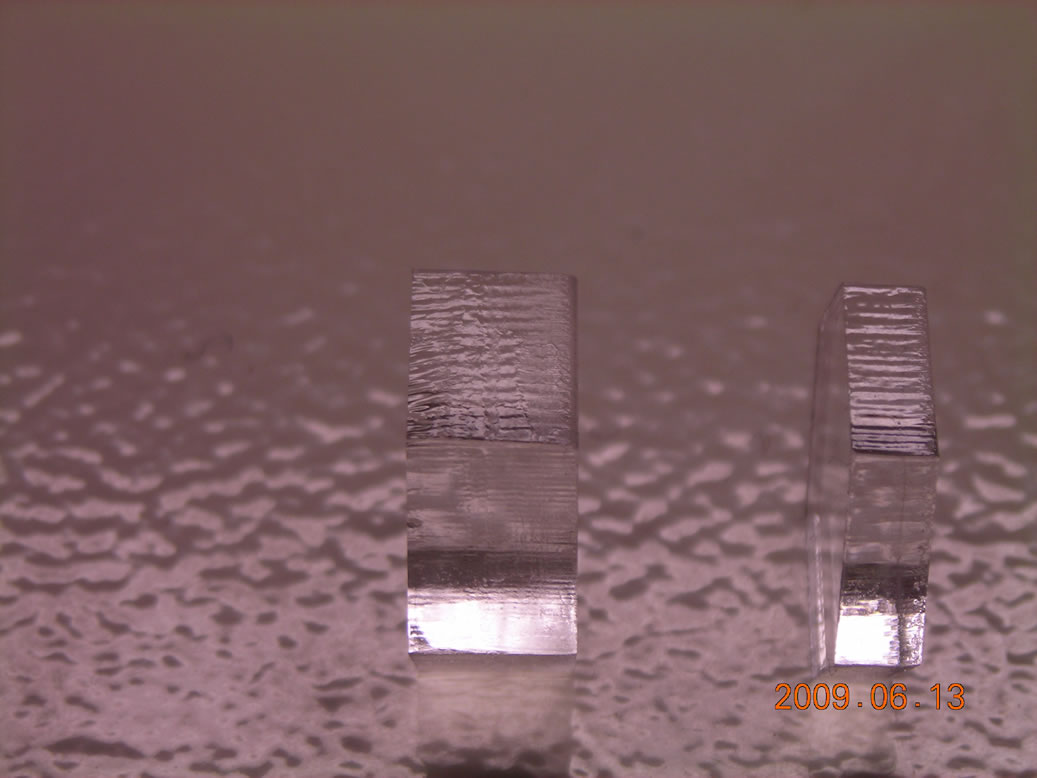
New cuts using the air assist (12/06/09). The air assist has been a huge success. I can now cut through 1/4" acrylic using about four passes, and letting it cool between times! Even at that thickness, the cut is still pretty straight with a good edge.
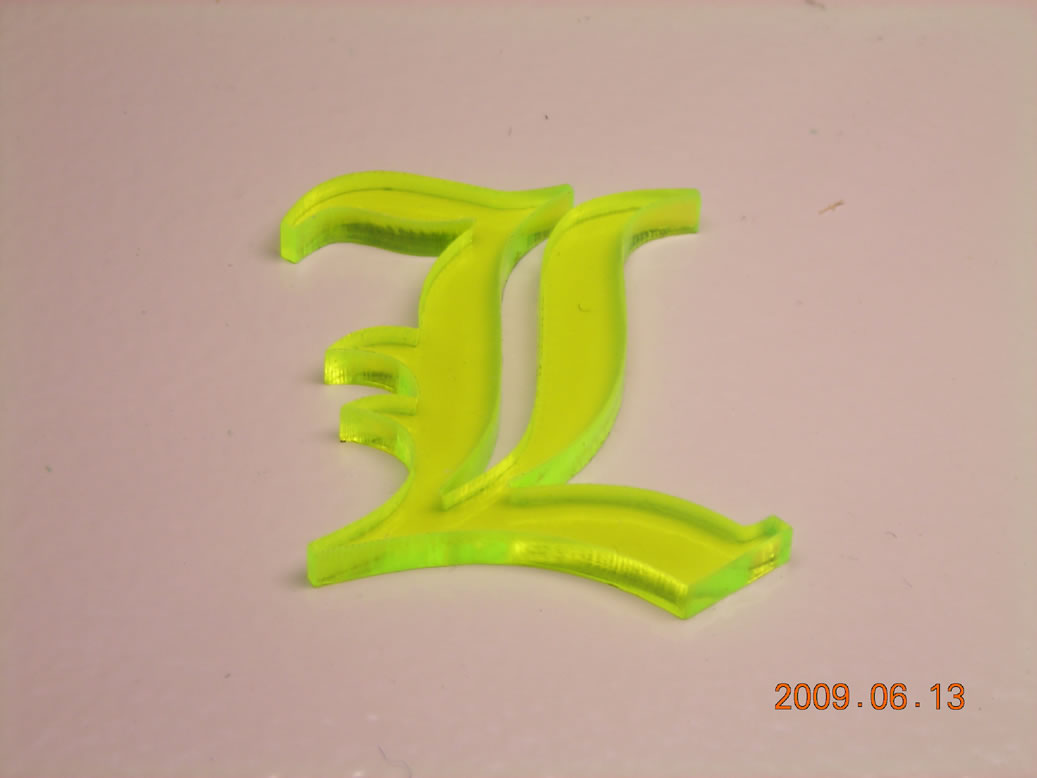
3mm thick is a dawdle - two passes at about 80% power goes right through. I did a nice fluorescent letter L!
 |
 |
 |
 |
 |
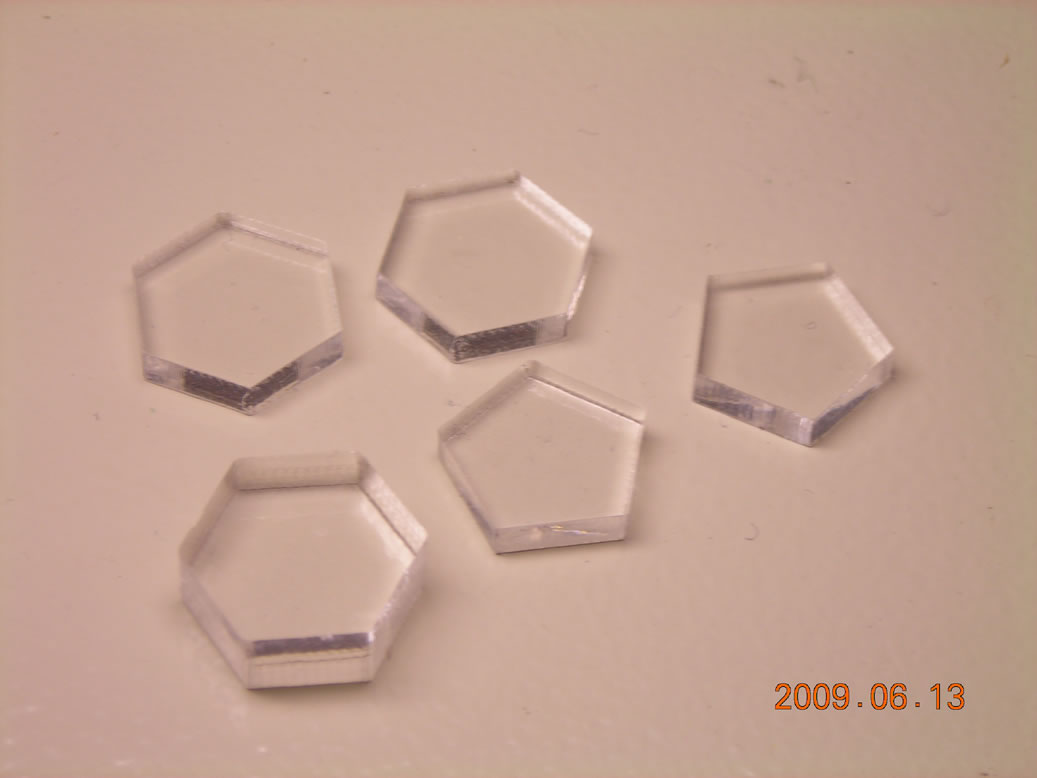
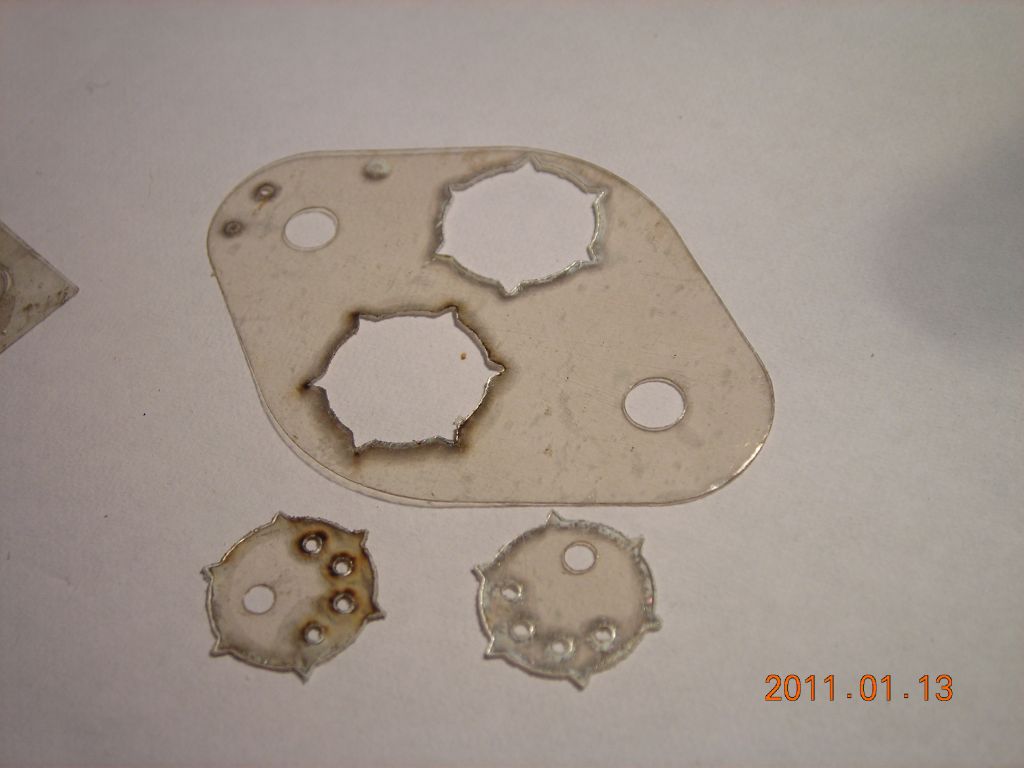
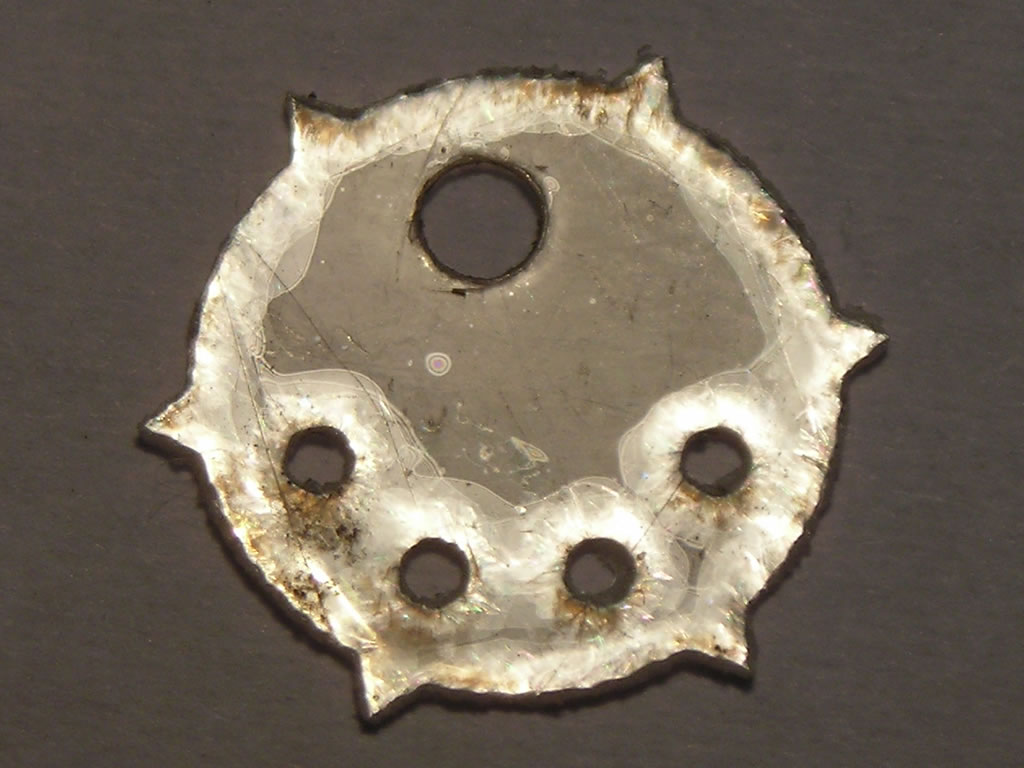
While making the text discharge tube, I needed a means of making nice mica spacers to hold the cathode inside the tube. It turned out that it's possible to cut mica with the laser reasonably well. The photos below show some trial cuts from a TO-3 mica insulator, but check out the text discharge tube page for more examples. There is slight delamination up to about 2mm from the edge, but the very edge seems fused together so they don't separate.
 |
 |
Here is a very short video of the mica being cut. The cut piece stays attached to the bulk of the sheet, but can easily be broken away by hand.
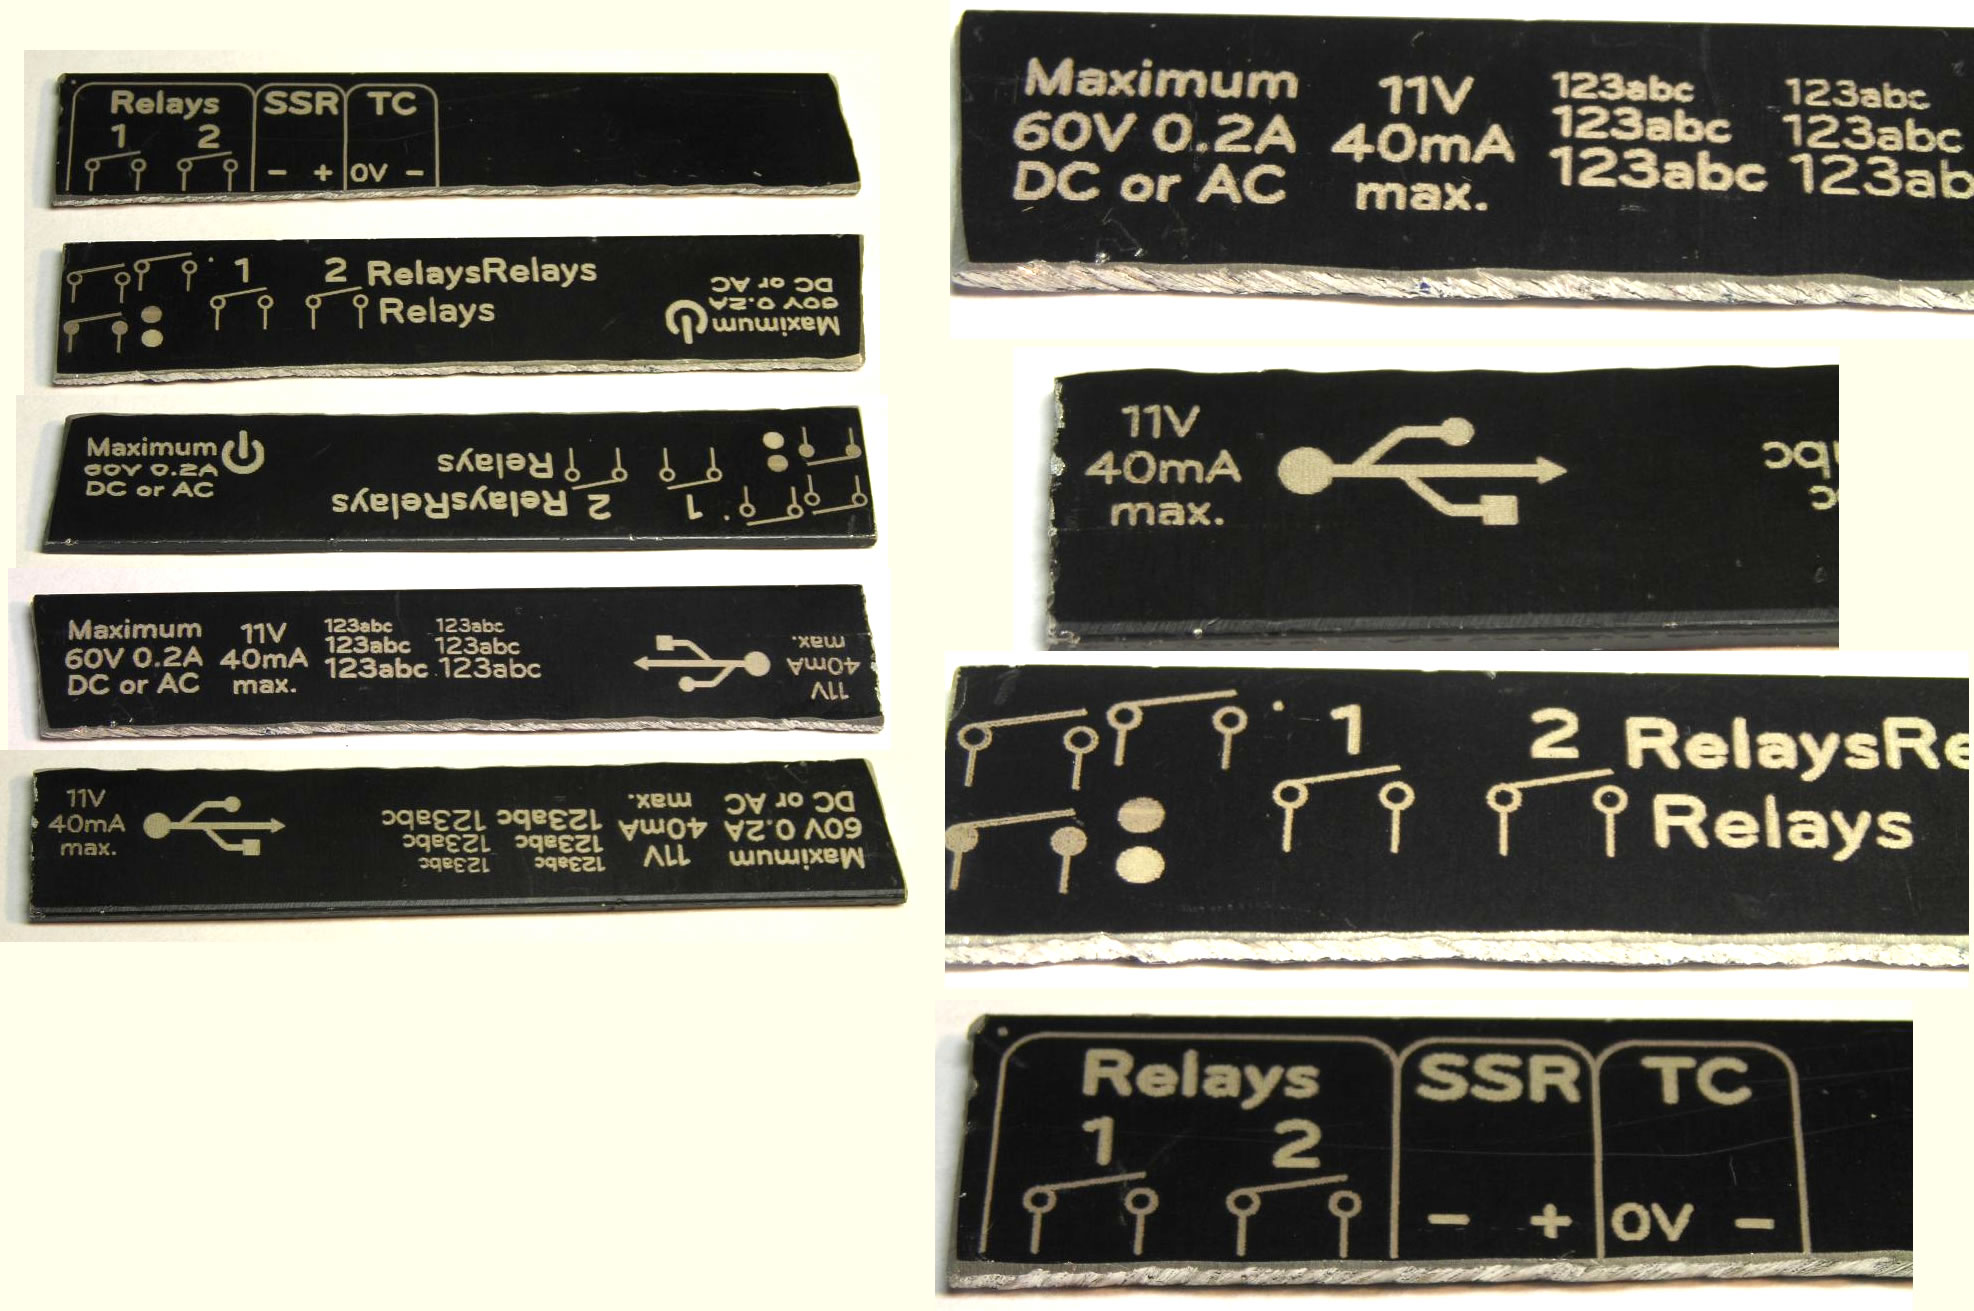
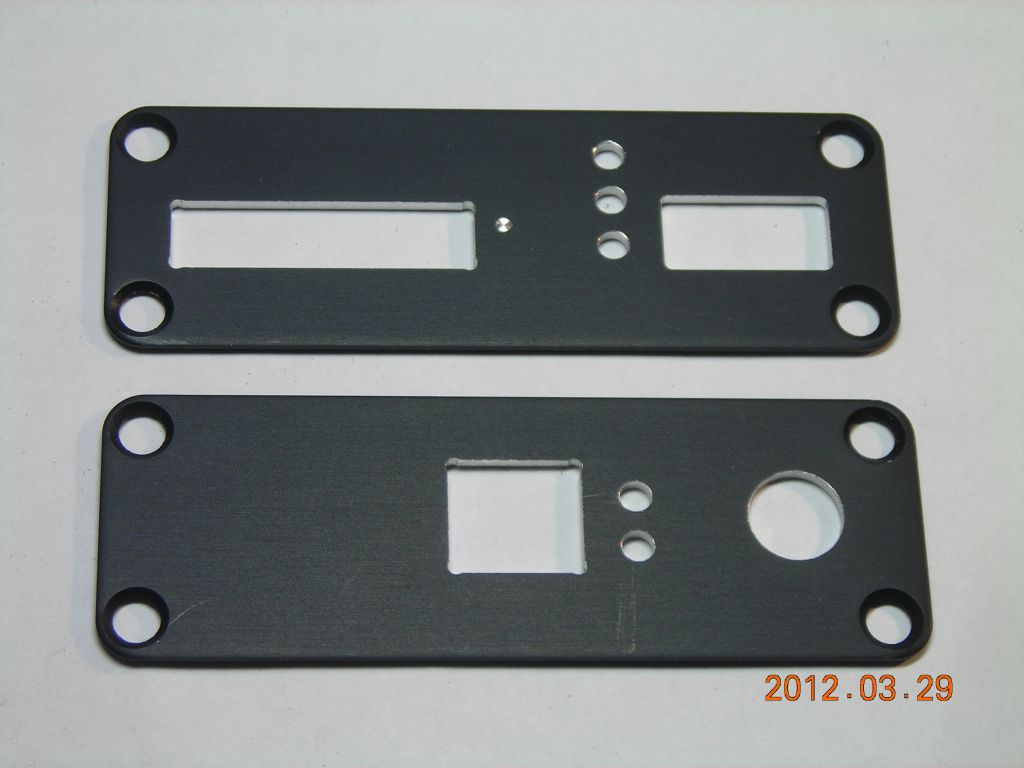
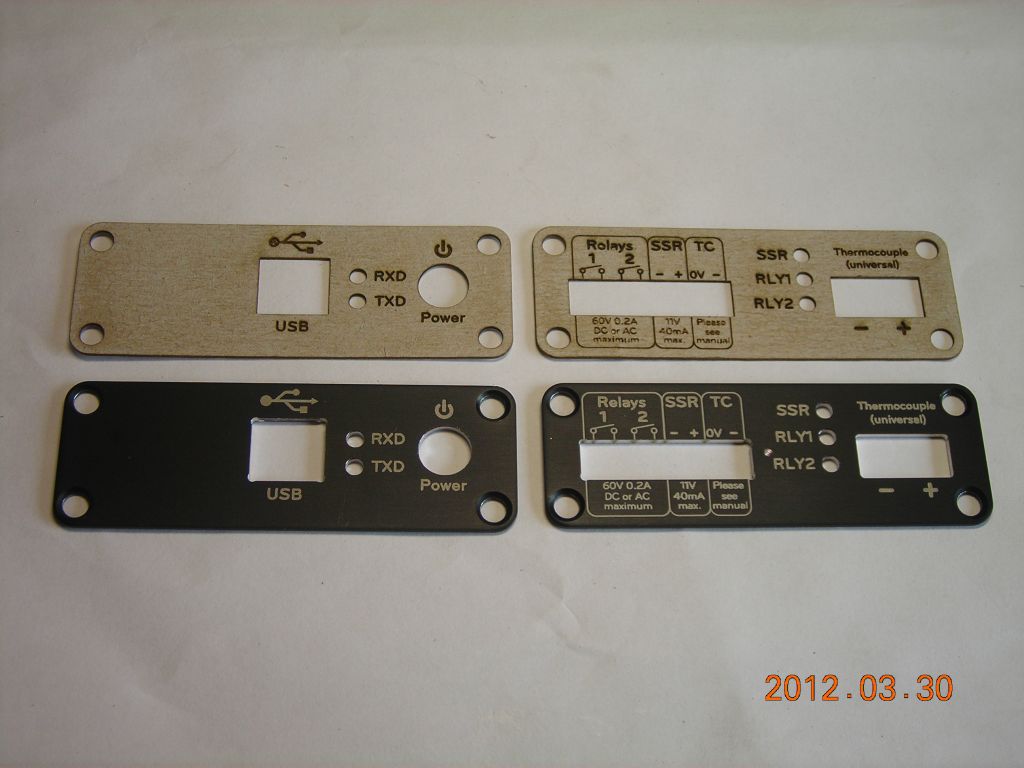
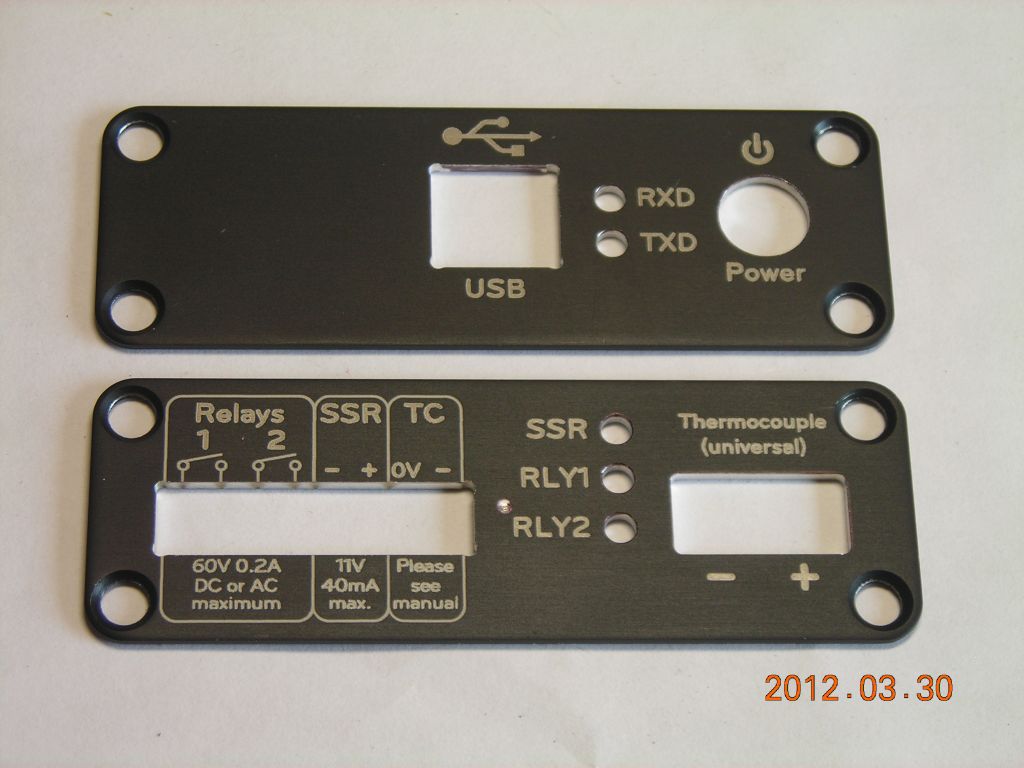
While it's obviously not possible to cut aluminium (or indeed any metal) with just a 40W laser, it is possible to mark anodised aluminium surfaces very nicely. The heat from the laser burns away the dye in the anodised layer, turning it white. It works very well on a black surface, as the example below shows (the aluminium strip in the first photo is about 10mm wide, to give an idea of scale). Letters down to 1mm high are possible. These are the end panels for an instrument I'm currently designing. I made sure to check the engraving on cardboard first!
 |
 |
 |
 |
Sherline uses laser engraving to produce marks and graduations on their machine tools. Although they use a YAG laser, the principle is the same.
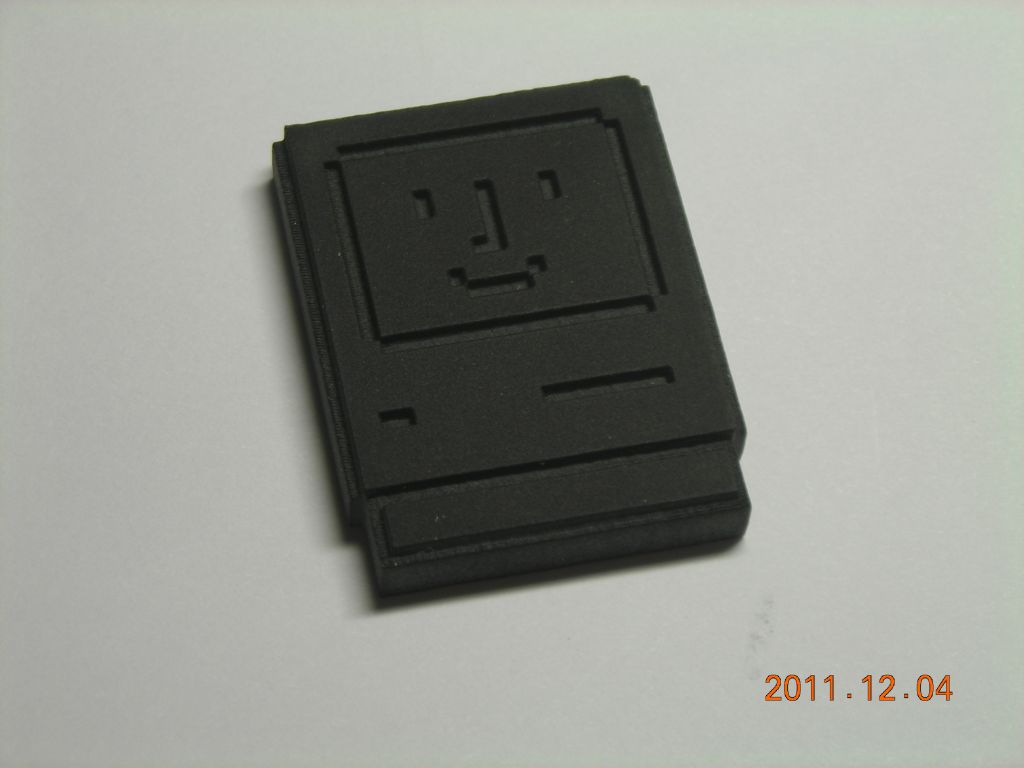
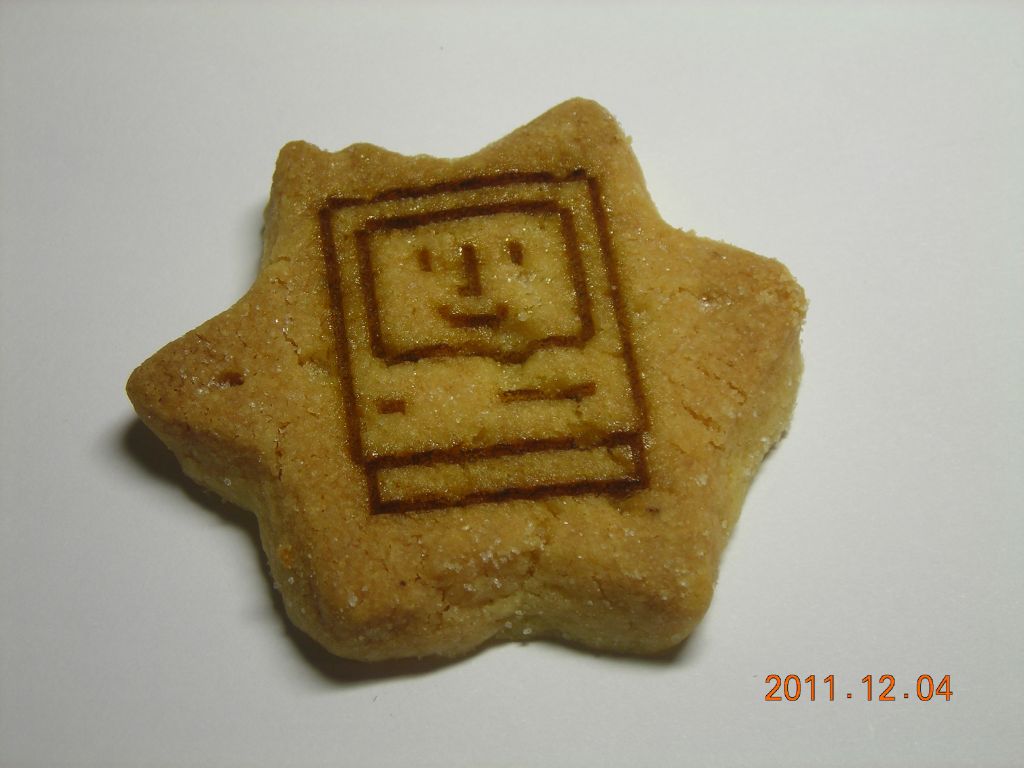
04/12/11: Happy Mac. I happened to come across the happy mac symbol (on Wikipedia - http://en.wikipedia.org/wiki/File:Happy_Mac_original.png) and thought it would laser-cut nicely. Here it is in 5mm black acrylic (sandblasted), 3mm hardboard, and a piece of shortbread! Unfortunately, the shortbread tasted pretty foul afterwards from the burnt sugar.
 |
 |
 |
Check out my page on using MoS2 as a marking spray for metal and ceramic.
| ▲ CO2 laser cutter |