Customising graphics - bootloader, initlogo.rle, and bootanimation
First, have a look at the video of the boot process - this shows what partitions are loaded, and the location of the various images which are shown.
There are three possible images/graphics which can be modified:
- Bootloader image
- "Splash screen"
- Boot animation
We'll look at each of these in turn.
1. Bootloader image
This is the small square image shown immediately after pressing the power on button:

It is located in the nanda partition, which contains the bootloader. We first need to gain access to the partition. There are two ways of doing this - mount the partition directly on the Android tablet, or copy the image file off and mount it on the computer. Mounting it directly on the tablet is much easier.
With the tablet on, connected to the computer, and with ADB running, do the following:
adb shell "busybox mkdir /nanda"
adb shell "busybox mount -t vfat /dev/block/nanda /nanda"
This creats a directory /nanda and then mounts the nanda partition into it. If you want to pull the existing image off, do:
adb pull /nanda/linux/linux.bmp
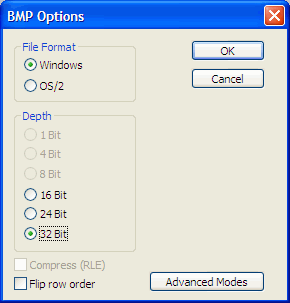
Now to replace the image. It can be any size, but must be a 32-bit bitmap. This can be created in Photoshop and saved with the following settings:

Call the new image linux.bmp and save it in ADB's working directory. Then, to copy the file over to the tablet and reboot, do the following:
adb push linux.bmp /nanda/linux/
adb shell "busybox umount /nanda"
adb reboot
With a bit of luck, you should see your new image on reboot!
"Splash screen"
Immediately after the bootloader image, a splash screen is shown briefly. Here's the default image:
This is located in the boot partition (/dev/block/nandc). To modify it, unpack the boot image as described elsewhere, replace the image with your own, the re-pack it and flash to the device. The image format is a 800x480 pixel RAW BGRA image - to create this, you can use the program I wrote.
Bootanimation
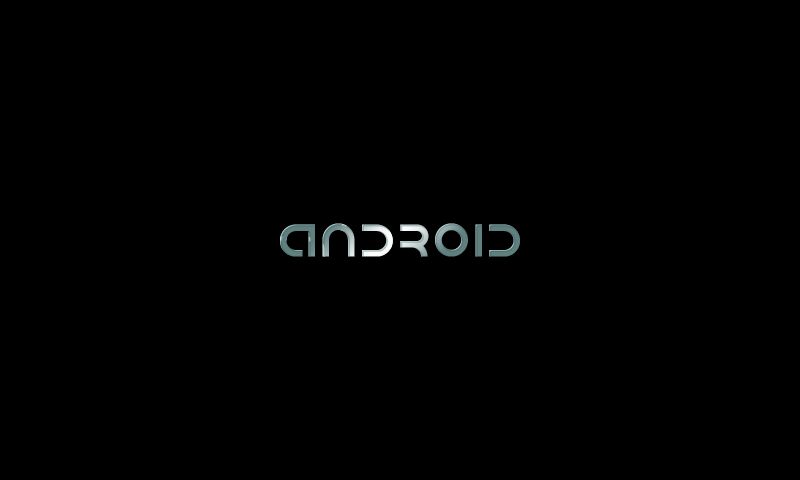
After the splash screen, an animation runs until Android is fully started. The default animation is the text "android" with a glow running along it. It's possible to get a screenshot of this by connecting with ADB while it's running and grabbing the framebuffer. Here it is:
This can be replaced with a custom animation by placing a ZIP file called bootanimation.zip in a particular location on the tablet. The ZIP file contains each frame, and a text file which describes size, framerate etc. Here are three links which describe more about the process:
- http://forum.xda-developers.com/showthread.php?t=1852621
- http://www.techcredo.com/android/how-to-create-and-apply-your-own-custom-android-boot-animation
- http://www.vikitech.com/10661/complete-guide-customizing-android-boot-animation
First, download a sample bootanimation I created and have a look inside the ZIP file. Download it here (it's a Muybridge horse).
The folder part0 contains the individual frames, named numerically. The filenames should be the same length - i.e., call them 001.png, 002.png rather than just 1.png, 2.png. I'm not sure if this is essential, but it seemed to help. The frames should be 32-bit PNG images. They do not have to be the same size as the tablet's screen (they can be scaled to fit), but they might as well be.
The file "desc.txt" contains details of the animation. This is described in detail at this link, but here's a brief summary. The first line, 800 480 10, contains the screen size (800x480 pixels) and the framerate (10 frames/second). The next line, p 0 0 part0, contains p, which just indicates the start of a line, 0 defines how many times the animation will be looped (0=infinite), 0 which specifies the number of frames to pause after finishing the animation (0=no pause), and part0 which is the folder containing the frames. Subsequent lines can also be used to display more animations. Apparently, a single p added to the last line is sometimes required, but I didn't need it.
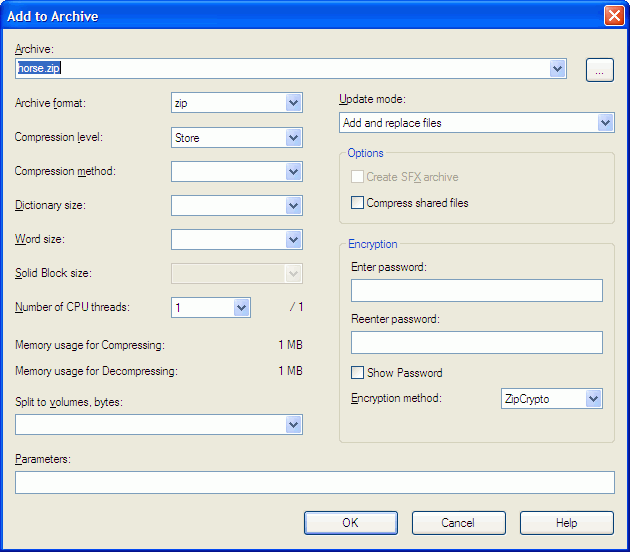
Once you've created the frame images and the desc.txt file, they need to be combined into a ZIP file. However, this must not use any form of compression. The simplest way to do this using 7-Zip (from http://www.7-zip.org/). Once installed, select the desc.txt file and the part0 folder, right-click and choose 7-Zip -> Add to archive... You will then be presented with the following dialog:

Choose "Store" as the compression level - this simply adds the files to the archive but does not compress them. Create the zip file and call it bootanimation.zip.
Next, copy the ZIP file over to the device. There are several locations which are suggested:
- /data/local/ (no root access required)
- /system/media/ (root access required)
- /system/customize/resource/ (this location isn't present on my tablet)
I went for /data/local/. Reboot the tablet and you should hopefully see the new animation start just after the boot screen.
There is also supposedly a bootaudio.mp3 which plays on startup, but this doesn't appear to be present on my tablet, and adding a bootaudio.mp3 file didn't do anything.

